ARC Raiders Fallen Emperor Guide: Gateway Conduit, Rooms, Emperor Modulator
What Fallen Emperor Is and Why Run It
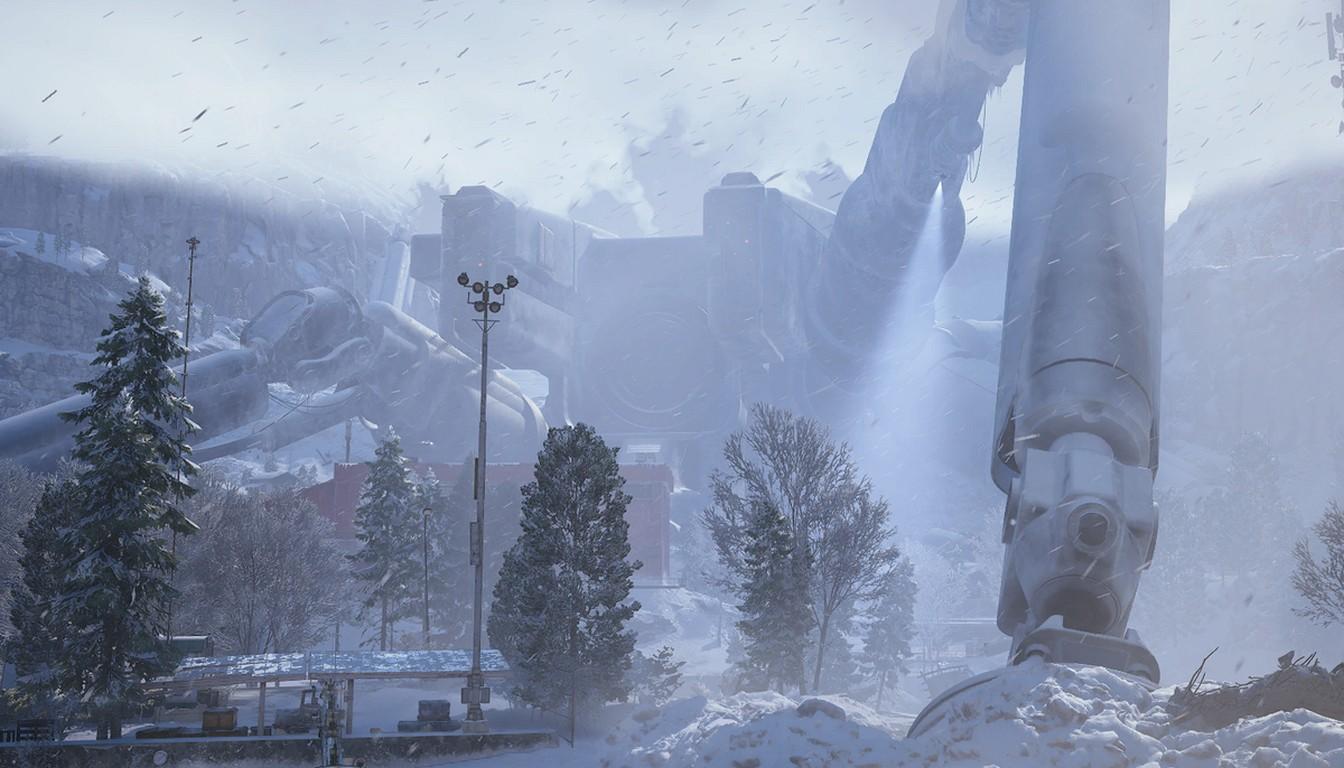
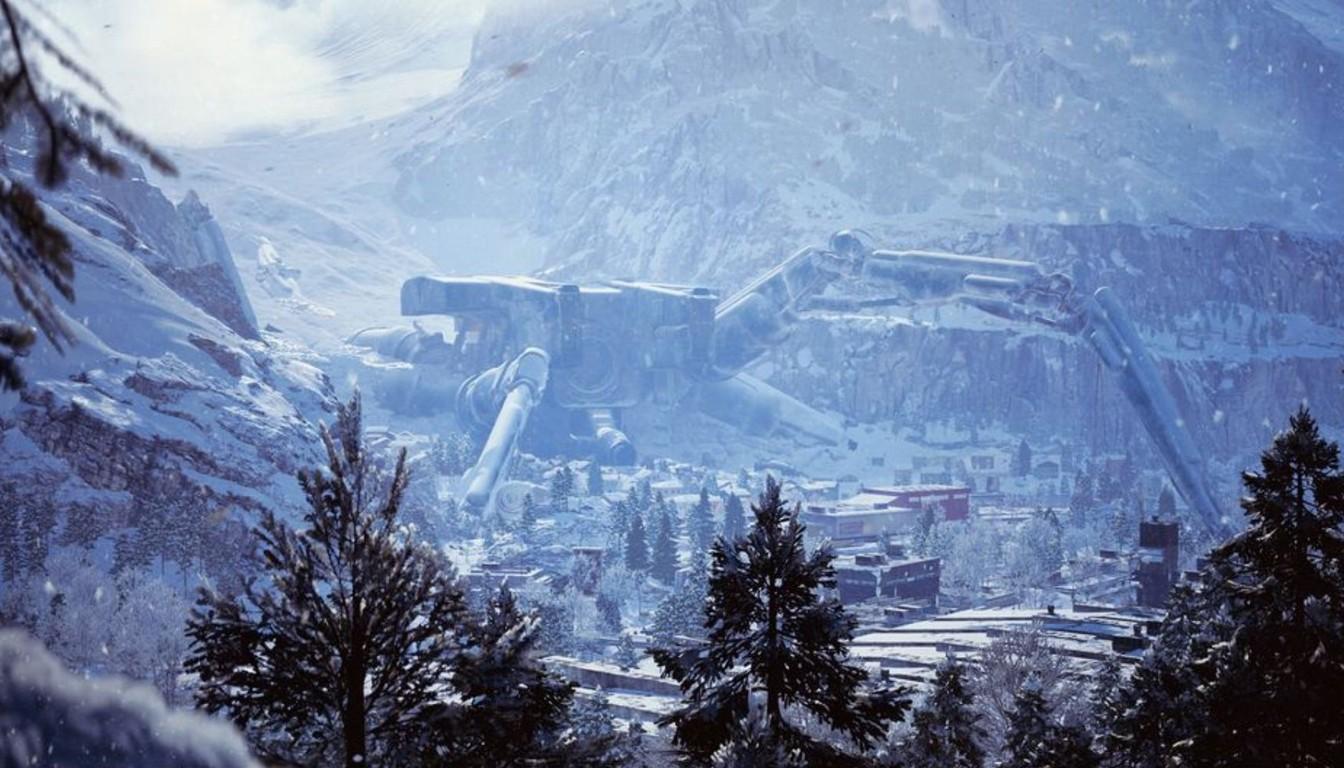
Fallen Emperor is a dungeon inside the crashed ARC Emperor on the Pendola Pass map. It arrived with the Frozen Trail update (October 8, 2026) and is the closest thing ARC Raiders has to a real dungeon. There is less combat than on Frigate: most of the route is navigation, climbing and jump puzzles.
Your main enemy is the raid clock, not the ARC. The payoff is worth it: Amplification Modules and the Emperor Modulator drop here, and the Modulator is what lifts the Gunsmith from level 3 to level 4. Gunsmith 4 together with Research Station 4 unlocks weapon amplification.
Getting inside is the hardest part. The door at the base of the Emperor stays shut without an Emperor Gateway Conduit, and you have to obtain that first. Room order changes from raid to raid, so learn the mechanics rather than a fixed route. The dungeon can be cleared solo.
How to Get the Emperor Gateway Conduit
The Conduit is crafted at Workbench I, but only after you have learned its blueprint. The recipe takes one ARC Conductive Coupler, one ARC Insulated Coupler and one ARC Plated Coupler. The blueprint is a random drop, much like weapon blueprints, so some luck is involved.
The most practical way to gather everything is the Redirection map condition on Pendola Pass. It is a minor condition and appears only on this map. The steps:
Drop into Pendola Pass while Redirection is active.
Find a Damaged Emperor Relay.
Take the Emperor Beacon from the Relay. It is an Epic quick-use item and stacks up to three.
Deploy the beacon in the open and move away from the spot where the Payload will land.
Breach the Emperor Payload once it lands. It holds ARC parts and the couplers for the Conduit.
Use the beacon in the same raid you picked it up. An unused Beacon that you extract becomes a Ruined Emperor Beacon, which is useless. The Conduit blueprint itself is random. According to player reports it can also turn up in Surveyor Vaults, so do not rely on a single source.
The finished Conduit goes into the socket beside the circular hatch low on the hull, on the western side of Pendola Pass. Think of it as one more key for the map: without it the entrance stays closed.
Loadout for the Run
There are fewer enemies than on Frigate, but going in light is a bad idea. Hydras show up on early routes and flying ARCs wait in the finale. Many rooms turn into a stroll if you have a way to move vertically.
Anti-ARC weapon: Hullcracker. Strong against Hydras and heavy targets in the finale.
Main weapon: Anvil, Renegade or Bettina. You will shoot many yellow nodes and clear small ARCs.
Traversal: Grappling Hook or Snap Hook. Simplifies jumping and climbing rooms.
Augment: Looting Mk. 3 or any augment with several safe pockets. Room for valuable loot.
This set comes from player recommendations, and the hook saves the most time and nerves. Bring healing, stamina recovery and free backpack space so you do not have to drop trophies halfway. If your bag is always full, decide what to keep and what to sell, and free up room in advance with a stash expansion.
Fallen Emperor Rooms and How to Clear Them
The start and the final hangar are always the same, while the trials between them come in different order and variations. Most boil down to three jobs: shoot yellow nodes, avoid hazards such as lasers or electrified boxes, or climb to the next level. According to players, white-lit doors lead deeper, while yellow-lit exits take you back down or outside.
Room type | What to do |
|---|---|
Entrance | Shoot the electrified boxes to disable them for a while and deal with the Hydra at the end of the hallway |
Piston elevator | Break the yellow nodes on the central cylinder, then on the walls, then ride up |
Maze | Either destroy yellow nodes or find the one open exit, depending on the variant |
Platforms | Shoot electrified platforms before jumping, or skip the section with a hook |
Gas and crusher | Sprint to the round door at the end or wait in the recess by the climb point |
Laser corridor | Time your run between beams and use cover or barricades |
Container shaft | Ride the moving container and jump to the ledges |
In the first hall the electrified boxes do not deal damage, they stun, so walk past right after disabling them. The central elevator looks like a piston, and breachable containers around it are worth opening: they drop weapon amplification materials. The dungeon is very vertical, so you are almost always looking for a way up.
Many players call the gas and crusher room the nastiest. The gas drains stamina while the walls close in. The answer is a full sprint across the room or hiding in the recess. A stim or two for stamina helps. Above it is a room of moving platforms and Hydras, where the floor is the same wall that was trying to crush you.
In the laser section, barricades are the safest bet: they block the beams but take only limited damage. After it the path splits: one exit leads to the central elevator and lets you leave with your loot, the other leads to the final hangar.
The Final Hangar
The huge hall has moving platforms too. You can descend with a hook or along the wall, where ladders lead down. The task is to destroy six yellow nodes, three on each side. That opens an exit, but do not rush to it.

Players describe an ambush here: flying ARCs and a Vaporizer attack, and the Hullcracker comes in handy. Destroying the nodes also opens extra containers that glow red at first. The hangar holds the highest concentration of containers, so your odds of an Emperor Modulator are best here. Grab what you can, clear the threat and leave.
Rewards and the Emperor Modulator
The Emperor is one of the main endgame farms because its loot ties into weapon amplification. Key rewards:
Emperor Modulator - a legendary material for taking the Gunsmith from level 3 to 4. It is a random drop with no guarantee. Players report the upgrade also costs three Radial Presses and three Magnetic Accelerators.
Amplification Modules - the base of amplified weapon progression. They drop from Frigate and from Fallen Emperor.
Amplification materials - extra parts for high-end upgrades.
ARC Data Modules and ARC parts - valuable technical loot.
If a Modulator drops early, put it into a safe pocket right away. The Gunsmith needs only one, so do not risk it. Getting the Modulator does not require amplification, but the next steps depend on crafting station upgrades: Gunsmith and Research Station both have to reach level 4. Surplus loot is handy to turn into coins.
Tips for a Clean Run
Bring a hook. A Grappling Hook or Snap Hook makes most jumping rooms safer and faster.
Watch the raid clock. Enter with plenty of time rather than late in the raid. There is no exact cutoff for every case, so judge by the raid timer and your pace.
Head for the final hangar if time is short. Early containers are good, but the loot is densest at the end.
Do not fight without need. Many ARCs inside can simply be bypassed.
Carry stamina recovery. The gas room drains stamina, and jump sections without a hook cost it too.
Watch other squads near the exit. Some players say the Gondola call point near the dungeon is predictable, so ambushes happen there. A few stall until the last minutes and only then run for the call point.
The dungeon used to be skippable, but after Update 2.1.0 on October 13, 2026 the Snap Hook trick with Showstopper or Hornet Driver reportedly no longer works. Now you have to clear it properly. Before a long run it makes sense to finish your quests and check the Skill Tree: stamina and healing perks help.