Weapon Stencils in ARC Raiders: Designs, Costs, Farming
What Stencils Change and Who Needs Them
Weapon Stencils arrived with the Frozen Trail update, which went live on October 8, 2026. They are purely cosmetic: damage, recoil and every other stat stay exactly as they were, and only the look of the gun changes. If you play strictly for raid results you can skip them, but if you want your favorite Anvil to stand out, this is the system for it.
They work much like weapon blueprints: you find a Stencil, learn it, and then apply it to a weapon by paying with a separate resource called Stencil Parts. The game has 14 Stencils in total, and new designs may arrive with updates.
The key points up front: cost depends on the Stencil's rarity, every application is tied to one specific gun, and some designs fit only a single weapon.
How to Apply a Stencil to a Weapon
You can only apply designs outside a raid. Open your stash, pick the weapon, choose a learned Stencil from the new menu and confirm. A preview is available before you commit, so you can judge the result first.
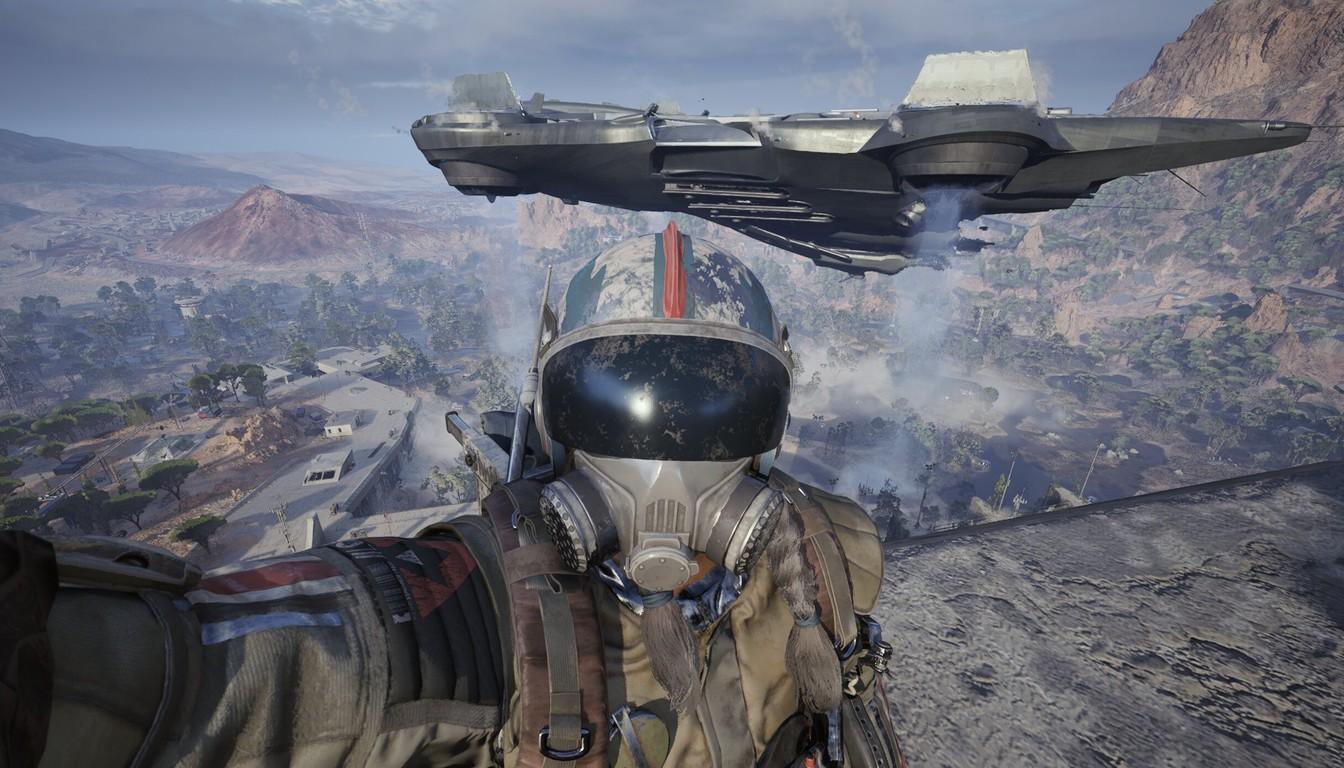
A few details that save you parts:
One gun at a time. The design goes on an individual weapon, not on every copy in your stash. Three Burlettas mean three separate applications.
Treat an application as final. Use the preview before you confirm.
The design lives and dies with the gun. Lose that weapon in a raid and the look is gone with it, and a new copy means paying again.
In practice, spend expensive Stencils on the weapon you carry every run and rarely lose. Cheap options are enough for backup guns.
Stencil Part Costs by Rarity
Price is set by the Stencil's rarity, not the weapon's, and the two are unrelated. One application costs this many Stencil Parts:
Uncommon: 2 parts;
Rare: 4 parts;
Epic: 7 parts;
Legendary: 15 parts.
The higher the rarity, the narrower the list of compatible weapons: Legendary designs are usually built for one specific gun. The simplest Stencils, meanwhile, fit a wide range of weapons.
Before you start saving, decide how many applications you really want. One Legendary Stencil costs more than seven Uncommon ones, and the resource drops randomly and not very often. If you need gear right now and have no time for cosmetics, a crafting station upgrade will do more for your raids than a new paint job.
All Stencils and Compatible Weapons
The table lists the Stencils and the weapons they fit. The list may grow with updates.

Stencil | Rarity | Fits |
|---|---|---|
Verdigris | Uncommon | Osprey, Canto, Stitcher, Bobcat, Vulcano, Il Toro, Hairpin, Stiletto |
Cerulean | Rare | Anvil, Arpeggio, Bantam, Bettina, Bobcat, Osprey, Venator, Vulcano |
Milky Terracotta | Rare | Burletta, Canto, Ferro, Hairpin, Kettle, Renegade |
Fortuna | Epic | Anvil |
Sacrifice | Epic | Renegade |
Slipstream | Epic | Anvil, Il Toro, Rattler |
Serac | Legendary | Bobcat |
Bulwark | Legendary | Hullcracker |
Anvil owners have a wider choice than most: Cerulean, Fortuna and Slipstream all fit. Renegade users can pick Milky Terracotta or Sacrifice, and Bobcat gets both the budget Verdigris and the Legendary Serac.
Using the table is simple. First find your main weapon in the right-hand column and see how many options it has. If only one Stencil fits, the choice is made for you and the only question is whether you want to pay its price in parts. If there are several, compare rarity: the gap between an Uncommon and an Epic design is 5 parts per application, and those same parts could dress two more guns.
A word on weapons with a narrow choice. Hullcracker has only the Legendary Bulwark, so owners of such guns have little to choose from. Watch for updates: new designs may be added. Osprey, Bobcat, Vulcano, Hairpin and Canto, on the other hand, have several paths, including the cheap Verdigris, which makes a good first test.
If you play in a squad, agree on who applies which design: that way you avoid duplicate looks and do not spend parts on guns you plan to swap out in the next few raids.
Where to Get the Stencils Themselves
Eight of the 14 Stencils can be found in raids by opening containers on maps. Some designs sit in locked rooms: Cerulean, for example, comes from a key room in the Observatory on Pendola Pass. For places like that you will want the right keys, so learn in advance which doors hide which stashes.
Five Stencils come from the premium track of the Frozen Trail Reward Pass (the game calls it the Frozen Trail Pass). One more, Dragon's Breath, ships only in the Frozen Trail Collector Set, which makes it the only design fully locked behind a purchase. According to player reports, some Epic and Legendary designs also drop in raids, so check the pass rewards and map loot before spending anything.
You do not need to run specifically for Stencils: just check containers on the way, especially in locked rooms.
How to Farm Stencil Parts
Stencil Parts drop as random loot and are considered rare. Look for them in Commercial, Industrial and Residential points of interest (POIs) on any map. Players most often recommend Blue Gate, Buried City, Pendola Pass and Stella Montis, but there is no single best route, so go by your own experience.

Practical habits:
open every container in the right POI types, not only the obvious crates;
combine part hunting with normal raid goals such as quests, so a run never goes to waste;
keep inventory space free, and if the stash fills up, a stash expansion helps.
There is a paid route too: the Reward Pass hands out bundles of three Stencil Parts at certain tiers. Player reports place them at levels 11 and 47, so early leveling brings in part of the resource right away.
Where to Start and How Not to Waste Parts
First pick the gun you will use for weeks and check which Stencils fit it in the table above. Then decide whether you want a pricey design or a cheap one. For a first application, an Uncommon or Rare Stencil at 2-4 parts is a sensible test, and the preview shows how it looks.
Saving for a Legendary design only makes sense for a specific gun you will not part with. For backup weapons, plain looks are cheaper, because lose the gun and the invested parts vanish.
Finally, remember that cosmetics add nothing to stats. If you are still building a loadout or working through quests, leave the paint job for later, when your stash has enough Stencil Parts.
A handy routine: learn any Stencil you find right away so the stash menu shows your full set of options, collect parts during ordinary raids, and hold off on applying a design until you have the full amount. That way you do not choose blindly or burn resources on a look you will soon get tired of.