MW4 DMZ Loadouts: Budget, General and Extreme Threat Kits
One raid, three budgets
In Modern Warfare 4 DMZ, you pick gear to fit the job. A free run to learn Hajin's layout and a trip for loot in the most dangerous zones call for very different kits. Overspending is easy, and losing everything in the first fight is easier still.
It helps to think in three kits: budget, general and high-threat. Each has its own cost of loss, its own slots and its own purpose. Below, every slot is covered, followed by Gunsmith priorities for the main weapon classes.
The game launched in late October 2026, and Season 1 went live on November 6. It buffed several guns, including the Han 86, Axion and Kastov 762, so treat the weapon picks here as a starting point and check exact stats in game.
The budget kit: when losing it does not hurt
The budget kit is for scouting, simple orders and resource farming. It is one gun, light armor and bare minimum supplies. If you do not want to spend anything from your stash, the Free Loadout gives you a low-rarity weapon and basic supplies, and you keep it if you extract.
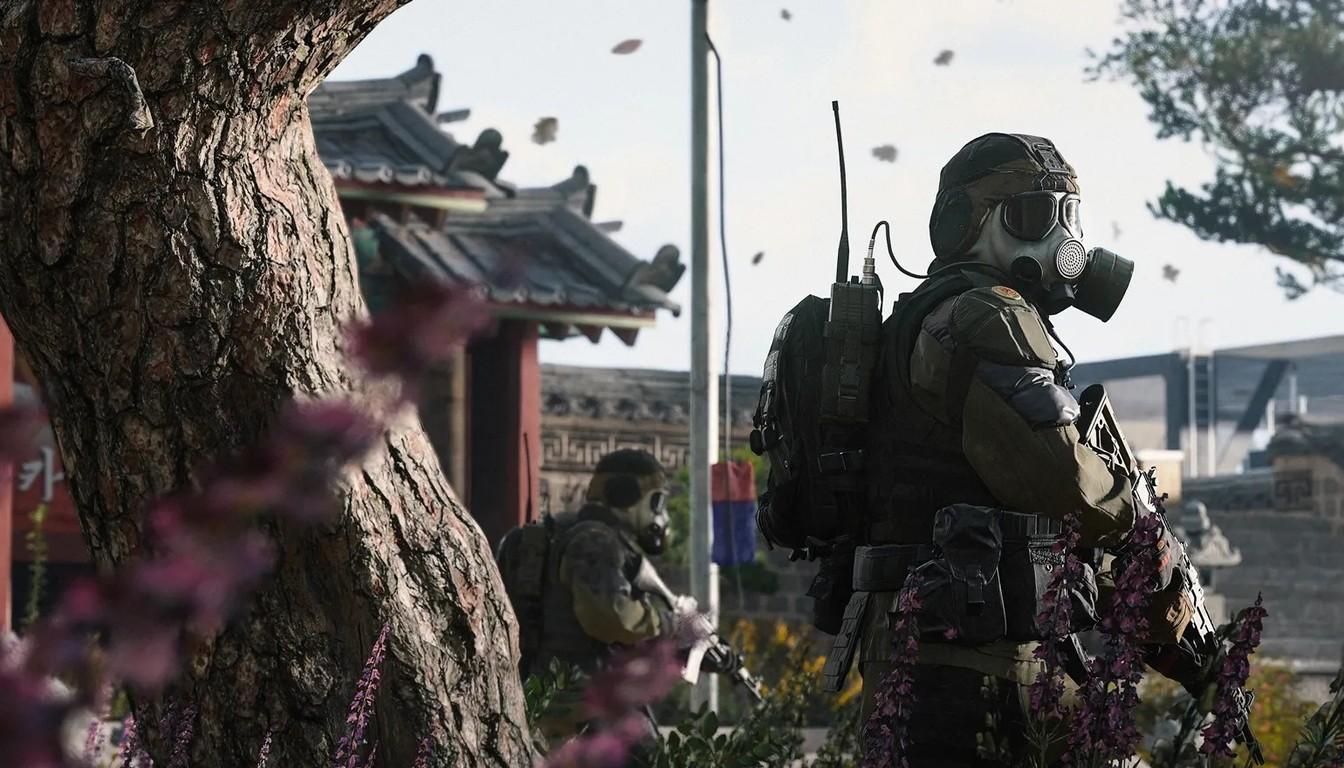
Primary: the Han 86 is currently ranked among the strongest assault rifle options and fits all three kits, so it is a sound place to start.
Secondary: skip it and pick one up in the raid. If you find one, the author likes a Warlord shotgun or an Oris.
Vest: one or two plates.
Backpack: small. It has no secure slot, and anything outside a secure slot is lost on a failed exfil.
Tactical: a smoke grenade. If you get hit first, it gives you a chance to reset the fight or leave.
Healing: a couple of bandages.
Grenades are common in DMZ, so skip them unless your stash is overflowing. The real minimum is one low-rarity gun, armor and healing.
The general kit for everyday raids
This is the everyday kit. It uses Rare and Epic gear: strong enough for Dynamic Ops and buildings inside heightened-danger zones, cheap enough that losing it does not sting. When you play solo, avoid stuffing the backpack with valuable loot.
Primary: Han 86, M4 or Cronen Squall. Assault rifles work for both building fights and mid range. An extended magazine helps noticeably when available.
Secondary: Vel 46, Warlord or Oris, depending on distance. Vel 46 or Warlord suit close to mid fights, Oris suits longer ones. These are the author's picks, so choose by the range you fight at.
Vest: two plates.
Backpack: Medium or higher. That is where secure slots begin.
Tactical: smoke, flashbang, stim or a snapshot to check for campers near exfils.
Field upgrade: DDOS jams enemy gadgets and drones, Portable Radar helps when things are suspiciously quiet.
Healing: bandages, plus a medkit if you plan on a high-threat zone. A Self-Revive Kit is useful but optional.
This kit fits almost any zone, but it is not built for bosses. Play carefully and do not shoot every enemy you see: the raid goal comes first, fights second. If you are heading to quieter areas, you can leave air recon at home.
The high-threat kit
Hajin has areas rated Extreme: the inner parts of the Nenshin Tech Complex in the Grid, the Air Base bunker, the Citadel of the 14th Political Prison and the Haneul Nuclear Reactor with its radiation. Threat level describes only AI danger, not other players. The longer you stay, the more enemies arrive, so your gear has to survive a drawn-out fight.
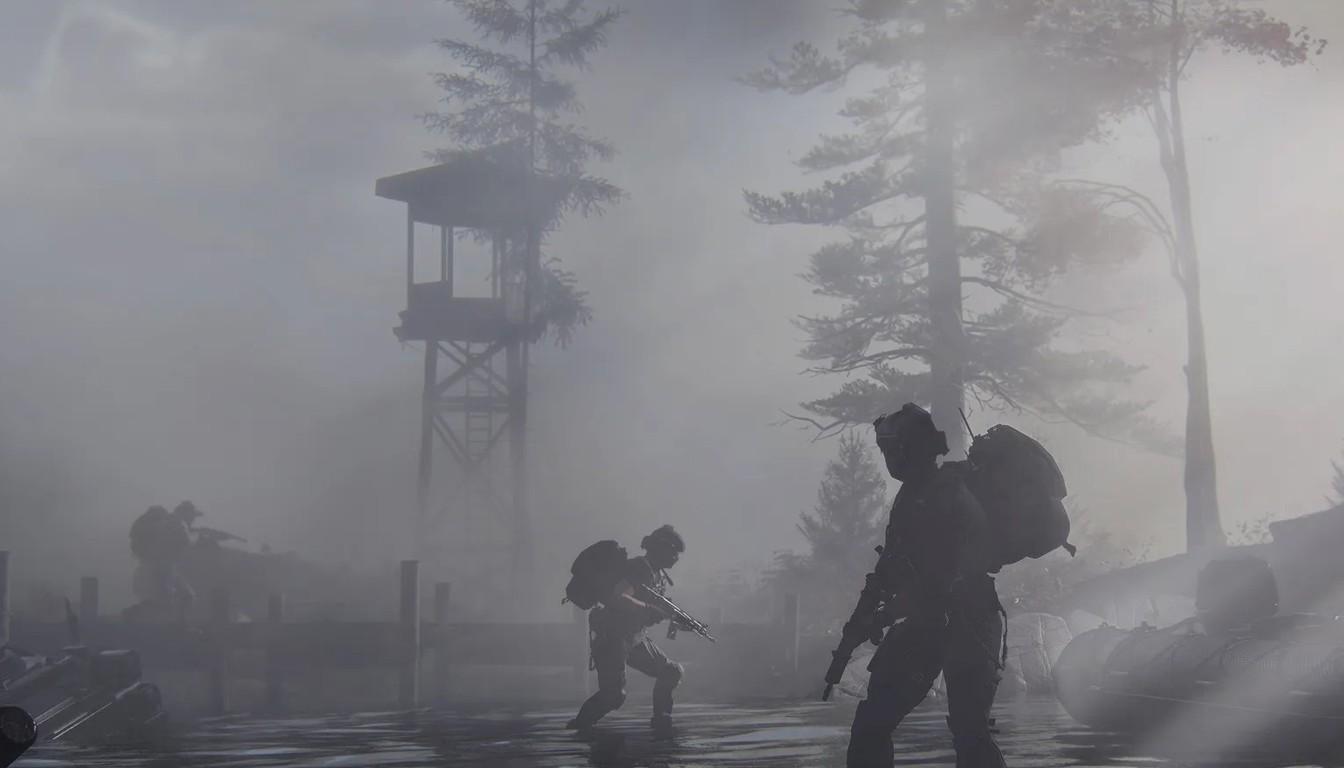
Primary: Han 86, Kastov 762 or M4 with a suppressor and the biggest magazine. Against armored enemies, magazine capacity matters.
Secondary: a PPSh-41 for close range or the Signal 50 sniper rifle for distance, best played from cover.
Vest: three plates, since they burn away fast.
Backpack: the higher the rarity and the more secure slots, the better. If you are after a single item, Medium will do.
Headgear: gas mask, NVGs or a hazmat suit, matched to the area. Radiation protection matters at the Reactor specifically.
Lethal and tactical: C4 for dealing with lieutenants and bosses, smoke to break line of sight.
Healing: at least two medkits on a solo raid, plus a self-revive.
Before a serious run, drop in once with the Free Loadout and look around. You risk nothing, and rare finds do happen.
Armor and backpacks: what actually survives
The vest sets how many plates you carry, and the plates themselves are consumed. That is why serious zones call for three plates, while two are enough for regular raids. Check the exact slot count in the interface, and keep one rule in mind: secure slots come with the Medium Backpack and above.
A minimal infil kit is a vest, a backpack, a weapon and a medkit. You can already play with that base, and everything above it depends on the goal of the raid.
Gunsmith: what to put on each class
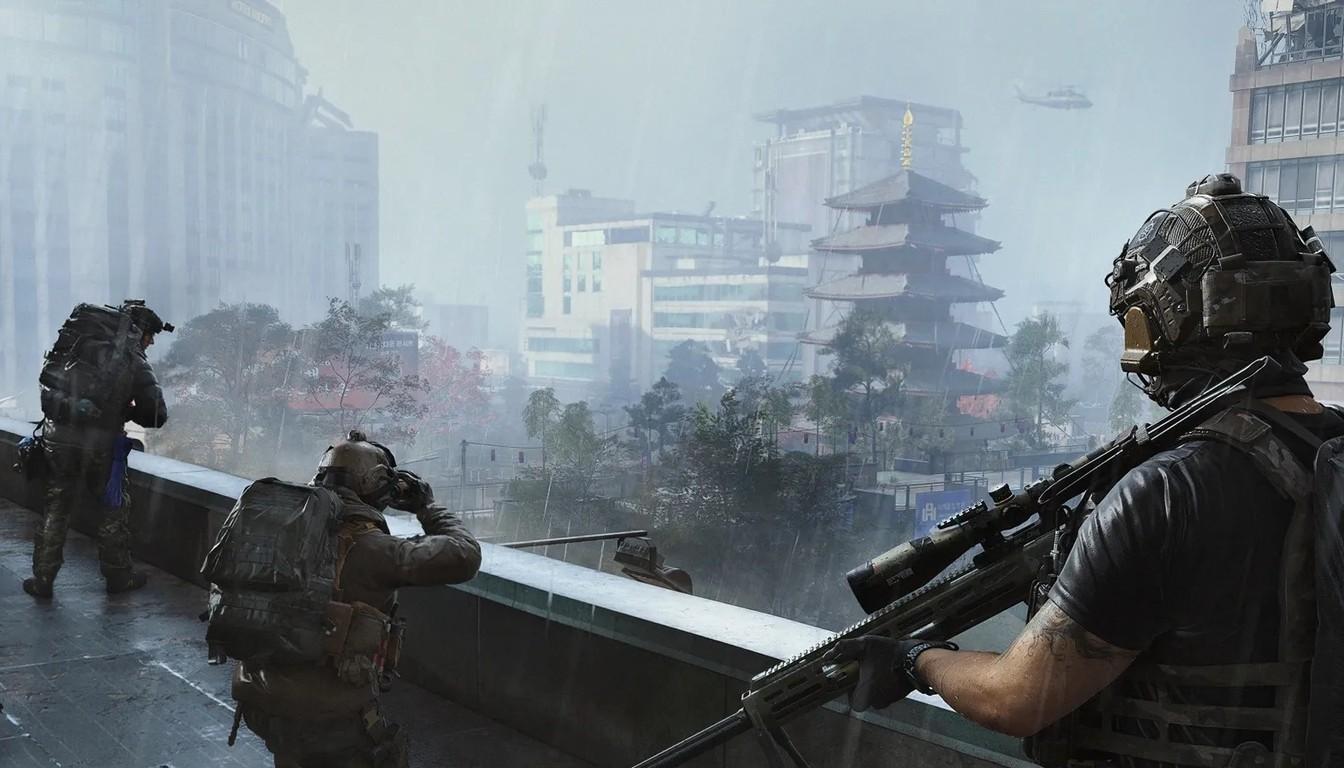
Raise magazine size first. Then add a suppressor or recoil control, followed by barrel, stock and underbarrel. Details depend on the weapon class, and the build for a specific gun is worth checking in game: these are rules of thumb, not hard numbers.
Class | What to look for | Note |
|---|---|---|
Assault rifles | Suppressor or recoil control, low-magnification optic, biggest magazine | Keep the build well-rounded: the class is strong because it is versatile |
SMGs | Suppressor, fast aim, extended magazine | Usually no optic |
Shotguns | Muzzle for a tighter spread, extended magazine | Close-range tools |
LMGs | Recoil control, 2-4x optic | Better against helicopters and AI crowds than against players |
Marksman rifles | Bullet velocity, aiming stability | Roughly 50-100 meters |
Sniper rifles | Bullet velocity, high magnification | Mid to very long range |
Apex attachments are fine where they genuinely improve a build, but most guns do without them. In Call of Duty, attachments generally unlock as a weapon levels up, so weapon leveling directly affects which builds you can run.
Supplies and staying hidden
Medkits and Self-Revive Kits remain the backbone of DMZ survival. The November 2 update changed several systems: UAV Towers are now randomized and cut by 40%, the Sedative Inhaler lasts 120 seconds instead of 60, but it does not hide you from towers activated by the UAV Upgrade trait. That matters if you planned to slip through a zone unseen.
Among field upgrades, MW4 has Portable Radar and DDOS: a personal radar ping and a jammer for enemy electronics. Air recon is a killstreak, not a field upgrade.
Choosing a kit for the raid
Ask what you want to carry out. Scouting and simple orders fit the budget kit. Dynamic Ops, buildings in dangerous zones and mid-value loot fit the general kit. The high-threat kit makes sense when you hold a key or a specific target and accept losing expensive gear.
For longer-term play, keep a separate operator for each type of raid and level their trees differently. The Han 86 works in any of the three kits, so start there.
If you want to knock out other Call of Duty goals alongside, DVING offers services for leveling, prestige and the campaign, as well as Nuke and the Mark of the Survivor.