Totenreich Main Quest: Full Easter Egg Walkthrough
What to Know Before You Start
Totenreich is a round-based Zombies map for Black Ops 7. It launched on April 30, 2026, with Season 3 Reloaded. The map takes place in Eidskallen, a Norwegian fishing village pulled into the Dark Aether. In the story, the Twins send the crew here after the events of Paradox Junction, and the island once housed a Group 935 research facility. For more of the series lore, check out the Black Ops 7 campaign.
The Main Quest breaks into seven big stages: Pack-a-Punch, Jotunn Star, Wundersignal, Atomkraft Core, the Dravakar Shard, the Sunstone, and the final fight. The opening objectives are marked on screen, and in the standard mode you are on your own after that. Plenty of details change from match to match, including codes, crate IDs, and the ways to get uranium.
Season 4 (June 4, 2026) added Directed Mode to Totenreich, which walks you through each stage with on-screen hints. The steps below follow the classic order, so they work for a normal run and as a cross-check for the in-game prompts. The unique Calling Card once given for finishing the quest before Directed Mode arrived can no longer be earned that way.
Stage 1: Power, Tyr, and Pack-a-Punch
After the intro cutscene you spawn at Eidskallen Landing on Fishery Island. The ziplines have no power, so your first job is to restore it. Each door costs 1250 Essence, so bank points early.
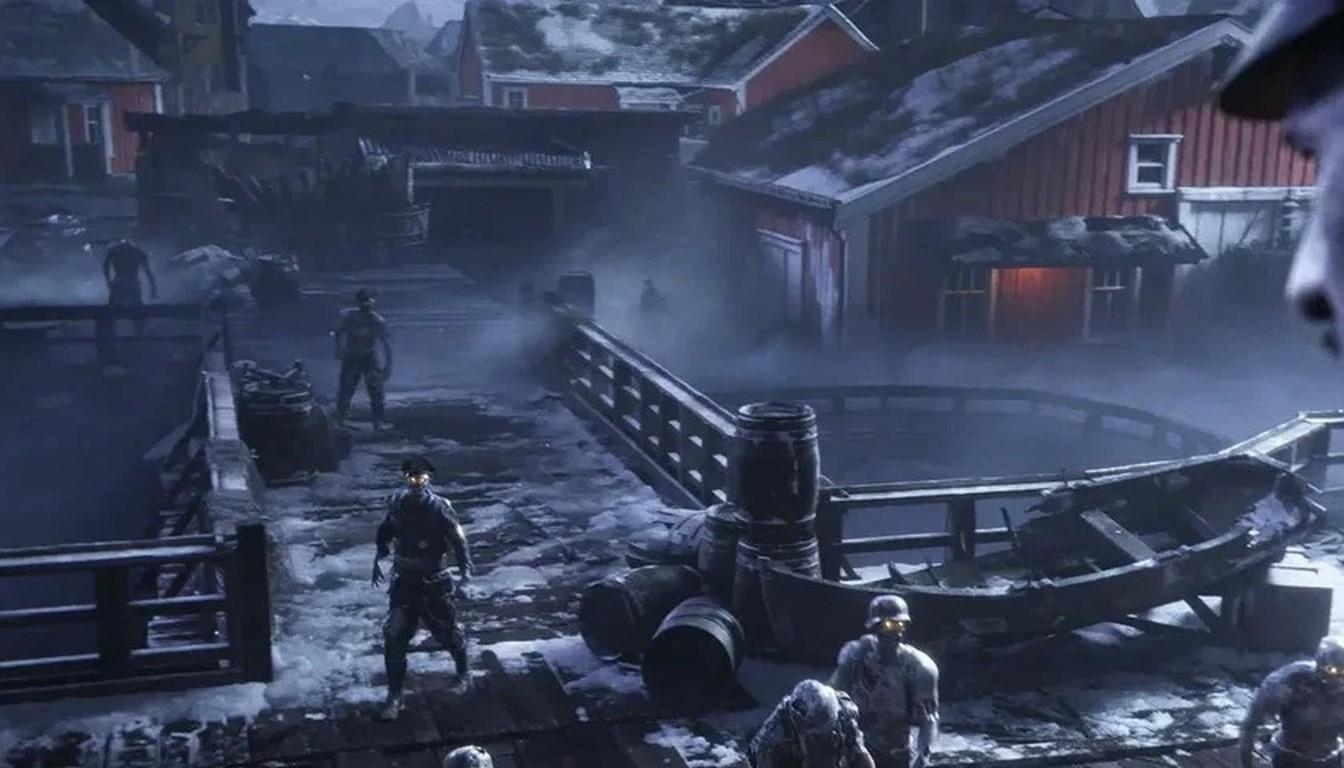
The "Repair Broken Power Lines" objective sends you to two boxes, one in the Core Foundry and one in Skallen Market. After the second repair, current runs along the lines and the new goal is "Enter Tyr's Head." Inside is a computer that starts a 1-minute Ejection timer and lists three Group 935 systems: Glocke Drop, Wundersignal, and Atomkraft. Those are the three branches of the quest. The number on the Nixie tubes in that room does not matter for the Main Quest.
Leave through any of the four teleporters.
Grab the Admin keycard from the Dry Dock.
Open the admin door in the War Factory (Core Foundry) and take the Glocke Drop Controller, which works like a streak.
Return to Fishery Island, find the pulsing energy on the ground, and use the controller to start the Tyr sync, which takes about a minute.
When the sync finishes, a Glocke Drop falls from the sky. That is your Pack-a-Punch machine, and you can call it anywhere on the map as long as you carry the controller.
Stage 2: Jotunn Star, the Chain, the Lantern, and the Constellations
From here the markers disappear. Start at the Dry Dock: in the Titan Crane room, press "Engage" so the crane lowers a wall. Wall-jump off it and grab the Chain Links at the tip of the ship. Holding the interact button during the jump helps.
Next, head to Storm Bridge near Tyr's Foot in the north. A crate on the truck holds cans of seal meat. Take a can (guides call it Chilly Chunks) to Skallen Market and put it on the trolley with the other cans. The Twins will comment about Frosty. Now wait for a special round with ice zombies. In the second one, a zombie bear called Varkrith spawns as an HVT target, and it drops the Lantern.
The Chain Links open the double doors in the Burial Grounds behind the Church. Place the Lantern on the table inside to start the constellation puzzle. You need to match each symbol on the table with the constellation projected on the walls. Stand facing the table with the stairs behind you and go in this order:
left symbol;
right symbol;
back symbol;
front symbol.
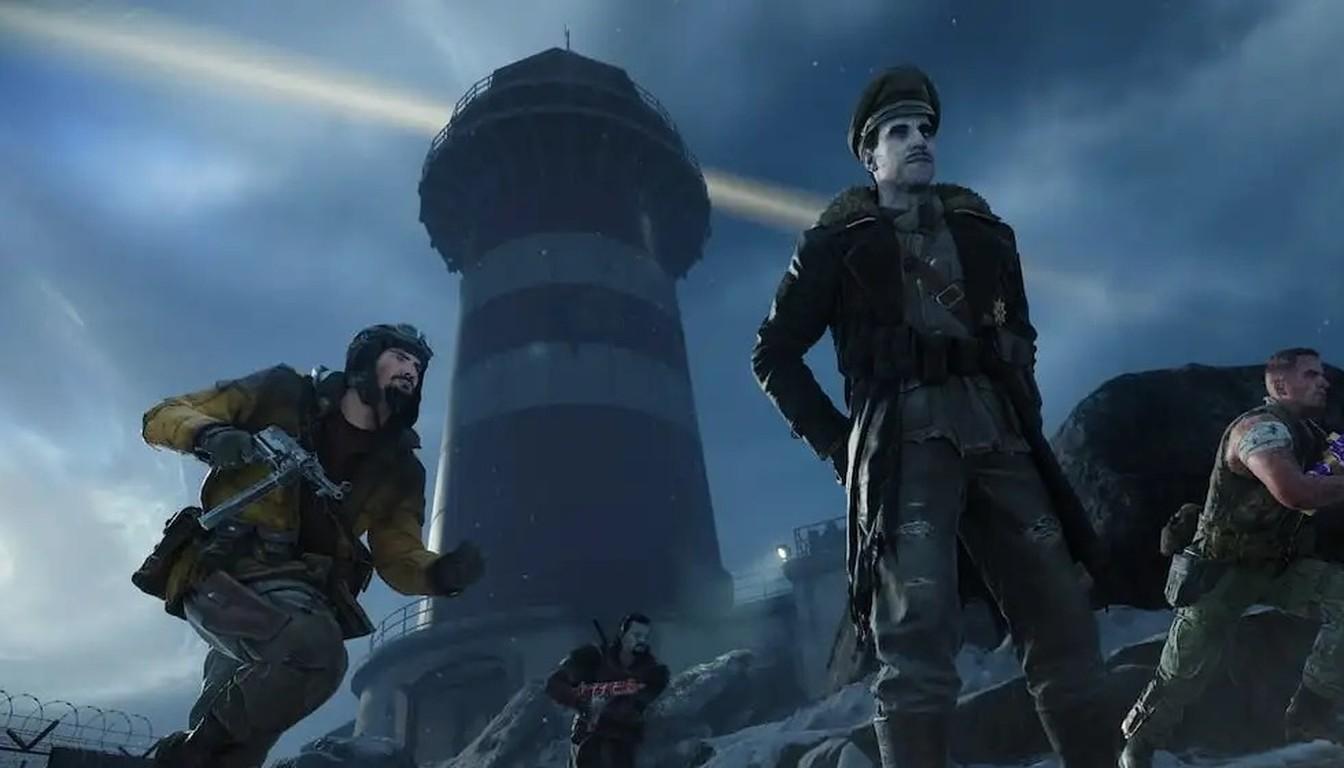
If you get one wrong, the symbols return to the walls, so interact with the table and start over. After all four match, Astrid appears above the shrine. Follow her: she stops at several spots to run soul box events, and you kill zombies near her until the meter fills. If you skip feeding her souls, she stalls. Next she opens a floating parkour route toward the Lighthouse. Skip the zipline, move along the platforms and rocks, and keep an escape option ready, since zombies love to block jumps. At the top of the Lighthouse, take the Jotunn Star from the table.
The Jotunn Star is the map's Wonder Weapon. It has a melee attack and a charged ranged attack, and you charge it by killing zombies in melee first. According to player reports, the Lantern protects you from freezing in the later stages. Pack-a-Punch the weapon as soon as you can.
Stage 3: Wundersignal
Climb to the second floor of the Lighthouse and pick up the crowbar, which starts the Wundersignal branch. Then visit the War Factory admin room and read the cargo manifest. The row with the ammo icon shows the ID of the crate that holds the Flak Gun Round. The candidates are the War Factory, Core Foundry, Dry Dock, and Fjord Road. The right crate can change between matches, so check the manifest. Opening the wrong one can release gas or an EMP.
From there:
Take the round to the Flak Cannon on Beacon Island near the Lighthouse, load it, and melee the cannon with the Jotunn Star.
The shot hits the robot's head near the spawn. Search the damaged section: first you get salvage, then a second interaction gives the Transmitter.
Install the Transmitter on the sparking panel inside Tyr's Head.
Now watch the two white lights in the head. The left and right lights flash two number pairs, and the numbers are new every match. Then go to the Core Foundry, where player reports say a Molotov melts the frozen rope, and climb up to the oscilloscope console. Enter the first pair on the left and right dials, wait for the console to come back online, and enter the second pair. Sometimes the second input only works in the next round. The reward is a box with the Wunderbarrage Controller, which you need for Atomkraft.
Stage 4: The Atomkraft Core and Three Uranium Pieces
The Atomkraft Core needs three pieces of uranium. There are three methods, and they can vary per match.
Method | What to do |
|---|---|
Fishing | With the Jotunn Star in hand, look for a green glow in the water and catch the radioactive fish. An irradiated Ravager (HVT) appears, and uranium drops when it dies. |
RC-XD | In the Core Foundry, shoot the grate, drive the car down the hidden path, and detonate it by the barrels. This opens a secret Group 935 lab under Fishery Island. |
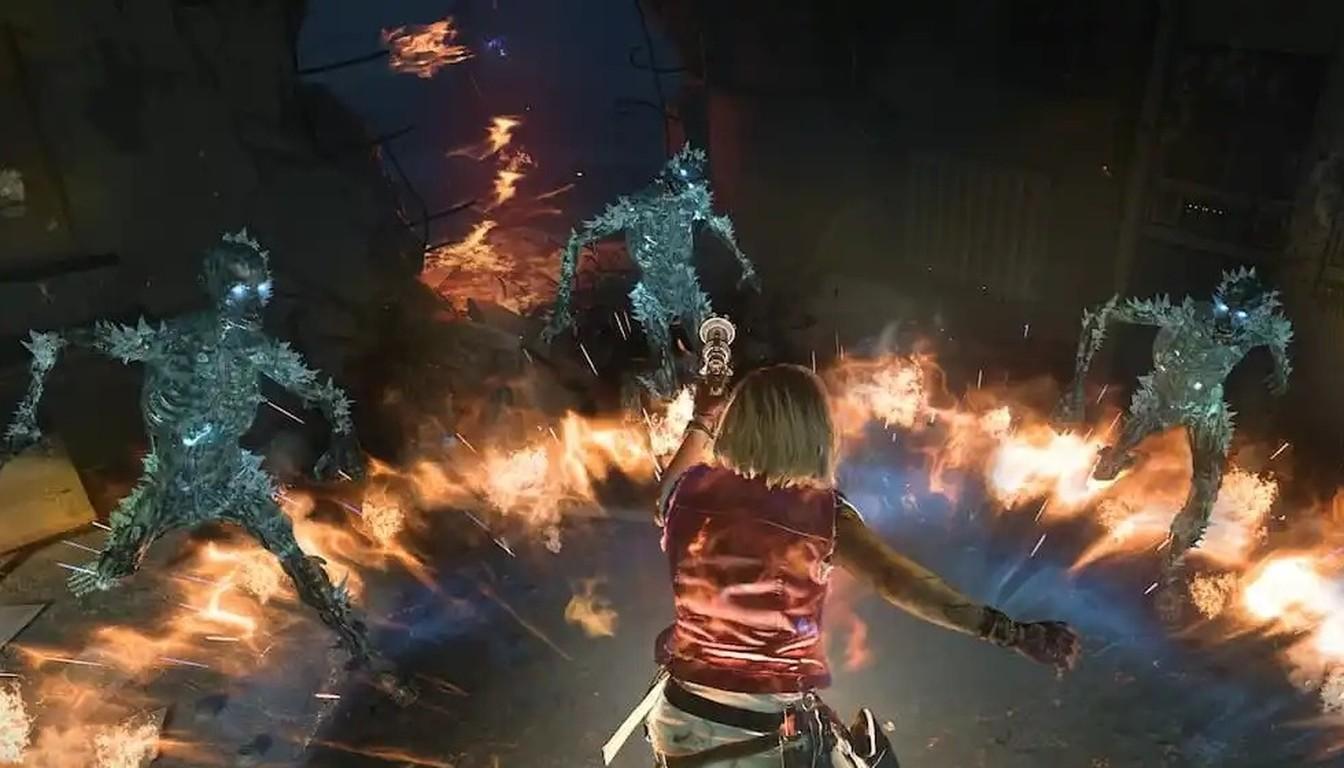
Glocke Drop | Call the streak near a horde. Shoot only the floating orange zombies. When every light on the device turns green, it drops rewards, including uranium. |
In the lab, player reports say you convert the numbers marked with radiation symbols into letters (1 = A, 2 = B, 3 = C, 4 = D, 5 = E), put the two matching head jars on the machine, and get purple liquid. Purple means the pair is right, and blue means a mistake. The purple jar and the crab claw make a Necro Spike, which works as a lockpick on the sealed cell: rotate it until the white outline shows, hold, and repeat for all three positions.
With three pieces in hand, use the Strike (Wunderbarrage) Controller near the blocked staircase by the Dry Dock crafting table. The debris clears and the Machine Workshop opens. Place the uranium in the claw machine and solve the rod puzzle. Connected rods add more charge, isolated rods add less, and too many connected rods overload the meter. Keep the arrow in the green zone. A failure means waiting until the next round, and a success drops the Atomkraft Core.
Stage 5: Charging the Core and the Dravakar Shard
Carry the core on foot to Eidskallen Landing. You cannot sprint with it, and a zipline or Tyr's Head makes you drop it. Put it on the box next to Quick Revive and switch on the generator in the nearby shack. The charge stalls several times, so you will return to the generator and restart it while defending the core.
Then carry the charged core to Storm Bridge. Your health drains slowly on the way, and ice obstacles rise from the ground. You can break some with the Jotunn Star or walk around them. Place the core on the black barrel with a yellow stripe in the middle of the bridge. A scene plays where the robot fights Dravakar, and afterward the Dravakar Shard lies on the left side of the bridge near Tyr's Foot.
Stage 6: The Sunstone and the Rune Puzzle
Take the shard to the longhouse on the right side of the map (its name appears as both Bloodheim Hall and Bloodhelm Hall) and set it on the spit over the fire. Charge the Jotunn Star with melee kills, then hit the shard with the ranged attack to light the blue flame. Next you need a Disciple Injection streak. There is a free one in the Church, and you can craft another if it is used. Grab zombies and throw them into the fire until the lockdown begins. You do not have to wait several rounds. During the lockdown a Necropincer HVT spawns, and after it dies the Sunstone lies near the fire pit. It may not drop at the boss's feet, so look around.
Take the stone to the Church, put it on the podium, and hit it with the Jotunn Star. A rune dial appears above the roof with three arrows: one line means the first symbol, two lines the second, three lines the third. Bonfires with matching symbols light up around the map, such as the Burial Grounds, Eidskallen Square, the Lighthouse area, the spawn, and the bridge. Hit them with charged shots in the right order. A wrong shot resets the dial. When the arrows point one way, the boss fight is open.
The Dravakar Boss Fight
Before you enter Tyr's Head, bring an accurate ranged weapon, full armor, a Pack-a-Punched Jotunn Star, and useful GobbleGums. If your main gun is still weak, weapon leveling is worth sorting out first. The fight starts at the front panel inside the robot's head.
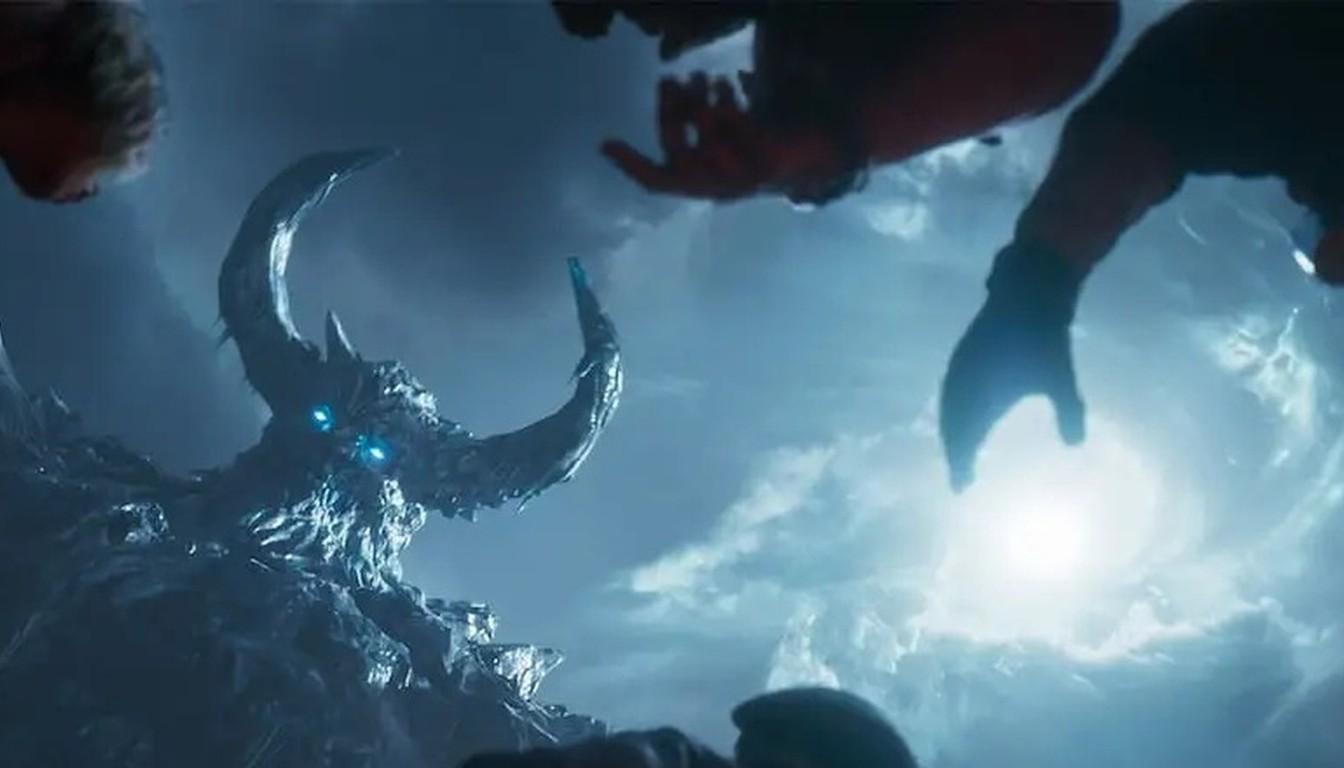
The phases repeat. In the first, shoot the red weak spots on Dravakar, leave frozen zones, and hide behind pillars and boulders when rocks or ice meteors fly. Then the boss turns immune and floating Gjallarfrost ice heads circle the arena. Hit each head in the mouth with a charged Jotunn Star shot. Interacting with the middle of an arena trap creates a zone where your ranged attacks are unlimited. Finish a fallen head with your guns, and it can drop ammo and armor, which are scarce in this fight.
Later phases bring more heads, so break them one by one and do not let them pile up. According to player reports, holding out the Lantern protects you and nearby teammates from freezing. In the final phase the face and eyes are the weak spots, and rock patterns sweep the middle of the arena: S-shapes, V-shapes, arrows, and low horizontal lines you duck under by going prone. In co-op, Near-Death Experience is a big help, and in solo a Quick Revive setup lets you self-revive by shooting the boss. After enough damage the robot returns and finishes Dravakar, and the cutscene completes the quest.
Rewards and What Comes Next
Completing the quest earns a Calling Card, a large chunk of XP, and the Dark Ops achievement. Player reports also mention an "Ambition" Richtofen Operator skin. Camos are not among the confirmed rewards, so do not count on them. The boss XP goes toward your overall leveling, and once you hit the cap, prestige is the next step.
If you collect Zombies camos, look at the Arachnida Zombie Camo, Bioluminescent Camo, Borealis Camo, and Serpentinite Zombie Camo. These are separate goals and are not tied to the Main Quest.
Once the quest is done, the island still has more to offer: Season 5 added an Eidskallen Lighthouse Survival mode on the same location.