How to Beat Argos in Destiny 2 Pantheon 2.0
What to Know Before You Enter
Argos, Planetary Core opens The Pantheon: Calus Resplendent. Pantheon 2.0 launched on June 9, 2026 with the final update, and the Calus Resplendent order is fixed: Argos first, then Gahlran, then Calus himself. The boss comes from the Eater of Worlds raid lair.
The fight runs on one loop. You collect Vex Craniums, charge them on platforms, match the combination to the orbs on the shield, break the barrier and damage the exposed boss. Every so often Argos starts a wipe mechanic, and the whole team switches to his weak points.
Players generally do not rank this fight among the hardest, and a shaky cycle can often be recovered if the team regroups quickly. Three things do punish sloppy play, though: the cage from the prism, a stack of missiles and the Gravity Smasher timer. Here they are in order.
Team and Preparation
Pantheon is a six-player activity with no matchmaking, so you build the squad through Fireteam Finder or an outside LFG tool. Everyone is underleveled against the enemies, so gear alone will not carry the fight.
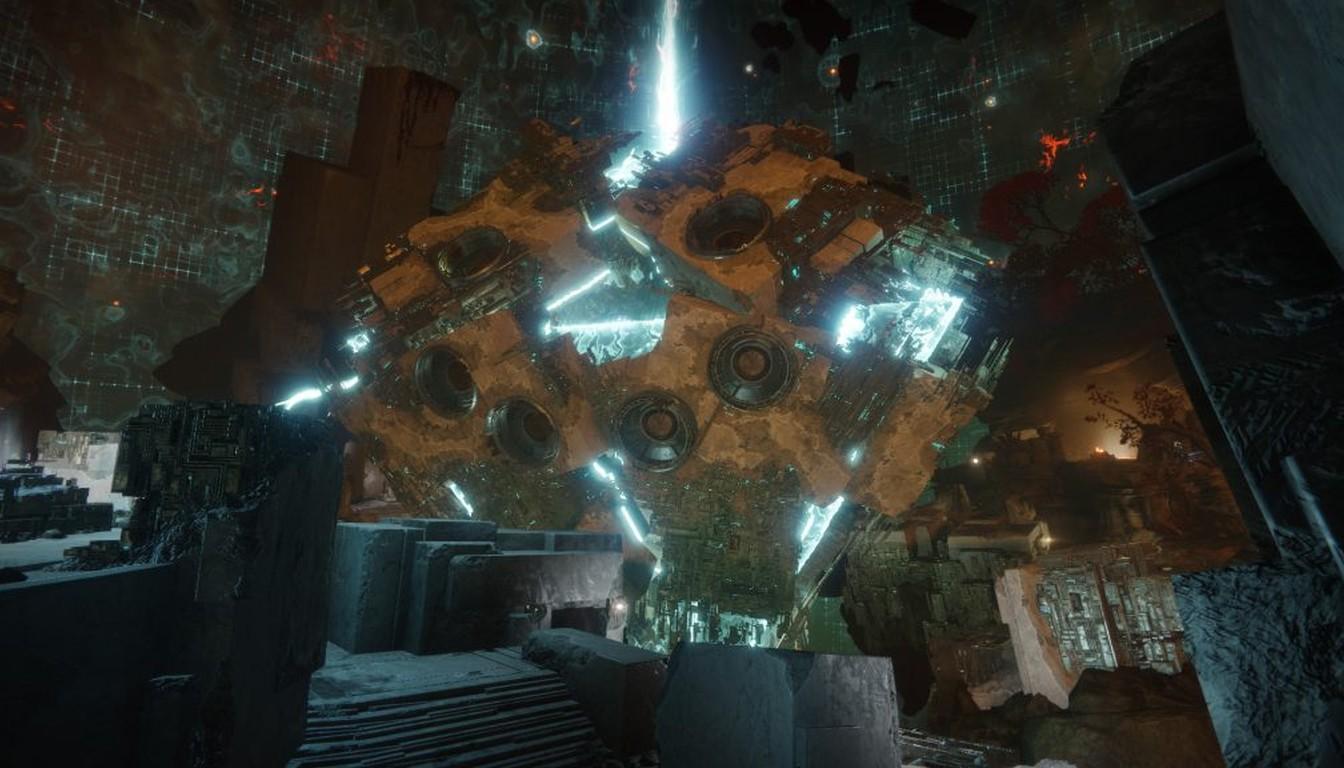
The arena splits into three parts around the central barrier, and each has a charging station. Putting a pair on every station makes sense: one player guards the platform, the other runs craniums. Pantheon guides recommend exactly three guards and three runners. That is a recommendation, not a game rule, but it cuts down on confusion.
Weapons. Bring something with area damage for the adds near the platforms and for shooting down missiles, plus a strong weapon for the damage phase.
Heavy weapon. For main damage, guides suggest Truth or a heavy sniper together with Banner Shield or Well of Radiance.
Difficulty. Standard difficulty gives weekly Tier 5 drops without Feats, while Custom turns Feats on.
Charging Craniums on the Platforms
Vex Craniums appear around the arena, and you charge them at the stations with three elements: Arc, Solar and Void. While a cranium charges, enemies keep coming at the platform, so the guard has to stay on post.
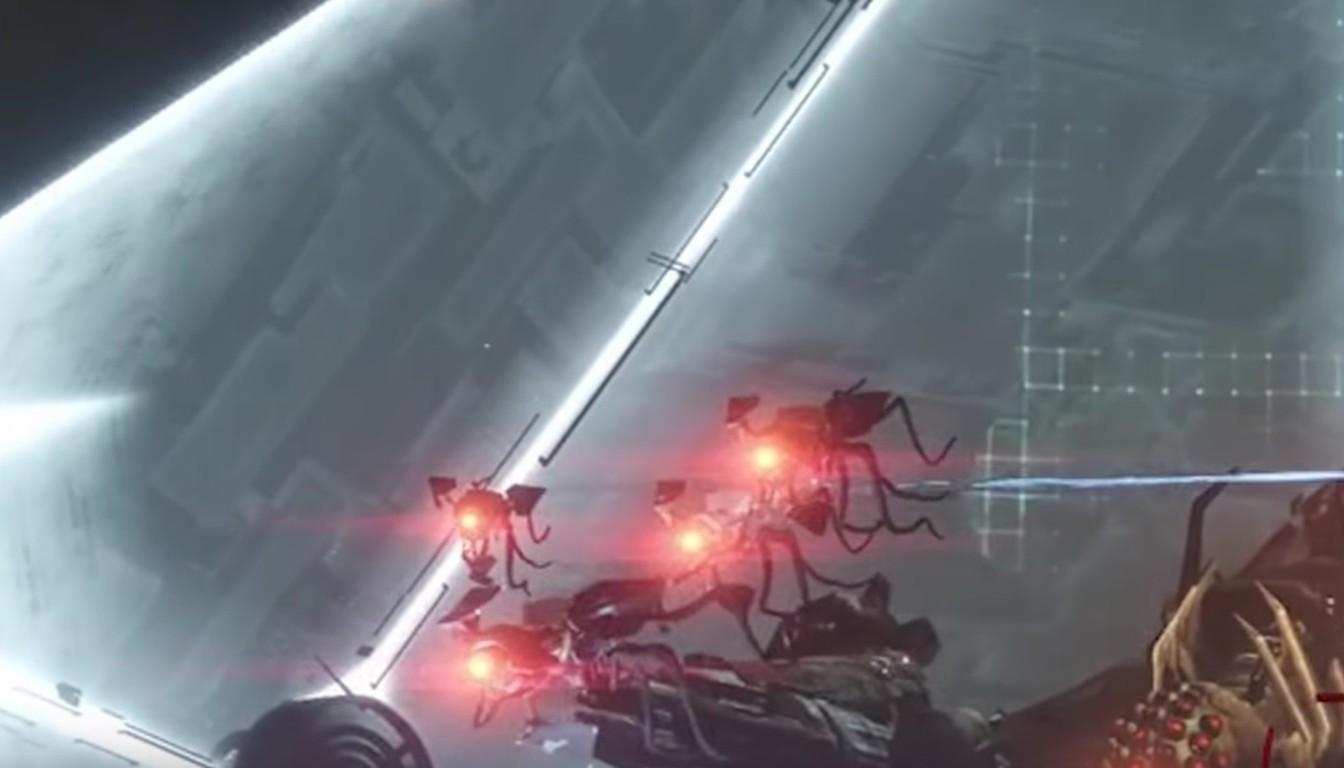
One guide suggests not waiting for each cranium to finish. Keep sending craniums to the station one after another without pausing. Downtime shrinks and your stock of elements grows, which helps when the shield asks for two of the same type.
The runner should know which combination is needed next, and the guard should not wander off to help carry. When roles blur, the platform is left uncovered and charging stalls.
The Shield and Its Three Orbs
Argos hides behind a huge prismatic barrier in the center. Only one side is active at a time, and three elemental orbs circle on it. Each orb is broken by a cranium of the matching element, so three players take the right charged craniums and fire beams at the orbs.
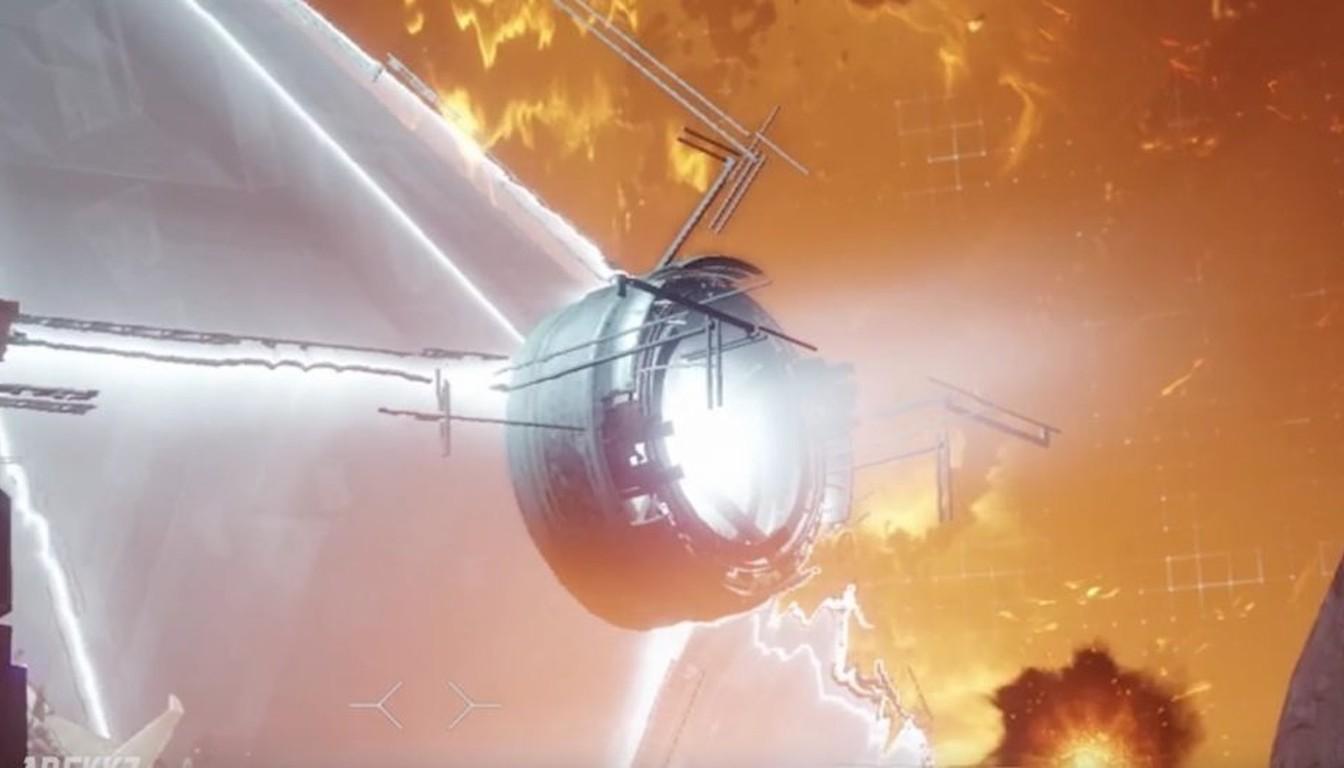
Break the orbs at the same moment. A synced shot grants a small damage bonus that compounds over three cycles, so a simple countdown on voice chat pays for itself.
Once the barrier drops, the damage window opens. If you have enough charged craniums, you can drop the shield again right after it returns and keep dealing damage. It is optional and needs a healthy stock.
Damage Phase: Detainment Prism and Missiles
With the shield down, Argos does not stand still. He throws a Detainment Prism: a net grabs players and carries them off the main platform. Stay in the Force Cage for 10 seconds and you die. Any teammate can free you by shooting the prism.
To keep one cast from catching half the team, do not stack up. Keep your distance and move sideways, out of the prism's path.
The second threat is homing Supplicant missiles. Players report that a stack of missiles landing on one target means a wipe. The missiles can be shot down in flight, and Arc weapons with area damage, such as Thunderlord or Riskrunner, are a common pick for that.
Spare craniums are not wasted in this phase either. If you are not planning a back-to-back damage phase, you can pick them up and fire them at the boss for extra damage. One guide describes this trick, so the first attempts are a good time to see how much it helps your team.
Gravity Smasher
When the shield cycle ends, Argos begins charging a bomb, the Gravity Smasher. The in-game callout reads "Void energy rips the air." The charge lasts 30 seconds, then a Void blast kills everyone.
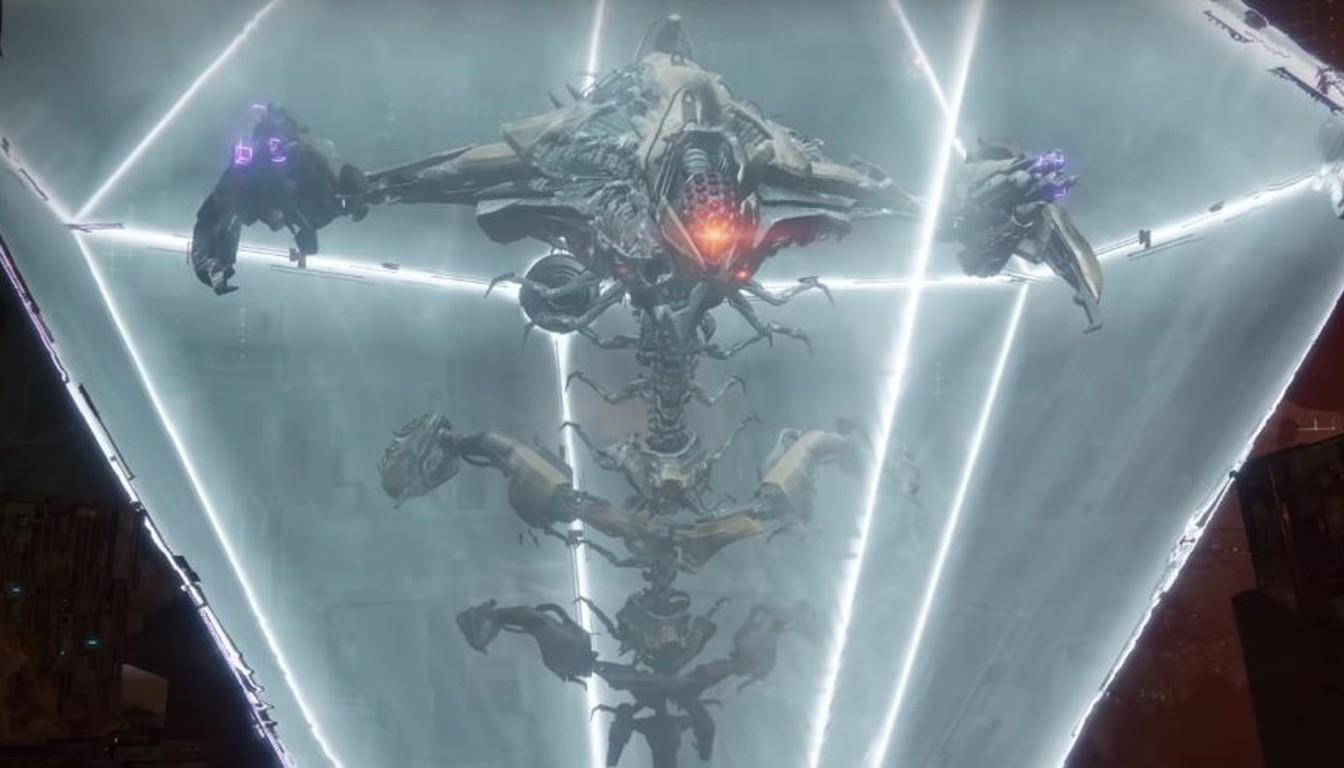
You stop the bomb by destroying the boss's weak points. There are six, and they light up in pairs: middle arms, head and back. One pair is active per cycle. One guide advises splitting 3 + 3 so each trio handles the points on its own side. The platforms around the boss are the easiest way to reach them.
Weak points do not regenerate, and players name about three cycles as the practical limit, so missing is costly. A broken pair deals a little damage to the boss, and then you return to the craniums.
Mechanics Cheat Sheet
Mechanic | How to spot it | What to do |
|---|---|---|
Shield orbs | Three elemental orbs on the active side | Three players with matching craniums fire together |
Detainment Prism | A net carries a player off the main platform | A teammate shoots the prism before 10 seconds pass |
Supplicant missiles | Homing projectiles fly toward the team | Shoot them down with area damage weapons |
Gravity Smasher | The "Void energy rips the air" callout | Break a pair of weak points within 30 seconds |
Keep this table on a second screen until the team knows the order by heart.
Rewards and What to Do Next
Pantheon 2.0 offers new armor sets, reprised weapons, holofoil variants, Triumph emblems, exotic cosmetics and a title. The Godsbane title is tied to Triumphs, and the Calus Conquered emblem comes from a Resplendent victory. Do not expect drops dedicated to Argos alone.
If you cannot assemble six, you can order a run: DVING offers a raids bundle and separate services for the next bosses, such as The Pantheon: Morgeth Surpassing and The Pantheon: Insurrection Prime Revolutionary.
While the squad hunts for a sixth, you can clear neighboring content such as the Equilibrium dungeon or getting Heirloom. If you need a weapon for main damage, take a look at the exotic sniper Whisper of the Worm.