Destiny 2: How to Beat Gahlran in Pantheon 2.0
The Final Boss of Crown of Sorrow in Pantheon 2.0
Gahlran the Sorrow-Bearer is the final boss of the Crown of Sorrow raid, and in Pantheon 2.0 he is part of the The Pantheon: Calus Resplendent trial alongside Argos and Emperor Calus. The mode launched on June 9, 2026 in Update 9.7.0.
The whole encounter hangs on one buff, Witch's Blessing, and on six players covering three arenas at once. A pair that misses a swap loses a player, and an ignored crystal can reportedly end in a wipe. Below is the fight stage by stage, with tips that save attempts.
Bring a full six: Pantheon has no matchmaking, so build the team through Fireteam Finder or an LFG tool. You are underleveled against enemies here, so a rehearsed plan matters more than a build.
Positions: Three Pairs on Three Arenas
After someone shoots Gahlran, he creates three copies and a Witch's Blessing pool of energy appears near the middle of the arena. Split into three pairs; each pair takes one section of the map and the Gahlran copy in it.
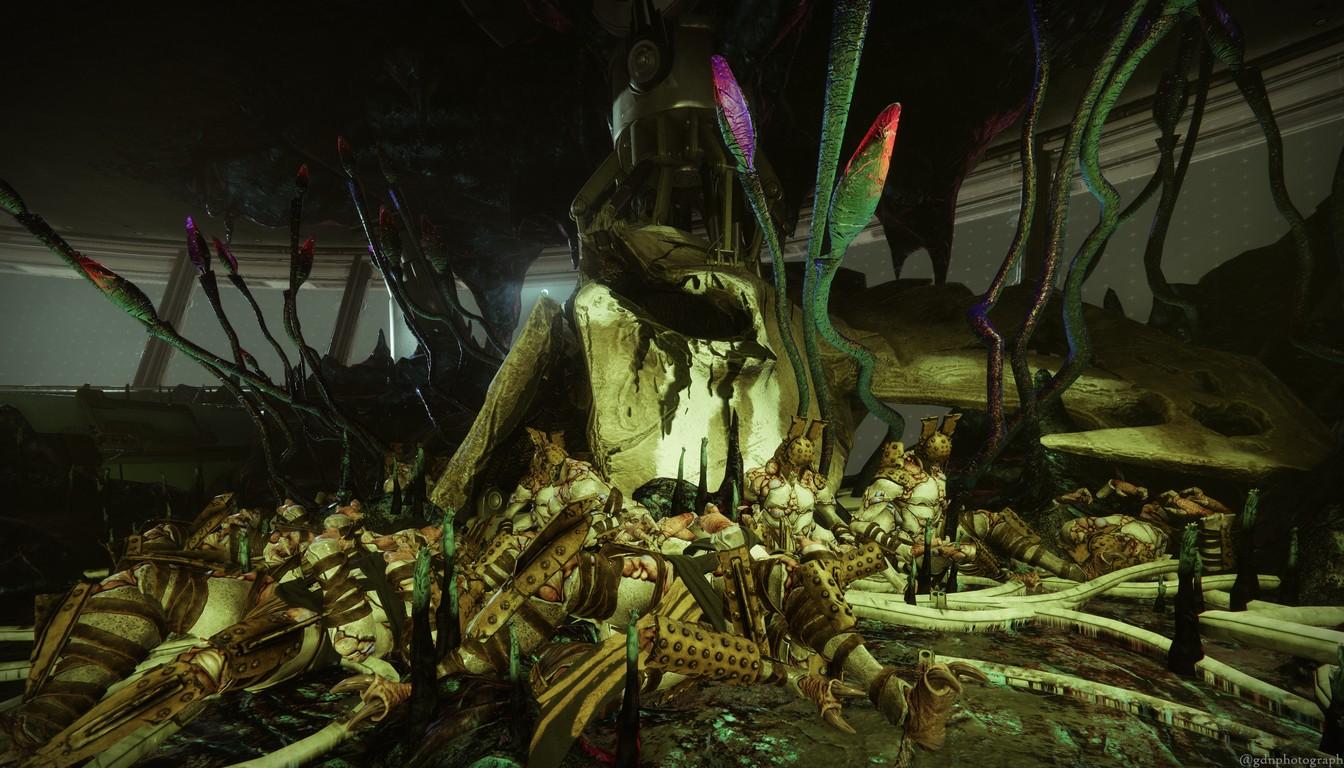
Splitting into pairs is a guide recommendation rather than a game rule, but without it the fight turns to chaos. In each pair one player takes the blessing and the other stays unblessed. That way every section has one blessed and one normal player, which crystals and Deceptions require.
Agree on three things before the pull:
who is in which pair and on which side;
who starts with the buff;
who calls the swap when the timer runs low.
Witch's Blessing and Vessel Swaps
The blessing lasts one minute. When the timer hits zero, the holder dies, so the swap has to be called early. Players suggest 10-15 seconds before expiry as the safe window, enough time to find your bearings and land the shot.
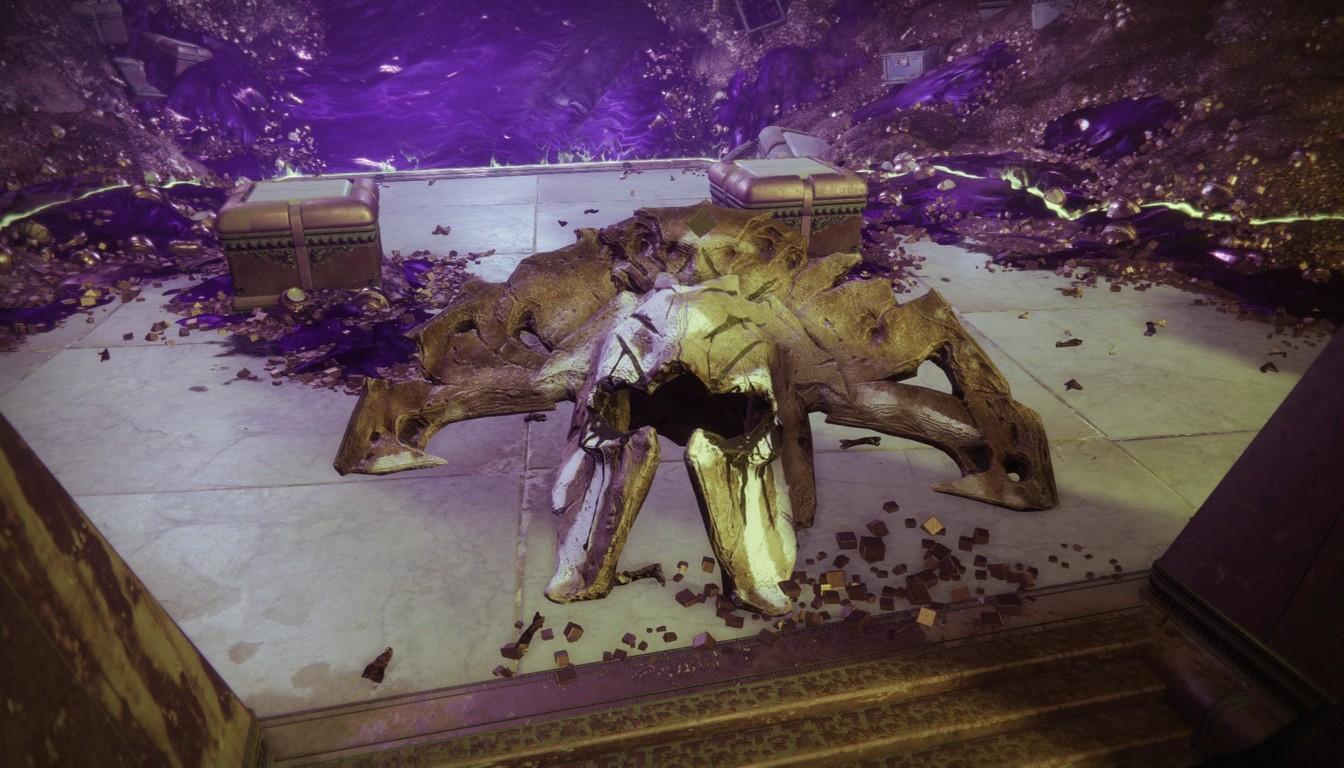
The handoff goes through a Witch's Vessel. Each section has its own Vessel aura, and it wakes up once the waves are cleared. The player who needs the buff stands in the aura while the holder shoots the vessel crystal. The holder does not have to stand inside: shooting from outside the aura works, which saves you when seconds are left. According to player reports, the vessels sit around the central Flame Pillar, and each pair sticks to the one on its right to avoid overlap.
A practical rule: swap on the clock, not when it happens to be convenient. If one player forgets the timer, the partner has to say so out loud.
Enemy Waves and Crystals
Waves spawn on every side, and damage is strictly split. Revenant Hive Knights and Acolytes can only be hurt by the blessing holder; all other enemies only take damage from the unblessed player. If an enemy ignores your shots, it belongs to your partner.
The other job is shielded crystals. Guides say both players must break the shield and finish the crystal together, one with the buff and one without. Crystals spawn clockwise, so after finishing yours, warn the pair on your right. A missed crystal reportedly leads to a wipe, so drop everything else.
Your pair's job at this stage:
clear your section;
swap the blessing on time;
break crystals the moment they appear.
There are several waves, three according to player counts, and then the Deception phase begins.
Gahlran's Deception: Shield, Stun, Finish
A Deception is a smaller, shielded copy of Gahlran. Each pair has to deal with one. First shoot it to draw its attention, then lead it to the back of your section, near your Gahlran copy.
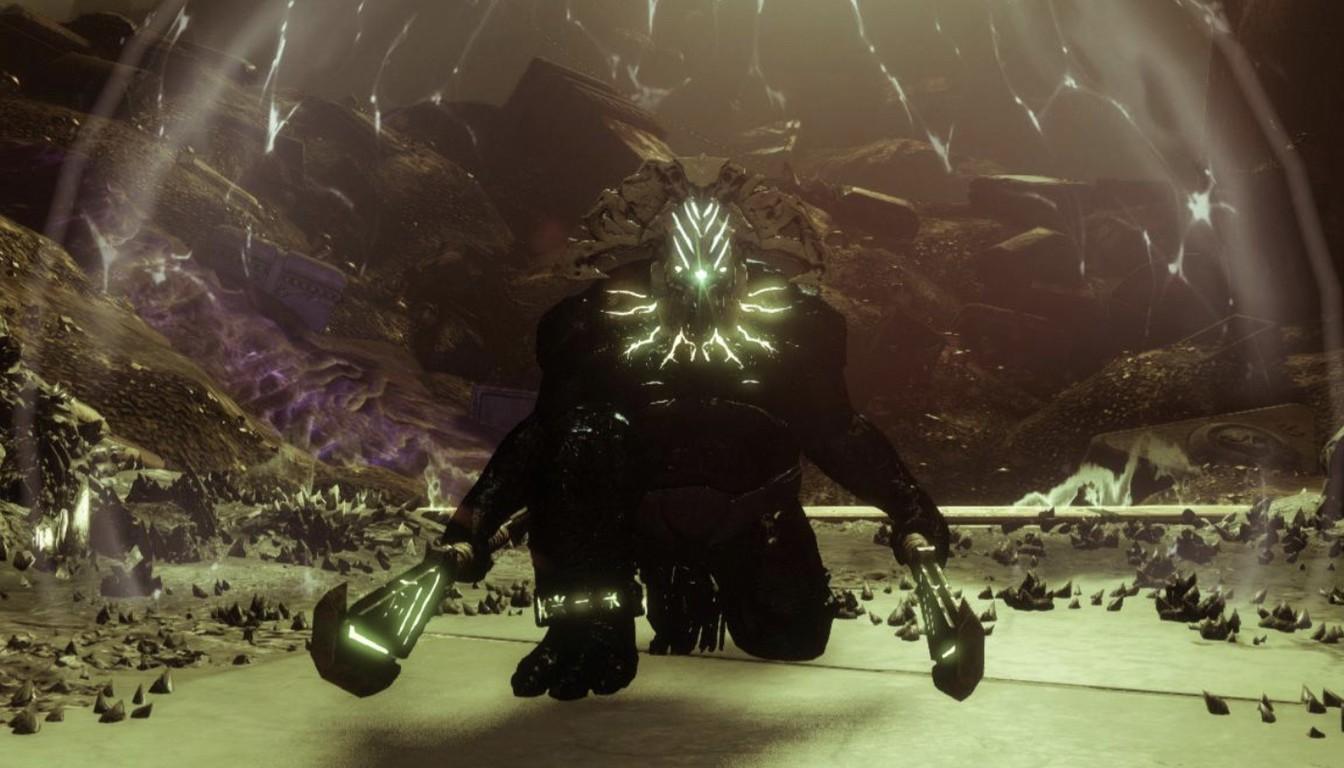
Next, both players melee the Deception at the same time. The shield breaks and the target is stunned, while the holder loses the blessing and stays unbuffed until the pair swaps again. Get it back before you carry on with the section.
More detail from player reports: after the stun, wait for your Gahlran copy to finish his fireball, then shoot the hand that glows green so he slams his cleaver into the Deception. If it stands too far away, the strike misses, so pull it closer and repeat. Clear nearby Cursed Thrall first, or they will blow up next to you.
While one pair handles its Deception, the others keep holding waves and crystals, so voice comms decide this phase.
Finding the Real Gahlran
Once all three Deceptions are dead, the copies start charging their hands and crown. This is the reveal. Each pair shoots the hands of its copy first, then the face.
Two copies then vanish as illusions and the true body stays. All six gather there. Keep mechanics in mind during the transition: according to player reports, another crystal can spawn around this moment.
The Damage Phase
The real Gahlran raises his hands once or twice per phase and becomes briefly immune. The order is simple: damage the body, shoot both hands when they rise, shoot the head, and damage resumes.
Players advise staying off the ground, since Gahlran can one-shot anyone in melee range, so hop onto the boxes in front of him.
When the phase ends, the boss disappears and two illusions appear on the arena. The cycle repeats: return to your sides, swap the blessing and go through the waves again. How many damage phases you need depends on your output, but in practice the fight rarely ends in two.
Comms and Mistakes That Ruin Attempts
This fight is won on voice. The three pairs work independently, but they share a few moments, and those moments are where runs usually fall apart.
Crystals. They go around the arena, so whoever finishes first names the pair on their right.
Blessing. The holder calls out roughly 15 seconds left and the partner moves to the vessel early.
Deception. The pair that finishes first says so, so nobody waits or rushes for no reason.
Reveal. Everyone shoots the hands and head of their own copy first and only then runs to whoever is left.
If a wipe happens during the waves, the cause is usually a lost crystal or a forgotten timer, not the build. Work out which side it happened on, and swap partners only as a last resort: a familiar pair beats a random one.
Rewards and Requirements
Pantheon 2.0 drops new armor for each class, reprised weapons, holofoil variants, ornaments from original raid sets and emblems. The Godsbane title is awarded for 11 of 12 Triumphs. The Calus Conquered emblem comes with Resplendent Victory plus all Resplendent encounters.
Standard difficulty still grants weekly Tier 5 rewards without Feats, while Feats exist only on Custom and raise the reward grade. Other trials of the mode are described on The Pantheon: Morgeth Surpassing and The Pantheon: Insurrection Prime Revolutionary.
Preparing for the Run
Assembling six players who know the pair system is often harder than learning the fight itself. If you want a team of veterans, look at the Raids bundle: a convenient way to clear several raid activities in one order. For comfortable gear levels, Power leveling helps.
Your build can center on any exotic you already trust, for example the exotic sniper rifle Whisper of the Worm if you own it. What matters is that the build clears waves reliably and deals fast damage to the hands and head.