The Way Between Quest in Destiny 2: Runs, Relics and Rewards
What the quest is and why it matters
The Way Between is a long quest built around the Equilibrium dungeon. It starts after your first clear, when you talk to Aunor Mahal. From there you run the dungeon several more times, and each run unlocks an upgrade for the Praxic Blade lightsaber.
The difficulty is low and the cost is time. Relics cannot all be charged in one run, so the quest takes four runs plus a final boss fight. If the dungeon is already familiar, the route will be easier to follow.
Do the quest before you chase loot. It unlocks armor and weapon focusing, which raises the drop chance of the items you want. The final reward is a catalyst for the blade, Energy Conduit. Below, every run is covered in order, with its reward and what to watch for.
In short, the structure is this. The first Relic comes pre-charged, the others are charged in separate runs, and the final fight with Shade of Sere follows. Each stage gives its own upgrade for the Praxic Blade, so the runs add up to a full set of a mod, a focus, a core and a catalyst.
The quest is meant for players who want a stronger Praxic Blade and access to armor and weapon focusing. If you only want loot from the dungeon, you can postpone it, but then you are not using the higher drop chance yet.
Run one: the pedestals and the first Relic
The first Relic comes pre-charged, so this is the calmest stage. You can concentrate on the dungeon itself.
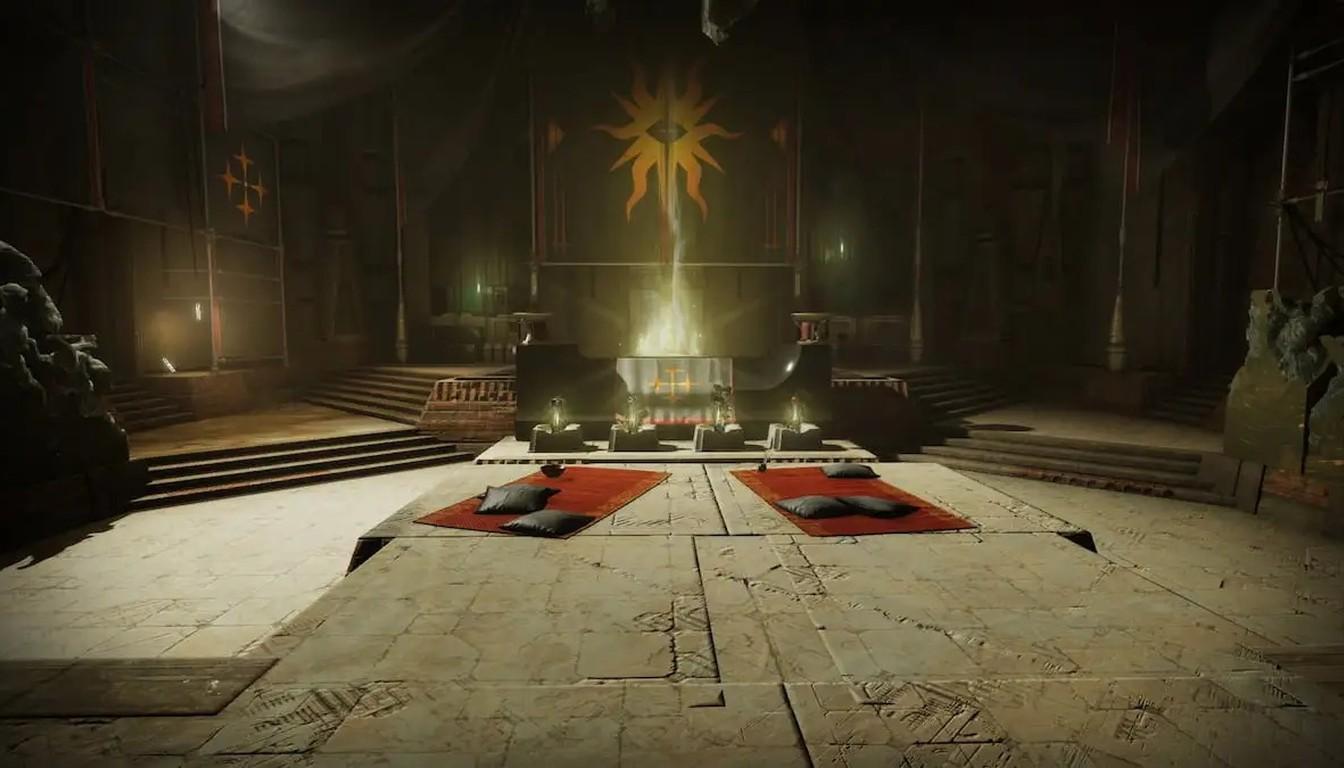
The order of actions is simple.
Pick up the quest from Aunor Mahal and play the dungeon through to the boss.
After the boss fight, go back to the spot of the first encounter. Across from it is a room with four Pedestals, and any of them accepts a Relic.
Remember that Blight Spheres are broken with the Praxic Blade, and the later runs build on that.
Run two: the Sparrow race
Here the game puts you on a timer. You ride a Sparrow and shoot Forgotten Eyes.
The path begins near the Pedestal room, through the door to its left. You find a Taken Blight Sphere, break it with the blade, and step into the blight pool that appears. Each pool fills the Shadow Apprentice bar and adds 15 seconds to the timer. When the bar is full you get the Shadow Master buff. With it, melee a Failed Apprentice to strip its shield, then kill it.
The same loop repeats across three stretches of road. You ride from arena to arena, shooting Eyes and collecting pools on the way, and at the end of each arena you deal with a Failed Apprentice. The last point has a sphere under a switch, wrapped in Taken energy. Break it, melee the switch, and the door with the Relic opens.
The reward for this run is the Offensive Form mod for the blade.
In short, the second run ties three things together: the sphere, the bar and the Failed Apprentice. Break the Taken Blight Sphere with the blade, step into the pool to gain Shadow Master, then melee the Failed Apprentice to strip its shield.
If you are stuck in the dungeon and want it done faster, look at the Dungeons bundle on DVING.
Run three: a linear dash through the ship
This run has no timer. The path to the third Relic starts on the road to the first boss, in the room where you shoot the glowing batteries.
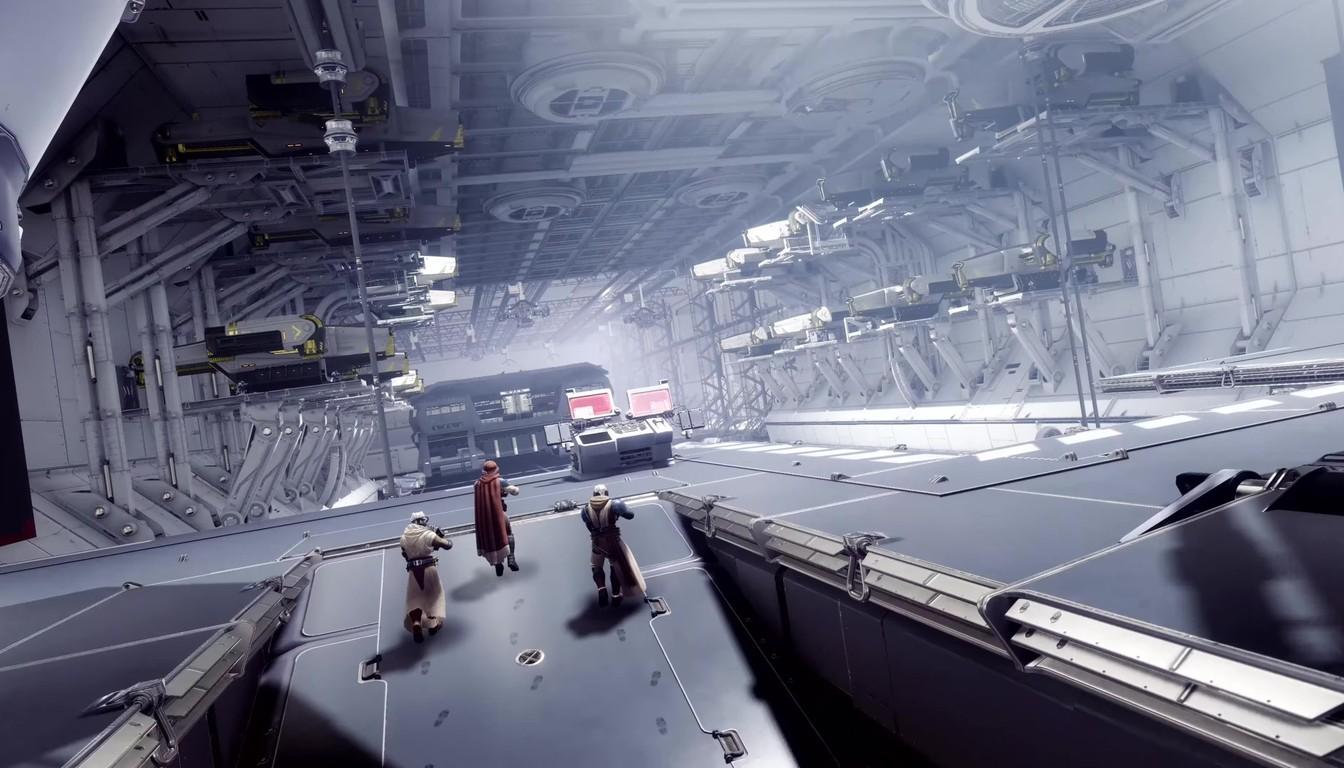
A Blight Sphere sits there. Throw the blade at it and the familiar cycle begins. Break spheres and Eyes, stand in the pool, get Shadow Master, and finish the Apprentice. The whole run goes through the ship's corridors.
The reward for this stage is the Invigorating Blade focus.
Run four: platforming under fire
The last Relic takes platforming, and Taken snipers shoot at you the whole time. It is easier with a team.
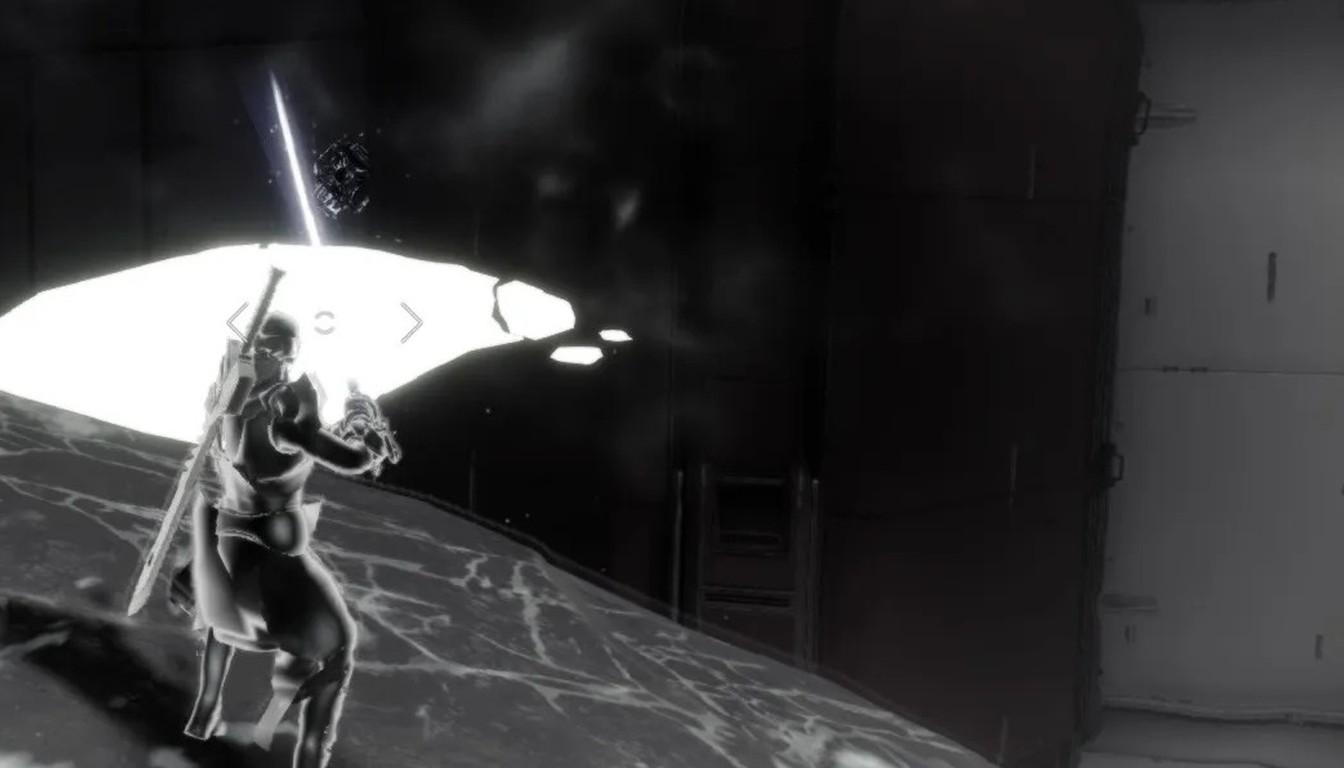
The route starts on the way to the final boss room, where you step into a Taken pool. This time you do not need the Shadow Master buff, since a Failed Apprentice can simply be pushed off a ledge.
The second stretch has you break Blight Spheres with the blade to create platforms and activate three Taken switches. They hide behind big tanks and on upside-down sniper platforms.
After the third switch, turn back and find an inverted sniper platform. Next to it are three pipes, one of them open. Inside is a destructible vent. Do not rush: if a platform has not appeared yet, it is better to wait than to jump blind. A final fight with an Apprentice follows, and the last Relic drops afterward.
Jump only after the new platform has appeared, since the snipers keep firing.
The three switches are the main task of the second stretch, and the last fight with an Apprentice ends the run. Go in order: platforms, switches, then the final fight.
The reward is Gyro Core: the thrown blade takes the element of your Super.
The final boss: Shade of Sere
With all four Relics on the Pedestals, a sphere appears that you break with the blade. It teleports you to the arena of Shade of Sere, the Taken form of Dredgen Sere. You cannot win without the Praxic Blade.
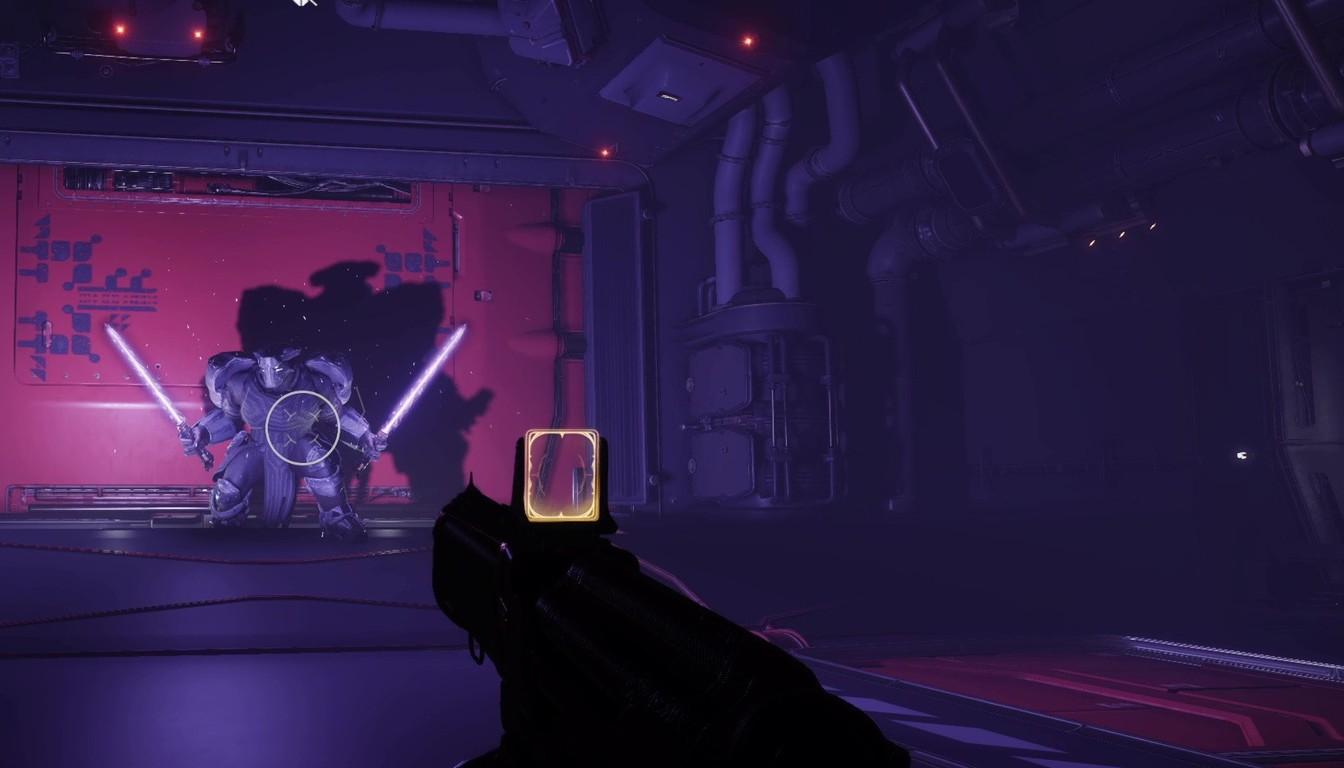
Fill the bar. Kill minor enemies with the blade to gain Shadow Master.
Compel the Shade. Hold the interact button and do it three times. The boss shield breaks.
Climb. The boss moves to the upper platform. Break Blight Spheres to build a path up, as in run four.
Repeat. Take the boss to half health and run the cycle once more.
The fight runs in a cycle: gain Shadow Master, compel the Shade three times, climb the spheres and repeat at half health. Keep that order in mind and the fight becomes two identical phases. Solo is possible, but a fireteam is faster. After the win you return to the Pedestals. The reward is the Energy Conduit catalyst, which heals you based on how many enemies the thrown blade hits.
Rewards by run
All blade upgrades from the runs are collected in the table.
Run | What to do | Reward |
|---|---|---|
First | Clear the dungeon, place the Relic on a Pedestal | Pre-charged first Relic |
Second | Sparrow race on a timer | Offensive Form mod |
Third | Linear dash through the ship | Invigorating Blade focus |
Fourth | Platforming and three switches | Gyro Core |
Boss | Shade of Sere | Energy Conduit catalyst |
The mod, focus and core unlock as you go, while the Energy Conduit catalyst comes only after the boss, so the order of the runs is also the order of the upgrades.
A chalice stands behind the Pedestals. It lets you attune weapons and armor, which raises their drop chance in Equilibrium.
How to finish faster and what to do next
It is convenient to run the quest right after your first Equilibrium clear, while the route is fresh. Spread the four runs over a few sessions so the repeated mechanics do not wear you down.
A team makes it easier, especially in run four and against the boss. Solo works too, it just takes longer.
For a quick refresher: Blight Spheres are broken with the blade, blight pools give the bar and Shadow Master, and each run's reward is tied to its order.
A practical order is to finish all four runs, focus the weapons and armor you want at the Pedestals, and only then hunt loot in Equilibrium. That way the higher drop chance works for you from the first pass.
If your Power level lags and dungeons feel heavy, raise it with power leveling. For regular endgame runs, the Raids bundle fits. Collectors will find Heirloom and Whisper of the Worm useful, and the Renegades campaign covers the story side of Destiny 2.
The Praxic Blade itself is covered in a separate DVING guide, so it is not repeated here.