How to Beat Warpriest in Destiny 2 Pantheon 2.0
How This Fight Differs From King's Fall
Pantheon 2.0 returned with update 9.7.0 (Monument of Triumph) on June 9, 2026, and it stays in the game as a permanent mode. Warpriest is part of The Pantheon: Morgeth Surpassing, where Warpriest, Consecrated Mind and Morgeth follow each other in a fixed order. The other stages are the Gauntlet and Calus Resplendent (Argos, Galhran, Calus).
Compared with the King's Fall original, this version blends Warpriest with Death Totem mechanics. The arena has two parts: lower rooms with Hive Death Totems, and an upper room where the boss stands next to three glowing plates. The loop is simple: build Deathsinger's Power at the totems, deposit it into the plates, and repeat until the boss decides your fireteam is worthy. Only then does damage begin.
The key point from the start: the fight runs on handing effects between players in rhythm. Wipes happen when someone loses their place in the chain or rushes it.
Teams and Roles
A fireteam of six splits well into two groups of three, one per totem room. That is a guide recommendation, not a game rule, but in practice it removes most of the confusion: each group runs the same loop, so you only have to remember your own role.
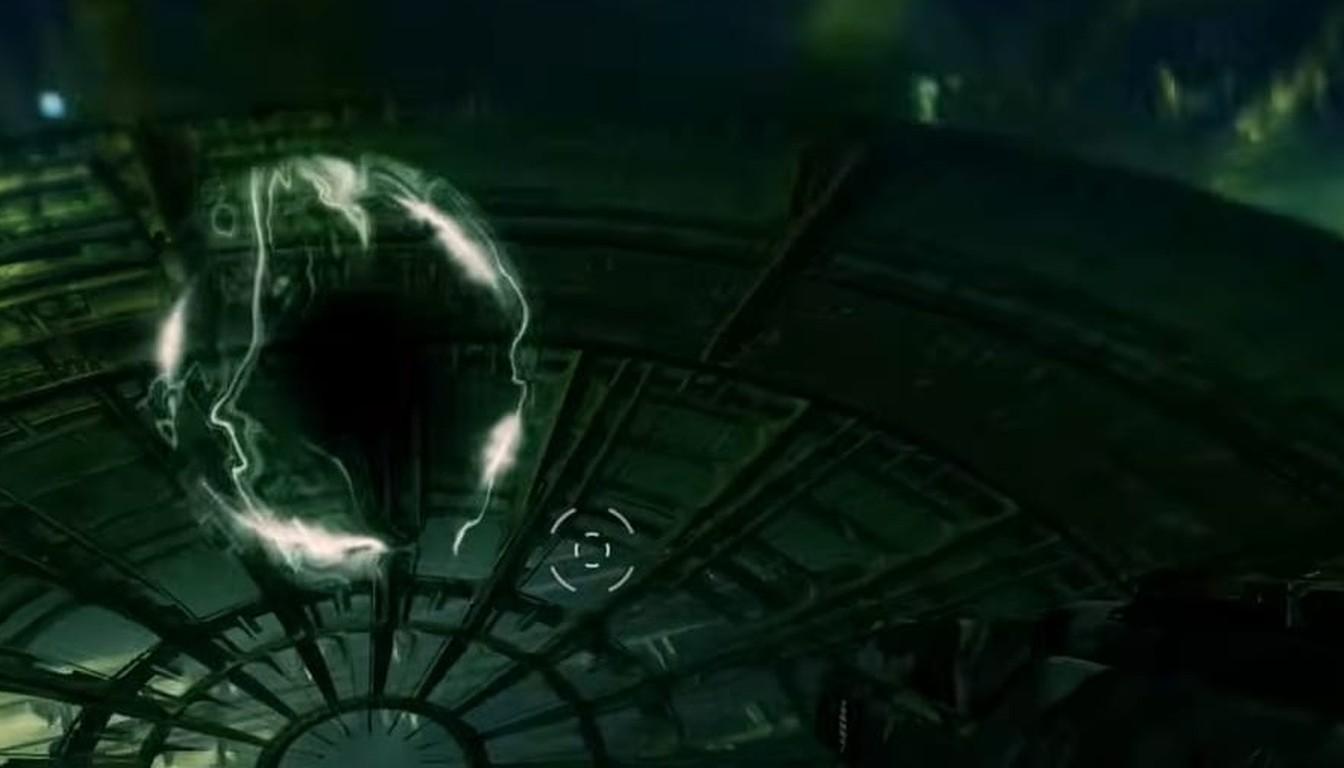
Inside each group it helps to split the roles like this and rotate them:
Holder. Stands under the totem with Brand of the Weaver and kills Hive to build stacks.
Swapper. Earns Brand Claimer and takes the brand from the holder before the holder dies.
Support. Clears adds and prepares to step into the next rotation.
Three effects show up during the fight, and it helps to keep them in front of you:
Effect | Source | Purpose |
|---|---|---|
Brand of the Weaver | Given at the start of the fight to a player in the totem room | Lets you build Deathsinger's Power; the holder dies when the timer hits zero |
Brand Claimer | Comes from an orb after killing a Hive Wizard and the Taken Blightguard it spawns | Lets you take a brand from another player |
Brand of the Initiate | Taken from a glowing plate after the worthy message | Starts the damage phase; the timer is about 30 seconds |
The Totem Rotation
At the start, one player on each side grabs Brand of the Weaver and stands under their totem. Do not leave: according to player reports, if the totem goes without a holder for about 10 seconds, the whole team wipes.
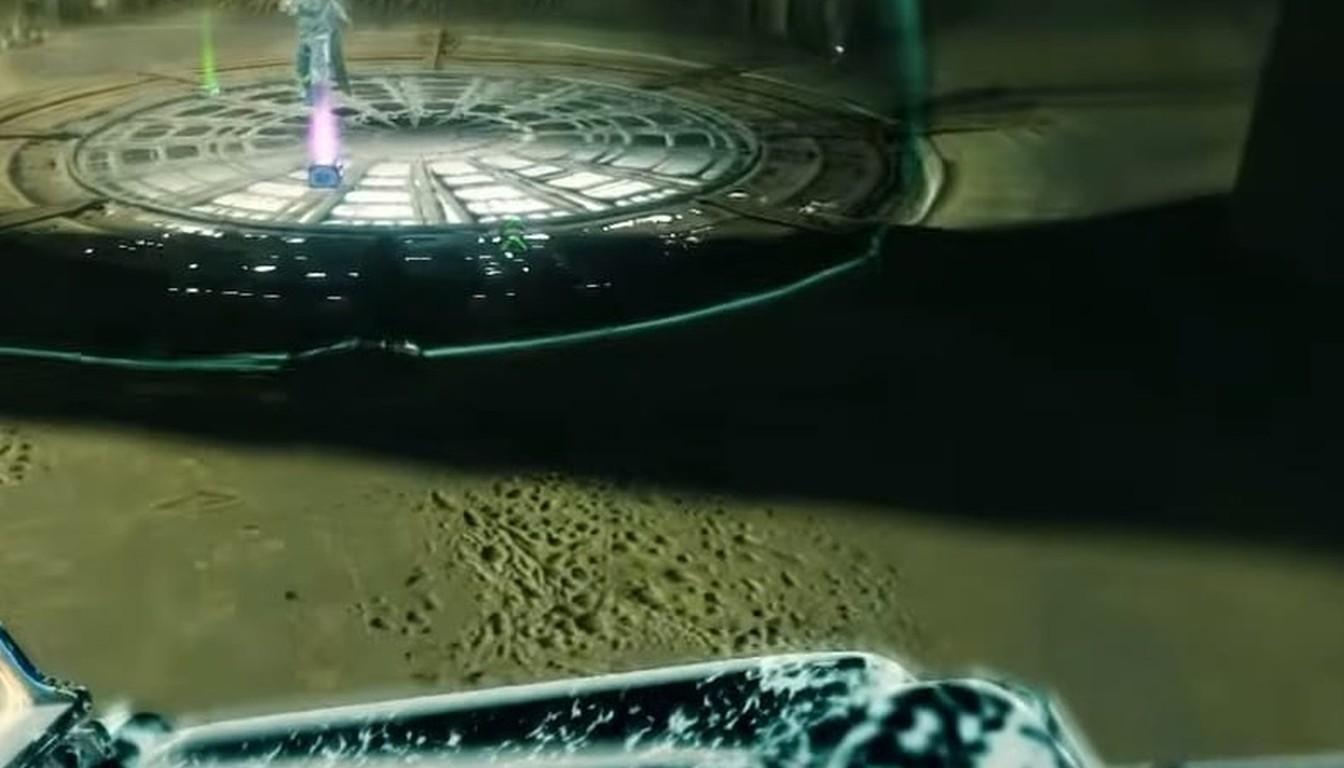
While the brand timer ticks down, the holder kills Hive right under the totem. Every kill adds Deathsinger's Power stacks, so the more enemies you clear, the more you bring to the deposit. If the timer reaches zero the holder dies, so the replacement has to be arranged in advance.
Meanwhile the swapper climbs to a side ledge, kills a Hive Wizard, then the Taken Blightguard it spawns, and picks up the orb that grants Brand Claimer. With that effect they walk to the totem, take Brand of the Weaver from the holder and take their place.
Do not steal the brand instantly. Let the holder use almost the whole timer. Guides differ on details: some start the swap at ten seconds, others at five. Pick one number for the entire team and stick with it, or the rhythm breaks and someone is left under the totem with no replacement.
Do not rush the chain: an early swap shifts everyone's timing.
Call out how many seconds each timer has left.
Support should know that they are next in line.
Depositing Deathsinger's Power
The player who lost the brand leaves the totem room and runs to the upper room. They stand on a glowing plate, and the stacks start to drain, adding progress to that plate. Stay put until they run out, because leaving early cuts the deposit short.
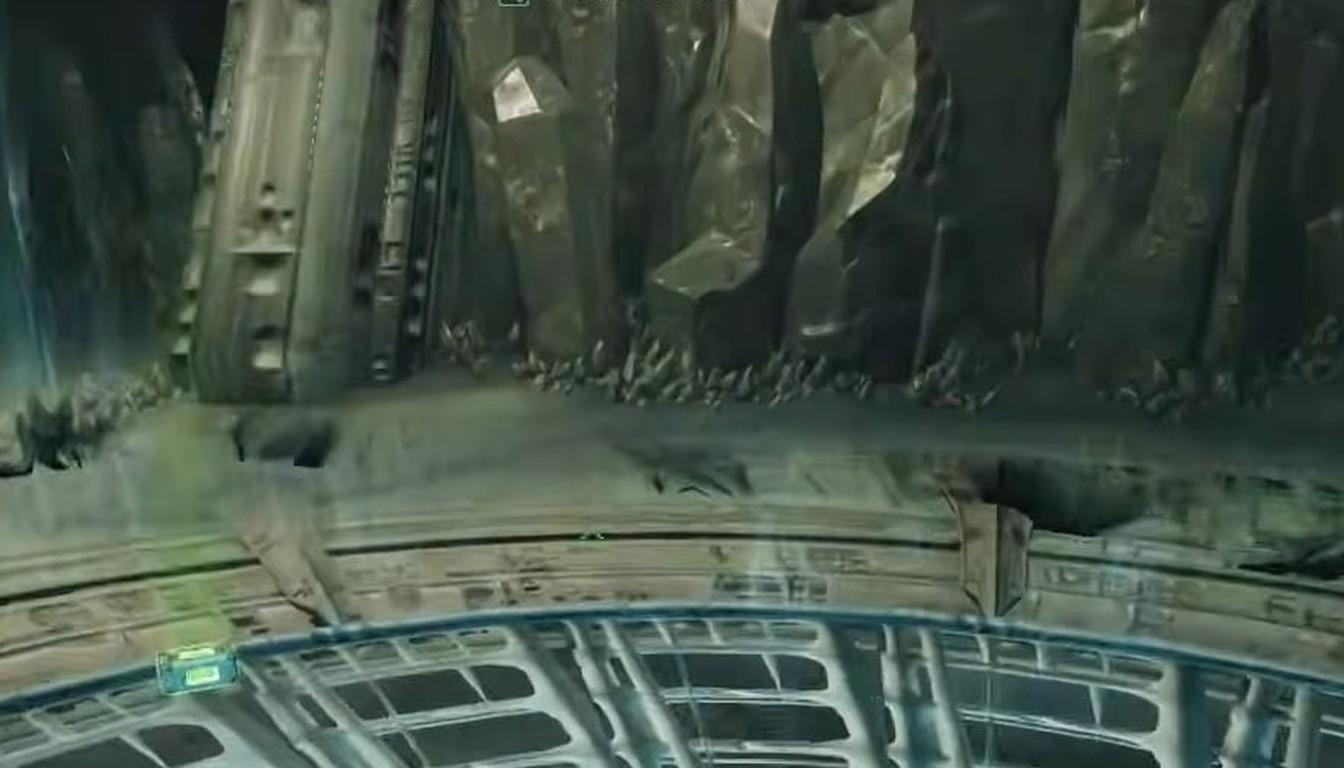
Once the stacks are in, the loop closes: find a Hive Wizard on a side ledge, kill it and the Taken Blightguard, pick up Brand Claimer and return to your totem to take the brand again. It is a short circle: totem, lost brand, deposit, new Brand Claimer, back again.
You do not need to track progress constantly: the fight announces readiness with the message "Warpriest deems you worthy."
The recommended plate order is middle, right, left: the middle plate is the easiest to reach and the left one is the hardest. Try to keep both groups depositing at a similar pace so the team reaches the worthy message without extra loops.
Starting and Extending Damage
When the worthy message appears, stop depositing and regroup in the upper room. One plate stays special, and you must not step on it by accident: it gives Brand of the Initiate and starts the damage phase at once. Guides advise starting only when the whole team is in position.
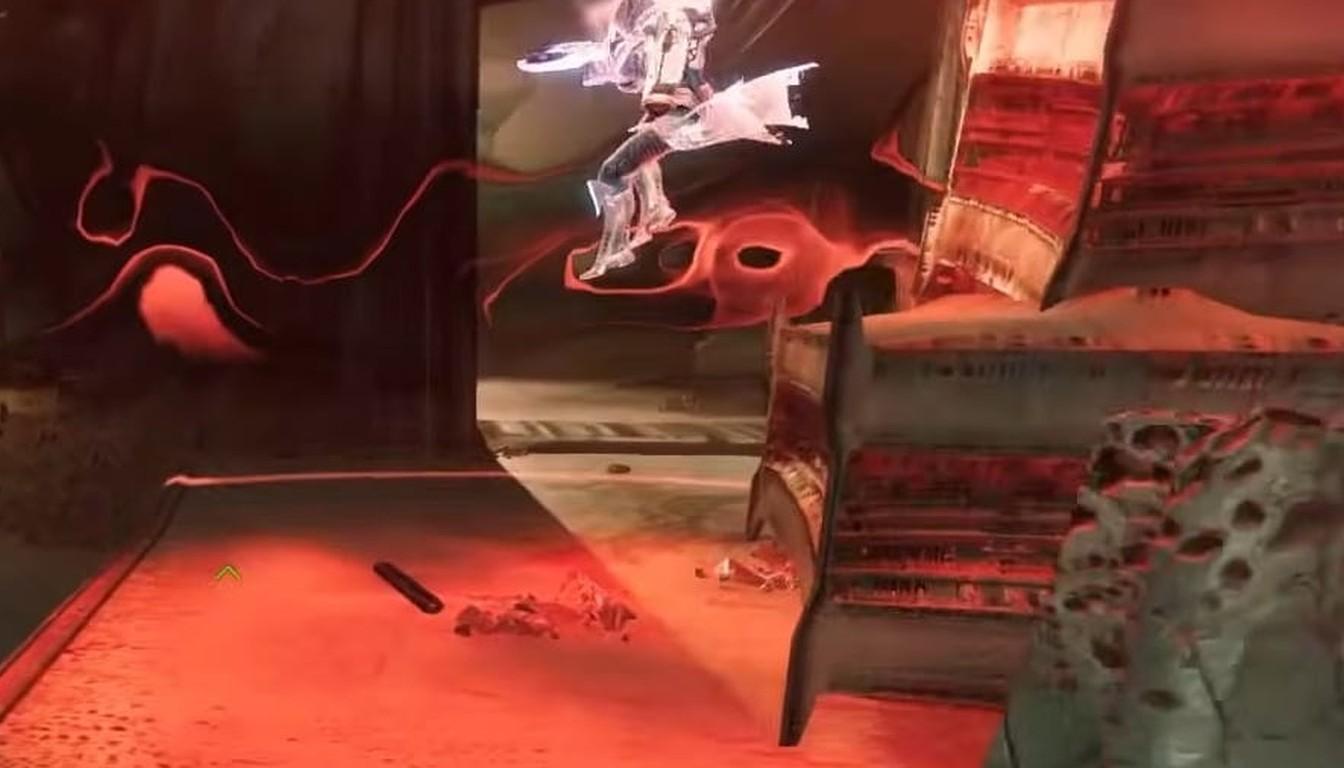
Wait until everyone is set, then send one player to take the brand. Many guides suggest shooting from the stage near Warpriest because shots land more easily there, although you can technically deal damage from other spots.
According to guides, the Brand of the Initiate timer starts at about 30 seconds, and the holder dies at zero. To stretch the window, two players kill Taken Blightguards in the same room beforehand and earn Brand Claimer. The holder calls out the remaining time. The first swapper takes the brand at the agreed mark (ten or five seconds, whatever your team uses), then the second swapper counts down and takes it next. This makes the damage window noticeably longer.
Weapons and Supers for Boss Damage
This fight rewards strong boss damage weapons and burst Supers. Guides recommend the following:
Refurbished A499 as the main damage source.
Tractor Cannon to debuff the target.
Well of Radiance for team safety.
Golden Gun with Celestial Nighthawk, Thundercrash with Cuirass of the Falling Star, and Needlestorm as burst Supers.
Guide authors say swords also work for damage, but ranged is more reliable and easier to execute. If you like sniper rifles, take a look at the exotic Whisper of the Worm, but pick it for your build, not just because it is popular.
Remember that the fight depends on team sync more than on peak damage. A weapon you know well will deliver more than a fashionable one you have not mastered.
The Wipe Blast and the Next Loop
When the damage window ends, the room starts turning bright white. Stop shooting and hide behind one of three large pillars. According to the guides, they stand in the middle, on the right and on the upper left balcony. The pillar must sit directly between your team and Warpriest, and everyone has to hide: anyone left in the open will not survive the blast.
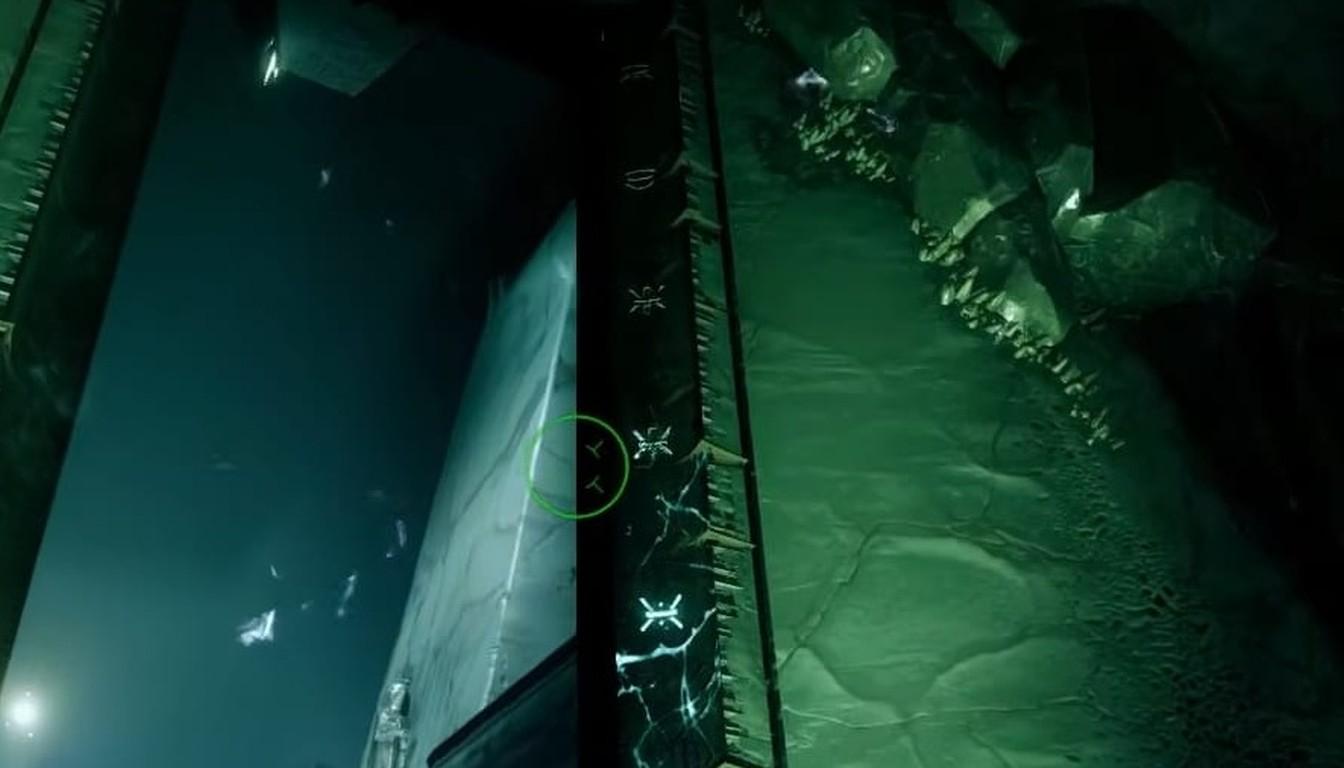
After the blast the used pillar disappears, so cover is limited. Decide in advance who hides behind which pillar so nobody searches for cover at the last second.
Then the loop repeats: return to your totem groups, build Deathsinger's Power, deposit it and start a new damage phase.
What to Know Right Now
The latest hotfix for the mode, 9.7.0.3, came out on July 7, 2026. Pantheon 2.0 remains in the game, and the approach above is current as of October 18, 2026.
If your team is short on power, order power leveling ahead of time, and for loot from several raids at once there is the raids bundle. Once this stage is down, you can move on to the fight against Insurrection Prime.
The fastest way to learn the fight is to run one full chain of totem, deposit, damage and blast, then talk through the mistakes. After a couple of attempts the roles settle in, and runs get much calmer.