Diablo 4 Butcher Guide: Ambushes, Lair Fight and Rewards
The Butcher is no longer just a random interruption in Diablo 4. The familiar dungeon ambush still matters, but a permanent Lair Boss version also lets you seek out a fight. Knowing which encounter you have entered is the first step to choosing the right strategy and understanding its rewards.
Checked October 21, 2026, for Season 15, Season of Hell's Legacy, and live patch 3.2.3. This guide separates the ordinary ambush, the repeatable Broiler encounter and activity-specific variants. Season 12 transformations and Bloodied Sigil rules are historical seasonal mechanics, not instructions for every current encounter.
Random ambush or planned boss fight?
The ordinary Butcher can appear unexpectedly in regular and Nightmare Dungeons, with rare cellar encounters also documented. He is not a scheduled world boss and does not require Torment simply to ambush a low-level character. This is a base-game threat, not a Season 15 quest unlock. Seasonal and Eternal characters should not assume that being outside the seasonal story protects them.
There is no verified official percentage here for his random spawn, nor a confirmed rule that raising Torment increases that percentage. More dungeon runs offer more opportunities; they do not guarantee an appearance. A Treasure Goblin, dungeon music or a particular corridor is not a dependable summoning method.
The permanent Lair Boss is different. He was introduced in Season 12, with Blizzard explicitly confirming that this version would remain afterward. His lair is The Broiler in Gea Kul, Kehjistan. On Torment I or higher, enter and activate the Altar of Carnage in the Chamber of Suffering. Current specialist guides agree that the fight itself consumes no key; opening the reward Hoard after the kill costs one Greater Lair Key. Old instructions asking for Pounds of Flesh belong to an earlier economy.
Encounter | How it starts | Rule to remember |
Ordinary ambush | Random dungeon encounter; cellars also documented | No guaranteed search route or fixed retry of the same spawn |
Broiler Lair Boss | Deliberate visit to the Gea Kul lair on Torment I+ | One Greater Lair Key opens the Hoard, not the entrance |
Burning Butcher | Infernal Hordes encounter | Use that activity's objectives and fire hazards |
War Plans Pit variant | Relevant activity-tree modifier | Special completion and death rules apply |
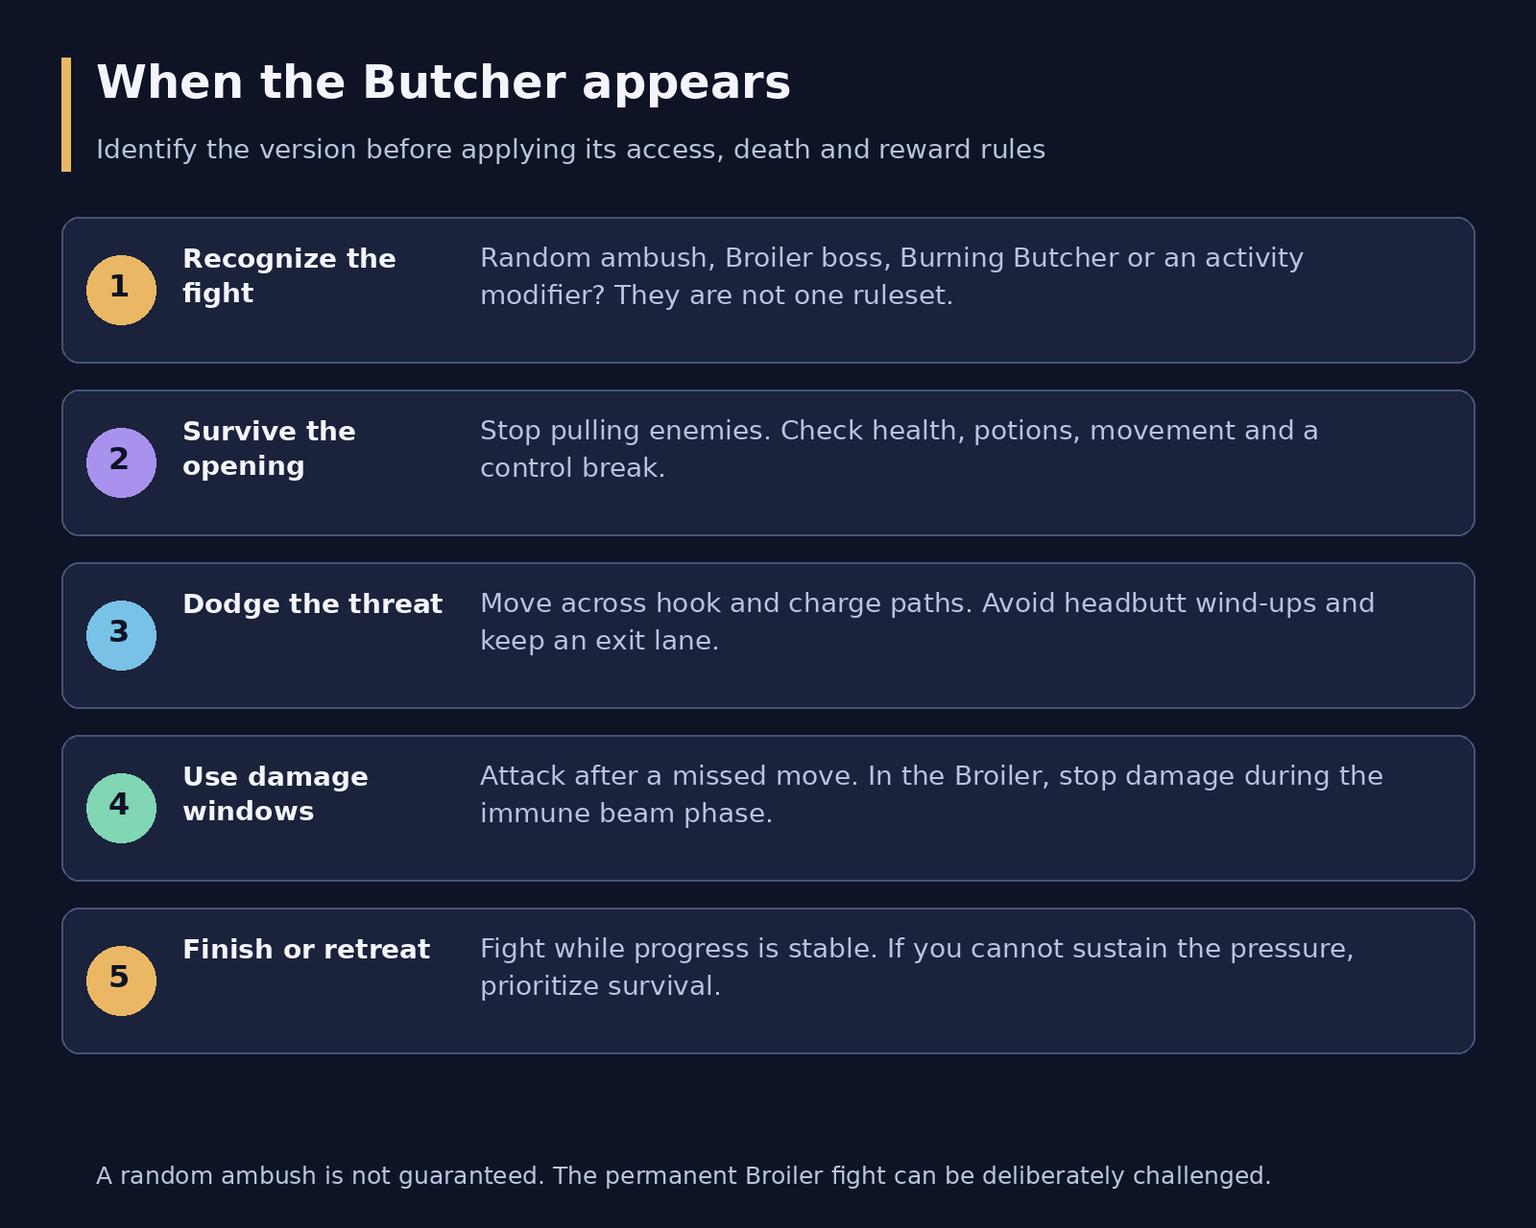
Identify the encounter, survive the opening and commit damage only when you can still escape.
Do not extend the old claim that the Butcher exists only in dungeons into a universal rule for every modern activity. Conversely, an Infernal Hordes or War Plans appearance does not make the ordinary ambush a roaming Helltide enemy. Normal outdoor exploration and Stronghold clearing are not established target-farming routes for that ambush. No exhaustive spawn whitelist for every campaign instance or later activity is published here.
Your first few seconds
When he appears, stop pulling additional packs. Check your health, available potions, movement charges and control break. Move toward a previously cleared section with room to turn. A short reposition is useful; running blindly into another room full of elites usually trades one danger for several.
Decide early whether to fight. If ordinary swings empty your health faster than you can recover, survival takes priority over a possible drop. A leveling character with unfinished defenses does not need to prove the build against this particular random roll. On Hardcore, make that decision before your last defensive cooldown expires.
If you stay, use short damage windows after avoiding an attack, then reposition. Save a movement charge for the hook or charge rather than spending every charge to start dealing damage. The Butcher closes distance quickly; maximum range alone is not a defensive plan.
Attacks that decide the fight
His ordinary kit combines repeated melee swings, a stunning headbutt, a hook that pulls you back into close range, a rushing charge and a slowing roar. Watch his facing and wind-up instead of looking only at the health bar. Getting caught by control and then taking follow-up swings is often more dangerous than one isolated hit.
Threat | Practical response | Common mistake |
Melee swings and headbutt | Move around his flank, leave the headbutt line and attack during recovery | Standing still in front while trying to finish a cast |
Hook pull | Sidestep the throw; keep a control break available if caught | Retreating in a straight line with no Evade left |
Charge | Move across its path rather than directly away from it | Assuming distance prevents him reaching you |
Slowing roar | Restore movement with an appropriate skill and find open ground | Continuing to trade while slow and surrounded |
Unstoppable or a genuine crowd-control break helps recover from a failed dodge; it does not automatically remove the damage of every attack. Read the skill you actually equipped. A movement skill, immunity and control break are different tools, even when one ability combines several functions.
Avoid building around an old promise that a pillar permanently traps him. Terrain can give you room to turn, but hook behavior and pathing are not reliable exploits. Keep an exit lane and circle only where the layout permits. A corner that blocks your own movement is a liability.
Older guides attach shield refreshes, life-steal values and a named frenzy to historical World Tiers. Those numbers are not a current universal specification for all Butcher versions. If a visible barrier is absorbing damage, assess whether your build can make progress while surviving. Do not mistake a Lair Boss immunity intermission for a barrier you can break by spending more cooldowns.
The Broiler adds arena mechanics
The planned fight retains aggressive pursuit but also uses fire attacks and floor hazards. Current encounter coverage describes a combination that sends projectiles and leaves burning trails. Move sideways as the sequence starts and keep a route out of the affected area. Close-range characters must watch the ground beneath the boss as well as his weapon.
Sections of the floor ignite in sequence, with more space becoming hazardous as health falls. During the central intermission he becomes immune and channels rotating fire beams. Stop trying to burst the immune target, move through the gaps and watch for burning floor sections at the same time. Resume damage when the channel ends. A safe patch at the start of the sequence need not remain safe throughout it.
Patch 3.0.2 corrected excessive health and an overpowered hazard on the Lair Boss. Early clips showing those problems should not define today's expected health pool or damage threshold. No mandatory item level, fixed damage-per-second requirement or guaranteed clear time is established here.
Melee, ranged and group play
Melee builds should use brief attacks from the flank and disengage from clear wind-ups. Staying close can reduce the need to chase, but it is not permission to absorb every swing. Keep sustain working while moving, and do not spend your only defensive cooldown just to preserve a damage buff. Review Armor, resistances, damage reduction and healing in the current character panel before raising difficulty; an old season's defensive cap is not a universal preparation target.
Ranged builds should make deliberate, short relocations and stop long casts when a hook or charge is coming. Running endlessly can remove your own damage uptime without making the boss harmless. Summons and companions may add damage, but they are not a guaranteed permanent tank or a substitute for dodging attacks aimed at you.
Barbarian and Druid builds should check their actual sustain and control protection. Rogue, Sorcerer and Spiritborn builds should reserve enough mobility to answer the next attack. Necromancer and Warlock builds should remain attentive even when minions are active; Paladin defenses likewise depend on the chosen setup. These are checks to apply to your build, not a ranking of classes or a mandatory skill package.
In a group, the player being pursued should move predictably and avoid dragging attacks through teammates. Other players can use that window to deal damage, but everyone still needs to react when the target changes. Do not assume one fallen player ends an ordinary encounter while others remain engaged, or promise a free resurrection beside the boss. Boss scaling means a party is not automatically an easier fight. Solo Self Found characters cannot party.
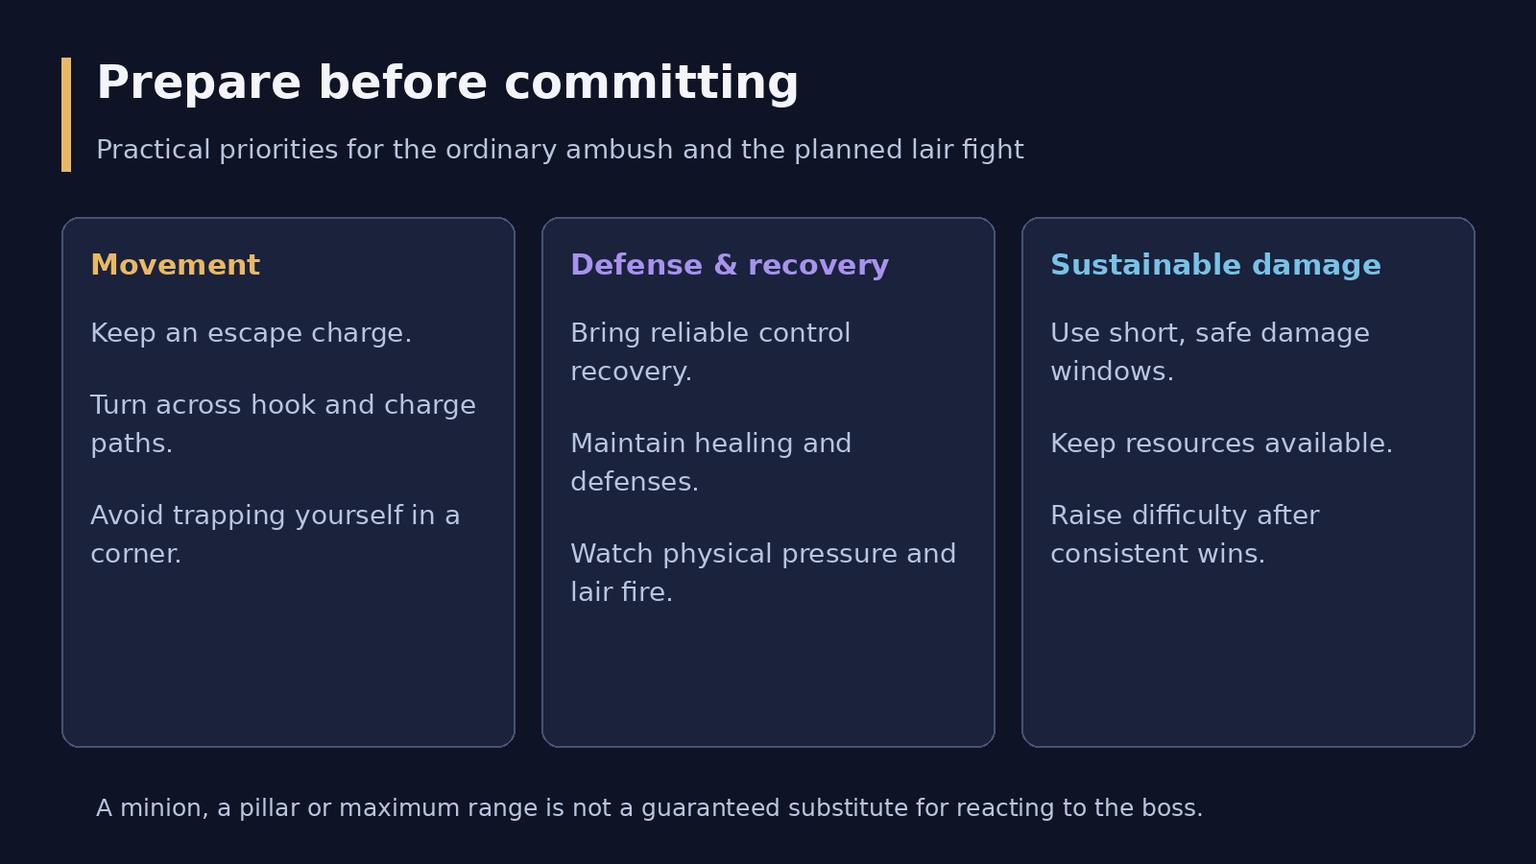
Keep movement, defenses and sustainable damage working together before raising difficulty.
Death, retreat and another attempt
The ordinary random Butcher despawns after defeating the solo player. Leaving the dungeon or disengaging can also forfeit that encounter; returning is not a guaranteed rematch. You can meet him again in later runs, but repeatedly entering the same cleared room is not a summoning method. A fixed universal despawn timer is not established here.
The Broiler is repeatable boss content, so losing a random ambush does not lock you out of its separate fight. The Hoard key is spent on opening rewards, not simply on walking into the lair or dying during a practice attempt. Choose a difficulty at which you can complete the mechanics consistently before investing in repeated reward clears.
War Plans introduces a separate Pit Butcher modifier. Blizzard describes a random special spawn whose defeat completes the Pit run; the released 3.1 notes also confirm that dying is supposed to fail the modified run. War Plans requires Lord of Hatred. This is not the ordinary dungeon despawn rule and not a guaranteed Butcher in every Pit run.
Loot worth separating
The Butcher's Cleaver is a Unique weapon, not an exclusive proof that you killed the random Butcher. It appears in the general boss Unique pool as well as Butcher-related sources. Check your class's weapon eligibility and the current item tooltip before farming it for a build; the item name alone does not make it universally useful.
Blizzard's 2.0.1 notes added a guaranteed Cleaver and at least one Legendary to the ordinary Butcher's rewards. That dated rule should not be expanded into a guaranteed specific Unique from every later variant or Broiler Hoard. In the current lair, targeted Uniques and generic loot have separate pools. Season 15 limits the main Mythic selection from Greater Lair Bosses to that boss's Unique pool, while generic additional loot can still produce exceptions. A kill does not guarantee a Mythic.
For a specific class item, compare the current Broiler pool with your build's needs rather than copying an old all-class loot list. The useful repeatable route is the lair and its Greater Lair Keys; chasing random ambushes is not necessary just to fight this boss. Do not apply a four-Torment-era item-count formula to today's reward tiers or assume one key pays for every player's Hoard opening.
Cosmetic references also need separation. Wowhead lists the Butcher-themed mount trophy, and Fresh Meaty Barding is documented as a Butcher drop. They are cosmetic items, not equipment upgrades or a promised reward per kill. A source listing a Butcher cosmetic does not establish that every variant shares its exact drop table. Season 12 shop purchases and transformation rewards are a different category again.
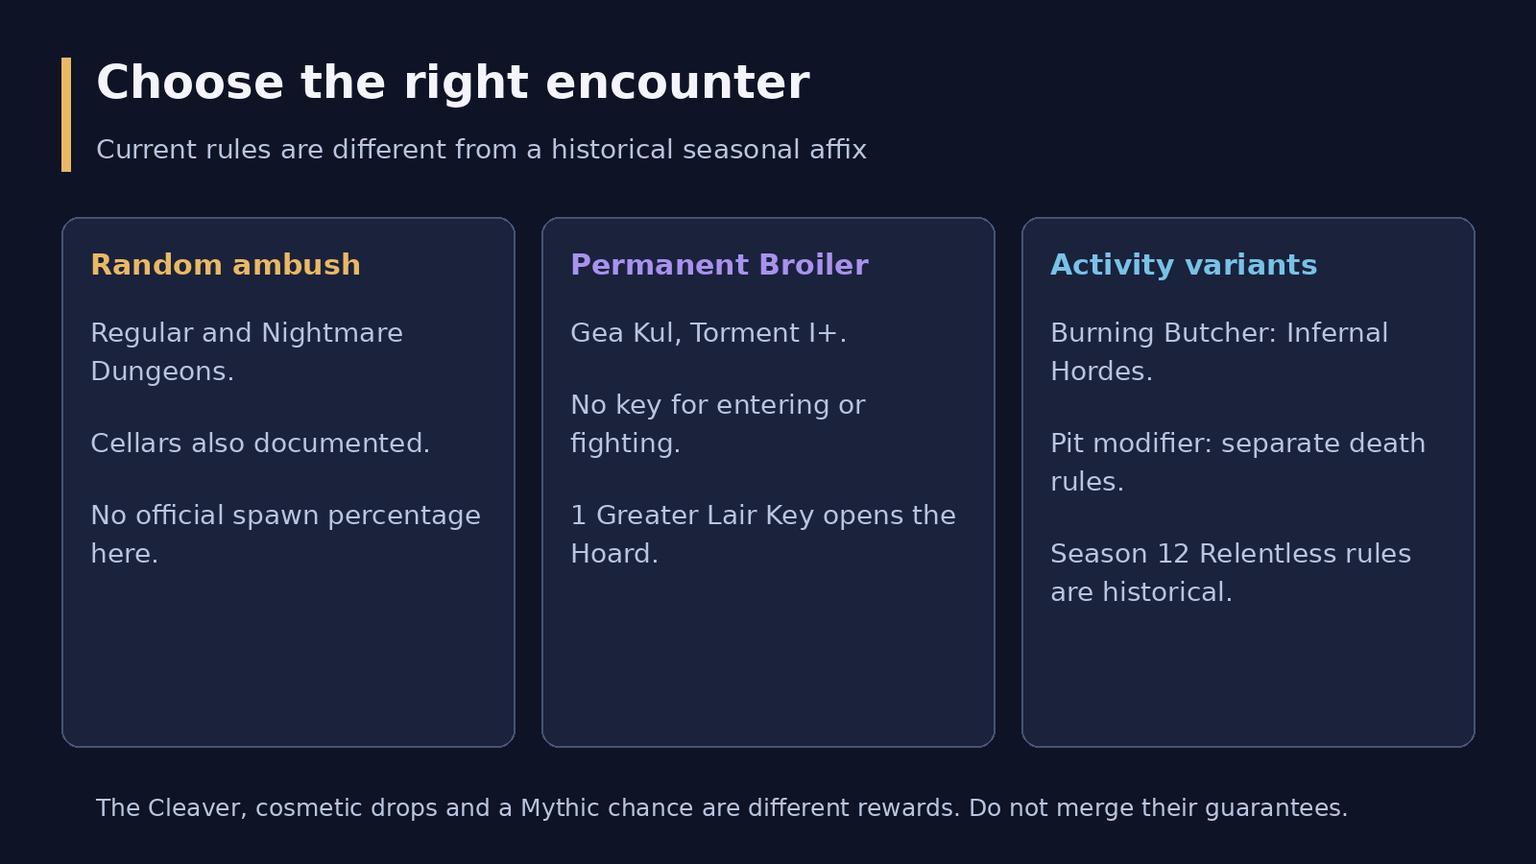
A random ambush, the permanent lair and special activity variants use different access and reward rules.
Which variants are current?
Burning Butcher belongs to Infernal Hordes; the 3.0.2 notes explicitly fixed him leaving when the player entered Stealth. Do not plan an escape or reset around that old bug. Handle his encounter within the Hordes run rather than treating it as a random cellar ambush.
Relentless Butcher came from Season 12 Bloodied Sigils and returned after being killed. Blizzard explicitly said that this did not replace the ordinary random spawn. That historical affix, player transformations, Shrines of Slaughter and Slaughterhouses are not presented here as active Season 15 features. The permanent addition was the Lair Boss, not an automatic transfer of every Season of Slaughter mechanic.
For efficient play now, pursue the lair when you want its reward pool, accept ordinary encounters during useful dungeon runs and treat activity modifiers on their own terms. Raise difficulty for rewards you can actually earn consistently, not to chase an unverified spawn bonus. If your aim is simply finishing a dungeon on an underprepared character, escaping a bad ambush can be the sensible outcome.
FAQ
Can I guarantee a fight with the Butcher?
You cannot guarantee the ordinary random dungeon ambush. You can deliberately challenge the permanent Lair Boss in The Broiler at Gea Kul on Torment I or higher.
What happens if the random Butcher kills me?
In a solo encounter he disappears, so returning does not provide the same rematch. Later dungeon runs can produce another random encounter. The repeatable lair is a separate fight.
What does opening the Broiler Hoard cost now?
Current guides list one Greater Lair Key after the boss is defeated. Entering and attempting the fight consumes no key. Pounds of Flesh instructions refer to an earlier version.
Is the Butcher's Cleaver exclusive to the Butcher?
No. It is also listed in the general boss Unique pool. The weapon, the Butcher-themed mount trophy and Fresh Meaty Barding are different rewards, and no universal cosmetic or Mythic drop guarantee applies to every Butcher variant.