The Clyteum Dungeon Guide for FFXIV: Bosses, Mechanics and Rewards
What the Dungeon Is and Why It Still Matters
The Clyteum is a level 100 dungeon from Patch 7.5 for Dawntrail. It launched on April 28, 2026, and is built for four players: one tank, one healer and two DPS. The difficulty is Normal, so you do not need raid-style memorization, but the mechanics still punish careless play.
Patches 7.51, 7.55, 7.56 and 7.57 have since followed, so this is no longer a new dungeon. It sits in the Expert roulette and remains a convenient source of tomestones and item level 765 gear. Information here is current as of 10/18/2026.
Parameter | Value |
|---|---|
Level | 100 |
Item level | 750 |
Party | Light Party, 4 players (1 tank, 1 healer, 2 DPS) |
Time limit | 90 minutes |
Modes | Duty Support, Trust, Explorer |
Roulette | Expert |
Level sync removal (unsync) | not allowed |
Phoenix Down | allowed |
Region | Ilsabard |
How to Unlock It and Where the Entrance Is
The entrance is in Garlemald, in the Ilsabard region, at X 32.1, Y 16.4. The dungeon is unlocked by the main scenario quest Two Worlds Entwined.

This is part of the Patch 7.5 story: the first part of the questline arrived with the patch and the second part came in Patch 7.56. If you follow the main scenario (MSQ), you need no side quest chain and no extra key. The story queue leads you to the gates, and you have to clear the dungeon to move on.
You need a level 100 combat job and gear of at least item level 750. If you are behind on the Dawntrail story, catch up on the main line first and then head to Garlemald.
Modes, Party Setup and Preparation
There are three ways to enter The Clyteum. Duty Support fills missing slots with NPCs, Trust runs the dungeon with a ready-made team of companions, and Explorer is a regular run with a live party and no NPC helpers. You can find the dungeon in Duty Finder under Dungeons (Dawntrail), and it is also part of the Expert roulette.
Trust grants no experience, so it is not a leveling route. It is, however, a calm way to learn the mechanics without random teammates. Level sync cannot be removed.
Bring food and potions to your first run. Mistakes here do not cause instant wipes. Instead, every failed mechanic adds a stack of Vulnerability Up that lasts 1 minute and raises the damage you take, so a careful first run beats a fast one.
Eye of the Scorpion: The First Boss
The first boss keeps the party busy with gaze and scanning mechanics. The core toolkit includes Eyes on Me, Petrifying Beam and Motion Scanner.
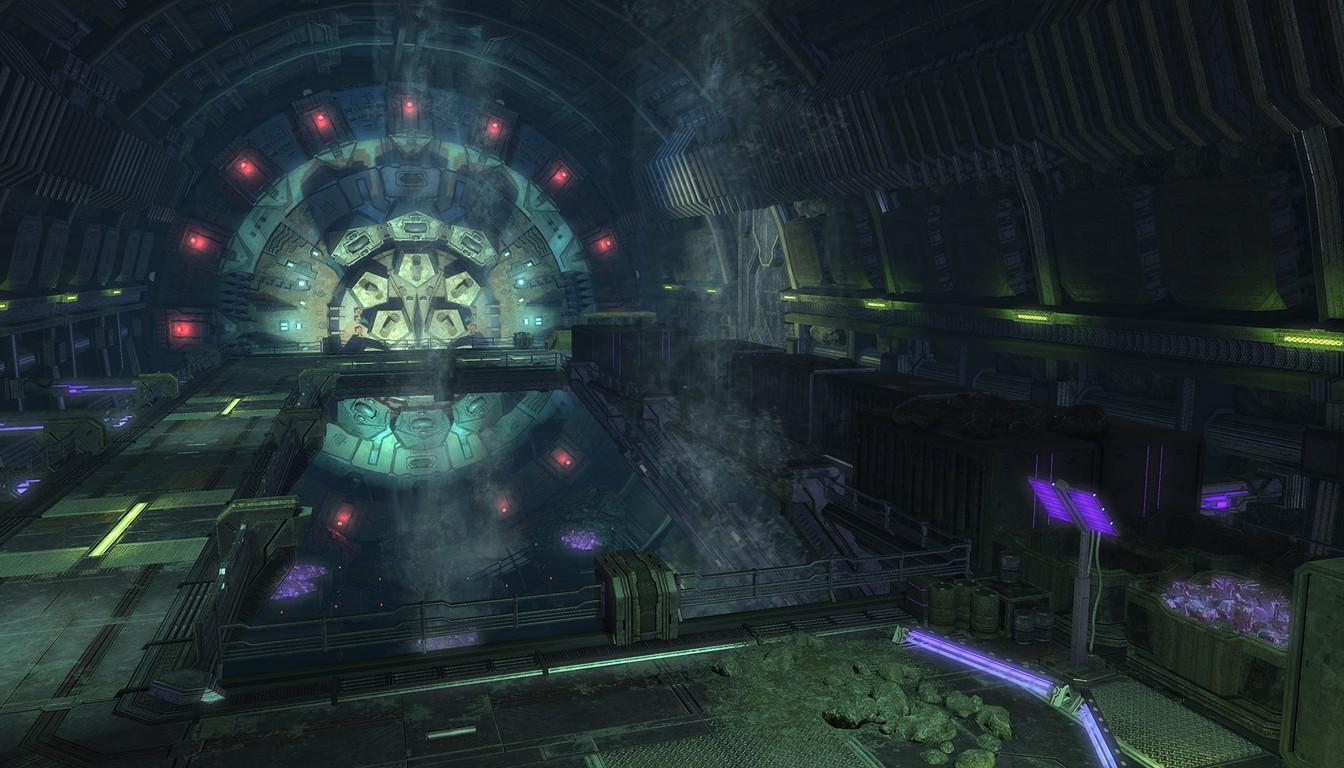
Motion Scanner matters most. While the scanning line sweeps the arena, you must not move or attack inside it. Freeze for the pass, then go back to your rotation. The rest comes down to familiar jobs: stacking up or spreading out at the right moment.
Do not chase every second of damage during the scan. A Vulnerability Up stack costs more than a missed hit.
Chort: The Second Boss
Chort mixes a knockback, towers and spreads. His kit has Ripples of Gloom, Mortifying Flesh, Bodyweight Exorcism and Evil Emission.
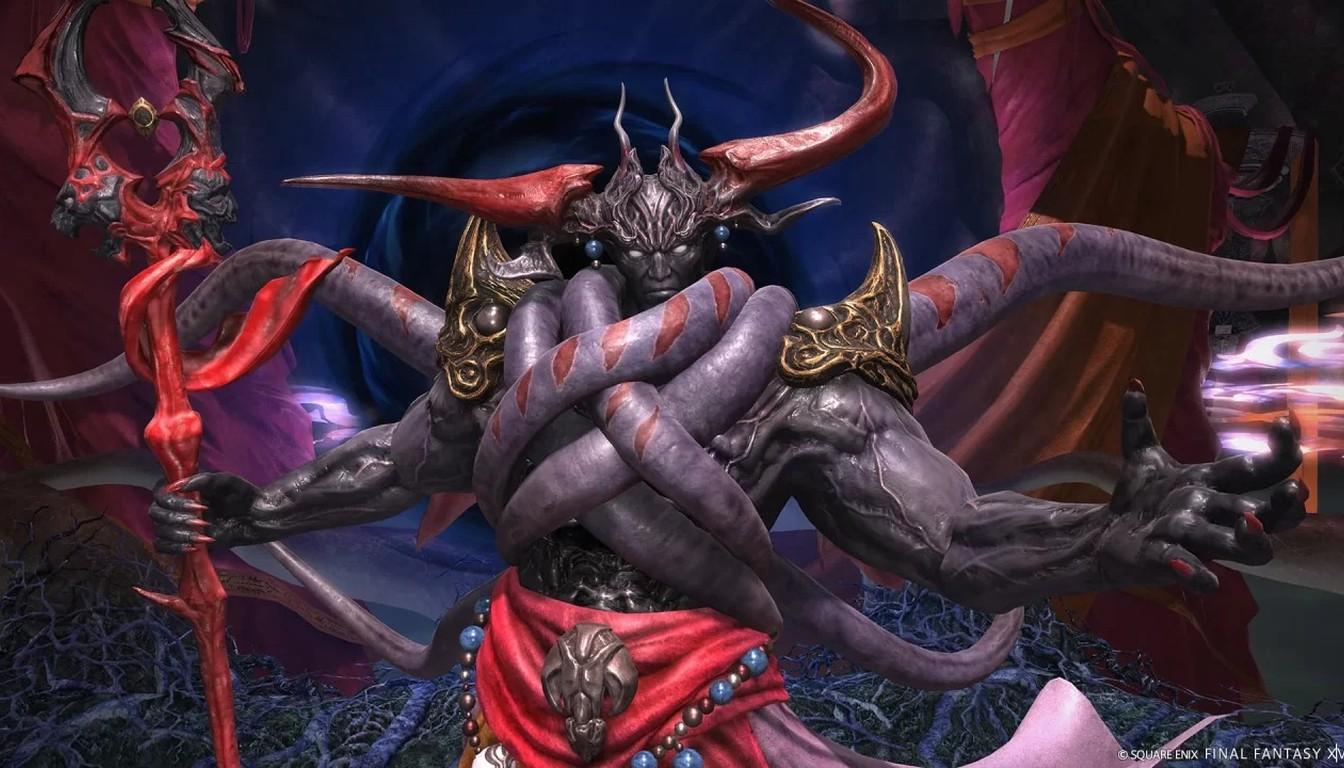
Mortifying Flesh comes with a knockback that you can avoid if you prepare for the cast ahead of time. Bodyweight Exorcism is built around four towers that need stacks, and Evil Emission sends spreads that force everyone apart.
This fight shows how stacking Vulnerability Up works. Every tower mistake leaves a stack, and several in a row make the next mechanic noticeably more dangerous.
Malphas: The Final Boss
Malphas closes the run with puppets and strings. His abilities include Rubbish Disposal, Scrap Meddle, String Up, Puppet Mastery and Wrathful Wire.
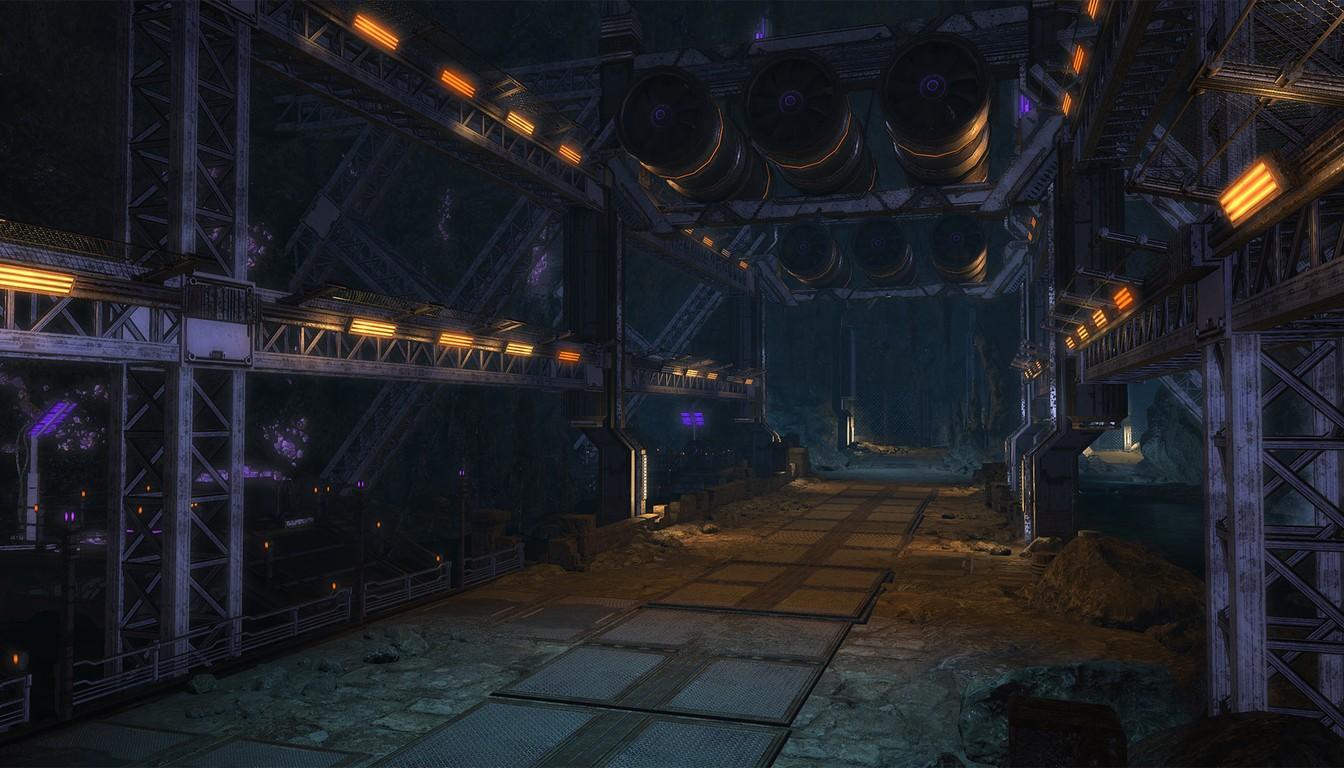
Scrap Meddle brings puppets onto the arena. String Up is a keep-moving mechanic: if you stop, you become afflicted, so keep moving until the strings clear. Puppet Mastery is followed by Wrathful Wire spreads, and the party needs to split up at that moment.
The fewer Vulnerability Up stacks you carry in from the first two bosses, the calmer this fight goes.
How to Avoid Extra Vulnerability Up Stacks
All three fights share one logic: a mistake does not kill you outright, it builds a debuff. The goal is not to execute every move perfectly, but to avoid failing several mechanics in a row.
Before the pull: agree in party chat who goes where on stacks and spreads. In Duty Support and Trust the NPCs handle this, but a live party should settle the order in advance.
During the fight: stay still and hold your attacks inside the Motion Scanner line at Eye of the Scorpion, but never stop during String Up at Malphas.
After a mistake: do not try to make up for it with a risky move. The debuff lasts a minute, and playing calmly during that time is cheaper than a second error.
Damage dealers should remember that extra damage on the boss is not worth a Vulnerability Up stack.
Rewards: What Drops in The Clyteum
The main prize is Praemagitek gear at item level 765. Each boss drops its own set of slots, plus Materia XI and XII.
Eye of the Scorpion: head, body, bracelet and ring pieces, plus Materia XI or XII.
Chort: hands, feet, earrings and necklace, plus Materia XII.
Malphas: body and legs, Materia XI, plus the Malphas Card, the Caprino minion and the Untested Voyager orchestrion roll.
For gear collectors this is a good benchmark: the entry requirement is 750, while the drops are 765. The gap is small, but if you need exactly these Praemagitek slots, the bosses drop them directly.
Besides the bosses, four treasure coffers are hidden in the dungeon. They sit at (9.5, 13.4), (11.6, 11.1), (8.7, 16.0) and (13.2, 10.4), and each holds item level 765 gear and Materia XI. No mount drops here.
A clear also pays 80 Mathematics tomestones and 50 Mnemonics tomestones, along with the achievement Mapping the Realm: The Clyteum worth 10 points. Materia XI and XII is item level 690 and goes into your gear for stat boosts.
Who Should Run It Now and How
The dungeon suits anyone who needs missing item level 765 slots and tomestones. Queue through the Expert roulette when you want speed, and choose Duty Support or Trust when you want to learn the mechanics at your own pace.
A first run needs only a few simple rules: stack when told to, spread when told to, do not stop under the strings at Malphas, and do not move in the scanner line at Eye of the Scorpion. Once the logic sinks in, the dungeon goes quickly and without stress, and three bosses plus four coffers make it a handy regular route.
One more reason not to put it off: the dungeon is tied to the main story. Anyone planning to reach the second part of the Patch 7.56 storyline has to clear The Clyteum anyway, so it is better to do it early and with decent gear.