Which Class to Pick in Gears of War: E-Day Horde Siege
Where to Start With Your Horde Siege Pick
Horde Siege in Gears of War: E-Day puts 12 players on one battlefield, split into three squads of four. Before a match you choose one of four classes: Assault, Breacher, Marksman or Medic. The class sets your loadout, a passive bonus and a Tactical Gear ability that runs on a cooldown.
There is no official class ranking in the game, so what follows is our own editorial take. It weighs what each class actually brings to a typical squad: recovery, pressure on enemies and how easy the role is to learn. The data is current as of 10/18/2026 and accounts for the Season 1 patch from October 1.
The short version: Medic pays off most reliably in a squad, Assault suits newcomers best, Breacher is for players who like fighting up close, and Marksman shines with a coordinated team and clean aim.
Your class choice is not permanent. Each class has its own progress, so you can try different roles while you learn the mode. Still, the sooner you settle on a main, the sooner you unlock its gear and mods.
How Classes and Progression Work
Every class levels separately, with a launch cap of 30. Missions award XP to the class you brought, and levels unlock loadouts, armor mods, Tactical Gear mods and weapon mods. Switching classes therefore means unlocking part of that list again.
Difficulty follows class level: Infantry is meant for levels 10-20, Commander for 20-30, and Allfather is for classes at max level. Below Infantry sits an entry tier, Rookie, for class levels 1-10. The game suggests a tier, but you can pick any of them.
Unlocked weapon mods still cost Weapon Parts. Those parts are kept only if at least one squad member extracts, which is worth remembering before a risky final push.
Class Tier List: Medic, Assault, Breacher, Marksman
We rate how dependable a class is in an ordinary squad of random players. The table shows why each class lands where it does and what holds it back.
Tier | Class | Strength | Limitation |
|---|---|---|---|
S | Medic | Brings the squad back into the fight with heals and revives | Teammates have to stay within reach |
A | Assault | Clear role, controls approaches to a position | Bad positioning wastes the cover bonus |
A | Breacher | Personal recovery for close-range pressure | Reckless pushes leave you isolated |
B | Marksman | Precision and enemy marking for the whole squad | Missed shots and poor angles hurt consistency |
The gap between A and B is small. A coordinated squad and an accurate shooter can easily lift Marksman a full step.
The tier reflects value in an average squad, not the power of a class in expert hands. If you play with a regular team on voice chat, go by roles and tasks rather than the letter in the table.
Medic: Keeping the Squad in the Fight
Stim Vaporizer heals and revives nearby Gears, including players from other squads. The passive bonus speeds up health regeneration, so a Medic also recovers faster between heals.

Stay close enough to help but keep cover within reach. Watch where your teammates actually fight: using the ability on a spot nobody can safely hold wastes it.
In practice, at the start of a wave stand just behind the front line with a view of every ally, and move with the squad rather than toward your own target. The ability then covers more players and you are less likely to end up alone in front of the horde.
Between heals a Medic should shoot. Cover the flanks and remove enemies closing on the squad, because less pressure means fewer downed teammates. When players spread out, supporting everyone gets harder, so stay near whoever is heading for the squad's objective and call out your position.
The October 1 Season 1 patch adjusted the Medic's stim duration without publishing numbers. If you remember how the ability felt before, check it again in your first matches.
Assault and Breacher: Two Ways to Pressure Enemies
Assault holds a position. Its passive bonus adds damage while in cover, and Sonic Disruptor stuns advancing enemies. Look for a spot with a good view of the approach and a way back: if enemies surround the position, you will have nowhere to retreat.
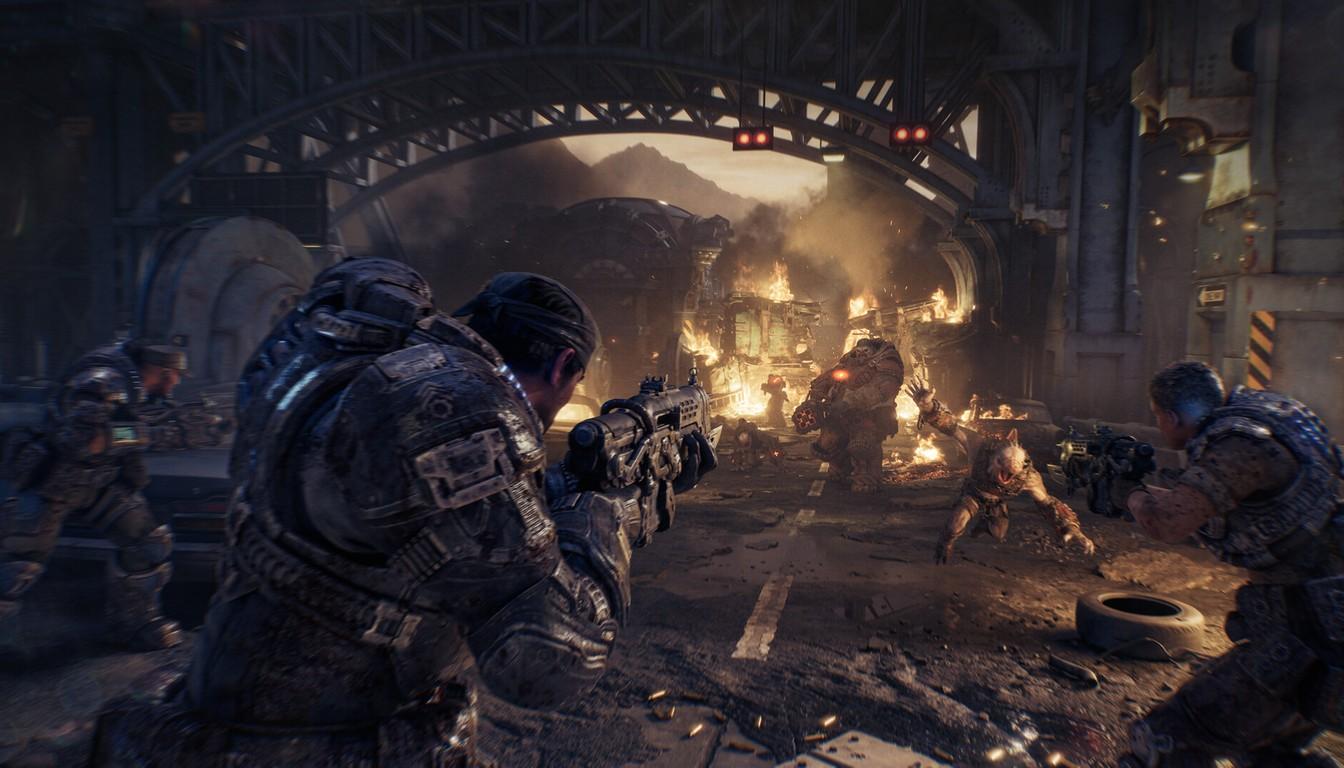
A simple routine works:
pick cover that overlooks an enemy approach and leaves a retreat route;
use Sonic Disruptor when a wave heads for your position;
finish the nearest threat, then check your flanks.
Breacher plays differently. Adrenaline Injector restores health and lowers incoming damage, and the class resists melee damage and status effects. Plan the push in advance: pick a nearby target, close in through cover and end the fight before moving again. Before you use the injector, know where your next safe spot is. If you stretch the advance too far, teammates will struggle to cover you.
Marksman: Precision and Marks for the Squad
Marksman gets increased critical damage, and Pulse Drone marks enemies for the whole squad. Treat every firing position as temporary: find an angle on a priority target, take the shot, check your surroundings and relocate once your cover stops being safe.
Go after enemies threatening the objective rather than lone targets far away. Marks help most when the squad knows who to switch to, so call out the enemy blocking a push or pressuring a teammate's flank. If your team moves on quickly and you stay put, the class loses its point.
What Beginners and Solo Players Should Pick
Beginners already juggle cover, movement and Active Reload. Assault is the best starting point because fighting from cover builds a habit you need all game. Medic, Breacher and Marksman follow in order of difficulty, with Marksman asking you to aim and track threats at once.
Solo queue players need a class that forgives other people's mistakes, so the order shifts a little:
Medic: heals and revives rescue unfamiliar teammates when a fight goes badly.
Breacher: the injector gives freedom in close combat, but plan your way back first.
Assault: the role stays clear even when teammates all play differently.
Marksman: good sightlines are hard to find when the squad moves unpredictably.
Building a Squad of Four
The classic set of Medic, Assault, Breacher and Marksman covers recovery, sustained damage, close combat and priority targets. With one of each, a squad can easily see whose role is slipping.
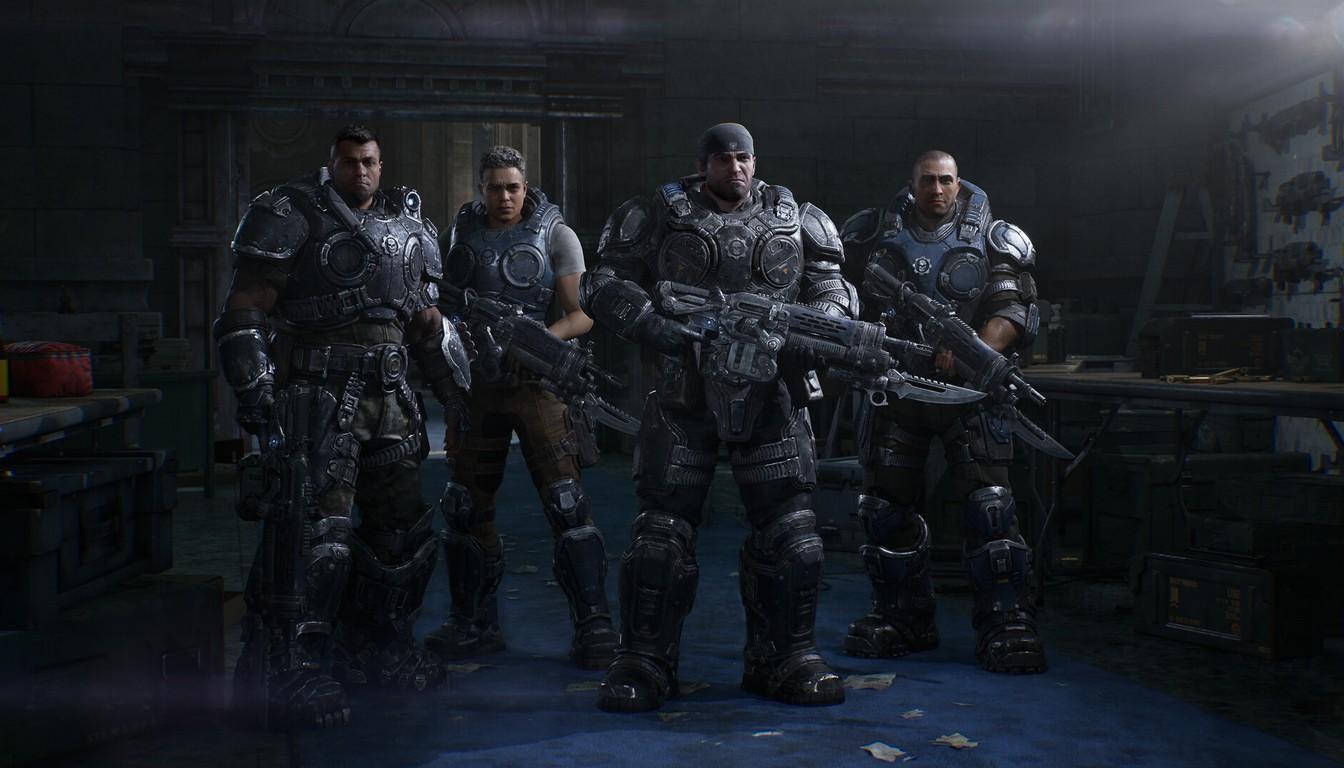
Alternatives to match your taste:
two Assaults with a Medic and a Marksman suit players who like defending from clear firing positions, as long as the two shooters split the approaches;
two Medics with an Assault and a Breacher help a group that often loses several fighters at once, though you need to keep pressure on incoming enemies.
If your squad is made of random players, do not demand a perfect lineup. One Medic on the team is enough: other roles get covered as the match goes on, while long fights without recovery are noticeably harder.
Players report that duplicate classes are allowed, so you can tune the lineup to favorite roles and mission goals. Character skins do not affect your class.
Matching a Class to Your Problems
Before deciding which class is best, think about what usually goes wrong in your fights. If teammates keep going down around the objective, take Medic. If you want a clear routine while learning movement and reloads, take Assault. If you enjoy closing the distance and picking your moment, Breacher is your class. If you land accurate shots from protected spots, Marksman uses that best.
Level your chosen class before moving to Commander and Allfather, since progress unlocks the gear and mods you will clearly miss on higher difficulties.
A sensible order: start on Infantry until the class reaches level 20, then move to Commander. Save Allfather for when the class is at max level and the main weapon mods are unlocked. That way you will not face enemies you have nothing to answer.