Marathon: How to Win PvP Fights Solo and in a Squad
What Actually Wins a Fight
Marathon PvP rests on four things, in order of importance: sound, positioning, Shell abilities and, only then, weapons. A good aim helps, but it does not replace knowing where the enemy is and what they can do.
Fights are short, and players report that the first accurate shot often decides them. That means you have to win before the first shot: hear the opponent, take a favorable spot and understand how they can answer.
Context as of October 17, 2026: the Shell roster is larger than in early guides. Season 2 (June 2, 2026) added Sentinel, and another Shell is due with the Symbiosis update on December 8. Weapons have shifted too: Season 2 brought a full balance pass across every category, and the October 6 Nightfall Refresh reset progression. So this guide focuses on tactics that do not depend on one specific build.
Sound Is Your Main Source of Information
Marathon leans heavily on audio. Almost everything players and UESC forces do makes a distinctive noise, so play with headphones and learn to tell the sources apart. The cues below are player observations, not hard game rules.
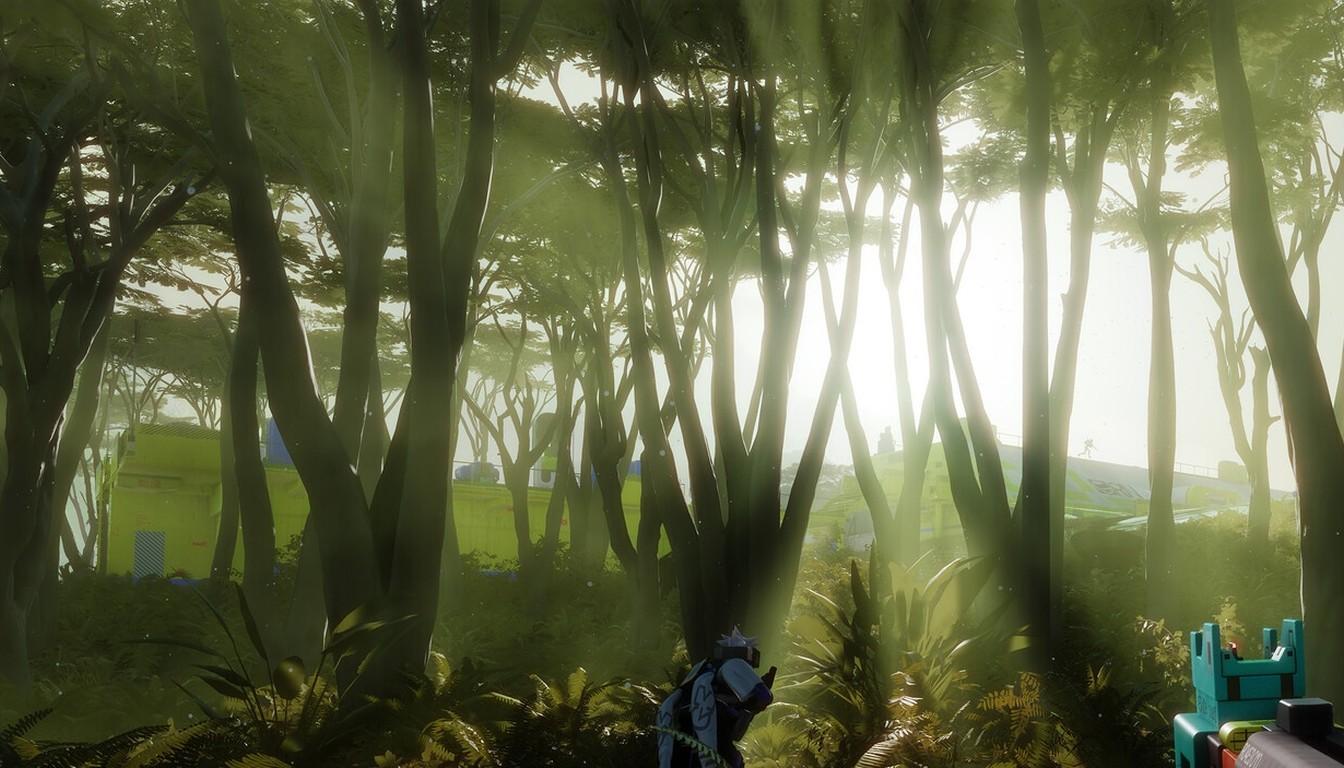
Birds. A startled flock takes off and shrieks from the direction where something disturbed it, a hint that someone is nearby.
UESC forces. If you are not shooting and an alarm still sounds, someone nearby opened a door, broke a window or dropped from a height.
Turrets. A turret switching on when you did not trigger it means another squad is around.
Spores. A green glow and a hiss give away a rushing player who did not watch their step.
Doors, healing, extraction calls. All of it carries far, and even crouch-walking is not silent.
In a fight, enemy footsteps sound noticeably louder than your teammates' steps, which is an easy way to tell where danger comes from. Players also suggest watching for lightning on Perimeter and Outpost and for the flashlights and signal flares of Night Marsh, but treat these as hints rather than exact markers. If you hear nobody and UESC alarms keep going off in one zone, someone may be holding an ambush there.
Positioning, Disengaging and Match Size
Positioning settles the fight once sound has given you information. Players swear by these basics, and they fit any Shell.
Height. The high ground gives an edge over whoever is below.
Change your angle. After your first shot the enemy knows where to look. Move quickly, and in a squad send one player around to a different side.
Do not rush the loot. Gunfire draws third parties. Change position and look around first.
Respect abilities. If you hear an enemy use a Prime ability, hide or back away instead of fighting on their terms.
Grenades as pressure. They are for forcing the enemy to move, not for landing hits.
Break away from ambushes. If you are caught off guard, retreat with smoke, a dash or a grapple instead of trading fire in the open.
Count the squads. Teams are capped at three players. Perimeter hosts 15 players (5 trios) and Dire Marsh about 18 (6 trios). For other maps, go by the lobby in the game. Cryo Archive requires Runner level 25 and all six factions, and its weekly access window has changed several times, so check it in-game.
A word on Rook: it is a solo scavenger Shell with no loadout that joins a match already in progress. Even if you think you are the last squad, do not relax.
Shells: Defense and Abilities
Every Shell has a way out of a bad fight, and PvP is built on those abilities. The table covers seven Shells, but it is not the full roster.
Shell | What it offers in a fight | How to use it |
|---|---|---|
Destroyer | Riot Barricade (an energy wall) and Search and Destroy (missiles at already damaged targets, immobilizes them) | Finish targets that are already hurt. Tactical Sprint costs extra heat |
Vandal | Amplify (more speed and weapon handling, less heat) and Disrupt Cannon (pushes enemies back) | Reposition and disengage at speed |
Recon | Echo Pulse (reveals nearby hostiles) and Tracker Drone (tracks and explodes) | Scout first, shoot second. The Shell has little defense |
Assassin | Active Camo (invisibility, broken by attacks, damage and abilities) and Smoke Screen (a vision-blocking smoke line) | Approach unseen or blind the enemy |
Triage | A medical drone heals and shields; with Battery Overcharge active, breaking an enemy shield with a Volt weapon causes an EMP | Shines in a squad and revives up to two teammates |
Thief | Grapple, X-Ray Visor (sees enemies in line of sight) and Pickpocket Drone | A versatile looting Shell, but avoid the drone when solo |
Rook | Solo scavenger with no loadout | Appears in a running match and relies on surprise |
The practical takeaway: know the enemy's key ability as well as your own. That tells you whether to hide, back off or attack while it is on cooldown.
Weapons and Consumables
Weapons come second here, and the list of strong models keeps changing. Patch 1.0.6.1 nerfed the WSTR shotgun so it no longer downs a blue-or-higher shielded target in two shots at close range, and version 1.0.5.3 cut Bubble Shield HP by a third. After the Season 2 balance pass, check specific models against the current patch.
It is safer to choose weapons around your Shell. Triage benefits from Volt weapons thanks to Battery Overcharge. Mobile Shells like Vandal, in players' view, pair well with light guns that do not slow you down. Recon, with its scouting kit, logically pairs with long-range weapons, while Destroyer, with its barricade and missiles, suits close fights and long exchanges.
Do not neglect consumables. Signal Jammer disrupts enemy tracking and scanners, and Energy Amp greatly speeds up the recharge of Tactical and Prime abilities. Access to some consumables depends on faction progress, which is easier to build through Contracts, while seasonal rewards come through the Battle Pass.
Common PvP Mistakes
The list is short, and even experienced players repeat almost all of it.
Finishing a downed enemy without checking your surroundings: while you are busy, you are exposed too.
Forgetting consumables and leaving abilities idle.
Underestimating an opponent: a sniper at range is dangerous even if they look clumsy.
Charging in alone while teammates lag behind.
Playing like a generic shooter and forgetting your Shell's abilities.
Reviewing your own deaths pays off: after each loss, ask what you heard and what you missed. For outside help, Coaching with an experienced player can speed things up.
Solo and Squad Play Follow Different Rules
The game has a solo queue, and teams are capped at three (solo, duo or trio). There is no dedicated duo queue, so a party of two may be filled. Many players feel Marathon is built for groups first, but solo works with careful play.
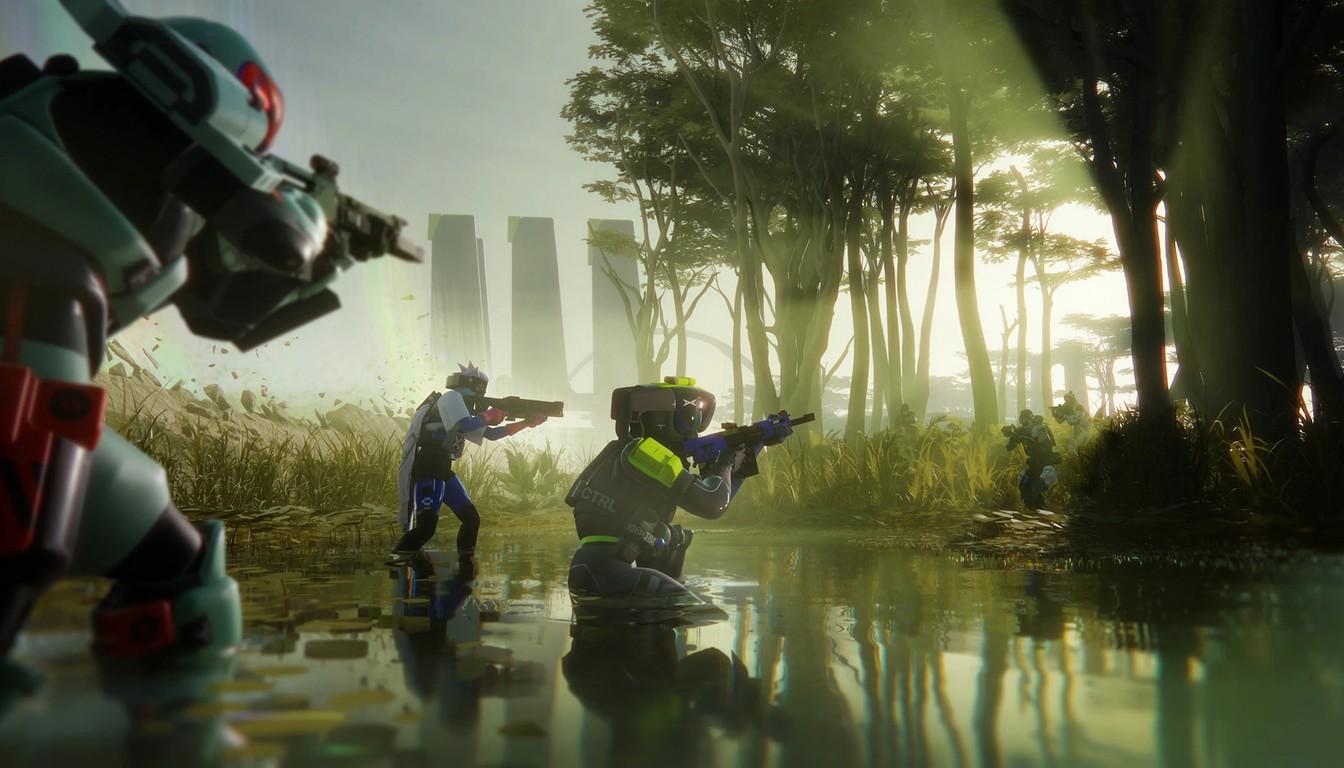
Solo. Listen more, run less and stay near cover. The free kit gear is basic, so avoid long firefights with it. Do not loot a kill right away, look around first. A decent trick is false information: open a door, startle the birds, then slip away to another spot. Thief and Assassin suit early runs, and Destroyer and Vandal reward confident mechanics.
Squad. Communication is a squad's key weapon. Call out risky moves, grenades and suspicious sounds. Stay close but not clumped: too far apart and you get picked off one by one, too close and you get pinned together. Open with scouting and shield damage rather than a blind rush. If a teammate falls and the fight is going badly, back off and return to revive them later.
No regular team and want a reliable partner? You can team up with a pro through Rent a Booster. To unlock new options faster, Power Leveling can help.