Explosive Shot Deadeye in Path of Exile 2: Crossbow Blasts
How the Build Works and Who It Suits
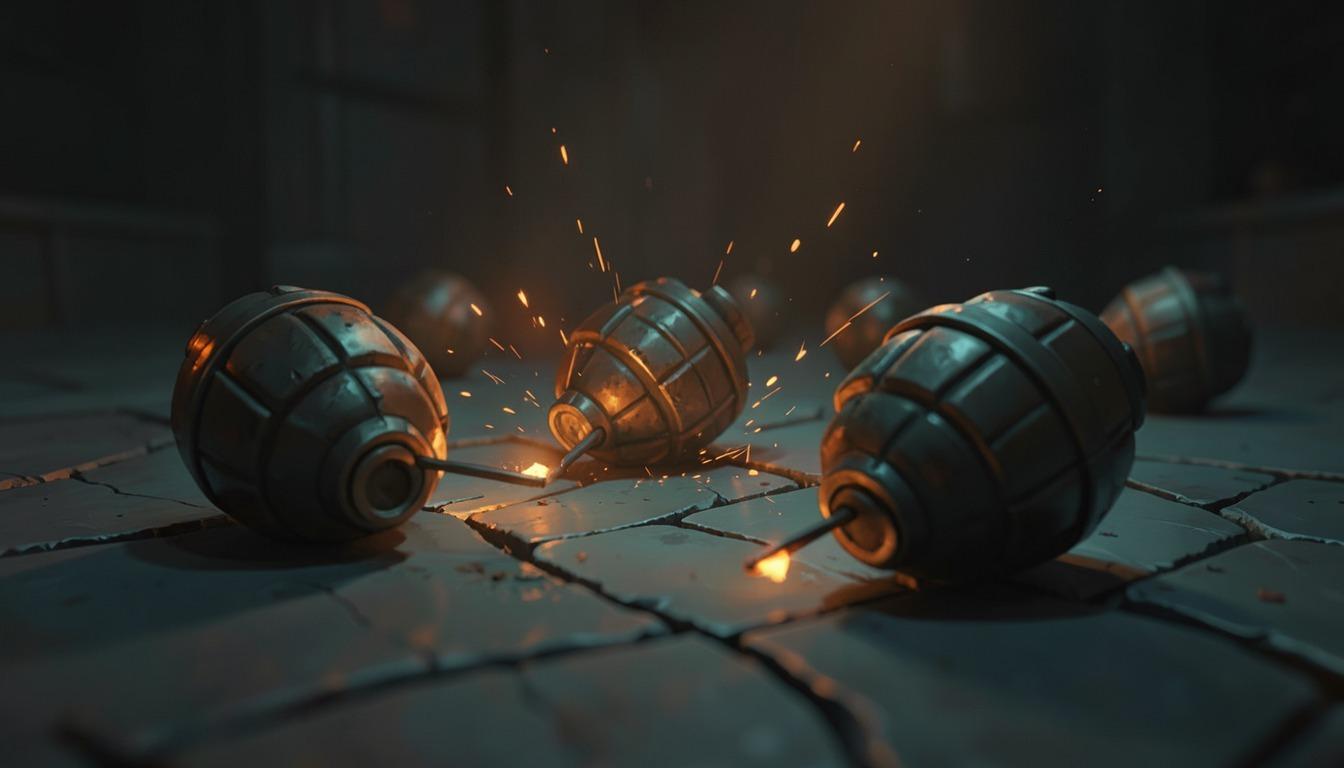
This is a crossbow build for Deadeye where all the damage comes from fire and lightning explosions. Explosive Shot fires flaming bolts that detonate on impact, and the blast sets off any Grenades inside its area. That is the whole loop: lay down grenades, then pop them all with one shot.
The description fits patch 0.5.5 Forbidden Rites, which launched in September 2026. Players call the build newcomer-friendly, but it needs decent gear and several buttons rather than a single-skill rotation.
If other Ranger options appeal to you, take a look at the Lightning Arrow Deadeye build or the Deadeye Gas Arrow build. The same skill on a different ascendancy is covered in the Explosive Shot Witchhunter version, and simpler picks live among the league starter builds.
Skills and Their Roles
The build rests on five active skills and a few background buffs. Grenades only work with a crossbow, so swapping weapons breaks the whole setup.
Skill | What it does |
|---|---|
Explosive Shot | Main shot, flaming bolts explode and detonate nearby grenades |
Explosive Grenade | Bouncing grenade that blows up in fire after a short fuse; 3 second cooldown, stores up to three uses |
Gas Grenade | Leaves a poison cloud that, per the skill description, ignites from burning effects or detonator skills |
Rapid Shot | Fast firing; players describe it as building Heat and blocking fire until the Heat is spent |
Mirage Deadeye | Creates a Mirage that repeats your ranged skills |
Herald of Thunder, Wind Dancer, Ghost Dance | Background buffs: lightning and evasion-based defense |
For supports, players mostly pick what boosts projectiles, elemental damage and grenade area, and add lightning conversion on top. Exact setups depend on your sockets and budget, and the gems themselves are easiest to collect through Uncut Skill Gems and Uncut Support Gems.
Rotation for Maps and Bosses
Maps are simple. Turn on your background buffs, throw Gas Grenade into a pack, fire Explosive Shot and keep moving while you keep shooting. The gas cloud catches fire from the blast and finishes off whatever is left.
Bosses need a tighter sequence, and order matters.
Activate Mirage Deadeye before the fight starts.
Throw Gas Grenade under the boss.
Toss several Explosive Grenades into the cloud while you have charges.
Start Rapid Shot to ignite the gas.
Fire Explosive Shot to detonate every grenade at once.
Repeat as soon as your grenade charges recover. Watch the Heat on Rapid Shot, or your firing will lock up at the worst moment.
Deadeye Ascendancy
Four ascendancy nodes form the core of the build. Endless Munitions unlocks only after Projectile Proximity Specialisation, and the range choice is worth making deliberately, since you build your positioning around it.
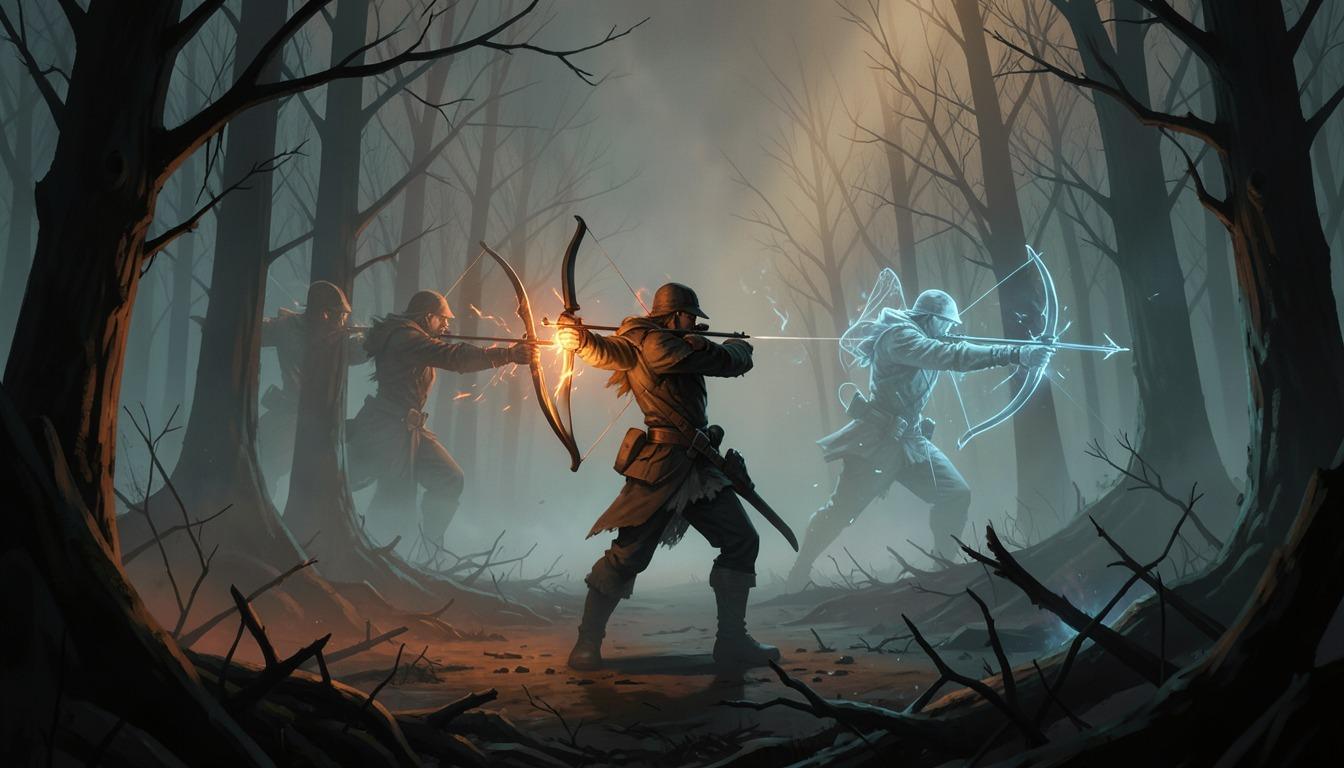
Gathering Winds. Grants Tailwind when you use a skill, and the effect drops when you get hit. The bonus works while nothing hits you, so keep your distance.
Projectile Proximity Specialisation. You pick one, Point Blank or Far Shot. The node gives 20% more hit damage depending on distance, so build your positioning around it.
Endless Munitions. Requires the previous node and adds an extra projectile to each skill. For grenades and Explosive Shot that means more projectiles per use.
Mirage Deadeye. Grants the meta skill that makes a Mirage fire your socketed ranged skills for a short time after you shoot.
Passive Tree
Build the main tree around projectiles, elemental damage, grenades, attack speed, evasion and movement speed. Build write-ups mention nodes like Grenadier, Cluster Bomb and Demolitionist, with Blur and Freedom of Movement for defense. Check exact names against the tree in game.
Grab the grenade and projectile clusters first, then evasion, and only then the small bonuses. If you are unsure about your point order, order a Build Check, and for a ready-made setup within your budget there are a Custom Build and an Improve Build service.
Gear
A starter set looks like this.
Weapon. Siege Crossbow.
Helmet and body armour. Sorcerous Tiara and Corsair Coat.
Gloves and boots. Valako's Vice and Drakeskin Boots, with movement speed on the boots.
Jewelry. Two Prismatic Rings and a Jade Amulet.
Charms. Ngamahu's Chosen and defensive charms of your choice.
The Headhunter belt is the best pick for clearing maps but is not mandatory. It is an expensive unique that steals the mods of rare monsters, and any rare belt works until you afford it. For a quick gear setup, Leveling Gear can help, and Headhunter itself can be ordered separately.
Divine Orbs are useful for tuning mod values, while Chaos Orbs and Exalted Orbs handle rerolling and adding mods on rares. Players advise refining stats as you progress: physical and lightning damage on the weapon, flat damage and rarity on rings, movement speed on boots.
Defense, Spirit and Resistances
The build is squishy without defensive layers, so keep your distance on purpose. Cap resistances at 75% and patch gaps with runes. Body armour and boots provide most of your evasion, so spend your best mods there.
Players put the Spirit target for the buffs at around 150, with part of it coming from the amulet and body armour. If you are short for your buffs, Uncut Spirit Gems can help. Players advise taking Acrobatics only once evasion with Tailwind reaches 13-15 thousand: before that it costs more than it gives.
On Maps, avoid burning ground modifiers, especially before your defensive layers are in place.
Pros, Cons and Verdict
The strength of the build is that explosions work equally well on packs and bosses, and the grenade setup is easy to grasp. The weaknesses: it needs good gear, uses many buttons, and the character is fragile without defensive layers.
If you enjoy explosions and are ready to watch your positioning and shot order, the build balances clearing and boss kills. If you want single-button play, look at other Ranger options.