Grenade Mercenary Build (Witchhunter) for PoE 2
Who This Build Is For and What to Expect
The Grenade Mercenary on the Witchhunter ascendancy is built around a crossbow: you scatter grenades across the field, then set them all off with a single shot. The result is fast pack clearing, solid crowd control and explosive damage against bosses.
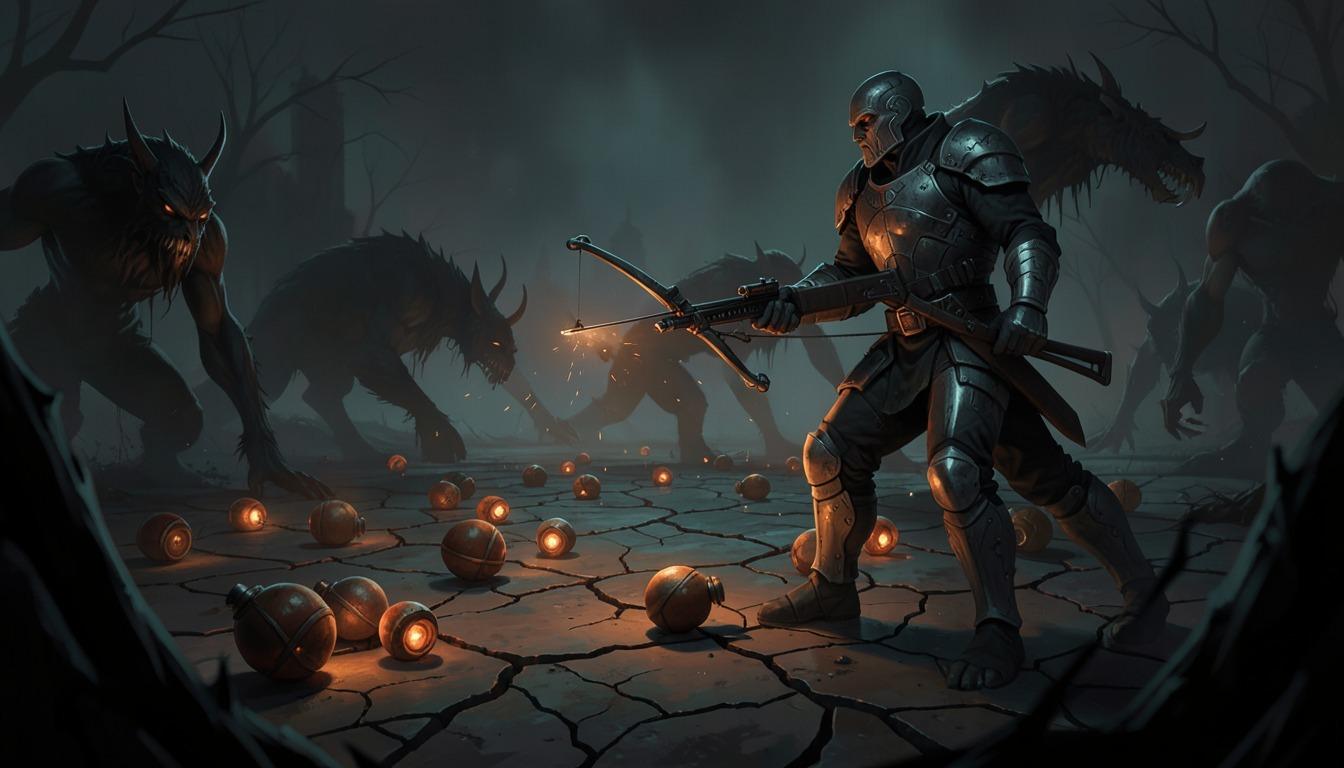
The entry bar is low. Gameplay comes down to two or three buttons and the gear requirements are moderate. The downsides are low movement speed, a need for good positioning and noticeable mana pressure until the setup comes together. That makes it a good pick for newcomers and league starters who want an explosive playstyle without complicated mechanics.
As of October 16, 2026, the current version is 0.5.5 (the Forbidden Rites event league, launched September 4, 2026). No balance changes were reported for it, so the setup below stays valid as players currently run it. If you are just starting out, power leveling gets you to the point where this build comes alive.
Skills and Rotation
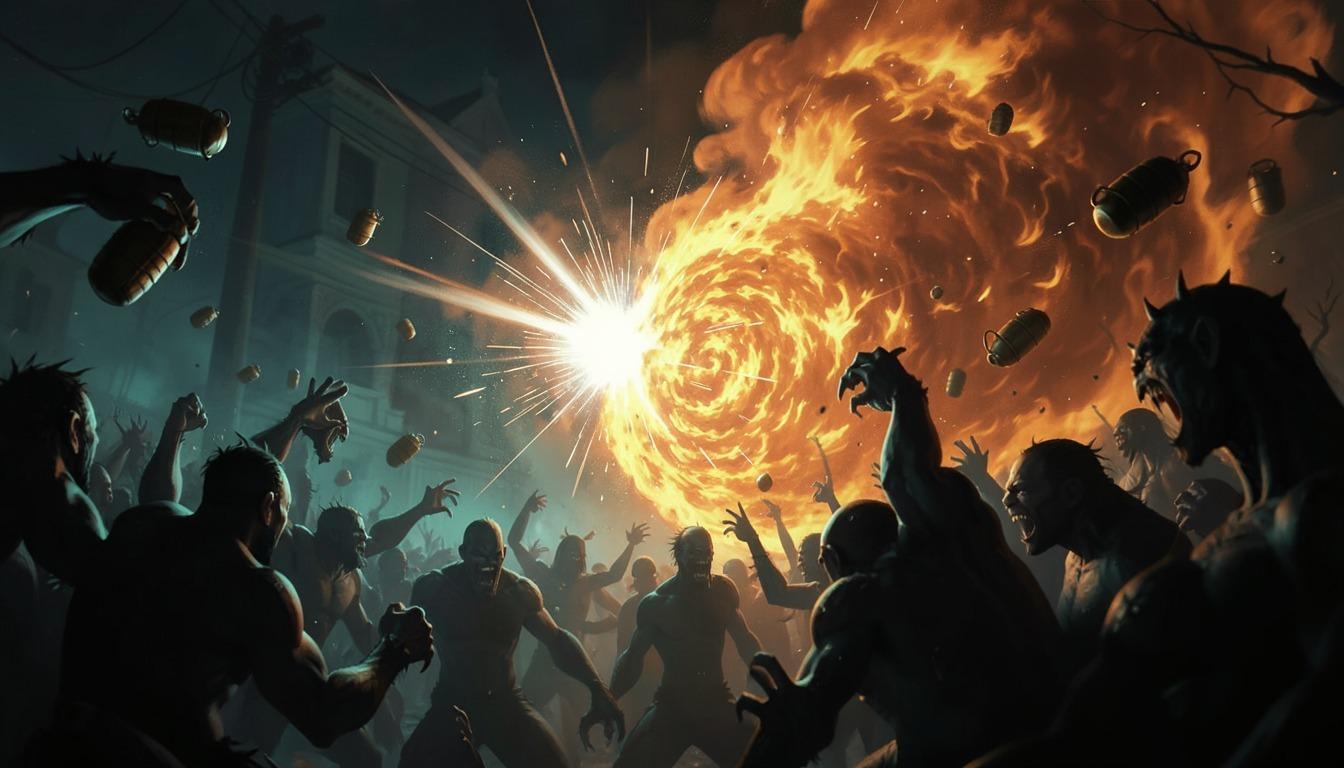
The core idea is simple: grenades act as mines and Explosive Shot acts as the detonator. The more grenades lie in the shot's area, the bigger the combined blast, so short cycles of throw, shoot and reposition feel best.
All grenade skills in PoE 2 require a crossbow, and Explosive Shot detonates grenades in its area. The rest of the kit covers defense, control and buffs.
Skill | Role in the build |
|---|---|
Explosive Grenade | A bouncing grenade that explodes into fire after a short fuse; the main boss damage tool |
Explosive Shot | A shot that detonates grenades in its area; the main clearing button |
Flash Grenade | Blinds and stuns enemies when it explodes |
Cluster Grenade | Explodes and drops smaller grenades |
Sorcery Ward | A defensive barrier granted by Witchhunter |
Herald of Ash | Per player descriptions, overkill kills cause explosions that burn nearby targets |
Wind Dancer | Per player descriptions, builds evasion and pushes enemies back with a blast when you are hit |
War Banner, Eternal Rage | Per player descriptions, the banner boosts team damage, speed and accuracy, and Eternal Rage regenerates Rage |
Support gems are chosen per skill. Grenades typically run Cooldown Recovery II, Magnified Area II, Elemental Armament II and Defy II, Flash Grenade adds Freeze, Embitter and Cold Penetration, and Explosive Shot pairs with Multishot II and Innervate. These are popular community picks rather than hard rules, so adapt them to your items. It helps to have the right uncut skill gems and uncut support gems ready before you start.
Map clearing. Players suggest throwing Flash Grenade at small enemies for the extra cold damage bonus, then clearing with Explosive Shot. With the right setup, the shot reportedly has no cooldown.
Bosses. Lay down 5-10 Explosive Grenades before the boss becomes active and detonate them with one Explosive Shot. Players report that this setup cuts grenade costs close to zero, so mana does not stop you from building up a stockpile.
Witchhunter Ascendancy and Defense
Witchhunter provides both protection and damage bonuses. Its key nodes work as one package.
Obsessive Rituals. Grants the Sorcery Ward skill but lowers Armour and Evasion. Without this node the build loses its defensive core.
Ceremonial Ablution. Strengthens Sorcery Ward.
Witchbane. Enemies gain a Concentration bar equal to 40% of their maximum Life. Your hits break it, and if an enemy goes 5 seconds without losing Concentration, it regenerates at about 10% per second.
No Mercy. Your damage grows as the target's Concentration drops. The exact bonus differs between descriptions, so go by the value shown in game.
In practice, the ward absorbs the first elemental hits while you throw grenades, and blinded or stunned enemies reach you less often. The build bets on control rather than thick armor.
Players report that Sorcery Ward was toned down in patch 0.5.4b. If the ward feels weaker than in older guides, that may be why; resistances and evasion can make up the difference.
Passive Tree and Attributes
The build needs area damage, a mana reserve and a little durability. Players recommend picking the grenade-focused nodes first: Grenadier, Volatile Catalyst, Repeating Explosives, Cluster Bombs, Demolitionist and Reusable Ammunition. For speed and control, add Spray and Pray, Run and Gun, Sand in the Eyes and Blinding Flash.
For survival, take Feel no Pain, Battle-hardened and Distracting Presence. Work through the tree in zones instead of chasing distant nodes: damage and mana first, defense after. You can shift the order to match your level, since fast clearing matters more early on and defensive nodes become relevant closer to maps.
Attributes. Put most points into Dexterity so you can wear the gear you need, then send the rest into Strength for maximum Life.
Gear and Stat Priorities
A popular setup among players: Constricting Command helmet, Hyrri’s Ire body armor, Massive Step gloves, Atziri’s Step boots, a Siege Crossbow, an Absent Amulet and a Breach Ring. For consumables, players use Ultimate Life Flask, Lavianga’s Spirits and charms such as Rite of Passage, Staunching Charm and Thawing Charm. Treat this as a guide rather than a mandatory list, since the build also works on cheaper items.
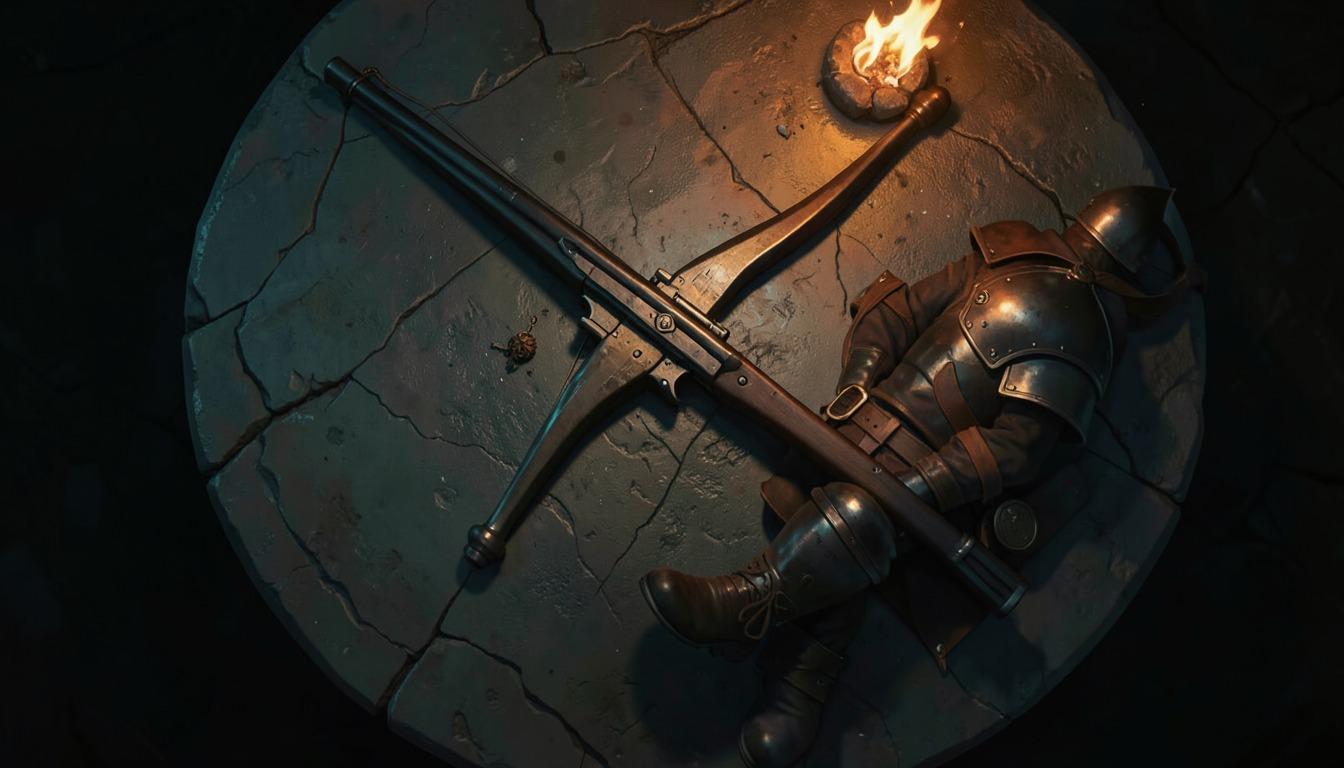
Crossbow. Ideally, +1 to Grenade with a fractured top-tier lightning modifier, then elemental damage, Attack Speed and Reload Speed.
Amulet. +3 to Projectile Skills and at least 60 Spirit from implicits and modifiers. Uncut spirit gems are a convenient way to cover Spirit.
Rings. Flat elemental damage, Life Leech, Mana Leech and resistances. An expensive Breach Ring with several top-tier modifiers is optional.
Defense. High Evasion and Deflection Rating, especially while moving.
Upgrade in this order: crossbow, amulet, defensive pieces, and only then expensive crafts and corruptions. Early on, leveling gear is enough, and crafting calls for Exalted Orbs, Chaos Orbs and Divine Orbs.
Atlas and Maps
In the Atlas, players most often pick High Road, Quantity of Waystones Found and Increased Monster Pack Size: more waystones and bigger packs mean more rewards from every map. Dense groups are especially good for grenades, since one blast covers many targets.
Patch 0.5.5 changed Atlas progression, so check node names and positions in game. When you are ready for harder maps but short on farming time, you can rent a booster.
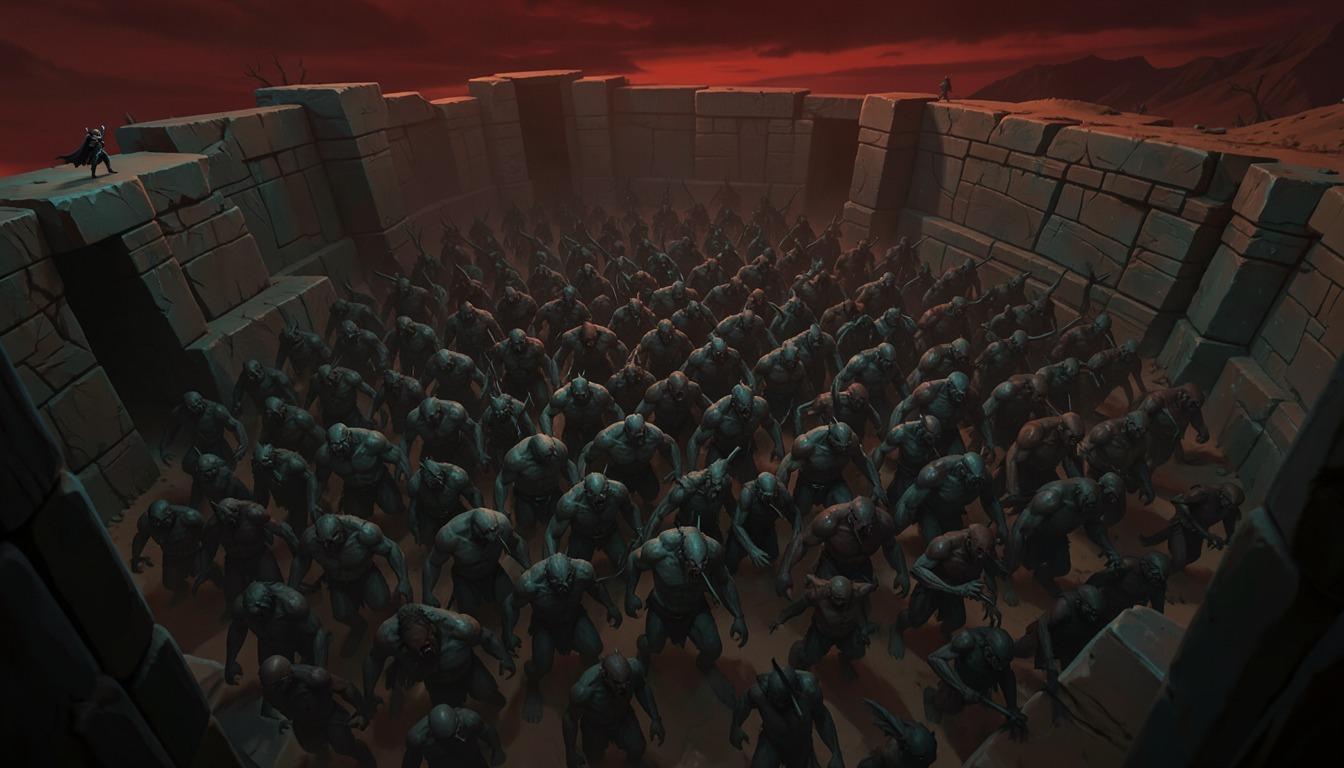
A practical tip: start with maps where monster groups are dense and stay put. Explosions pay off fastest there, while open maps with spread-out enemies take more throws and more time.
Common Problems and Quick Fixes
Running out of mana. Get a good mana flask and gear with regeneration, and clear packs as fast as you can: the sooner enemies drop, the less you spend. A mana on kill modifier on a craft helps too.
Weak single-target damage. Without a good crossbow, boss damage drops. Invest in the weapon and lay grenades before the target becomes active.
Positioning trouble. Grenades are slower than instant spells, so keep your distance, stun with Flash Grenade and push enemies away with Wind Dancer.
Low speed. The build is not fast, and that is the price of its damage. Pick boots and modifiers with movement speed and avoid running through packs: throw grenades ahead and detonate from a safe distance.