Ice Shot Deadeye in PoE 2: Freeze, Shatter, Snipe
The Archer Who Freezes Everything on Screen
Ice Shot Deadeye is built around a single skill. The Ice Shot arrow bursts into a cone of ice shards on hit, enemies get chilled and frozen, and Herald of Ice turns the death of frozen targets into explosions that wipe out packs. The loop is short: keep your distance, shoot, freeze, finish.
Players often pick it as a league starter build because it needs no mandatory uniques. By player reports, rare gear is enough to clear maps up to T15, and past that the bow and crit damage do most of the work. Treat that as a rough target, since results depend on your gear and Atlas.
What matters right away. Ice Shot is a Tier 9 skill gem that arrives later in the campaign, so the early acts use other bow skills. A high-damage bow is the best upgrade at every stage. The weak point is dependence on freezing and positioning, because without them the character is fragile. This breakdown covers the current Return of the Ancients league.
The Campaign Before Ice Shot
Until Ice Shot unlocks, Lightning Arrow handles clearing and Lightning Rod helps against campaign bosses. You switch skills once, while the bow, the Ranger passives and the attribute needs stay the same.

Once the gem drops, put Ice Shot in your main link and add supports. New gems come from Uncut Skill Gems and Uncut Support Gems. Players usually level hybrid Dex and Int supports first, since they stay useful whatever link you move to.
Swap your bow often, roughly every 5-10 levels, because a weak weapon drags down damage more than any other slot. If you would rather skip the acts, you can order Power Leveling or a Campaign Boost and start mapping right away.
Skills and Support Gems
The build runs on a small set of skills, each with its own job.
Ice Shot - the main clear skill and the source of your freezes.
Snipe - a heavy single shot for bosses and frozen rares, wasted on ordinary packs.
Herald of Ice - explosions on frozen enemies, the engine of your clear.
Freezing Mark - a mark on a target that lasts about 20 seconds per player reports, so keep refreshing it.
Barrage and Tornado Shot - the burst window against bosses.
Ice-Tipped Arrows - a projectile buff before the fight.
For Ice Shot itself, players commonly use Elemental Armament, Ice Bite, Cold Attunement, Longshot and Rapid Attacks. Upgraded versions of these supports add damage, so swap them in later. While gems are scarce, take the ones that work in any situation.
Rotation for Maps and Bosses
Maps are almost automatic. At the start of an area, put Freezing Mark on a rare enemy and fire Ice Shot into the crowd while Herald of Ice does the rest. Reapply the mark when it drops, especially after a long chase.
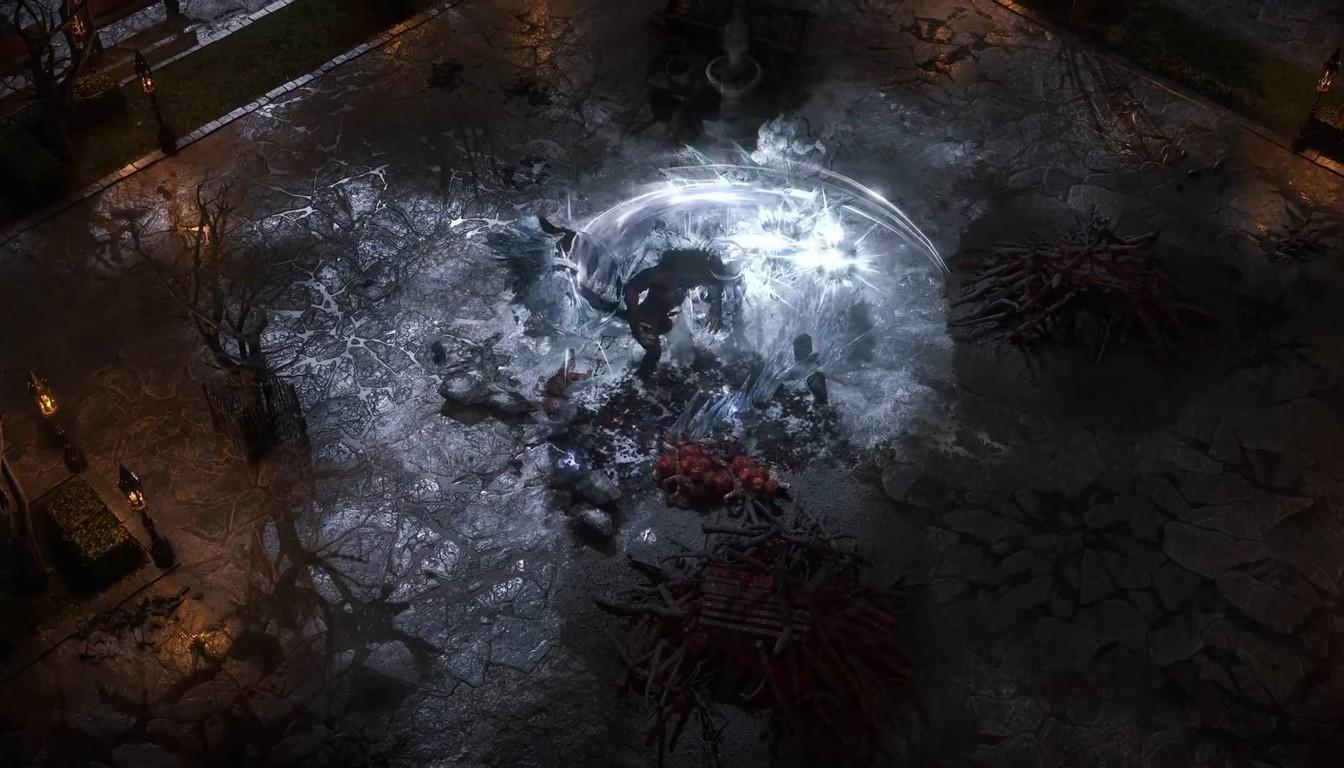
Bosses call for a stricter order. Players describe this sequence.
Place Tornado Shot on the ground ahead of time.
Activate Ice-Tipped Arrows.
Fire Ice Shot until the boss is frozen.
Switch on Barrage and fire Snipe right away into the frozen target.
Make sure a fresh Tornado Shot is down before the next window.
If you want bosses handled without extra attempts, there is a Boss Kill service. For your own runs, the rule is simple - Snipe only frozen rares and bosses, and leave regular packs to Ice Shot.
Passive Tree and Deadeye Ascendancy
The tree is built around projectile damage, cold, attack speed, evasion and crits. There is no mandatory keystone, and the strength comes from many small nodes. Check the exact node order against an up-to-date planner while you level.
For ascendancy, players usually recommend this order.
Projectile Proximity Specialisation - the first pick in the order players recommend.
Endless Munitions - your skills fire an additional projectile, good for both clear and single-target damage.
Gathering Winds - grants Tailwind when you use a skill, but all Tailwind is lost when you get hit.
Mirage Deadeye - adds the Mirage Deadeye skill, which closes out the ascendancy.
Gathering Winds rewards careful play, so it makes sense after the nodes that boost damage right away. You can run the trials yourself or order Ascension Trials done for you.
Gear and Stat Priorities
The bow stays the key item at every stage. Other slots cover resistances, evasion and attribute needs, while the quiver and gloves add damage.
Slot | What to look for |
|---|---|
Weapon | A bow with the highest physical damage, replaced most often |
Quiver | Projectile and flat damage, one of the main damage sources |
Gloves and rings | Flat cold and physical damage, resistances |
Body armour | Evasion, life, needed attributes |
Boots | Movement speed first, then life and resistances |
Amulet and belt | Projectile bonuses, life, resistance cap |
The defensive baseline is 75% elemental resistances and 30-50% chaos resistance. As a rough guide for health, players cite about 2,500 on entering maps and up to 4,000 late. For damage, crit chance and crit damage bonus matter most, with attack speed next.
Leveling Gear is the fast way to fill the slots and meet attribute requirements. Crafting uses Artificer’s Orbs, Chaos Orbs and Exalted Orbs, and pricey trades are easiest to count in Divine Orbs.
Atlas, Maps and Common Mistakes
The Atlas was rebuilt in patch 0.5.0, so recipes from earlier leagues no longer apply. The logic stays simple. First you need a steady supply of Maps, then monster density, and item rarity comes last, once your clear is fast and the character is not dying.
Deaths usually come from two causes. The first is a freeze not landing, so the pack reaches you. The second is running too deep into a crowd where Herald of Ice cannot help in time. Distance, a constant mark and frequent bow swaps fix most of it.
If you doubt your setup, order a Build Check, and for a weak spot an Improve Build works. For a setup tailored to your budget, a Custom Build fits.