Lightning Spear Deadeye in PoE 2: Spear Clear Speed and Boss Burst
Spears for Clearing and Burst Damage on Bosses
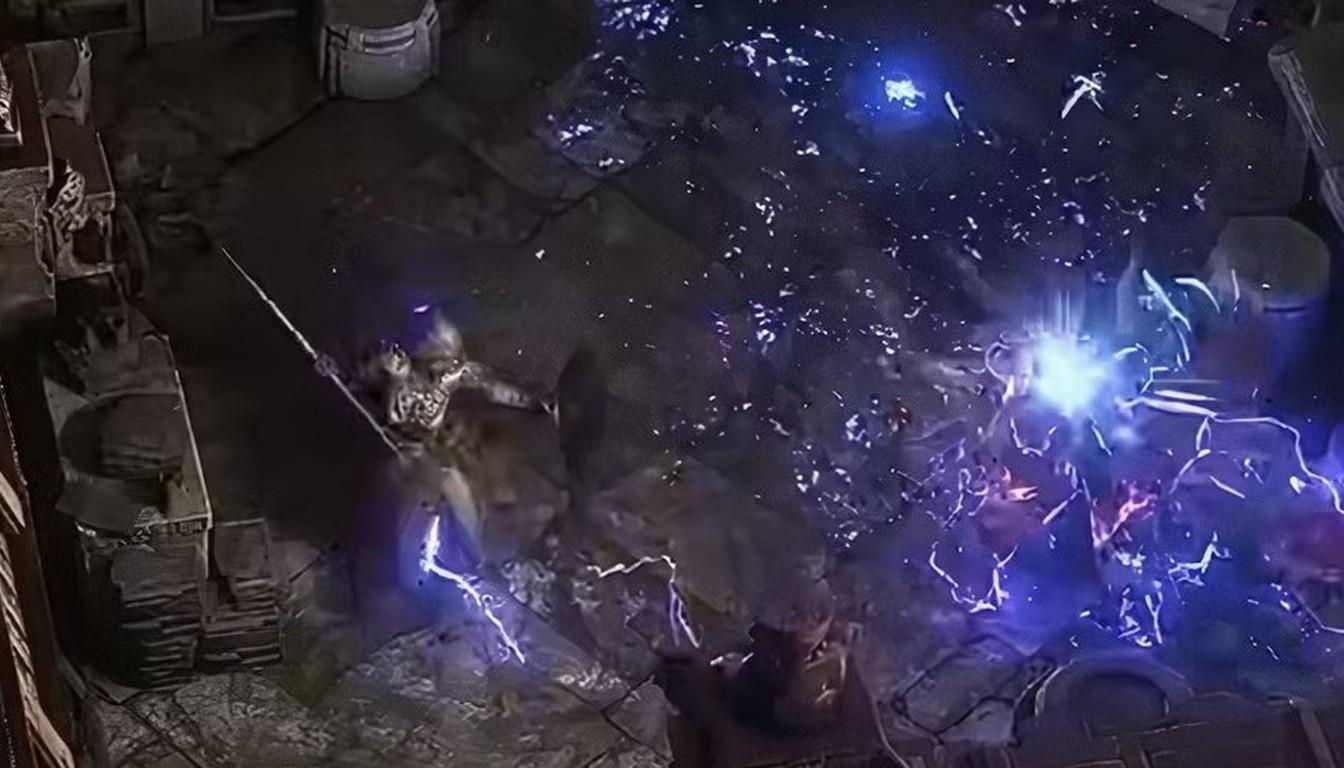
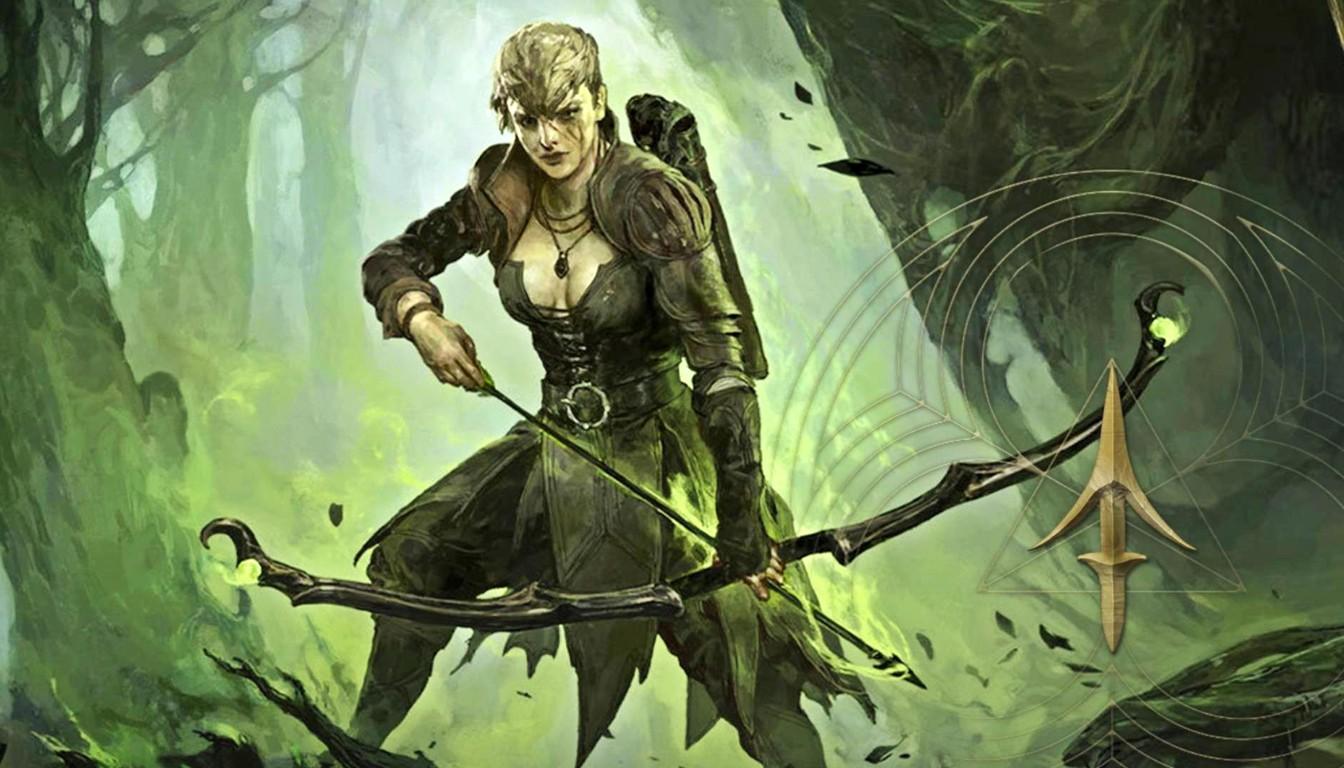
This build runs on the Ranger class with the Deadeye ascendancy. Lightning Spear handles clearing: the thrown spear bursts and fires secondary lightning bolts that sweep across packs. For bosses, the build adds Wind Serpent's Fury, a spear thrust that spends your Frenzy Charges and sends out one extra serpent for every charge consumed.
Both skills are spear skills, so a single weapon covers fast maps and single targets alike. The rhythm is simple: throw a spear, run to the next pack, throw again. The price is dependence on Frenzy Charges and the need to plan your defenses early, otherwise the character turns into a glass cannon.
The Wind Serpent's Fury setup is well known from patches 0.2 to 0.4, while builds for the current Return of the Ancients league (patch 0.5) mostly lean on Lightning Spear for both clear and main damage. Treat the serpent as a proven boss tool and check it against the passive tree in your league. If you prefer a bow, take a look at the Lightning Arrow Deadeye Build, and League Starter Builds help at the start of a new league.
Strengths and Weaknesses
The main strength is speed. Lightning Spear clears packs quickly and the rotation has very few buttons, so the build suits players who like a fast pace and do not want to juggle ten skills. Wind Serpent's Fury with stored charges delivers a spike on a single target.
Pros: fast maps, a simple rotation, serious boss damage with full Frenzy Charges.
Cons: Frenzy Charges need managing, and boss damage drops when your hits do not crit.
Risk: without defensive layers (evasion, resistances, life) a couple of hits can end a run.
Spears are popular on the Huntress with the Amazon ascendancy too, but Deadeye stands out because its nodes are built around Frenzy Charges and projectiles, which makes it a convenient base for spear mechanics.
Skills, Supports and Rotation
The core is two skills: Lightning Spear for clearing and Wind Serpent's Fury for bosses. Everything else is buffs and marks. All gems need Uncut Skill Gems, upgrades come from Uncut Support Gems, and the Spirit for auras and heralds has to come from Uncut Spirit Gems.
Skill | Role in the build | How it is used |
|---|---|---|
Lightning Spear | Clearing | Thrown at the center of a pack, secondary bolts finish the rest |
Wind Serpent's Fury | Boss damage | A thrust with stored charges, each charge adds a serpent |
Sniper's Mark | Mark | Placed on a boss or a tough rare before the thrust |
Herald of Thunder | Buff | Activated beforehand and active throughout the fight |
Sniper's Mark and Herald of Thunder appear as support skills in build descriptions. For Wind Serpent's Fury, example setups most often use Concentrated Effect, Ambrosia and Overextend as supports. The rest depends on which gems you have, and it can be swapped without losing the point of the build.
Boss rotation looks like this.
Enter the arena with a full stack of Frenzy Charges.
Apply Sniper's Mark to the boss and switch on the herald.
Throw one or two Lightning Spears to open the fight.
Use Wind Serpent's Fury: it consumes all your charges, and each spent charge adds a serpent that deals damage and knocks enemies back.
If the boss is still alive, rebuild your charges and repeat.
The knockback buys a breather: while your charges rebuild, keep your distance and stay out of the boss's attacks.
On maps it is much simpler. Keep your buffs up and throw Lightning Spear at packs, using any movement skill you like to hop between them. Save Wind Serpent's Fury for rare monsters and tough targets where one spear is not enough.
Passive Tree and Deadeye Ascendancy
This is a Dexterity build, so look for nodes that boost Dexterity, critical chance and multiplier, Frenzy Charges and projectile damage. The higher your Dexterity, the better the bonuses that scale from it work, including the Falcon Technique keystone. Exact nodes shift from patch to patch, so follow the idea: Dexterity, crit, Frenzy, projectiles and evasion.
In the Deadeye ascendancy the order is Tailwind first (granted by the Gathering Winds node), then Avidity and Thrilling Chase. Tailwind gives skill speed and evasion per stack and is lost when you are hit, and it was reduced in patch 0.4. Thrilling Chase gives a chance to double the benefit of your Frenzy Charges. The fourth node, Wind Ward, was removed from the Deadeye tree in patch 0.4, so a spare point is better spent on whatever fits your playstyle.
Ascendancy points come from Ascension Trials: the Trial of the Sekhemas and, since patch 0.3.0, the Trial of Chaos. If you are stuck, add some levels and defenses or ask the team for help.
Gear and Priorities
The build does not depend on a single item: a good rare works nearly as well as a unique. What matters is the balance between damage and survivability. For a start, Leveling Gear will do, and uniques can be added gradually.

Weapon: the highest-damage spear you can get. A popular choice is the unique Tangletongue (added in patch 0.2.0, a random drop): its Forked Critical Hits effect doubles the damage of a single critical strike.
Amulet: Beacon of Azis, a unique Solar Amulet with +15 Spirit, whose critical hits ignore enemy elemental resistances.
Belt: Headhunter on a Heavy Belt base, a very rare item. Until you find one, use a rare belt with life and resistances.
Body armor and helmet: life, Spirit and resistances. Bases like Falconer's Jacket and Skycrown Tiara suit Dexterity and Intelligence.
Gloves and boots: attack speed on gloves, movement speed on boots.
Cap your elemental resistances at 75% before chasing more damage. Use Artificer's Orbs to add sockets, and try your luck at a unique with Orbs of Chance.
Atlas and Farming
Thanks to its clear speed, the build is a good fit for farming maps. Pick atlas nodes for monster density, pack size and loot: the more enemies on screen, the better Lightning Spear performs. Patch 0.5 rebuilt the atlas around six questlines with pinnacle bosses, so check the current atlas tree before spending points.
If you do not want to fiddle with the atlas, take generic nodes for density and loot and focus on running maps quickly.
Who is it for: players who enjoy an active style without long button chains and are ready to keep an eye on Frenzy Charges. If you prefer to stand still and shoot from afar, another build will suit you better. In practice the build shines in quick map runs where you are constantly moving and every throw clears something.
Practical Tips
Watch your mana. Lightning Spear is cheap, but constant throwing drains the pool, especially when auras take a share. Add some mana regeneration on gear.
Stack charges early. Arrive at a boss with a full set of Frenzy Charges, otherwise you get fewer serpents.
Do not skimp on defenses. Resistances, life and evasion matter as much as damage.
Get the build reviewed. If you are unsure about the tree and gear, order a Build Check, or an Improve Build to speed up progress. If you need a ready setup around your items, there is a Custom Build.
The build is easy to pick up yet has a high skill ceiling: with every map you will learn which enemies are dangerous and when to switch on a buff. Start with the simple Lightning Spear setup and add pieces as your gear improves.