Bear Shaman Druid in PoE 2: Rage Loop, Skills and Gear
What the Build Is and Who It Suits
The Bear Shaman is a Druid build powered by Rage: you stay in Bear form almost all the time, build Rage with plain strikes and burn it on heavy skills. Wolf form is mostly a travel tool. This version is tuned for Patch 0.5.5 (Forbidden Rites).
The strengths are thick Armour, a big Life pool and fast map clear. Bosses are manageable too, as long as Rage stays under control. The one real weakness is resource management, especially before you pick up the key ascendancy node.
If you would rather skip the trial and error, you can order a custom build or pick one of the league starter builds. The rest of this page covers how to play it yourself.
How the Rage Loop Works
Everything rests on three actions: gain Rage, spend it and keep it from draining. Maul is the Bear's basic attack and each hit generates Rage. Furious Slam spends what you have stored and hits harder. Both skills work only in Bear form, so there is little reason to shift back to human mid-fight.
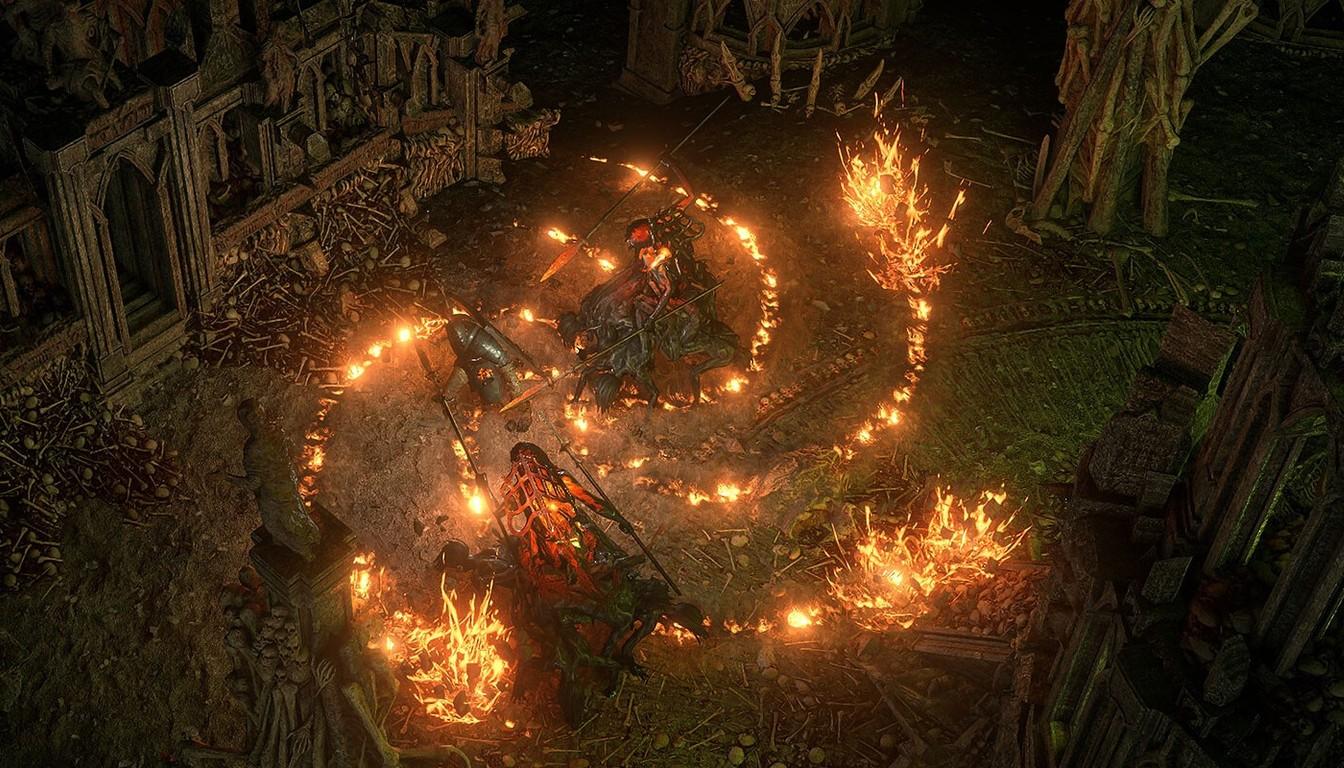
One workable rotation looks like this:
Use Ferocious Roar once for its buff.
Spend Rage with Rampage and Furious Slam until it runs dry.
When the bar is low, hit with Maul a few times or use Ferocious Roar again to refill.
Another approach works well in maps: Furious Slam into Maul, Walking Calamity when it is ready, and Rampage at full Rage to move across the map. On bosses you can skip Rampage entirely.
For a single target, players suggest placing two Volcanoes with Walking Calamity and running the Bear over them. The meteors and Volcanoes then fire in quick succession and the damage on a boss stays dense. For pack clearing, pair Lunar Assault with Herald of Ice: freeze one enemy and the nearby ones start shattering in chain explosions.
Weapon sets matter too. Keep long-duration buffs on set 2 and lock your main weapon into both sets, so swapping does not break your tempo.
Skills and Support Gems
Active skills come from Uncut Skill Gems and are boosted by supports, which need Uncut Support Gems. Aura-type skills such as Purity of Fire cost Spirit, so Uncut Spirit Gems come in handy as well. Support tiers shift between patches, so the table below covers roles only.
Skill | Role in the build |
|---|---|
Maul | Main attack, generates Rage |
Furious Slam | Spends Rage, main single-target damage |
Rampage | Clearing and fast movement at full Rage |
Walking Calamity | Meteors and Volcanoes, boss damage |
Ferocious Roar | Buff and Rage refill |
Lunar Assault + Herald of Ice | Freeze and chain explosions on packs |
Pounce | Wolf-form leap for mobility |
Purity of Fire | Fire protection aura paid in Spirit |
Popular supports are the ones that speed up attacks and add weight to hits, for example Rapid Attacks and Heft on Maul and Furious Slam, and Prolonged Duration on Walking Calamity. If your Talisman rolls cold damage, swap the Maul support to Cold Attunement; for fire, use Fire Attunement.
Passive Tree and Ascendancy
On the tree the build leans toward Armour, Life, hit strength and speed. Early picks usually include Guardian of the Wilds, Crushing Verdict, Momentum and Battle Trance, followed by claw damage and area nodes. The exact order depends on your gear and progress.
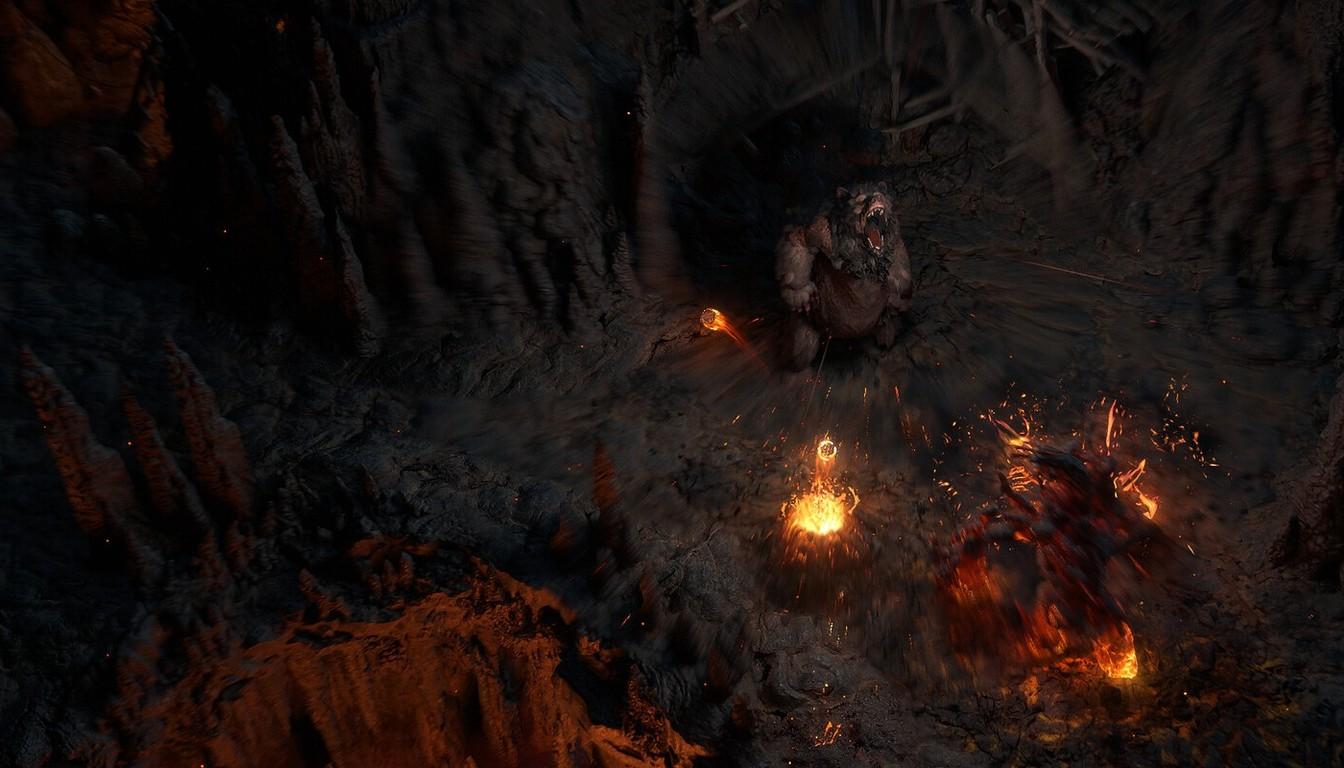
The ascendancy is Shaman, unlocked through Ascension Trials. Players usually take the nodes in this order:
Wisdom of the Manji strengthens rune and idol bonuses, which lifts overall damage.
Reactive Growth cuts elemental damage taken. Swap it for Sacred Flow if you run short on Spirit.
Druidic Champion grants bonus damage based on your Rage and helps Volcanoes early on.
Furious Wellspring is the key node: it stops natural Rage loss, restores roughly 6% Rage per second and scales that regeneration with your mana regeneration.
With Furious Wellspring, Rampage can be sustained almost indefinitely. The trade-off is that skills other than your basic attack cost 5 more Rage, so you still have to watch the bar.
Gear and Stat Priorities
Damage starts with a two-handed Talisman: look for strong physical damage and replace it often. If it rolls cold or fire damage, match the Maul support to the element. Gloves and amulet should carry levels to melee skills.
For other slots, players recommend Imperial Greathelm, Warlord Cuirass and War Wraps as bases, and a Shrine Sceptre base for the sceptre. Popular uniques are Headhunter for the belt and Defiance of Destiny for the amulet. For rings, Polcirkeln is the pick: chilled enemies shatter as if frozen, and together with Herald of Ice it speeds up clearing. It drops from monsters, or you can try an Orb of Chance on a white Sapphire Ring.
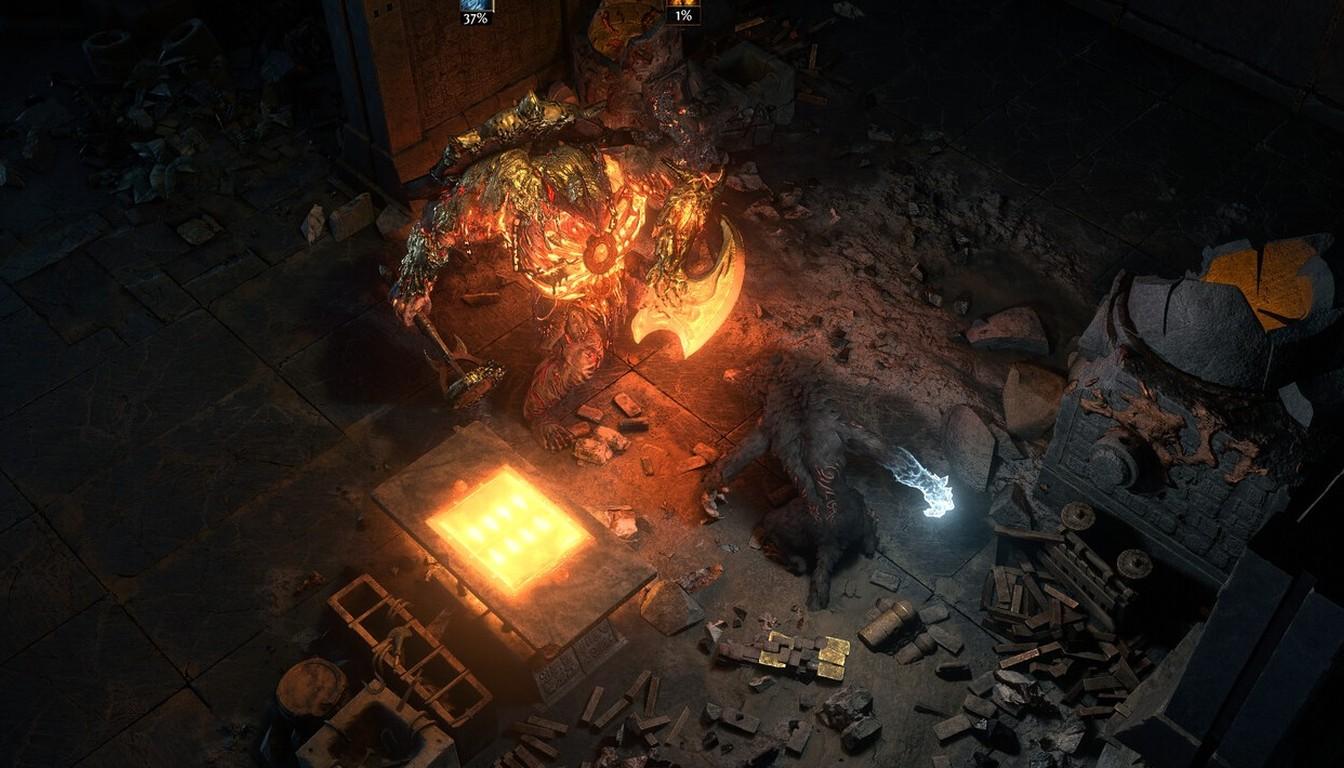
Stat priorities:
physical weapon damage and added elemental damage;
Life and Armour, which the Bear is built on;
resistances to all elements;
Life and Mana Leech;
movement speed for faster clearing.
A sensible order for upgrading slots is helmet, offhand, amulet, body armour, belt, boots, ring, gloves and weapon. To skip the early grind, take Leveling Gear; to polish rare items, use Exalted Orbs. Price expensive trades in Divine Orbs.
Atlas: Where to Spend Points
The build thrives on crowded maps, so put Atlas points into mechanics that put many monsters on screen. Ritual notables such as Spreading Darkness and Tempting Offers fit well: both build on the Ritual mechanic, which means more enemies and rewards per map.
Spend the rest on a mechanic you enjoy, such as Breach, Expedition or Delirium. At league start, nodes for card drop chance and completion bonus help open the Atlas faster. To reach Maps without a long grind, check Power Leveling.
Starter Tips and Common Pitfalls
Early on, take Pounce for mobility and aim for Polcirkeln with Herald of Ice, so clearing works without big investment.
Combine forms. In human form, place a Volcano or a totem with Volcano first, then shift to Bear and start Rampage so the lava balls deal extra damage.
Before Furious Wellspring, do not burn all your Rage; refill it with Ferocious Roar.
Add physical damage with life leech on a ring to cover defensive dips.
If the build does not perform as expected, a Build Check shows where it falls short, and Improve Build takes it further.
Who Should Pick It
The build handles both clearing and bosses, but it suits players who like melee and a steady tempo. Newcomers have it easiest by taking Shaman right away: the key node Furious Wellspring removes the build's biggest headache, Rage loss. Check that your defenses hold up before spending on expensive gear, and only then invest in damage.