Black Temple in TBC Anniversary: Access, Bosses and Loot
Black Temple in The Burning Crusade Classic Anniversary is a nine-boss raid for 25 level-70 characters with its own weekly raid save. It provides Tier 6 shoulders, legs and chest pieces, Ashtongue Deathsworn reputation and Illidan's loot. Start with access, then confirm specialist tank assignments. A regular damage set does not make someone ready to replace a Flame of Azzinoth tank during the evening.
Checked October 20, 2026. The raid is already live: it opened on August 27 at 3:00 p.m. PDT / 22:00 UTC. This guide covers Anniversary. Historical attunement-removal dates and rules from other versions are not automatically applicable.
Blizzard has announced the removal of Black Temple and Hyjal attunements with the October 22 Zul'Aman update. That remains a future change on the verification date. If reading after its release, check the implemented rules before starting the long chain. Removing an entrance requirement does not remove the bosses and events inside the raid.
Entrance and attunement
Finding the portal
Travel to the eastern edge of Shadowmoon Valley and the temple of Karabor. The entrance is a crack in the side wall leading into the sewers, rather than the large main gates. Assemble at the correct portal before summoning the rest of the group. Schedule repairs and supplies before departure instead of returning to a city after the first attempt.
Completed Anniversary raid attunements are Battle.net account-wide. If another character has finished the chain, log into that character first and check the intended character's access. Personal quest progress and rewards are not automatically shared. Access obtained through the earlier bug does not substitute for completion after the September fix.
Akama's chain before the announced removal
Start Tablets of Baa'ri with your chosen Aldor or Scryer representatives in Shadowmoon Valley. Follow Oronu the Elder, The Ashtongue Corruptors, The Warden's Cage, Proof of Allegiance and the meeting with Akama. Continue through Seer Udalo in the Arcatraz, A Mysterious Portent, The Ata'mal Terrace and Akama's Promise, returning to A'dal.
The raid section requires Fathom-Lord Karathress in Serpentshrine Cavern and a conversation with Seer Olum for The Secret Compromised. Next, complete Ruse of the Ashtongue by defeating Al'ar in Tempest Keep while using the Ashtongue Cowl. An Artifact From the Past sends you for an item from Rage Winterchill, Hyjal's first boss.
You therefore need Hyjal access as well. Soridormi's The Vials of Eternity requires quest items from Lady Vashj and Kael'thas. Obtain the relevant quests before killing the bosses and loot the required items. August's removal of the old SSC/TK attunements and the direct routes to their final bosses help with the vials, but do not replace Karathress and Al'ar in Black Temple's chain.
Return to Akama, then finish The Hostage Soul, Entry Into the Black Temple and A Distraction for Akama through A'dal and Xi'ri. The Medallion of Karabor grants access; killing Illidan is not required for your first entry. The Blessed Medallion of Karabor is a later personal reward rather than the initial key. Once the announced removal takes effect, the chain can remain a story and reward goal without being presented as a mandatory entrance barrier.
Route and weekly save
The opening is fixed: High Warlord Naj'entus, then Supremus. Beyond him, the routes lead to Shade of Akama, Teron Gorefiend, Gurtogg Bloodboil and Reliquary of Souls. These four encounters can be rearranged. A guide's usual running order is not the only permitted route.
For a full clear, complete all four middle encounters before Mother Shahraz and the Illidari Council. Progression to Illidan includes Akama's assistance and the path-opening event after the Council. Let the event finish and use the NPC dialogue before starting the finale. Removing the external attunement does not create a fresh-instance shortcut past living bosses to Illidan.
Check your character's raid save before joining a run already in progress. Black Temple and Hyjal have separate weekly saves. A different group, leaving the instance or returning another evening does not provide repeat loot from a boss already killed in that raid week. Account-wide access does not merge characters' individual raid saves.
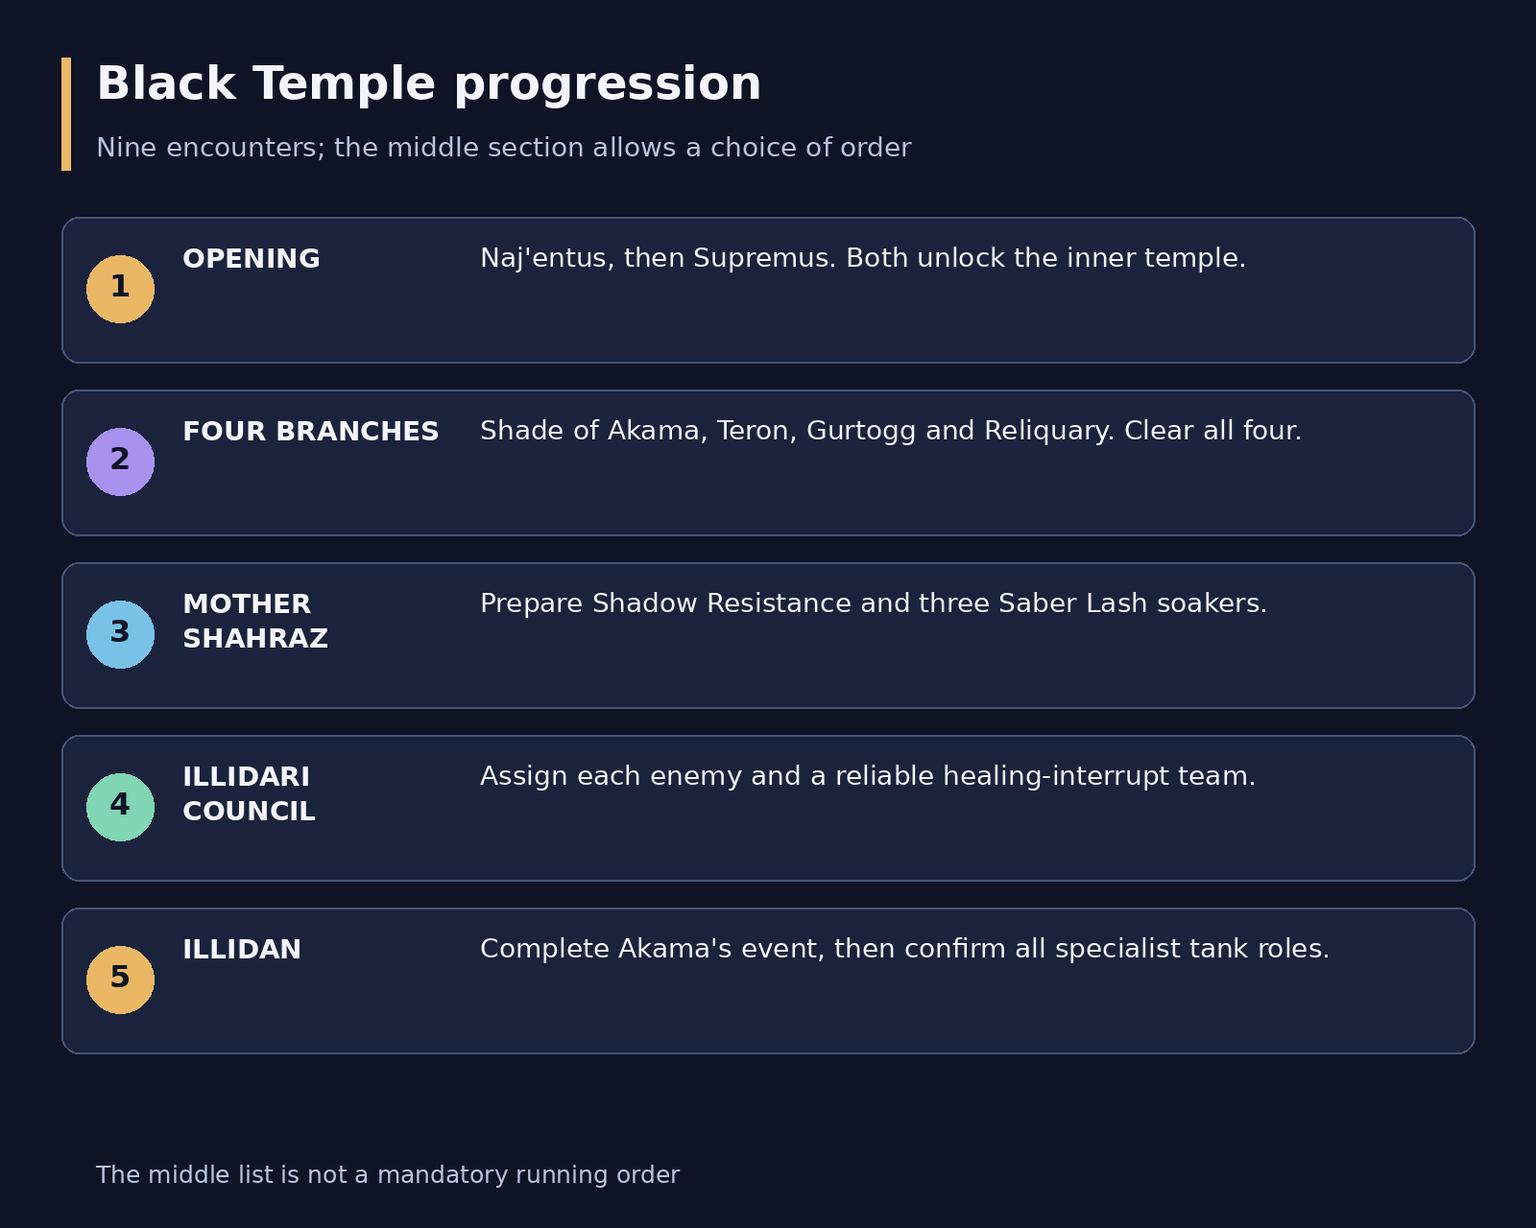
The middle four encounters allow a choice of order; the final section leads to Illidan
Preparing the raid
Composition and equipment
A practical progression starting point is three conventional tanks, six healers and sixteen damage dealers. This is advice, not an enforced composition. Another healer can stabilize recovery at the cost of damage. Include the mage assigned to tank Zerevor at the Council and a separate ranged tank for Illidan's demon form, usually a Warlock. Players can perform these specialist duties while dealing damage elsewhere.
There is no mandatory gear score for entry. Suitable Phase 2 equipment with correct stats, enchants and gems is more useful than random newer pieces. Compare your existing Tier 5 bonus before breaking it for a single Tier 6 item. Tanks need survivability and threat; healers need mana and enough health to survive sudden damage; damage dealers need reliable mechanics execution without pulling threat.
Discuss Shadow Resistance primarily for Mother Shahraz. Prepare Fire Resistance for the two Flame of Azzinoth tanks and Shadow Resistance for the ranged demon-form tank. These are different sets. Agree on targets with the raid leader, including buffs and the chosen strategy, rather than buying every player the same maximum-resistance package.
Supplies and assignments
Bring suitable flasks or compatible elixirs, food, mana or healing potions, Healthstones and spare reagents. Prepare resistance gear together with the relevant auras or buffs. Alchemy supports supplies, while Tailoring, Leatherworking and Blacksmithing can provide suitable crafted equipment. Everyone changing professions is not an entrance requirement.
Assign magic dispels, interrupt rotations with backups, crowd-control targets, tank healers and defensive cooldowns before pulling. Anniversary Bloodlust/Heroism is raid-wide and uses Sated/Exhaustion. Plan a shared use instead of copying historical party rotations. For Illidan, decide whether the benefit is needed on the elementals or saved for the ground transition.
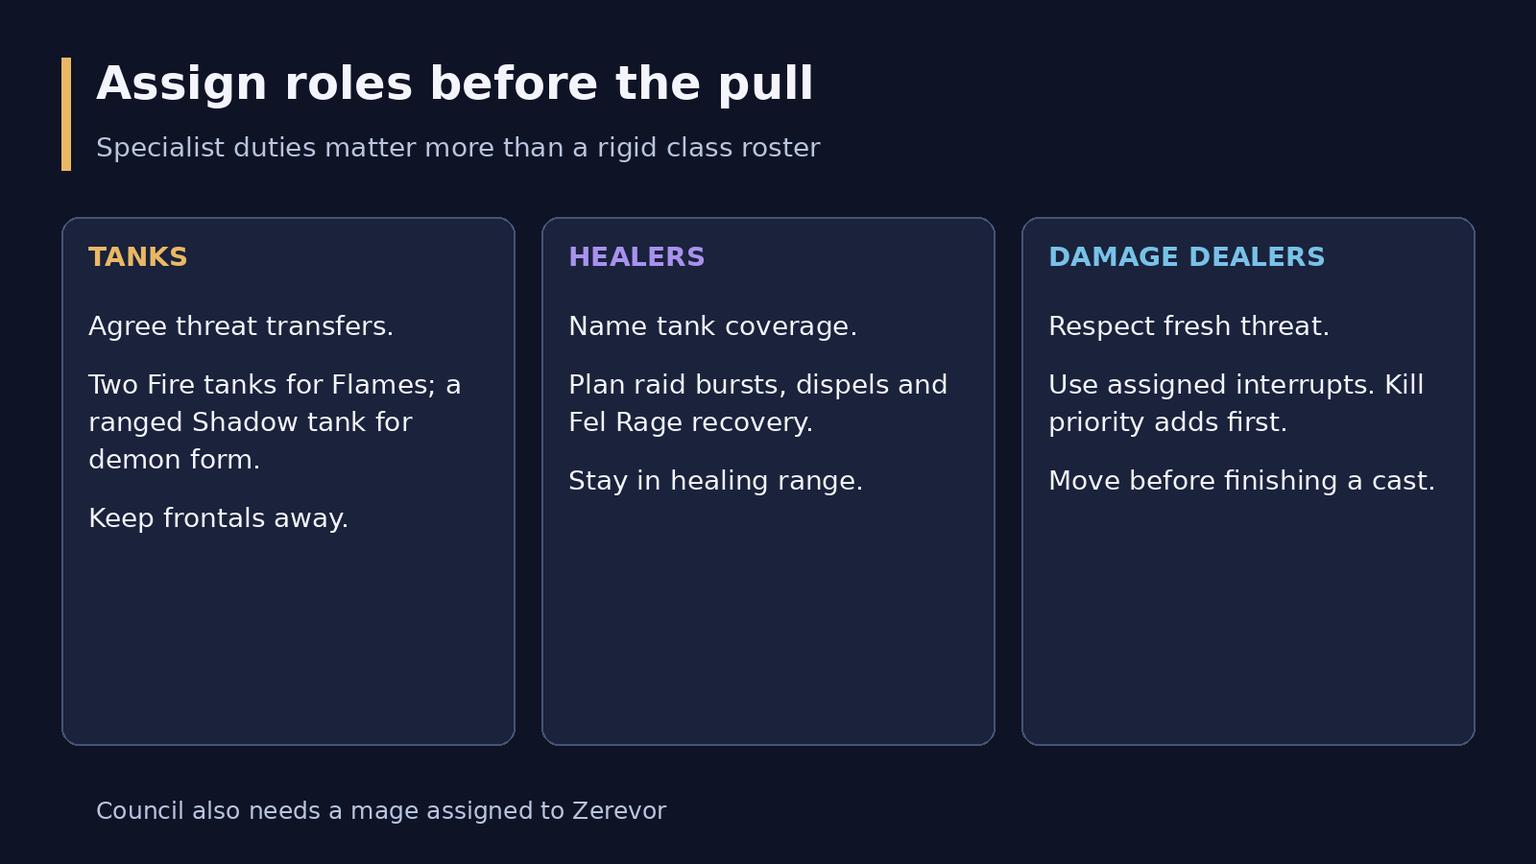
Agree specialist assignments before the pull, rather than after the assigned player dies
Handling the trash
Hold area damage until tanks have secured marked targets. In the sewers, attack Leviathan from the side: frontal attacks and its rear tail sweep punish either end. Spread against chaining and splash damage. Casters should stop attacking Dragon Turtle's reflective Shell Shield.
In the courtyard, leave persistent fire and keep frontal attacks away from healers. On later packs, assign caster control and check a target's creature type before choosing a control spell. Illidari Battle-mages bring dangerous ground effects. Quickly dispel an Illidari Blood Lord's magic stun from allies, and use a Priest's Mass Dispel against Divine Shield. These pauses cost less time than recovering from a dead tank.
Bosses: the first eight encounters
High Warlord Naj'entus
The tank faces the boss away while everyone else spreads. A nearby player clicks Impaling Spine to free its victim and collect the item. Healers restore the raid, then the assigned carrier uses that spine against Tidal Shield. Breaking it causes heavy raid damage: wait for the call and healthy players. Ordinary dispels cannot remove the shield. Premature bursts are the main failure point; prepare absorbs and a Healthstone without abandoning tank healing.
Supremus
During the normal phase, the main tank holds the boss while additional tanks take Hateful Strike; healers keep them healthy. During pursuit, the chosen target runs while others clear its path and avoid volcanoes and fire trails. Normal threat cannot hold him during Fixate. Give tanks time to re-establish threat when the phase changes. Damage dealers should prioritize safe positioning over another melee hit. Fire deaths and an uncoordinated return to tanking are the common failures.
Shade of Akama
Speak to Akama when the raid is ready. Tanks collect reinforcements at the side entrances, with healers able to reach both sides. Damage dealers kill Ashtongue Channelers while keeping incoming enemies controlled and leaving Rain of Fire. Once the Shade is free, switch quickly and kill it before it kills the real Akama. Avoid prolonging the opening by chasing secondary targets or starting before side assignments are settled.
Teron Gorefiend
Keep the tank stable and promptly dispel Incinerate. A Shadow of Death target moves to the assigned distant corner before expiry. After transforming, only player-controlled spirits can damage Shadowy Constructs: use Spirit Volley, root with Spirit Chains and cycle Spirit Lance slows. Check the ability bar rather than trusting someone else's key numbers. Ordinary damage dealers stay on Teron. Constructs reaching the raid are the main failure; learn the spirit controls before the pull.
Gurtogg Bloodboil
Assign three groups of five to rotate as the farthest players for Bloodboil. Tanks coordinate threat transfers around Acidic Wound; taunt immunity prevents a simple button swap. Healers track stacks and assigned groups. During Fel Rage, the selected player receives focused healing, uses defensives and avoids dragging frontal attacks into others. Everyone else clears the frontal sector. Incorrect distant groups, a dead fixate target and an unprepared threat transfer are the major failure points.
Reliquary of Souls
In Suffering, healing is suppressed: rotate the nearest Fixate target between tanks, use defensives for Enrage and dispel Soul Drain. In Desire, interrupt Spirit Shock; interrupt Deaden or have the assigned Warrior reflect it. Purge or Spellsteal Rune Shield. In Anger, respect tank threat and finish before raid damage overwhelms healing; protect Spite targets. Kill intermission spirits for recovery. A planned interrupt rotation with a backup is safer than several players interrupting the same cast.
Mother Shahraz
Three assigned tanks stack in front to split Saber Lash; other players stay out of their position. Healers maintain tanks and Shadow Beam victims. Fatal Attraction teleports players together: immediately separate along agreed directions without crossing the main raid. Use personal protection during dangerous movement. Shadow Resistance reduces pressure but does not replace separation. Losing a tank soaker or hesitating after teleportation can collapse an otherwise stable attempt.
The Illidari Council
The four enemies share health. Assign separate tanks, with a mage stealing Zerevor's Dampen Magic and tanking him at range. Focus damage on Gathios while leaving Consecration, Blizzard and Flamestrike. Assign primary and backup physical and magical interrupts for Malande's healing: protective blessings change which interrupt can connect. Healers watch Veras's poisoned targets and the tanks. Avoid uncontrolled attacks into reflective protection and never finish a cast while standing in dangerous ground effects.
Illidan Stormrage
Opening ground phase
Before speaking to Akama, name the main tank, two Fire Resistance tanks, the ranged Shadow Resistance tank and their healers. The main tank must handle Shear through blocking, dodging or parrying; Warriors and Paladins maintain their relevant active defenses. Ordinary healing is not a substitute for preventing the maximum-health reduction.
Face Draw Soul away from the raid and move Illidan out of Flame Crash. Parasitic Shadowfiend targets leave the group; kill the spawned parasites before they spread the effect. Keep healing the marked player. An incorrect boss turn both damages the raid and heals Illidan.
Flight and the two Flames
At 65%, Illidan flies up and throws his glaives. The Fire Resistance tanks immediately collect the two Flames of Azzinoth, face them away and move in short steps out of fire. Taking an elemental too far from its glaive enrages it. Watch Eye Blast separately and never cross its path.
Use small, separated raid groups within healing range. Assign healers to both tanks and cover Dark Barrage targets. Damage dealers follow the called elemental priority and respect threat. Both must die before Illidan lands. Moving too far or chasing damage through fire commonly ends this phase.
Landing, demon form and Maiev
Reacquire Illidan immediately after landing, with healers ready for his first hits. Ground mechanics return alongside Agonizing Flames, so keep space between players. Reaching 30% during the ground window can skip demon form; do not assume every group can do so.
If Demon Form begins, the ranged Shadow Resistance tank, usually a Warlock, establishes threat. Stand away from that player and outside the boss's melee aura; spread for Flame Burst. Conventional melee tanking does not replace this assignment. Kill Shadow Demons first, using slows and stuns: reaching a paralyzed target kills it. Healers support the ranged tank and raid while damage dealers clear this threat before returning to the boss.
At 30%, Maiev joins after a scripted pause. Let the tank recover the boss. During Enrage, move Illidan through her Cage Trap without turning his front into the raid; use defensives to cover the movement. Continue handling parasites and fire. If demon form returns, retain its assignments: Maiev's arrival does not disable every other mechanic.
Loot, Tier 6 and reputation
Which tokens to target
Goal | Source | Check before claiming |
Tier 6 shoulders | Mother Shahraz | Token matches your class group |
Tier 6 legs | Illidari Council | Choose the correct role variant |
Tier 6 chest | Illidan | Compare two- and four-piece bonuses |
Tier 6 gloves and helm | Azgalor and Archimonde in Hyjal | Different raid and weekly save |
Forgotten Conqueror serves Paladins, Priests and Warlocks; Forgotten Protector serves Hunters, Shamans and Warriors; Forgotten Vanquisher serves Druids, Mages and Rogues. Exchange tokens with Tydormu near Hyjal's entrance. Blizzard confirmed additional Anniversary tokens at launch, so do not budget distribution around early PTR drops. Sunwell's Tier 6 belts, boots and bracers are not Black Temple loot.
Warglaives and other goals
Illidan can drop separate main-hand and off-hand Warglaives of Azzinoth. In TBC, their classes are Warrior and Rogue. They are two random items rather than a guaranteed pair from one kill; neither an exact percentage nor a completion date is promised. Retail transmog rules do not apply. Agree on distribution before raiding, including what happens when a player already owns one blade.
Other Illidan targets include The Skull of Gul'dan and Memento of Tyrande, Crystal Spire of Karabor, Zhar'doom, Greatstaff of the Devourer, and Bulwark of Azzinoth. Evaluate the benefit for your specialization rather than an item's reputation. Choose several realistic upgrades and a fallback target instead of making the entire run depend on one rare drop.
Raid enemies award Ashtongue Deathsworn reputation. Okuno offers class trinkets at Exalted and profession recipes, including Shadow Resistance equipment. This is not a separate daily quest track or a universally best trinket for every class. Check the reputation and profession required by each recipe, and allocate materials and crafted equipment around the raid's actual assignments.
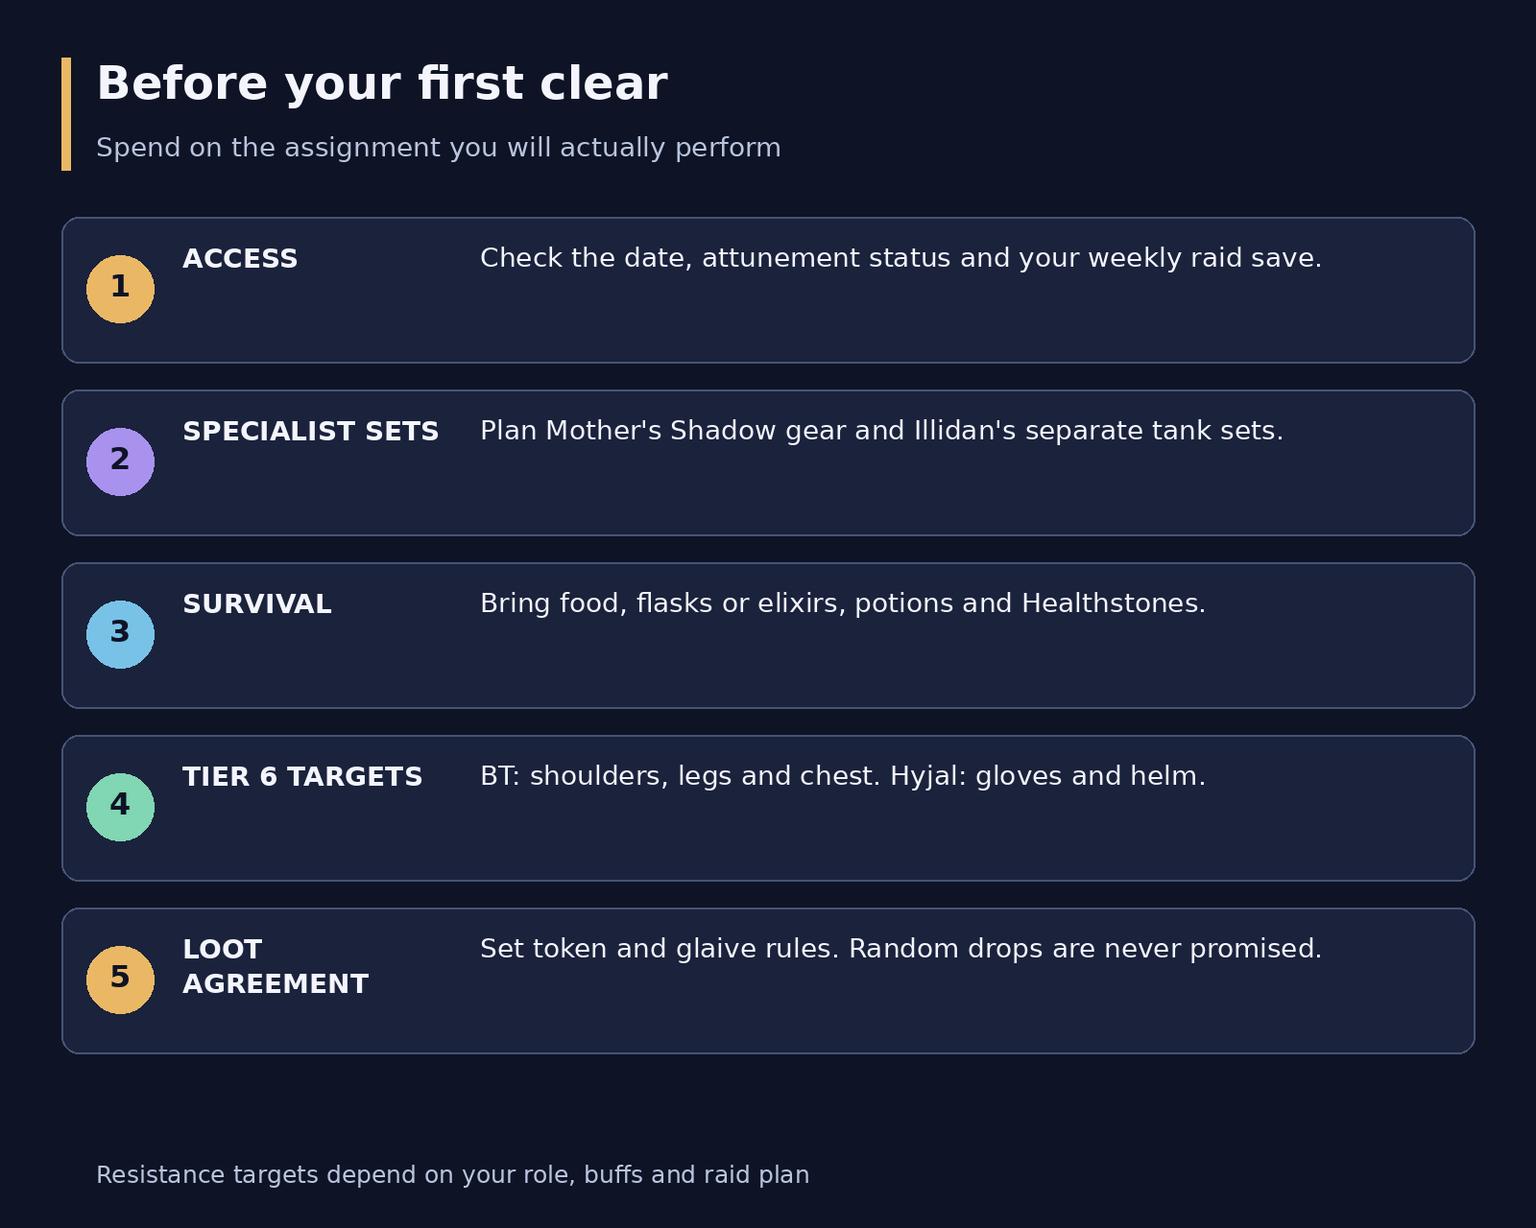
Check access, specialist assignments and actual upgrades before expensive purchases
Frequently asked questions
Can I join only for Illidan?
You can join a late-boss group with compatible access and a suitable raid save. That does not bypass earlier bosses in a fresh instance: the raid must already have defeated them.
Does everyone need a full resistance set?
No. Preparation depends on the encounter and assignment. Agree on Mother Shahraz's Shadow Resistance and the specialist Illidan tank sets while preserving the necessary survivability and threat.
Do we need a specialist demon-form tank?
You can omit one only if the raid reliably skips that form through damage. During progression, prepare the ranged tank and Shadow Demon plan so a missed ground window does not automatically end the attempt.
Is the second glaive guaranteed after the first?
No. Both blades remain separate random Illidan drops, and repeat attempts on one character are restricted by the weekly raid save.