WoW Forever Darkspear Islands Guide: Access, Tactics and Rewards
Darkspear Islands is a 15v15 battleground off Dustwallow Marsh. Blizzard lists it for levels 30-60, but the current beta build caps characters at level 30. Four control points and a central flag shape the match; the winning score is 2,000. For your first visit, take a useful assignment: secure a nearby base, stay to defend it and report incoming enemies. Commit to the middle when your team can turn the fight into a completed delivery.
Checked October 19, 2026. Forever is in beta, and published rules may change. The match plan below is an editorial recommendation rather than a mandatory allocation of all 15 players. Use information about this battleground instead of importing rules from another map or a troll starting area.
Entering the battleground
Reach level 30 and visit a battlemaster in a capital. Alternatively, use your faction's portal in the Barrens: the Darkspear Raiders base at Merchant Coast for Horde, or the Theramore Expeditionary Force base at Northwatch for Alliance. These camps also provide quests and vendors.
Start in a capital if you only need a match. Combine a trip to the Barrens with picking up available quests and checking rewards. Do not swim toward the islands as an entry plan: their position in the world does not replace the queue or portal.
Repair equipment, clear bag space and prepare consumables appropriate to your level before accepting an invitation. Read the objectives of each quest you collect. Participation, winning and turning in items can involve different requirements; one visit should not be assumed to finish every task automatically.
Check before your first queue
Make sure you selected Darkspear Islands. Inspect the current queue's level eligibility, especially when joining with friends. A published overall range of 30-60 does not mean all those levels enter one match together. Do not base a group session on an unverified bracket list or assume a random battleground option is available.
While waiting, stay somewhere convenient for your normal activities. Standing beside a portal does not guarantee a faster invitation. For an organized group, agree on voice communication or short chat calls and choose someone to keep track of the overall plan.
Landmarks and movement
Map labels include Abandoned Tower, Camp, Ruins and Shipwreck Cove. Use recognizable names in calls instead of describing scenery at length. Treat the middle as a separate destination that needs a reason to visit.
Landmark | Practical action | Useful call |
Abandoned Tower | Choose an approach and observation position | Base name and incoming enemy count |
Camp | Assign a defender after taking it | Whether help is needed and who remains |
Ruins | Check who is staying before leaving | Whether allies can return safely |
Shipwreck Cove | Watch the nearby approach | Where the enemy group is moving |
Middle | Assess the route back to a friendly base | Whether an escort and clear path are ready |
This is a landmark checklist, not a geographical map. Open the client map on arrival and locate your team's position relative to each label. A base name and enemy count usually communicate more than approximate coordinates.
Choose a passable route that gets you to the objective in time. Do not assume water is a shortcut or jump from a ledge without understanding the return path. Compare the journey to a threatened friendly base with the journey to the middle. A chase along an awkward shoreline can leave a defender without support.
This route does not require unlocking a separate island flight network. Learn to move between objectives inside the match. Avoid planning around special boats, daily transport unlocks or a free exploration itinerary unless the client actually confirms them.
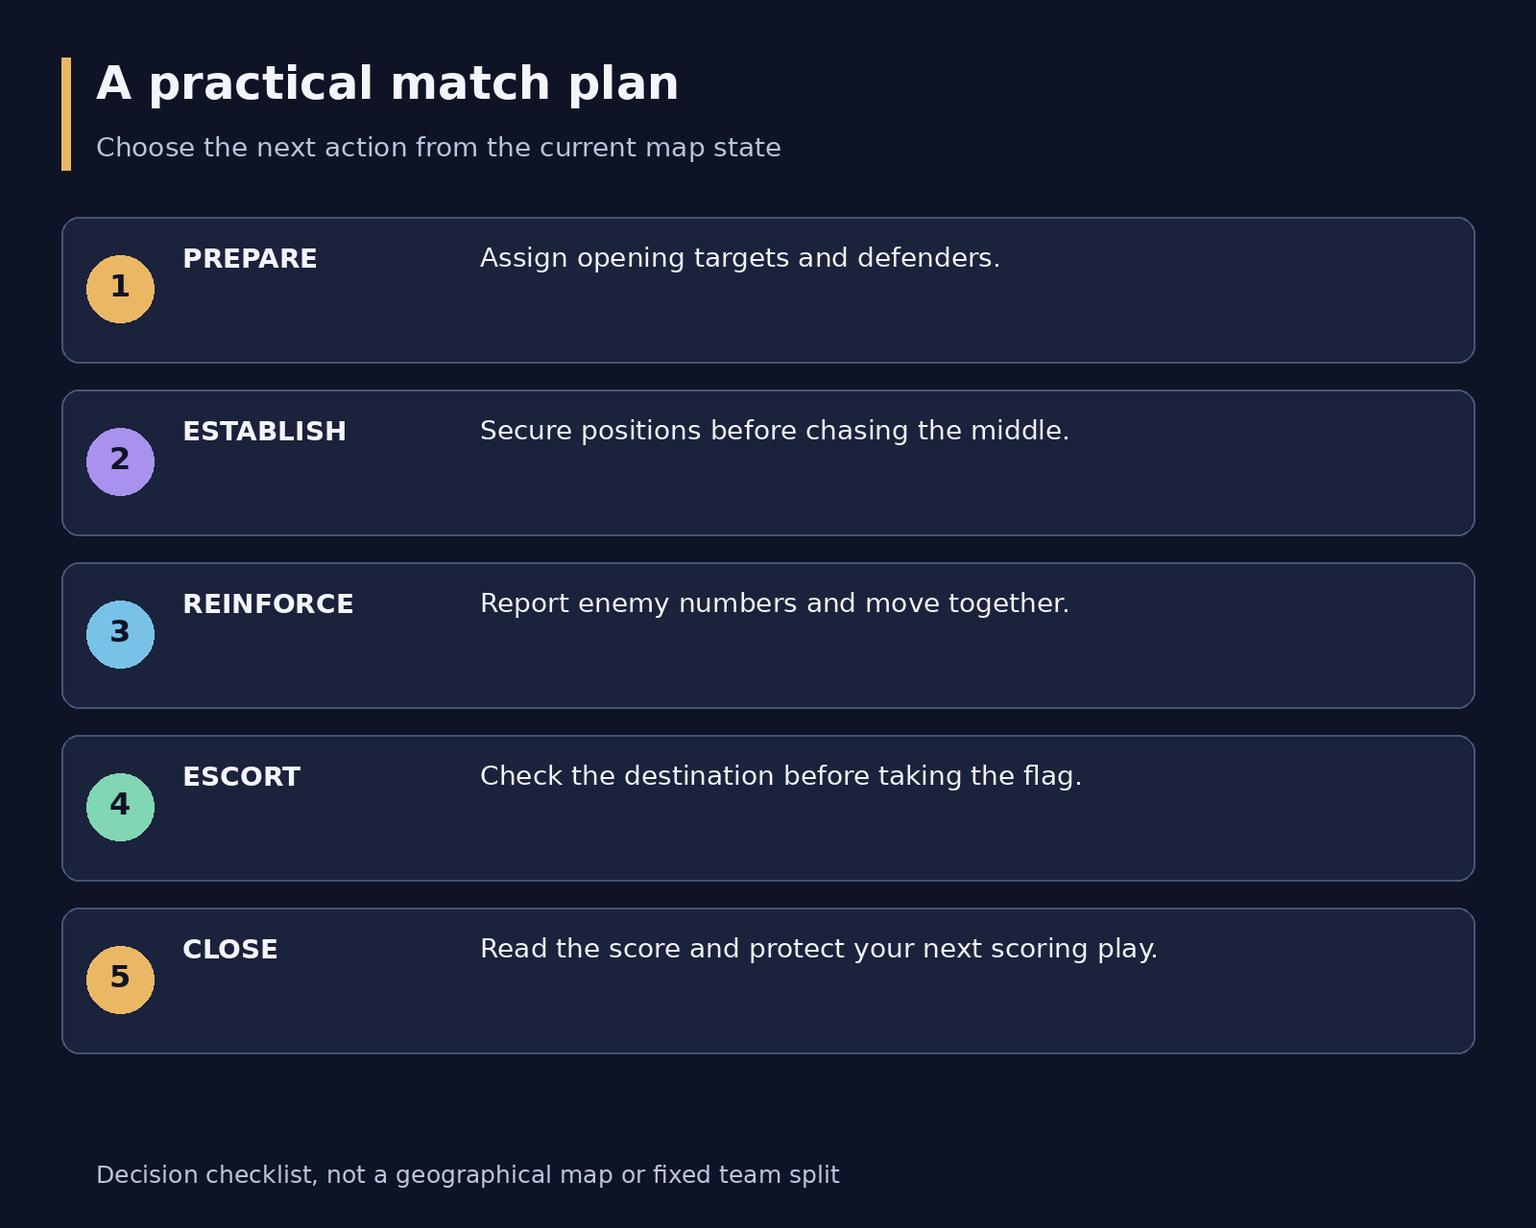
Darkspear Islands match decision sequence
Opening: establish positions
Before the gates open, decide who takes the nearest objective, who supports another direction and who stays behind after a capture. The aim is a stable position from which the team can respond. Trying to occupy everything immediately can leave too few players at every location.
Cover the ally interacting with an objective. Check the ownership state in the interface; the last nearby enemy disappearing does not prove that control has changed. After securing a base, leave an observer before sending the rest of the group onward.
A defender should call for help before becoming trapped in a long fight. “Camp, three incoming, one defender” gives teammates enough information to respond. If outnumbered, use available control and survival tools to delay the attack near the objective. Chasing a retreating enemy too far can let a second player take the base behind you.
Do not permanently assign defense to one class. Awareness, survival and early warnings matter more. A mobile character can reinforce another position; a healer may support either defense or an escort. Assign jobs around the actual group, character levels and available abilities.
Midgame: reinforce where ownership can change
Once positions are established, check the map repeatedly. Compare enemy movement, remaining defenders and where your help can arrive in time. Moving the entire team into one fight often creates an opening somewhere else.
When a friendly base is threatened, assess the attackers first. Nearby allies may handle a small incursion; a larger push needs a coordinated response. Avoid sending players individually into a fight that has already collapsed. Assemble a suitable group, name the target and approach together.
If the enemy concentrates in the middle, consider a lightly defended opposing base. This is an option rather than an automatic instruction. Your departure must not expose your own positions. Before moving, name the destination and confirm who will remain behind.
In an even fight, prioritize actions that change the situation at the objective: interrupt healing, stop a capture or free an ally's route. Total damage does not show whether your base survived. After dying, return to the team's current assignment rather than automatically retracing your last journey.
When to attempt the flag
The central flag can be delivered to a controlled base for additional points. Check the destination, route and escort before committing. If your intended base is threatened, stabilize it first. Holding a flag without a safe delivery can tie up several teammates.
The carrier should announce the destination. Escorts keep the route open and help the carrier survive instead of chasing a low-health enemy away from the path. Divide responsibilities where possible: watch the carrier's health, disrupt pursuit and monitor the destination's ownership.
When the enemy carries the flag, choose an interception point where your allies can realistically arrive. Avoid stretching an unsupported chase across the map. Pressure on the destination may sometimes stop a delivery more effectively, but that choice needs coordinated timing.
Do not assume fixed carrier speed, delivery values or reset timings from another battleground. Check the current interface. For an introductory match, practice the reliable sequence: hold a base, prepare the route, escort the carrier and finish the delivery.
Closing a match
When ahead, check the score before launching a distant assault. Keeping functioning positions can be more useful than gambling on another objective. A few quiet seconds are not a reason to abandon a base: the opposing team may be waiting for its defender to leave.
When behind, call a specific way to change the pace, such as retaking a base or organizing a delivery. Aimless middle fights do not become useful because time feels short. Pick an action the team can still complete and send support together.
Do not treat one temporary advantage as a guaranteed win. Defender counts and flag position can change quickly. Recheck the map after losing a base, a group wipe or a change in the opposing team's direction.
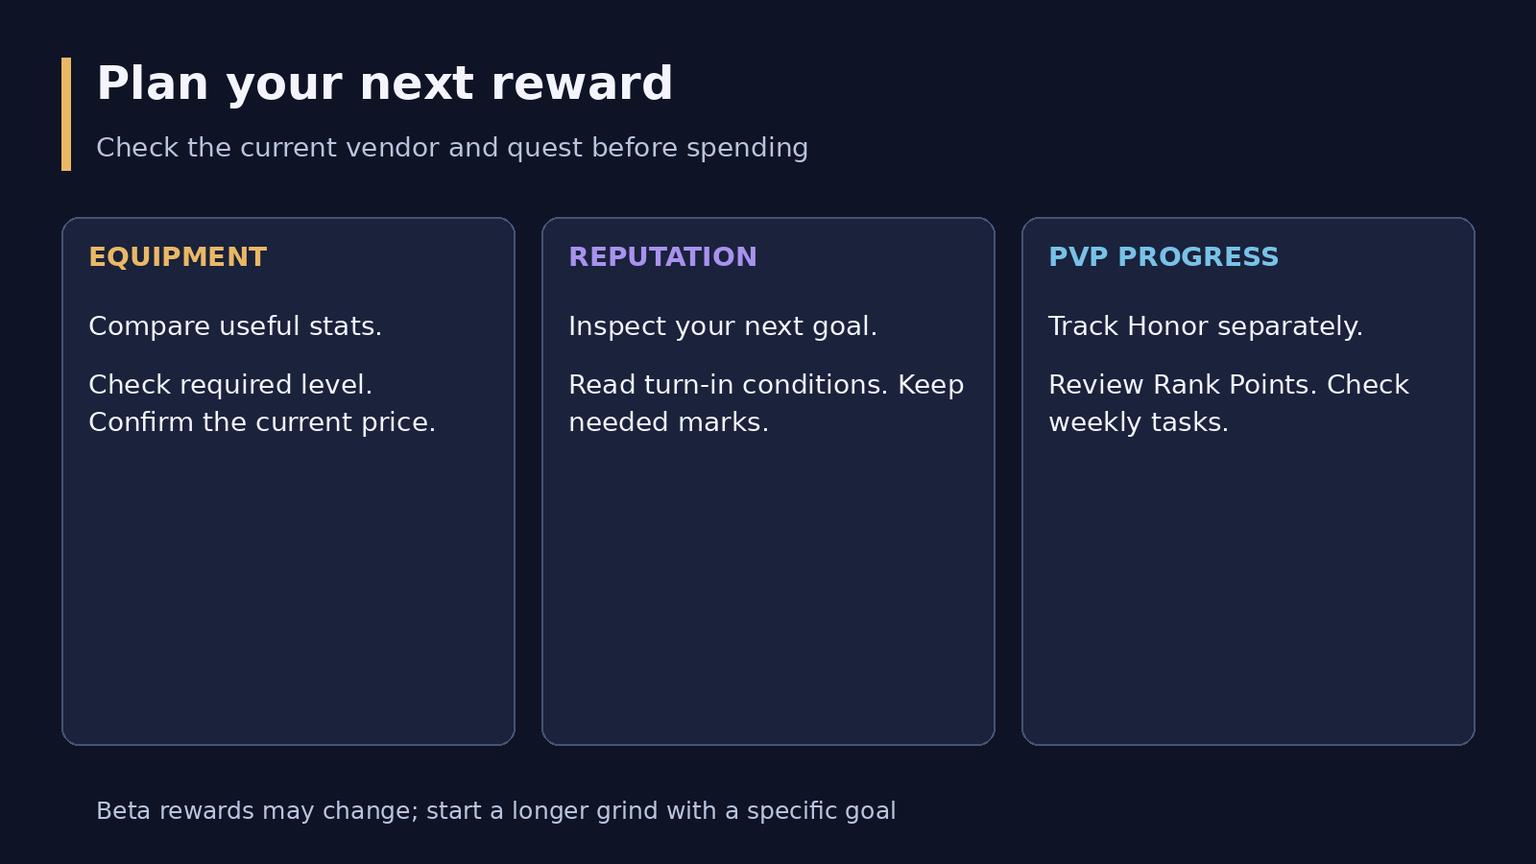
Planning the next reward
Reputation, quests and purchases
Horde builds local standing with Darkspear Raiders; Alliance works with Theramore Expeditionary Force. Rewards include equipment and consumables. Marks of Honor are used for reputation quests, while Exalted unlocks a short questline for the faction tabard.
Return to your camp after a match when you need a turn-in or purchase. Inspect the next useful reward and its requirements before deciding what to do with your marks. Avoid automatically spending every item if a planned purchase needs the same resource.
Track Honor separately from Rank Points. Honor is a currency, while Rank Points advance your rank and have a weekly cap. The broader seasonal PvP journey includes weekly tasks; that does not establish an identical reset schedule for every local quest.
Choose equipment by its value to your character rather than quality color alone. Compare level requirements, stats and purchase conditions. A future-level item can be a sensible goal without helping in your present match. Do not budget around an old beta price.
Required steps and optional goals
Participation needs an eligible character and entry into a match. Browsing camp rewards, building reputation and pursuing the tabard are separate goals. Finishing the tabard chain is not a prerequisite for your first queue.
Check repeatability on each individual quest. Do not label every mark turn-in daily or weekly, and do not assume every repeat pays unlimited rewards. This guide does not fix exact win/loss payouts, mark storage, vendor prices or a complete item list; use current beta tooltips before spending.
The checked material does not establish rare-enemy farming, world events or a mandatory PvE unlock chain as part of entry. Do not delay a first match to search for such a requirement. The practical route is entry, an objective assignment, map checks, timely support and a deliberate reward choice.
Frequently asked questions
Must I finish an island storyline first?
The published entry instructions do not include a mandatory story unlock. Start with a battlemaster or your faction's portal, and inspect camp quests as additional goals.
Can fighting in the middle win the match by itself?
Build the plan around bases and deliveries. Defeating players helps when it protects an objective or clears a route. An isolated fight far from those objectives does not replace map control.
Should I pursue rewards as soon as I reach 30?
Compare the items available to your character and their requirements first. A trial match helps identify a comfortable role; choose a purchase goal before committing to a long reputation session.
Are these the troll starting islands?
Use details specifically published for Forever's battleground. Starting-zone routes, travel systems from other versions and familiar battleground rules do not establish its current mechanics.