WoW Forever Hall of Thanes: Route and Boss Guide
Hall of Thanes is a new WoW Forever dungeon beneath Old Ironforge. Blizzard lists a level range of 13-18. For a first visit, a five-player party around 15-18 is a sensible recommendation, rather than a claim about the portal's exact minimum entry level.
This guide was checked on October 19, 2026 and covers the beta. Abilities, rewards and individual quest requirements can change. The normal tour follows four bosses: Faldrim Anvilmar, Magmatus, Plunder and Durgen Dirgehammer. The dungeon is broadly linear with quest detours, rather than an open choice of boss order.
Collect quests before committing to the run, separate dangerous packs and preserve room to move. The worst surprises often happen between bosses: an extra Summoner, an overlooked bomb or a fear into uncleared enemies can turn a manageable fight into a recovery problem.
Find the entrance and prepare
In Ironforge, enter the High Seat throne room and take the passage on the left into Old Ironforge. Follow the descending route to the bottom of the complex to find the instance portal. Do not confuse this dungeon with another dwarven or titan-themed location.
Alliance players can meet in the city, collect outside quests and descend together. Horde players face hostile territory and Ironforge's guards. Having quests available to Horde does not make the approach safe. The checked guides do not verify a quick teleporter or a separate side entrance.
No special key or compulsory attunement chain for the portal is established. One dungeon quest does require preparation in Dun Morogh, but that prerequisite belongs to the quest. A missing quest marker does not by itself mean the dungeon is locked.
Bring a tank, a healer and three damage dealers. Learned interrupts and crowd control matter more than insisting on particular classes. Before entering, ask who can stop a cast, remove a curse and resurrect someone after a fight. Do not plan around an ability a player has not learned yet.
Carry water, food and suitable potions, and leave bag space for loot and quest items. Assign a focus marker and a separate control marker. Once a target is controlled, avoid breaking that control with stray area damage. The group benefits more from a predictable pull than a slightly faster opening attack.
Route through the four encounters
From the entry stairs, work through the opening rooms into the western wing and Anvilmar's Rest, where the first boss patrols. Check the Ghostly Attendant's quest before entering the boss area. Explore nearby branches together so the tank does not start a second room while the healer is still behind.
After Faldrim, continue into Magmatus's fiery section. Slow down here: the ordinary enemies become more demanding. Continue back into the corridors patrolled by Plunder, then clear the remaining approach to Durgen in the Reliquary of Kings.
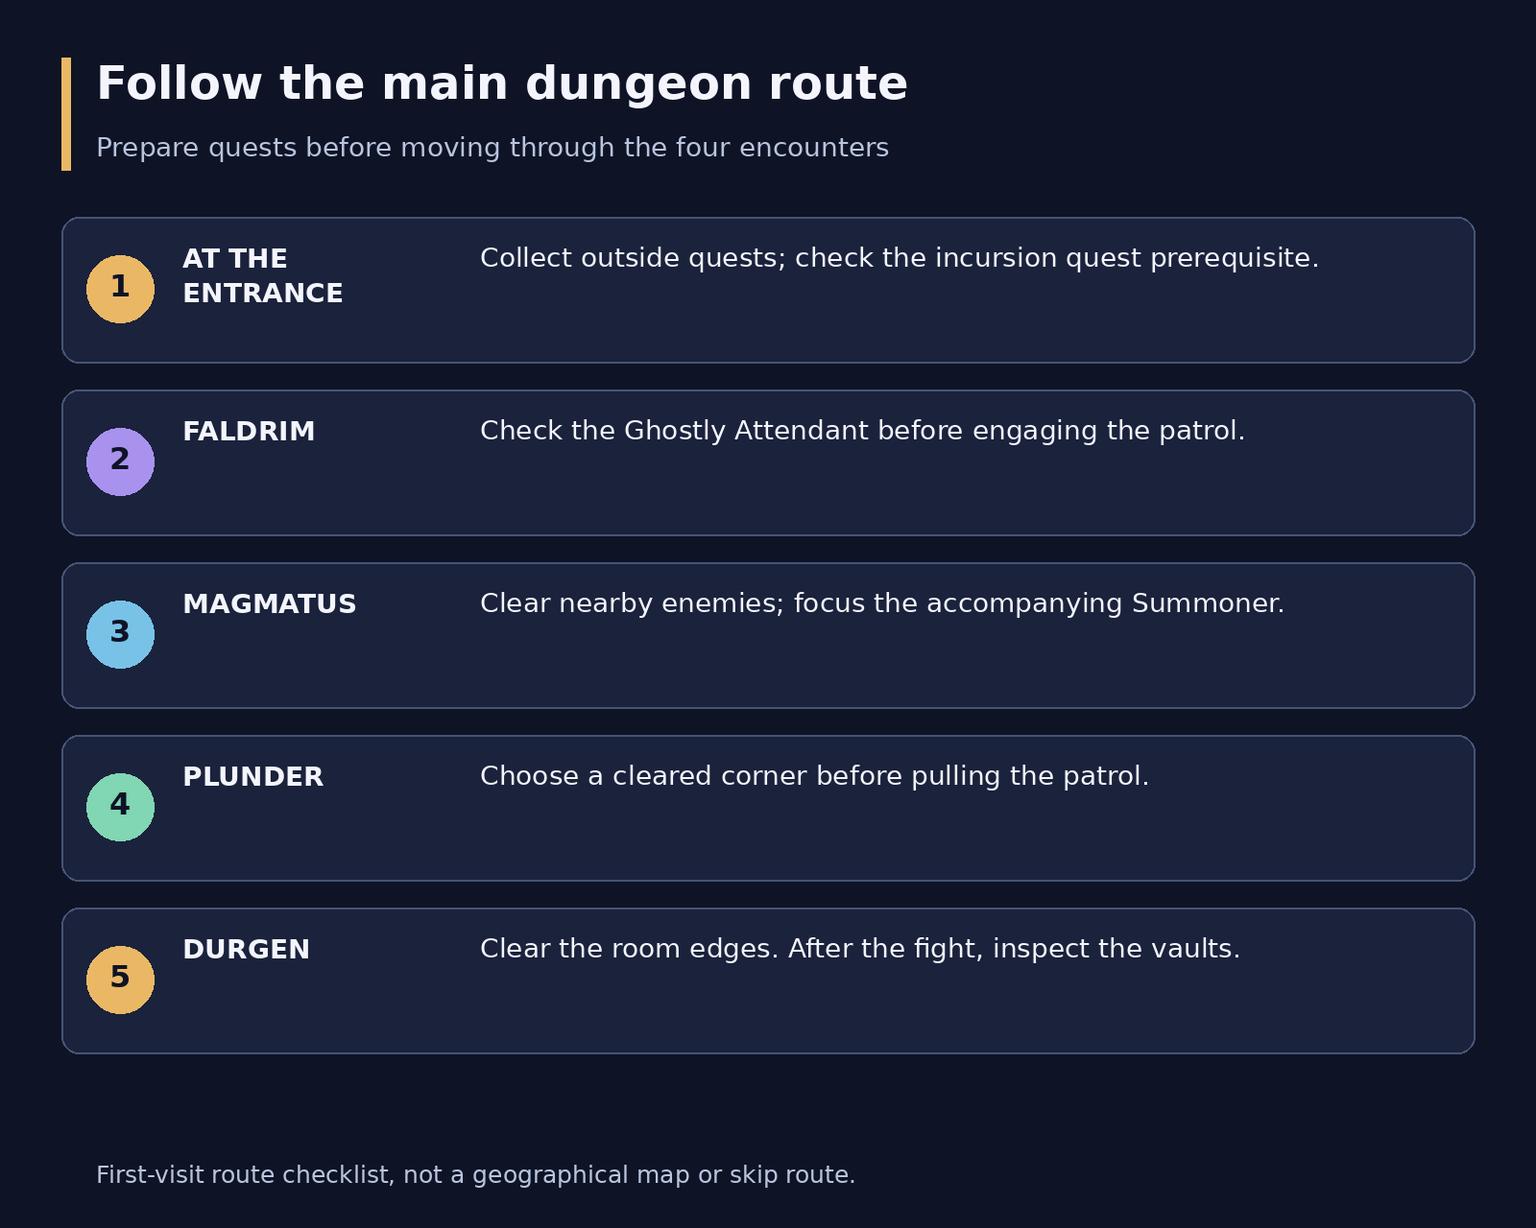
The main route: entrance preparation followed by four boss encounters
Before Durgen, clear the enemies along the room's edges separately. His two accompanying golems belong to the boss pull; do not treat them as an independent cleanup pack. After winning, inspect the vaults for heirlooms and the tablet quest rather than leaving as soon as loot is distributed.
You do not need to kill every enemy in every side room, but a skipped pack must not block a quest or sit behind the tank's knockback direction. On a first visit, cleared space is usually more valuable than squeezing past an uncertain gap. Agree on detours before one player moves ahead alone.
Trash: choose what to control first
In the opening rooms, watch Faldrim's patrol among Enraged Apparitions and Tormented Souls. Fight in cleared space and avoid adding the boss to an unfinished pull. Check personal kill credit before leaving this section if anyone has the associated quest.
Dark Iron Engineers throw bombs at a location selected when the cast starts. The tank and nearby melee can move before impact. That is better than making the healer repeatedly recover a tightly stacked party. Move onto cleared floor rather than toward the next group.
Dark Iron Summoners cast Fireballs and create Fiery Assistants. Give them an interrupt or appropriate control assignment. When one stands at range, the tank can break line of sight behind a wall or pillar to bring it closer. Everyone else should wait for that collection instead of pulling it back into ranged combat with an early attack.
Dark Iron Looters apply rapid pressure, and Lesser Stone Golems also deserve attention rather than an assumption that you can outrun them. In a mixed pack, controlling the Summoner first leaves fewer active threats. Choose one remaining target based on what is already hurting the tank; avoid splitting damage across both the golem and Looter without a plan.
If an extra pack joins, stop advancing, retrieve enemies from the healer and use available protection before health becomes critical. A request for drinking time is enough reason to pause. The next boss will still be there after the party has recovered.
Boss strategies
Faldrim Anvilmar
Faldrim patrols his room, so clear a fighting area first. The tank waits for a safe approach, engages him separately and keeps threat. Damage dealers allow that opening control, while the assigned player interrupts Mind Blast.
Anvilmar's Curse slows attacks and spellcasting. Removing the curse with an available ability makes the rest of the tour more comfortable; curse removal is not interchangeable with poison removal or a standard magic dispel. Having a particular decurse class is not a requirement for entering the party.
The healer maintains tank health, especially after a missed interrupt. Damage dealers should prioritize stopping the dangerous cast over finishing one more attack. Use a defensive if the tank takes boss damage and an accidental additional enemy together. No special phase transition is established; the main failure is the patrol joining a fight that has not finished.
After the kill, check the Ghostly Attendant's quest and wait for players collecting objectives. Do not rush the whole dungeon just to preserve a temporary effect from the first boss. Controlled pulls and healer mana are more useful than a risky race.
Magmatus
Magmatus fights alongside a Dark Iron Summoner. Clear the accessible patrol and nearby Engineers before beginning. Agree that damage dealers will focus the accompanying Summoner while the tank keeps the fire elemental away from the main party.
Magmatus deals nearby area damage through Fire Nova and puts Combust on an individual player. Turning him away does not protect against a circular effect: ranged players need distance, and melee should avoid standing close without purpose. The newer account describes Fire Nova as instant, so an ordinary interrupt cannot replace positioning.
The tank chooses open ground without moving so far that the healer loses line of sight. Damage dealers stop the Summoner's casts and remove it quickly, then switch to the boss. If an assistant already appears, collect it rather than leaving an additional enemy attacking the healer freely.
The healer watches more than tank health. Combust can demand attention on another player at the same time as nearby area damage. Check the effect type and available abilities before expecting a dispel; no universal mandatory removal is established here. When several people are low, personal protection and leaving the boss's immediate area take priority over uninterrupted damage.
A surviving Summoner and extra enemies are more likely to destabilize a first attempt than an insufficient burst on Magmatus. Before trying again, identify who stayed near the boss, which casts went through and where the additional pack came from.
Plunder
Plunder patrols the hallway before the final section. His consistently documented threat is a knockback. Choose a cleared corner or the previous passage where being moved backward will not reach more enemies, then wait for a safe patrol position and engage him separately.
The tank manages the boss's angle relative to a wall and the party. The healer keeps line of sight, and damage dealers check where a displacement would send them. Do not insist on immediately returning to the original spot if continuing the fight on nearby cleared ground is safer.
One beta account also describes a charge at a random player with a brief stun, while other guides emphasize only the knockback. Keep a health buffer and be ready to recover threat, but do not build the plan around a fixed charge timer. If the healer temporarily cannot act, use available protection before the next hit.
No required interrupt or dispel has been verified for this encounter. The main failure is a knockback bringing another pack into combat, giving the tank and healer several problems at once.
Durgen Dirgehammer
Durgen waits in the final hall with two Lesser Stone Golems. Clear the surrounding Looters before pulling, because he applies an area Fear. An empty perimeter prevents a loss of control from turning into another fight.
For a first visit, killing the golems one at a time before Durgen is a sensible way to reduce incoming damage. Treat that as a tactical recommendation: some guides favor killing the boss first. Whichever plan the party chooses, mark one target and avoid splitting damage across all three without agreement.
The tank collects Durgen and both golems. Meet the demanding opening with a defensive available and the healer at full mana. Damage dealers help reduce the number of active attackers instead of taking a golem with an early heavy hit.
The healer accounts for Rend and possible downtime during Fear. A bleed should not automatically be treated as a normal magic effect that can be dispelled. Use fear tools only if the current party actually has them; no single compulsory counter is established for every composition.
During a loss of control, continuous healing and taunts may be unavailable. Once control returns, the tank checks each enemy's target, the healer stabilizes health and damage dealers return to the marked target. The dangerous overlap is three active enemies and a bleed while healing stops, especially with Looters still around the walls.
After a death, first check whether a surviving player can resurrect you. For a complete wipe, beta guidance describes returning to the entrance as a ghost; separate resurrection checkpoints after every boss are not verified. Agree where to regroup before starting the next fight.
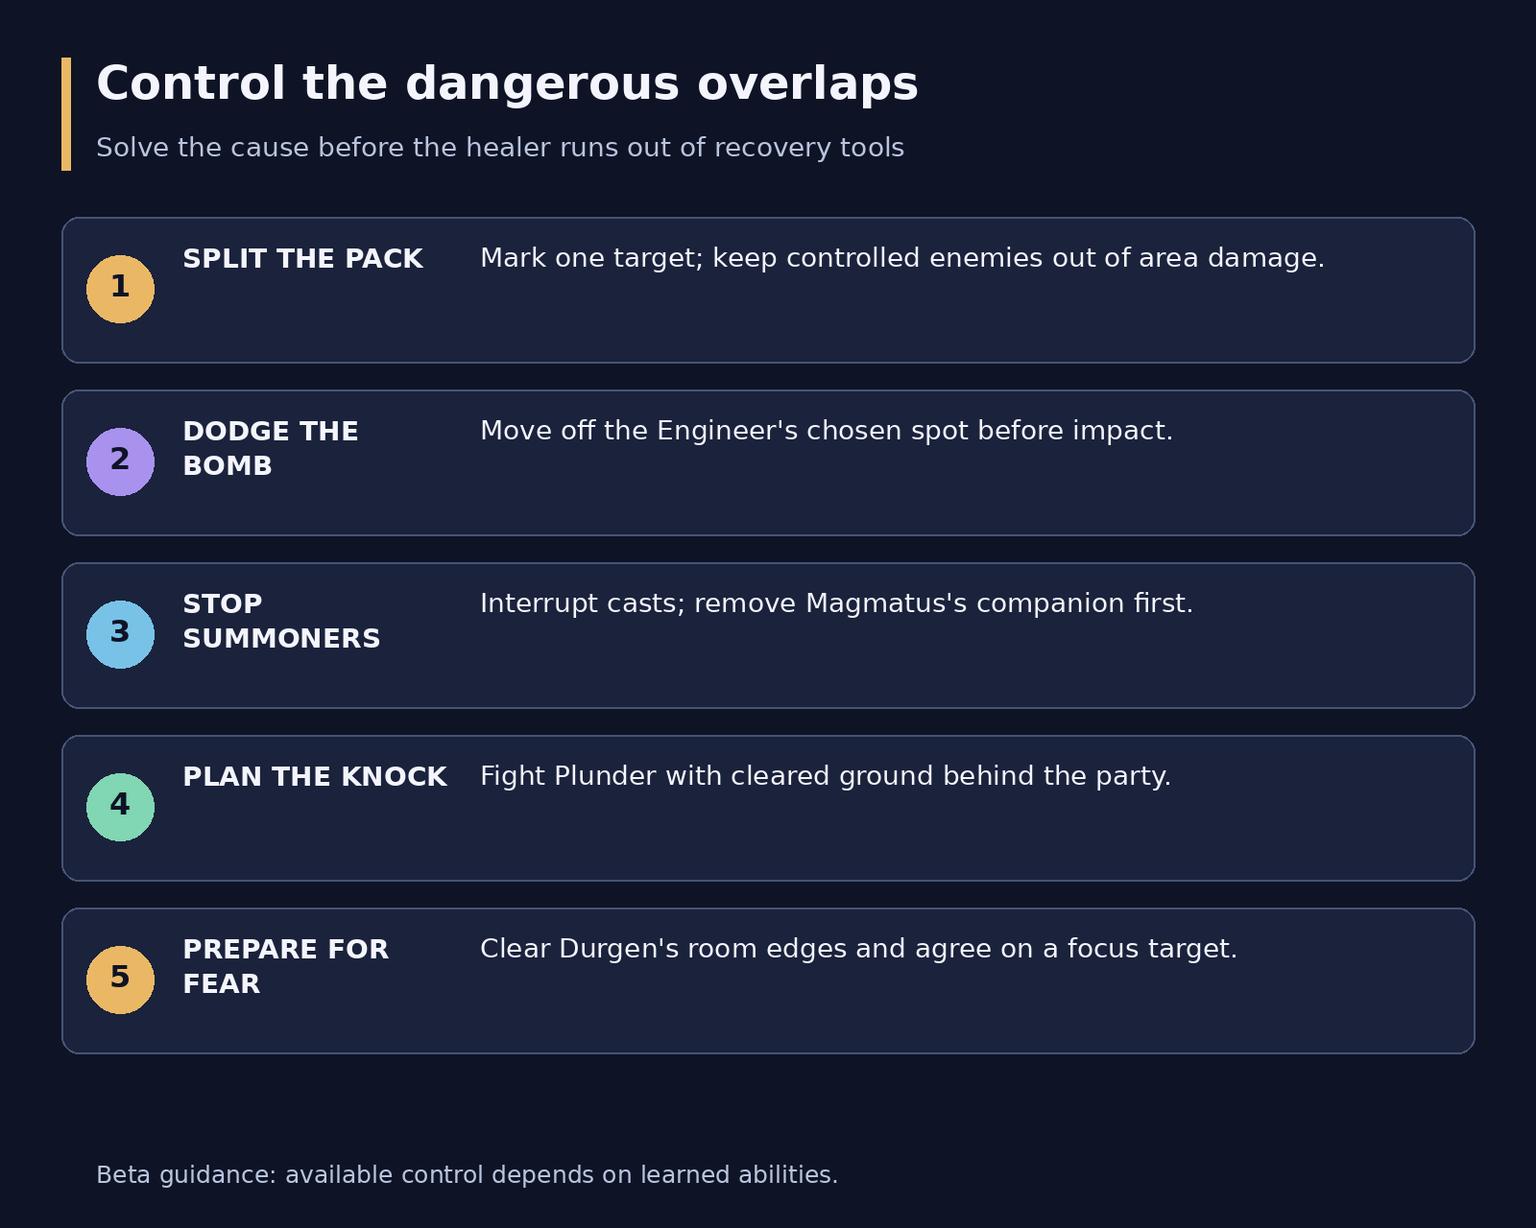
Five priorities, from individual enemies to a safe final boss room
Prepare the quests and check objectives
There are five associated quests. Important Heirlooms and An Ancient Grudge are available to both factions; the other three are for Alliance. Individual quest eligibility is separate from the dungeon's recommended bracket. Check journals before entering, especially in a party with different character levels.
Quest | Starts at | Objective along the route |
Important Heirlooms | Thom Filch by the entrance in Old Ironforge | Collect 8 Dwarven Heirlooms; inspect final-room vaults |
The Restless Dead | Afadra Dunwall in Old Ironforge; Alliance | Kill 15 Enraged Apparitions and 10 Tormented Souls in the opening section |
An Ancient Grudge | Ghostly Attendant inside, before the first boss | Kill Faldrim and check completion before leaving the wing |
Old Ironforge Incursion | Earthseer Farsen in Dun Morogh; Alliance | Complete the map prerequisite, then collect the final boss's head |
The Treaty of Understanding | A tablet in a final-room vault; Alliance | Find the item after the fight and read the journal's follow-up |
Old Ironforge Incursion requires Underground Map, which begins with a Dark Iron Map obtained from Dark Iron spies in Dun Morogh. This prepares the quest rather than unlocking the dungeon. If the goal is to finish the chain in one visit, check Farsen's availability before assembling at the portal.
It is easy to forget heirlooms and the tablet once the final boss is dead. Every player should check personal counters and loot before leaving. An unfinished objective is often easier to find in the current instance than through another complete run.
Rewards and returning to the dungeon
Example drops include Ephemeral Choker from Faldrim, Fang of Magmatus from Magmatus, Golemheart Stave from Plunder and Durgen's Crescent Axe from Durgen. Quests also offer equipment choices, such as Ironforge Greathammer or Deepblaze from the incursion chain. These are examples, not guaranteed drops or a universal best-in-slot list.
Compare live stats with your role and weapon proficiency. A promising name alone does not make an item an upgrade. Choose a specific boss or unfinished quest as the goal for a return trip.
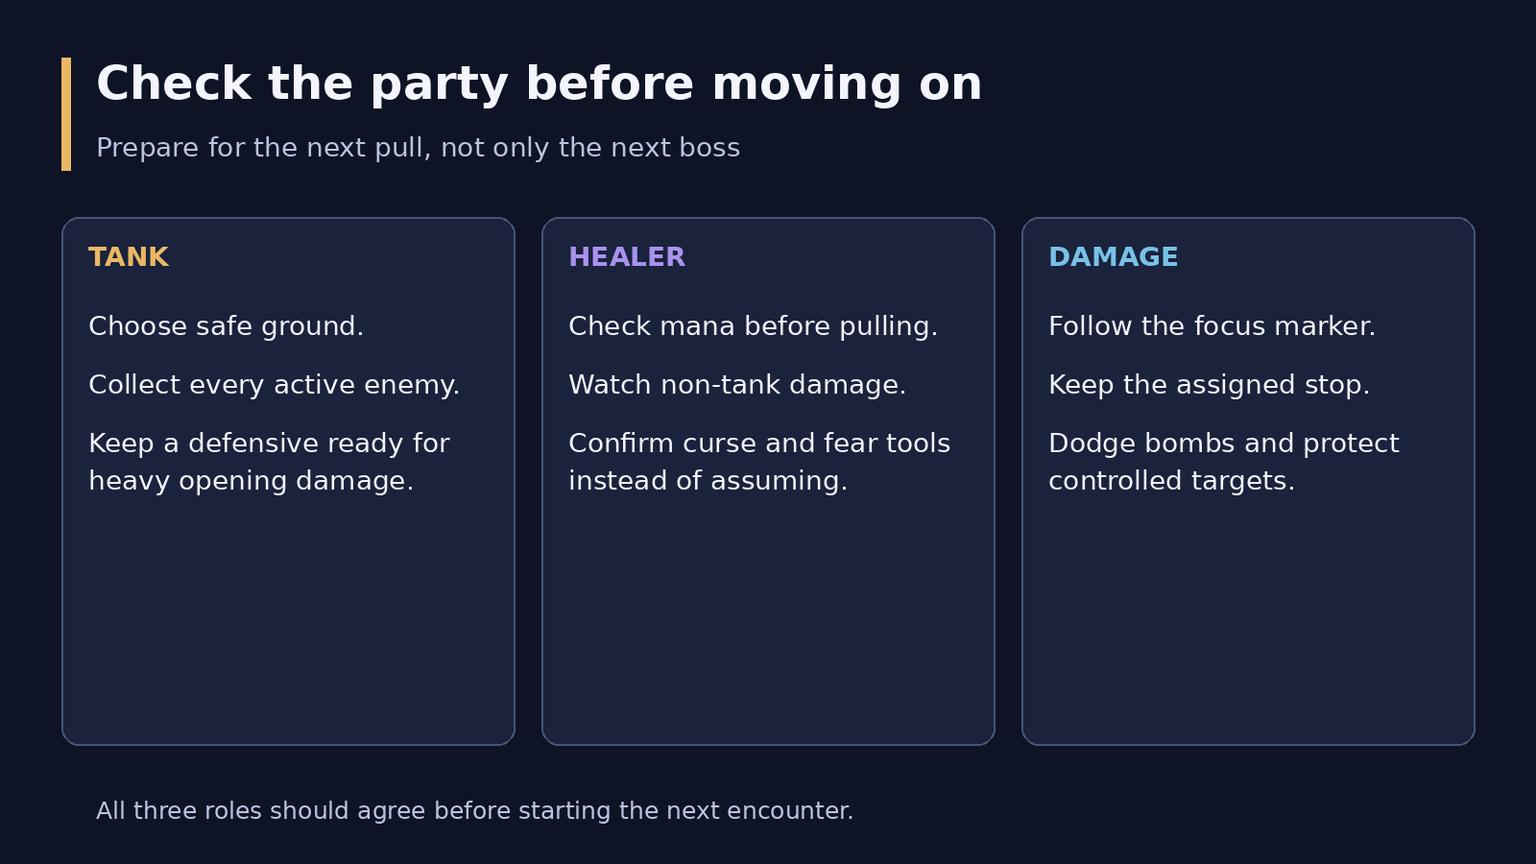
A short check for the tank, healer and damage dealers before the next difficult section
Do not promise September quest experience totals: Blizzard already revised extra dungeon quest experience in the October 1 update. The checked material does not establish separate Heroic/Mythic versions, a dedicated currency, required reputation access or special Hall of Thanes daily or weekly quests. Check current repeat-entry rules in the client instead of importing restrictions from another WoW version.