WoW Forever Protection Paladin Guide: Tanking, Threat and Mana
Protection Paladin in World of Warcraft: Forever is a shield tank built around Mana, Seals and Judgement. Keep Righteous Fury and Seal of Fury active, bring enemies into a controlled position, and spend enough Mana to hold them without exhausting the tools needed to recover a loose target or survive the next attack.
This guide was checked on October 19, 2026. Its practical core covers the level-30 beta. Higher-level abilities are identified separately. Forever does not use the modern Holy Power generation-and-spending loop, Shield of the Righteous uptime plan or Hero Talent paths. The Holy-tree talent named Holy Power is a critical-strike talent, not that modern resource system.
Your success is not measured by pressing every available damage spell. A good pull ends with the group alive, dangerous enemies controlled and enough resources to continue safely. The class has improved tanking tools, but limited reach and no conventional interrupt still shape its decisions.
Prepare before the first pull
Equip a one-handed weapon and a shield. Seal of Fury's small absorption effect requires the shield; a two-handed solo weapon is not an interchangeable dungeon-tanking setup. Train available ranks before entering and place your recovery and defensive actions on accessible bindings.
Activate Righteous Fury, choose an aura and check your blessing and Seal. Righteous Fury's latest listed Holy-threat bonus is 90%, replacing the older 60% figure. Improved Righteous Fury separately provides damage reduction while the effect is active. Treat the buff as part of your tanking preparation, including after a death.
Devotion Aura adds armor for physical damage, while Retribution Aura contributes retaliatory damage. Choose the aura for the pull rather than assuming one is best against every enemy. Check the healer's Mana, mark the first target and identify an enemy whose cast your group must stop. Agree who will interrupt it.
How Seal of Fury and the taunt fit together
Seal of Fury adds Holy damage to melee swings and small, non-stacking absorption shields while a shield is equipped. Judgement triggers its damage and forces the target to attack you for four seconds. The taunt has a 10-yard range: useful, but not a room-wide rescue button.
Judgement does not consume your Seal in Forever. Refresh the Seal for its normal expiry or after changing to another Seal; do not pay to recast it after every Judgement automatically. If you temporarily use a different Seal, you must restore Seal of Fury before expecting Judgement to taunt.
A forced-attack window is time to rebuild control. Follow the taunt with positioning and threat on that enemy. It does not establish permanent ownership of every target nearby.
Build around the problem you need to solve
At level 30, a character normally has 21 class talent points before any extra points from Legacy. A deep Protection route can reach the 21-point Templar's Bulwark talent. A Mana-saving hybrid route can instead invest in Holy Conduit, but cannot also spend the same limited points deep in Protection. Check the actual points available on your character before copying a planner.
Build direction | Main purpose | Tradeoff to check |
Deep Protection | Defensive talents and access to Templar's Bulwark | Fewer points for another tree's cost reductions |
Protection with Holy Conduit | Lower spending on repeated area spells | Delays deeper Protection milestones |
The shared foundation includes reliable hits, blocking and Mana return: Precision, Redoubt, Shield Specialization and Improved Seal of Fury address different parts of that foundation. Improved Righteous Fury helps when incoming damage is the problem. Swift Judgement adds recovery flexibility rather than becoming a mandatory extra attack every minute.
These are build directions, not a claim that one allocation is optimal for every group. Extra Legacy points are not assumed. At level 60, new encounters and available equipment will require a fresh build check; an early beta allocation is not a validated raid prescription.
A practical single-target priority
Think in conditions rather than a fixed repeating button sequence. Survival or a loose enemy can interrupt the ordinary damage priority at any moment.
1. Keep Righteous Fury and Seal of Fury active. If either is missing, restore the effect before relying on its threat or defensive interactions.
2. Establish control with Judgement when the target is in range. When another enemy may break away, avoid spending your only ready taunt merely for a small damage gain.
3. Use Holy Strike regularly to build threat. Add Exorcism against an eligible Undead or Demon when the immediate tanking job and Mana budget allow it.
4. Spend on Consecration when its extra threat is useful and affordable. Against one stable target, skipping an unnecessary cast can preserve the Mana needed for the next problem.
Keep attacking from a position that leaves enemies facing away from allies. If a boss mechanic forces movement, choose a safe position first and rebuild the ordinary priority there. A familiar sequence is less valuable than keeping the group out of a dangerous frontal attack.
Holding several enemies
Consecration becomes a baseline trained ability at level 20. Place it once enemies are actually gathered where they will remain, not where they stood before running toward you. Use corners and line of sight to help bring casters into the group, while making sure your healer can still see you.
Its target handling matters: the first four enemies entering receive the stronger damage component, while additional enemies receive much less. This is not an unlimited-target threat guarantee. Adding more enemies can create more danger without giving you equally strong control of every extra target.
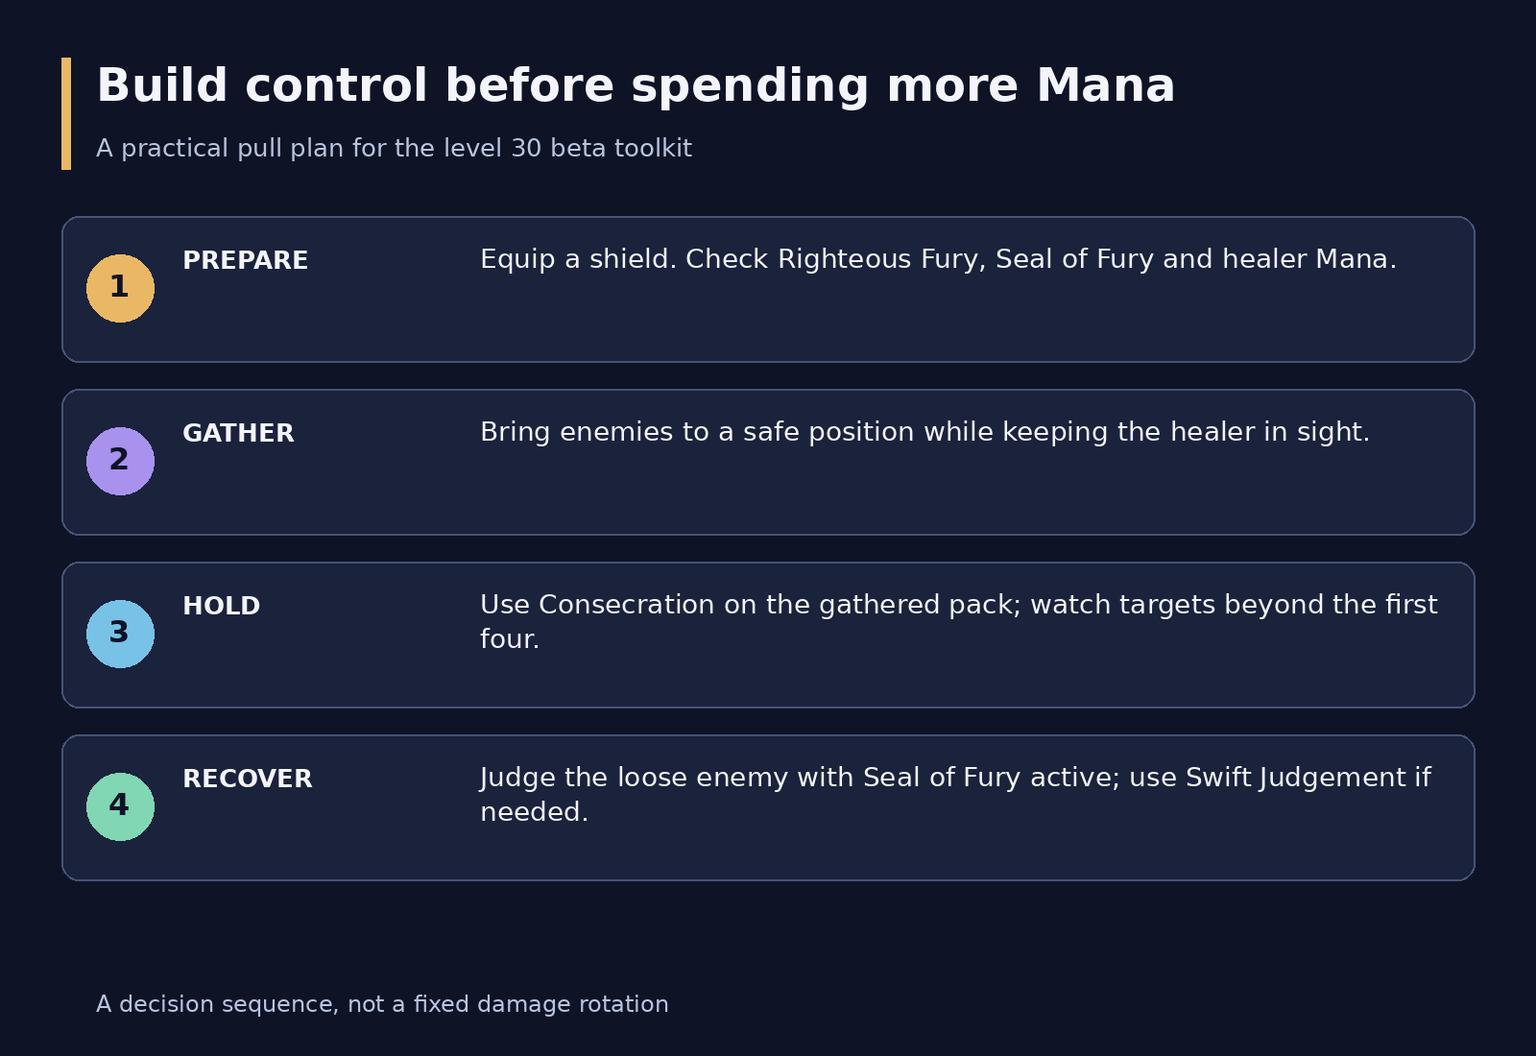
Four decisions for a controlled dungeon pull
Use Holy Strike and melee attacks on enemies that need attention, not only on the target with the largest health bar. Watch enemies near the edge of the group and use Seal of Fury's Judgement when one leaves for an ally. Ask damage dealers to focus the marked target while control is being established.
If a caster refuses to move, do not chase it so far that the rest of the pack or the healer's position becomes unsafe. Coordinate an interrupt or control from a teammate. Hammer of Justice can stop a susceptible enemy through a stun, but it does not replace a conventional interrupt against a stun-immune boss.
Recover a loose enemy deliberately
Check Seal of Fury, move into Judgement range and taunt the specific enemy threatening the group. If Judgement is unavailable, Swift Judgement can finish its cooldown and make the next Judgement free. Save that reset when the next recovery could decide the pull.
If the target resists, check whether a second attempt is available and coordinate control. A missed taunt is not a reason to run blindly through another group. For a physical attacker on a caster, Blessing of Protection can create a rescue window, but it also prevents the recipient from making physical attacks.
Mana is part of your defensive plan
Two important returns reward active tanking: Improved Seal of Fury returns Mana when one of its small absorbs is fully consumed, and Shield Specialization can return Mana when you block. The latest official update lowers Shield Specialization's return to 4% of maximum Mana, with a three-second internal cooldown. Older 6% descriptions are outdated for this check.
More attackers therefore do not mean unlimited Mana. You still have an internal cooldown, enemies may cast rather than swing, and absorbing more incoming damage is not automatically safe. Slow attackers and caster-heavy groups can expose a Mana budget that looked comfortable against a different pack.
What you notice | First adjustment | Why it helps |
Threat is stable but Mana is falling | Skip unneeded Consecration refreshes | Preserves emergency actions |
Casters remain spread out | Regroup safely and coordinate stops | Reduces wasted ground effects |
The next pull starts nearly empty | Drink and check the healer | Prevents a resource crisis on entry |
A taunt may be needed soon | Keep its cost and Seal ready | Keeps the recovery plan available |
Carry appropriate water and health and Mana potions. Health and Mana potions share a cooldown, so choosing one spends the other option for that window. Do not treat a potion as a substitute for a sustainable pulling pace.
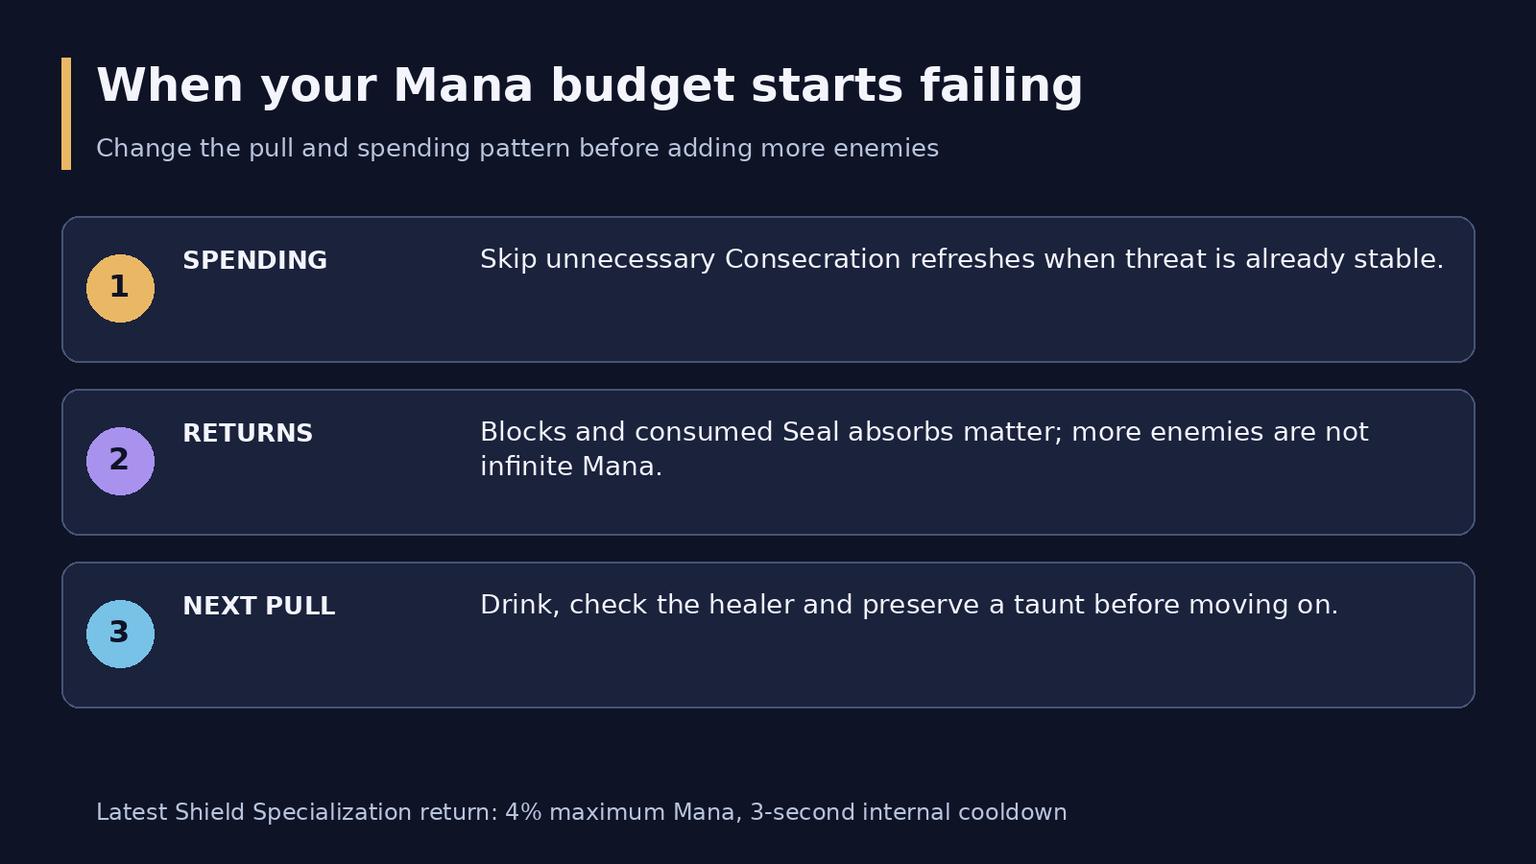
Three checks when the Mana budget is failing
Plan protection before the damage arrives
Templar's Bulwark and Forbearance
Templar's Bulwark grants an absorb equal to your maximum health for eight seconds. It has a five-minute base cooldown before talent reductions, applies Forbearance, and cannot be cast while Forbearance is active. Use it to cover a known dangerous interval, checking the debuff before the pull.
An absorb is finite protection, not immunity. It can be exhausted before its duration ends. Do not describe the button as making any pull safe or assume that another Forbearance-limited tool will be available immediately afterward.
Immunities and emergency healing
Divine Protection and Divine Shield are emergency immunity tools with consequences for enemy attention and your own attacks. They are not the modern routine damage-reduction cooldown package. If enemies can turn onto the healer, coordinate a handoff or immediate recovery instead of pressing an immunity and assuming the whole group is protected.
Lay on Hands can save a life but drains your remaining Mana. Use it when preventing a death is more important than keeping the ordinary spell sequence running. Heal yourself between pulls when helpful; during active tanking, do not assume a cast-time heal is always safer than preserving control and using a ready defensive.
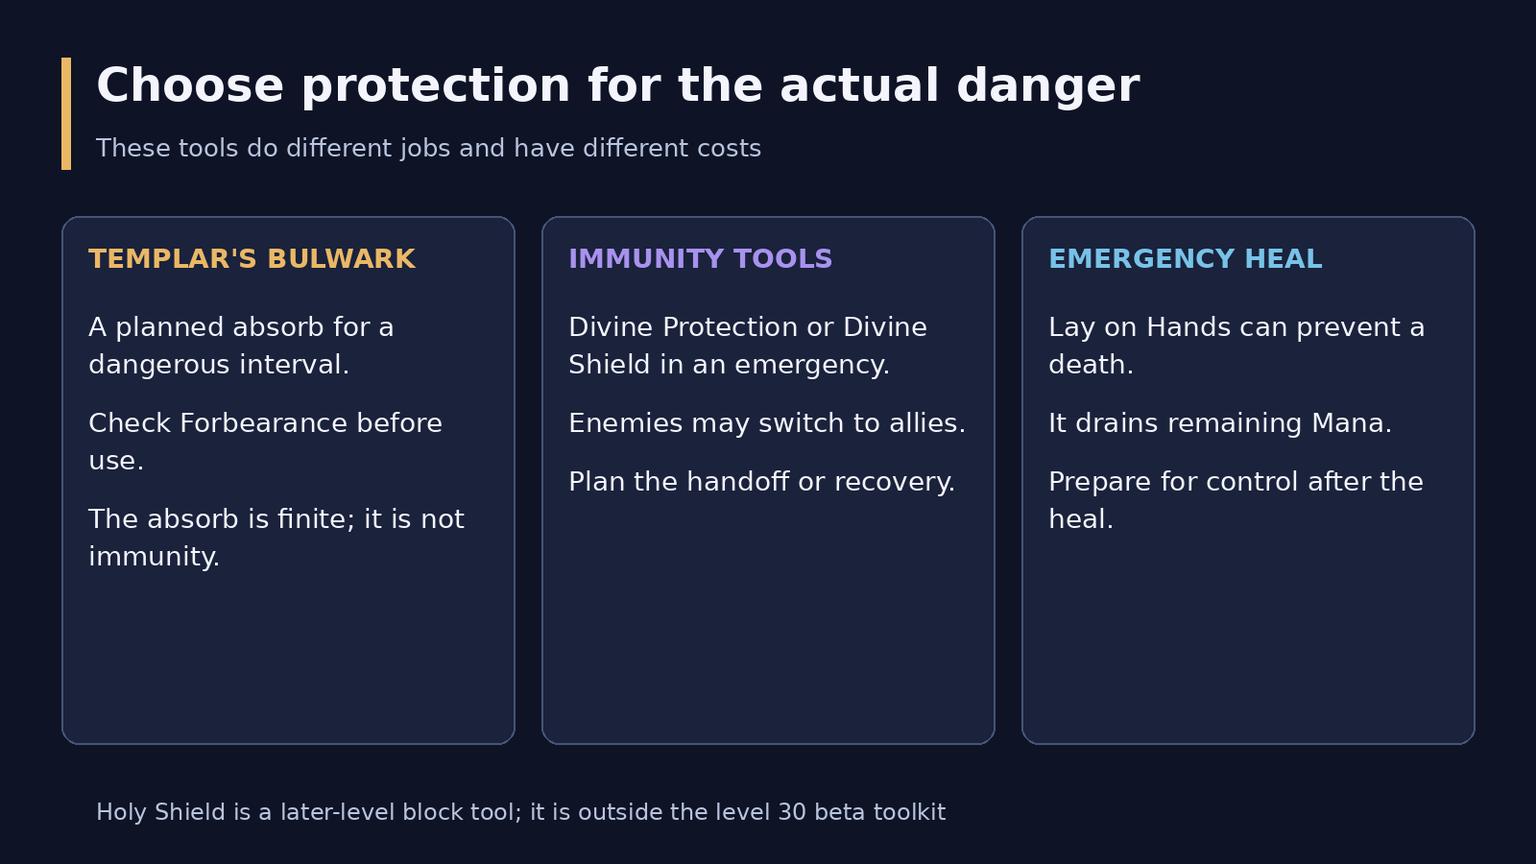
Three different jobs within the defensive toolkit
Passive protection and later-level additions
Redoubt improves blocking after incoming hits; armor, a shield and defensive talents do useful work before you press an emergency button. Their value depends on the damage type. Block interactions do not solve every magical attack.
Holy Shield is a later-level ability, first listed at level 40 in the current client data, beyond the playable beta cap. It increases block chance and spends charges on blocks. When available in a suitable build, use it around blockable pressure and watch both duration and charges. It is not Shield of the Righteous and is not a Holy Power spender.
Iron Creed's client data connects Holy Strike to threat and a short damage-reduction effect while Righteous Fury is active. Treat it as a later talent interaction if selected, not a benefit granted to every level-30 build automatically. Higher-level details remain beta data rather than tested level-60 raid advice.
Use support without abandoning the tanking job
Purify removes poison and disease and is useful in the current level range. Cleanse adds magic removal, but its current client listing places it at level 42. Do not assign the level-30 tank a magic dispel it does not have. Check the harmful effect type before spending an action.
Blessing of Freedom helps an ally deal with movement restrictions. Blessing of Protection covers physical pressure, not every damage type. Choose blessings according to the recipient's needs rather than copying your own onto everyone. The latest official notes separate Salvation and Mass Salvation from blessings, allowing threat reduction alongside a blessing; keep Salvation off the active tank, and use Revoke when it needs to be removed.
Assign separate, accessible bindings for Judgement, Swift Judgement, Hammer of Justice, Purify and your defensive tools. A support mouseover binding can avoid losing your enemy target. Test its targeting outside the dungeon; a macro cannot decide which danger matters most.
Gear and progression choices
Start with a shield and enough armor, Stamina and defensive value for the incoming damage. Then examine whether misses, weak threat or Mana are limiting the group. Hit chance improves reliability, spell damage supports Holy threat sources, and Intellect expands the resource pool. The best tradeoff depends on the item and encounter, so there is no universal numerical stat weight here.
The recent changes reduced Consecration's spell-power coefficient while increasing Righteous Fury's Holy-threat multiplier. Those move different parts of the equation; they do not prove that spell damage is worthless or that every tank can discard defensive equipment.
Engineering can add pulling options and utility, with Mining supplying materials. Crafting or consumable professions can suit other budgets and plans. Choose the practical benefit you want rather than treating a profession pair as a requirement to tank. Keep inexpensive supplies while leveling and reassess expensive enchants or a final gear list once the relevant items and content are confirmed.
Frequently asked questions
Does Forever Protection use Holy Power?
No modern generator-and-spender cycle is used here. The tanking decisions revolve around Mana, Seals, Judgement, threat and protection. The talent named Holy Power does not change that into the modern resource system.
Should Judgement be used every time it is ready?
Use it to establish or recover control. When a loose enemy is likely, holding it can be more useful than spending it only for damage. Swift Judgement offers a reset if you have taken that talent.
Can I tank without Holy Shield at level 30?
Yes. The current beta toolkit uses the shield, Seal of Fury, threat spells and available defensive talents. Holy Shield belongs to later-level progression and is not a prerequisite you can demand from a level-30 character.
Is pulling more enemies the solution to low Mana?
Not by itself. Returns depend on actual blocks and consumed absorbs, while incoming danger grows. Reduce waste, regroup safely and drink before the next pull rather than increasing the pack beyond your group's control.