WoW Forever Ruins of Lordaeron: Route and Boss Guide
Ruins of Lordaeron is a new five-player WoW Forever dungeon in the ruined capital above Undercity. Blizzard lists it for levels 15-20. Treat that as a content bracket, not a verified minimum entry level. For a first visit, a party around 18-20 is a sensible recommendation: more health and learned abilities leave room to recover from mistakes.
This guide was checked on October 19, 2026 and covers the beta. There are six main bosses, two wave events and an open layout. Rath'mael normally closes a tour, but the bosses do not have a mandatory kill order. Build changes can affect individual abilities and event behavior.
Your practical priorities are to avoid combining packs, preserve the healer's mana and agree who stops dangerous casts. A productive first visit combines quest objectives with the bosses the party wants. Clearing every alley is not necessary for that plan.
Find the entrance and prepare the party
Travel to Tirisfal Glades and the surface ruins above Undercity. Enter the Lordaeron complex and look left near its entrance, before descending into the underground city. This is the Forever dungeon, not Retail's similarly named arena.
Horde groups can assemble near Undercity; the zeppelin from Orgrimmar provides a route to Tirisfal Glades. Alliance players need to plan the journey through hostile territory and the approach to a Horde capital. Meet before the dangerous section instead of having five people attempt it separately.
The checked guides do not identify a special attunement chain or key. Beta account access, a quest's minimum level and physically reaching the portal are separate questions. Wider ranges such as 15-22 or 16-23 in community guides should not be treated as precise entry rules.
Bring one tank, one healer and three damage dealers. That is a practical composition, not a requirement for particular classes. Check which players can remove poison, interrupt a cast or stun a target at their current level. An ability learned later cannot solve today's encounter.
Carry water, food and suitable potions, and leave bag space for quest items. Assign a primary interrupt and a backup. Pick a crowd-control marker and keep area damage away from that target. The next pull should wait while the healer drinks, even when the tank is ready to continue.
A route that is easy to follow
For a complete first tour, use Witherfang around King's Alley, The Baron in the southeast, Viktor the Vile in the southwest, The Abandoned to the west, Bjork toward the northwest and Rath'mael in the central section. This is an editorial route recommendation, not a door-unlock sequence. A moving patrol can change which nearby fight is safest next.
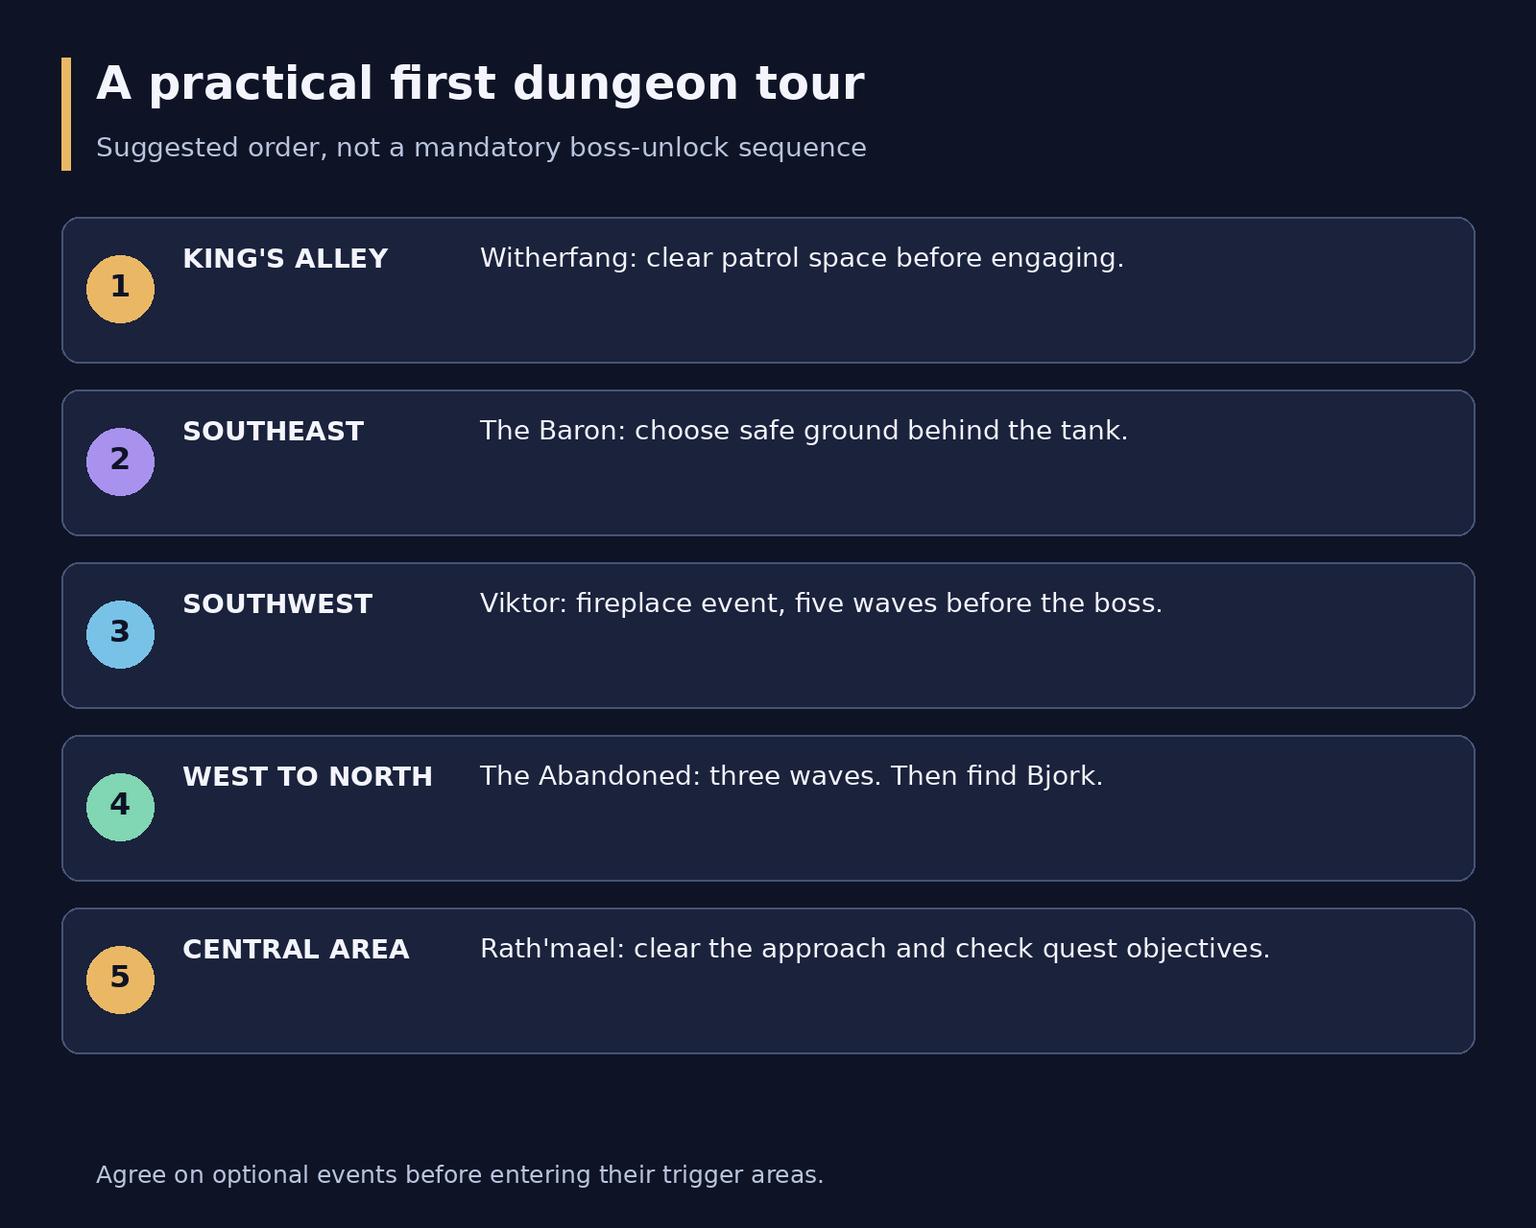
A suggested tour, with both wave events included by party agreement
Before advancing, check both the space ahead and the ground behind the tank. Pull the nearest enemies into cleared space, then wait for a favorable patrol position. Seeing a large enemy across an open street does not mean the direct approach is safe.
Decide whether to fight Viktor before entering the southwestern house. Clicking the fireplace object starts an event; it is not harmless sightseeing. Likewise, approach the western statue only when everyone is ready. A side passage is not automatically a safe drinking spot.
Rath'mael is visible from several parts of the ruins, but the walk to his area still matters. Check the graveyard objectives and clear movement space before engaging him. If the party wants only a particular quest or item, agree on a shorter tour before people commit to a full clear. Skipping an optional event does not invalidate the whole visit.
This route does not rely on roof jumps, enemy resets or a universal trash skip. A separated group can lose more time than a shortcut saves. After a death, agree on resurrection or a coordinated return. Do not assume every boss creates a new resurrection checkpoint.
Trash priorities and pull discipline
In King's Alley, the dangerous combination is a stationary spider group meeting a fast patrol. Let the tank choose the fighting position and keep the rest of the party behind it. If another pack approaches from the side, stop advancing rather than trying to finish one group while collecting another.
Skeletal groups near The Baron include casters. Mark a focus target and assign stops using the cast that is actually visible. Watch the actual cast and check which control tools work before committing your only available stop.
Flesh Golems and Living Monstrosities deserve their own health check on the tank. Avoid adding one to an unfinished pull. Leave cleared ground behind the tank against a knockback enemy. In ghoul groups, focus the Ragged Ghoul first. A shared target reduces the number of enemies dealing damage sooner than five independent targets do.
If an extra pack joins, the tank retrieves enemies from the healer while damage dealers stop spreading threat and help with control. The healer should announce a dangerous mana level early. Running farther into uncleared streets usually gives the party a larger problem instead of a recovery window.
Boss strategies by role
Witherfang
The patrolling spider brings smaller spiders and applies poison to the tank. Choose cleared ground, wait for a safe approach and let the tank collect the whole encounter. For an unfamiliar party, killing the escorts first is a reasonable choice if they pressure the healer; it is a tactical recommendation rather than a required mechanic.
The tank keeps the spiders together without moving toward another patrol. The healer maintains tank health and removes poison if the party has an appropriate ability learned. Without that tool, prepare to heal the damage instead of searching for a compulsory dispel the group cannot perform.
Damage dealers should wait for control of the escorts before using their strongest attacks. No mandatory interrupt has been verified. Use an available defensive before the next hit when the tank is in danger. The usual avoidable failure is bringing more spiders into the fight, not missing a complex phase transition.
The Baron
This encounter tests tank health and party positioning. Beta descriptions include a heavy hit with loss of control, a knockback and reduced threat; melee players must also respect a frontal Cleave. Do not share the tank's position in front of the boss.
The tank faces The Baron away from the group and chooses a knockback direction that will not reach more enemies. Be ready to recover threat with a taunt and use an available defensive for a dangerous hit. Avoid creating a chase that forces the healer through a neighboring pack.
The healer should avoid leaving the tank low before another attack. Damage dealers coordinate stuns rather than using every stop at once. No required dispel is established here, and a standard interrupt should not be promised as a replacement for stunning a physical attack. A sudden tank health drop or the boss reaching the healer is the main recovery problem.
Viktor the Vile
Interact with the fire in the ruined southwestern house's fireplace to start the event. Early accounts use different names for the object. Five waves precede Viktor, so healer mana matters more than maximum damage in the opening seconds.
The tank catches each new wave and is ready to establish threat on Viktor himself. The healer starts with full resources and announces shortages early. Damage dealers remove enemies threatening the healer, contribute available control and preserve enough resources for the boss's arrival.
Viktor is reported to hit hard and apply poison. Remove it when the party has the appropriate tool; use tank protection when health becomes unsafe. There is no verified mandatory interrupt sequence. Do not make the plan depend on holding one skeleton forever to obtain a guaranteed drinking break: recovery depends on the actual combat state.
Early beta reports described Viktor occasionally failing to appear. If the waves end without a boss, check the event state and report the issue rather than interpreting the delay as a hidden requirement. Starting unprepared and reaching the final wave without healing resources is the main preventable failure.
The Abandoned
The western statue passage starts three waves before The Abandoned appears. Do not approach it while other players are looting or drinking. Assign the first stop for Drain Life and a backup before beginning.
The tank collects the waves and then holds the boss on cleared ground. The healer accounts for Frost Nova and Frost Armor's slowing effect: a rescue plan should not depend entirely on immediate movement. Damage dealers watch Drain Life first, using an interrupt or stun that works in the current build.
Removing a root or enemy buff is an option only when the party has a suitable ability and the live tooltip supports that effect type. No group-wide mandatory dispel is claimed. Ranged players can choose space away from the tank before the root occurs. Use defensives when control prevents health from recovering in time. Missing Drain Life after a difficult wave is the key failure to prevent.
Bjork
The more recent beta account describes a brief Anti-Magic Shield. An older guide gives a different ability description, so avoid basing the fight on an immutable timer or exact patrol position. Clear nearby ghouls and choose an open fighting area first.
The tank keeps Bjork separate from surrounding packs while the healer maintains steady healing. Magic damage dealers can avoid spending a short damage cooldown directly into the active shield. Continue watching the fight's position instead of scattering to find another target.
A compulsory interrupt or shield dispel has not been established. If an extra pack makes tank health unsafe, use protection immediately while the healer still has a chance to recover. Nearby enemies are the main concern.
Rath'mael
Clear the central fighting area first. Flamestrike is the priority: the assigned player attempts to stop it with a suitable interrupt or stun, while everyone remains ready to leave the affected ground if the cast succeeds. A planned interrupt is not permission to stand in fire that already exists.
The tank moves the boss only as far as needed for safety and avoids uncleared ground. The healer accounts for damage around the boss described in early beta coverage and keeps melee players in healing range. Ranged players have no reason to stand beside the tank.
Damage dealers should abandon a long cast when movement is needed to survive. Use a personal defensive if escape is delayed; it helps recover from the mistake but does not remove the need to move. No separate mandatory dispel is established. Several players taking Flamestrike together can overwhelm healing even when the tank is otherwise stable.
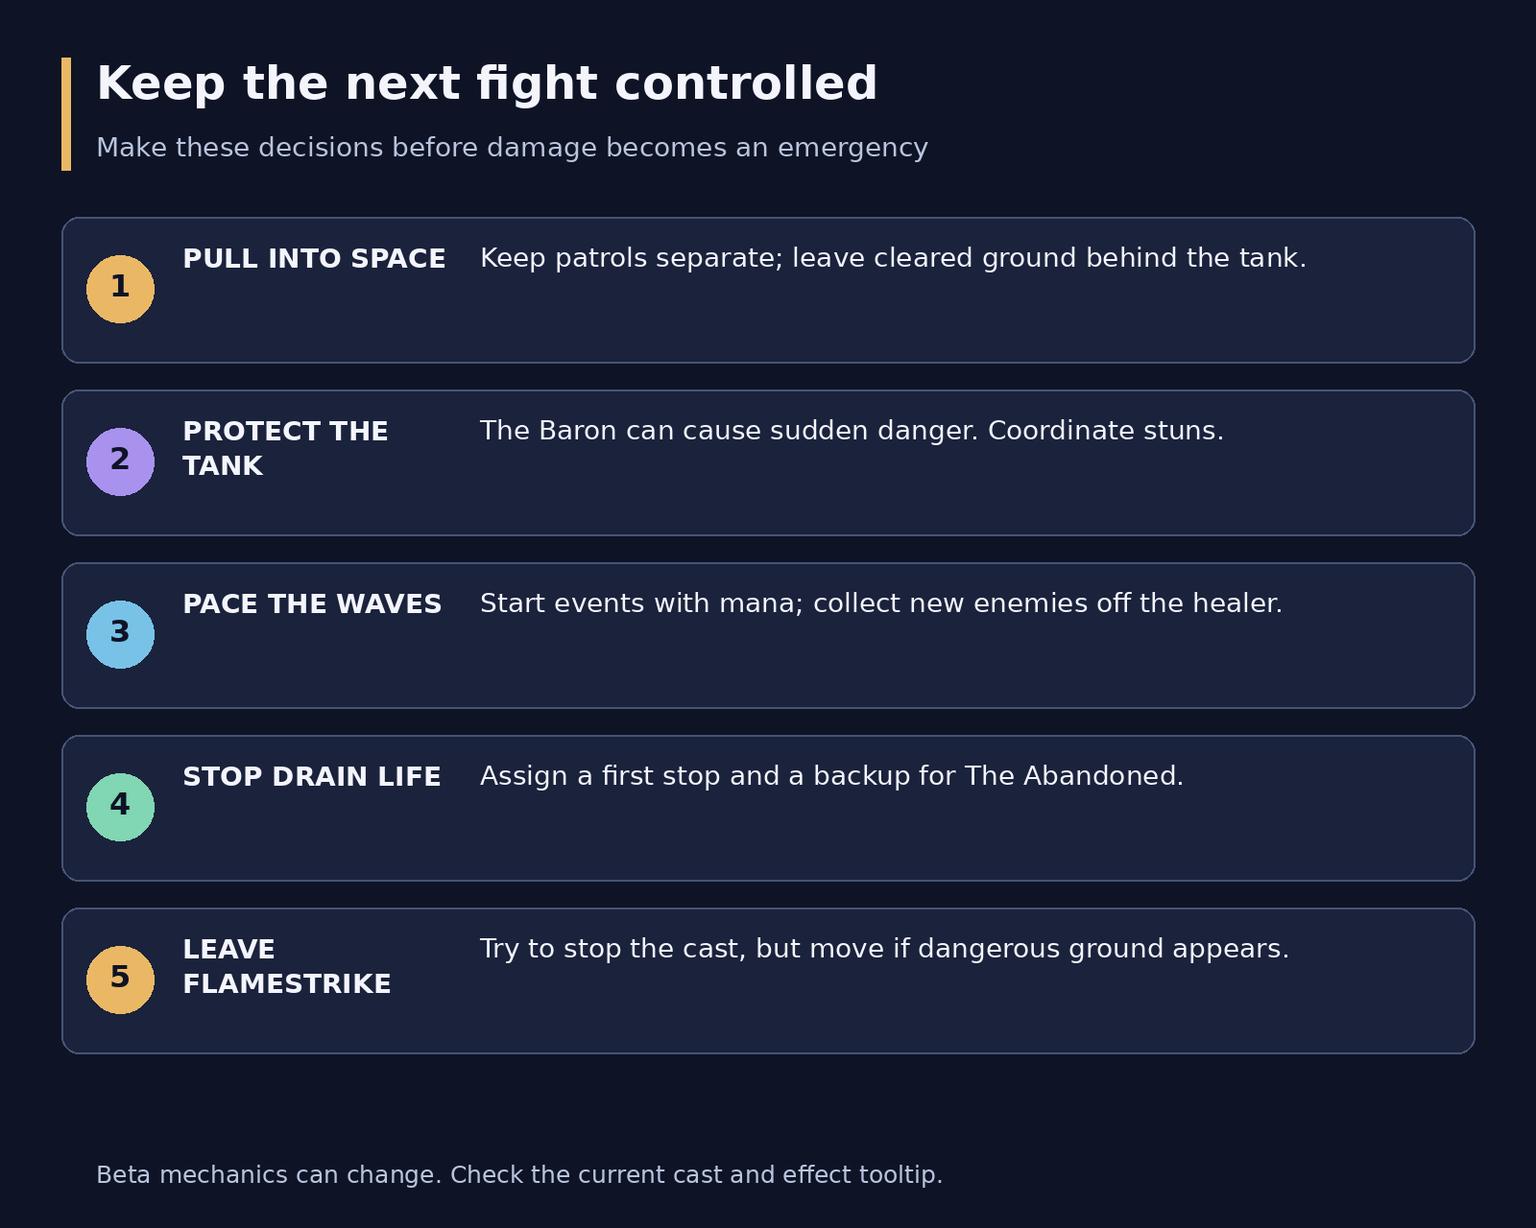
Five decisions that keep the party in control of an encounter
Collect quests before using up the route
Horde has six associated quests and Alliance four. Find Deathguard Kristof at the camp southeast of Brill and Tabitha Heartweaver in The Sepulcher, Silverpine Forest. Morbin Lightbane is in Undercity's Royal Quarter and Theodore Griffs in its Apothecarium. Horde should prepare the external pickups before entering; Alliance quests begin inside. Individual minimum quest levels differ, so one missing quest marker does not mean the entrance is locked for the whole party.
Faction | Prepare or find | Practical priority |
Horde | The Wrath of Rath'mael from Deathguard Kristof; A Frightened Request from Tabitha Heartweaver | Collect before the run; check the graveyard objective before leaving |
Horde | Light's Justice from Morbin Lightbane; The New Plague from Theodore Griffs | Collect body parts along the route; check Witherfang's loot |
Horde | Unending Torment and Crest of Lordaeron inside | Inspect The Baron's drops and available quest objects |
Alliance | Abominable Creatures from Captain Truman; Bloodied Insignia | Start objectives before their targets; inspect skeletal enemies' loot |
Alliance | Crest of Lordaeron; Remember That I Love You | Check side areas and the graveyard; read the journal for follow-up delivery |
Check collection quests before exhausting the convenient packs on your route. Before leaving, every player should open the journal and check personal progress. Finding an item that starts a chain is not the same as completing its follow-up.
For a first visit, matching objectives to the tour is more useful than promising a precise experience or reputation total. Blizzard already reduced the extra experience from dungeon quests in the October 1 update. Values and eligibility can change again. If an item appears missing, check the active quest and personal loot before resetting the entire instance.
Loot and reasons to return
Example drops can help choose a target without guaranteeing a reward: Witherfang has Segmented Spider Leg; The Baron has Meathook Slicer; Viktor has Vileblood Scimitar; The Abandoned has Scepter of the Abandoned; Bjork has Corpse Chopper; Rath'mael has Coldspire Staff. Compare the live item stats and your weapon proficiency rather than judging by the name alone.
Lordaeron Captain is additionally described as a rare western-area spawn after the other bosses are defeated. He is friendly to Alliance and attackable by Horde. His appearance is not guaranteed. Treat the search as an optional check after a full tour, not a seventh compulsory encounter for every party.
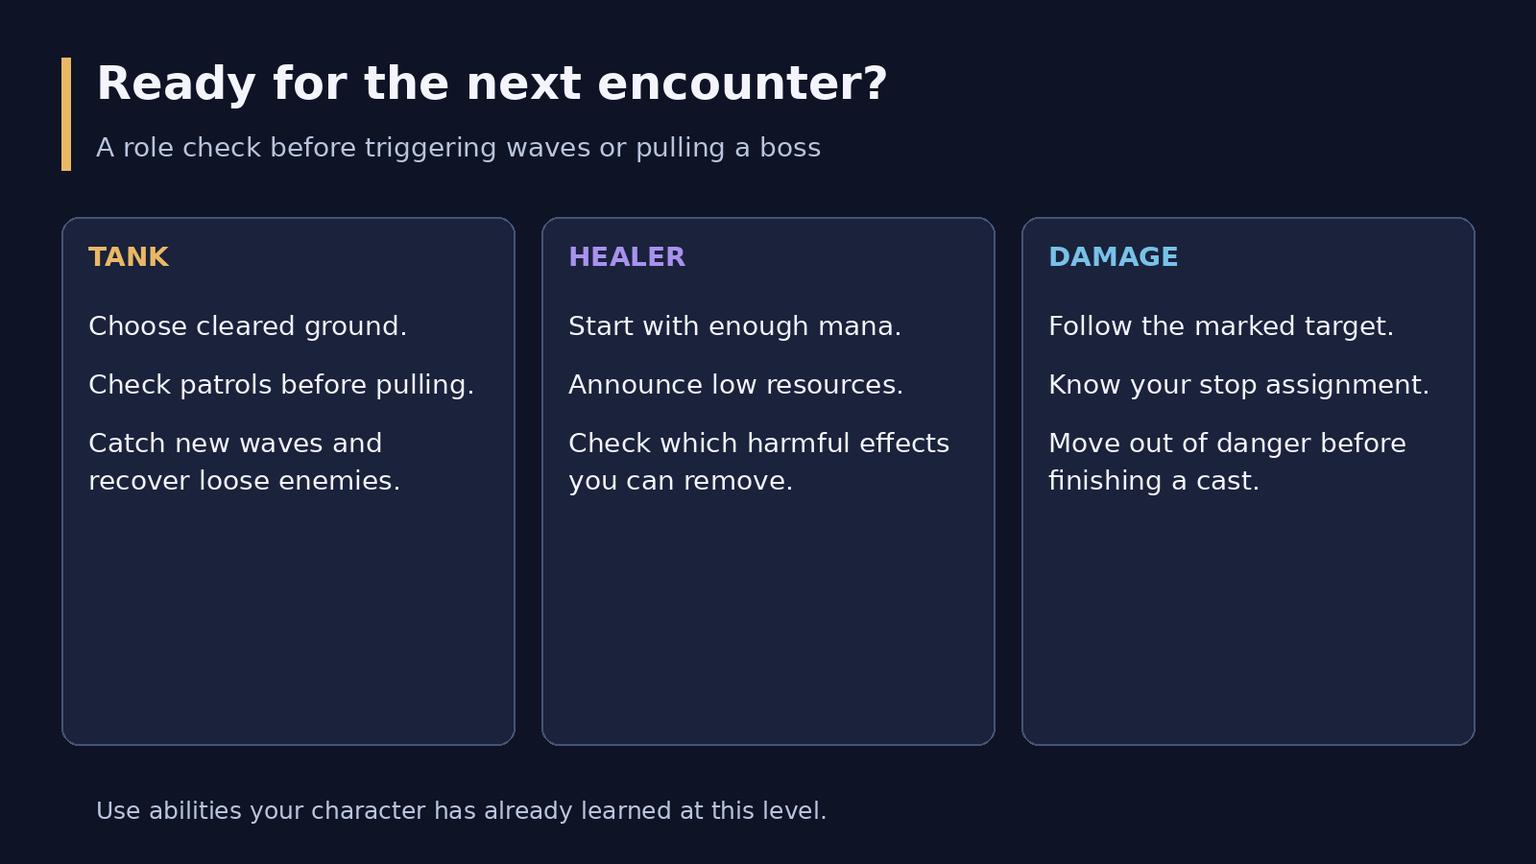
A short readiness check before a wave event or the next boss
The checked materials do not establish separate Heroic/Mythic versions, a dedicated currency, required reputation access or dungeon-specific daily or weekly quests. Do not import repeat-entry restrictions and reward rules from Retail or Classic automatically; inspect the current client before planning repeated runs.
Return for a specific item, unfinished quest or missed event. A successful first visit starts with prepared objectives and a manageable pace, then ends by checking loot and journals rather than merely defeating the last boss.