WoW Midnight Coiled Isle Guide: Unlocks, Activities and Treasures
The Coiled Isle is Midnight's outdoor zone east of Zul'Aman, introduced in the Curse of Ula'tek update. It combines exploration on the surface with the group-focused Vaults of Atal'Utek below. Tokka's Landing is the main base, but the island is also a gateway to Delves, a Lair, a dungeon and a raid.
The most useful first goal is access and navigation. Finish the introductory campaign, establish your travel options and decide whether this visit is for story, collections or repeatable rewards. Trying to pursue every map marker at once creates unnecessary backtracking. This guide was checked on October 17, 2026; it covers the zone rather than full boss strategies or a complete vendor catalogue.
Unlocking the island and World Quests
If you have not started the Curse of Ula'tek campaign, first complete Midnight's main campaign on one character on the account. Characters that had already begun the new campaign when this requirement was corrected can continue. Follow the campaign beginning with Hagar's Invitation, then progress through the island introduction and What Lies Beyond the Fog in Chapter 2. Completing the introduction opens island access for the Warband.
Do not fly straight into the restricted island before unlocking it: the game can turn you back. Once access is established, outdoor flying is available without collecting the island's glyph set first. The underground Vaults are different: ordinary flying is unavailable there.
World Quests require further progress. Finish Chapter 4, Original Sin, complete The Vaults of Atal'Utek: Altar of Fangs, and return for Nature of Her Wounds at Tokka's Landing. The dungeon step can be completed with followers. Nature of Her Wounds unlocks the island's World Quests account-wide; merely reaching the island does not do so.
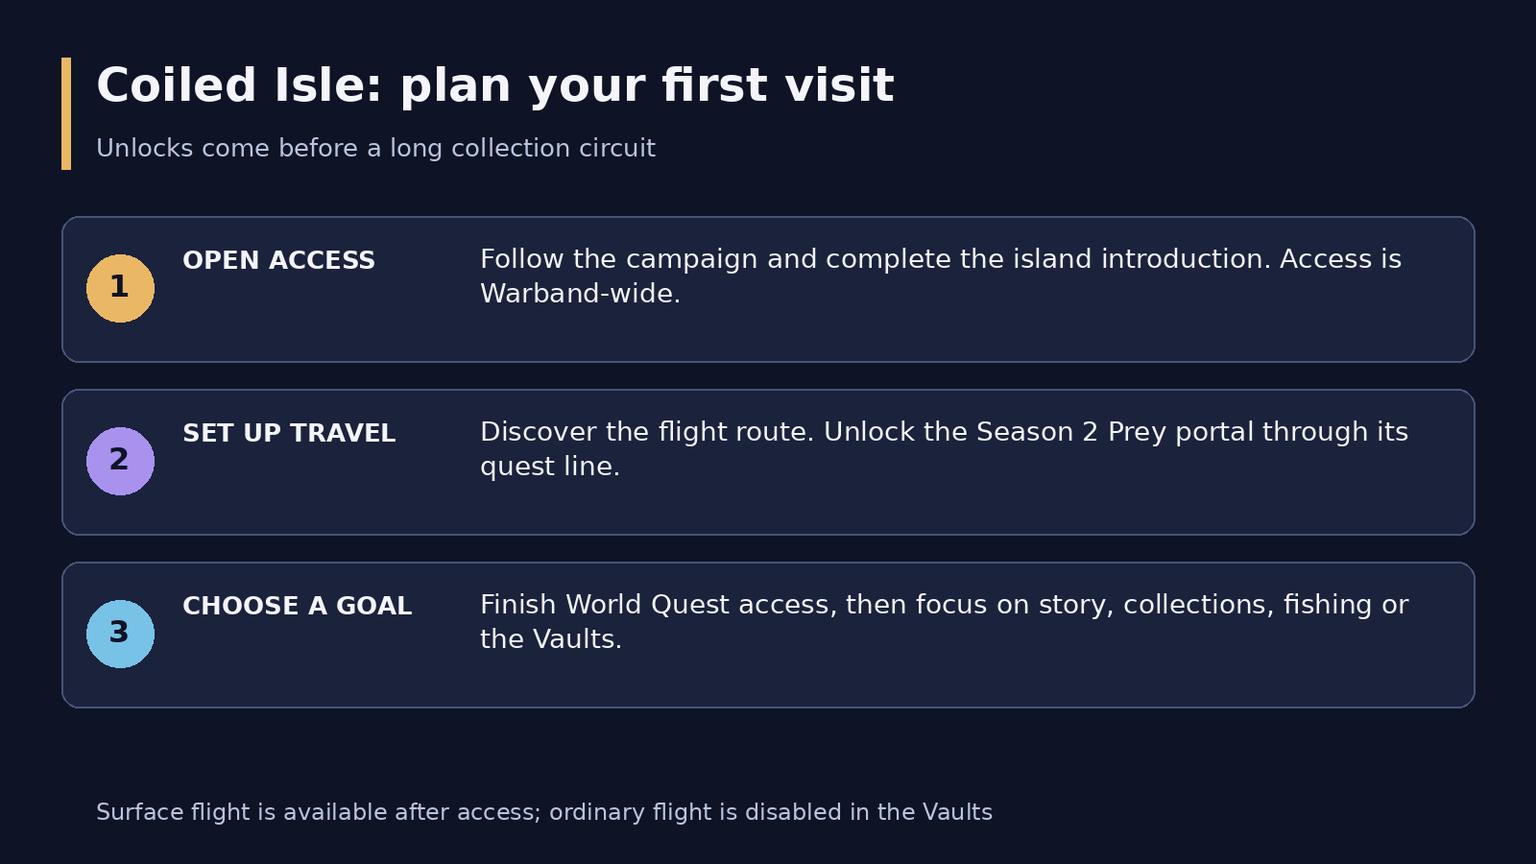
Unlock access, establish travel, then choose a goal
Travel and important locations
After unlocking access, fly east from Zul'Aman or use the discovered flight route to Tokka's Landing. Season 2 Prey progression also unlocks a two-way portal between Astalor's Sanctum in Silvermoon City and the island. Treat that portal as a separate quest unlock rather than assuming it appears on first arrival.
Coordinates below are navigation aids, not a measured route. Map #2512 is the surface Coiled Isle; #2509 is the underground Vaults. A point on the wrong map can appear close to your destination while leading to a different floor.
Destination | Map and coordinates | Purpose |
Tokka's Landing | #2512 59.4 49.5 | Main base and flight route |
Tokka's Folly | #2512 51.5 49.7 | Fishing-related destination |
Gnarldor Isle | #2512 64.6 78.0 | Regular Delve |
The Ring of Glory | #2512 71.1 56.8 | Regular Delve |
Tidebound Grotto | #2512 about 60.0 66.3 | Underwater Lair entrance |
Gate of the Serpent's Eye | #2512 43.3 44.2 | Surface approach to the Vaults |
Altar of Corrosion | #2509 51.2 62.6 | Underground progression system |
Altar of Fangs | #2509 47.2 67.6 | Dungeon entrance |
The Venomous Abyss | #2509 47.2 21.7 | Raid entrance |
Choose the activity that serves your goal
Exploration, surface events and the Vaults overlap, but they do not use one shared reward system. Keep collection progress, Renown and local currencies separate when deciding what to repeat.
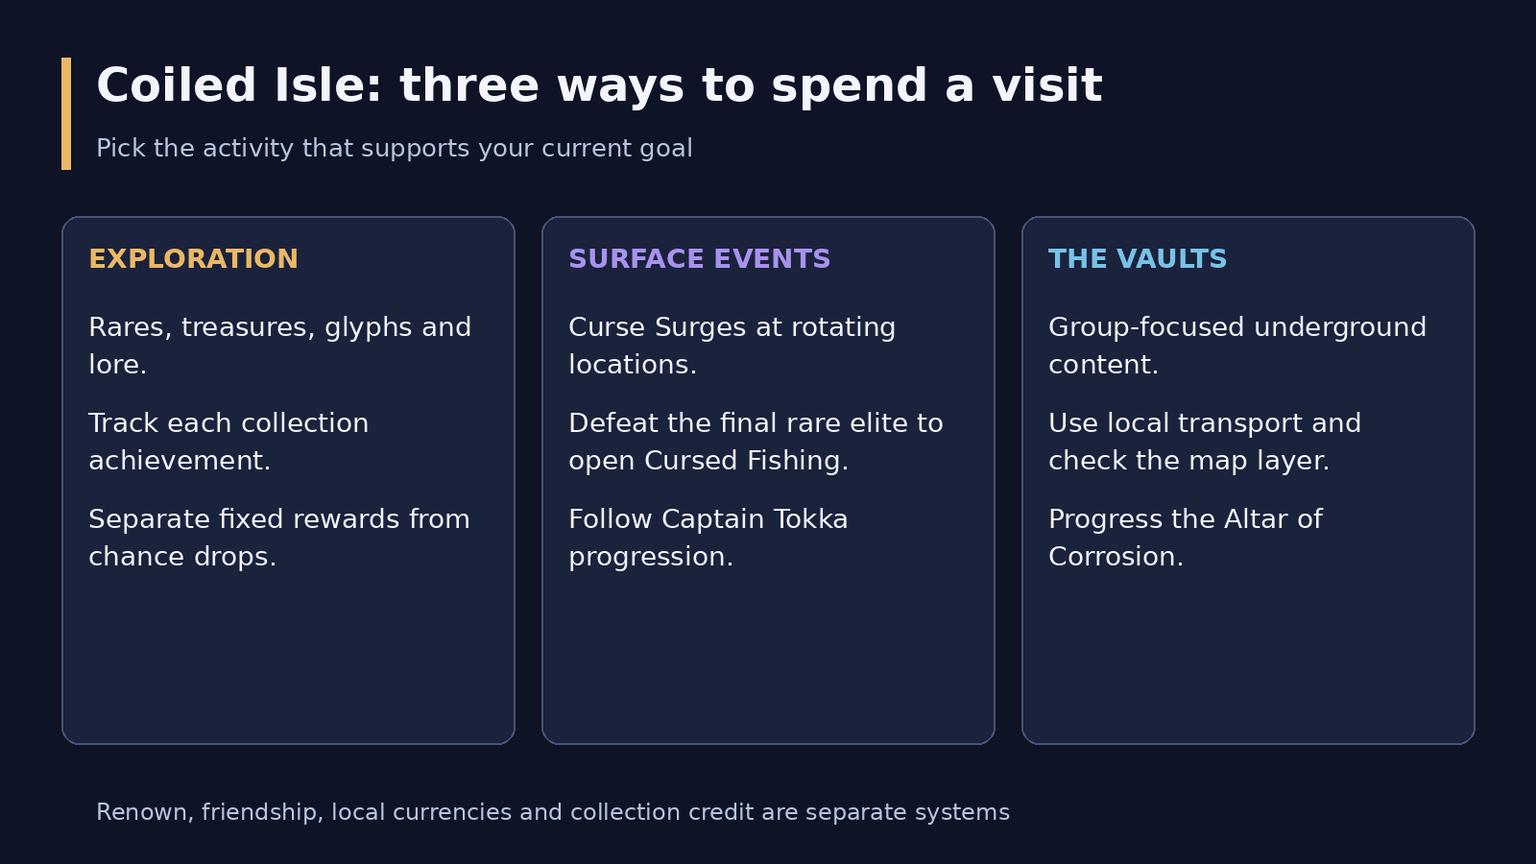
Compare exploration, surface events and the underground Vaults
Renown and local progression
Zul'jarra's Forces is the island's main Renown faction. Campaign quests and zone activities contribute to its 20-rank track. Jan'sari the Watchful at Tokka's Landing sells unlocked rewards, including cosmetics, profession items and mounts. Unlocking a rank does not automatically purchase every item: check its currency and profession requirements.
The Altar of Corrosion is a separate zone progression tree. Unlock the Vaults through Into the Vaults of Atal'Utek, then use Corrosive Coins for its exploration, combat and movement benefits. These are local systems, not a replacement for class talents. Amani Windcallers provide underground transport, and additional travel points become available as you progress.
The Corrosive Codex is another layer at the altar, opened through its introductory quest chain. It uses Corrosive Souls to unlock powers usable in Midnight outdoor zones and Delves. Do not assume these powers apply inside every raid or dungeon. Before exchanging Souls for Coins, decide whether you still need a Codex unlock.
Curse Surges and fishing
Curse Surges rotate between five surface locations. Complete the local objectives and defeat the rare elite at the end. Victory opens Cursed Fishing at that location, connecting the event to Captain Tokka's Crew friendship progression.
Follow Tokka's introductory fishing quests rather than assuming ordinary fishing skill unlocks every special pool. His crew has its own ranks and vendor requirements, distinct from Zul'jarra's Forces Renown. For a short visit, check whether an active Surge is near your route; for a fishing session, bring the required tools and follow the pool unlocked by the event.
The Vaults and instanced content
The Vaults contain dangerous group-focused enemies, patrols, strikes, incursions and Ancient Foes. Bring help for content your character cannot safely handle. Surface flying does not provide a shortcut through these passages; use the local transport and check the map layer.
For instanced play, Gnarldor Isle and The Ring of Glory are regular Delves. The update also introduced Venomfall Deeps as the Season 2 Nemesis Delve. Its challenge is a separate preparation goal, not a third ordinary treasure stop. Follow the current in-game Nemesis marker rather than relying on an old entrance coordinate.
Tidebound Grotto houses Nymrissa Wavecaller in a one-boss Lair: World offers automatic group formation, while Normal, Heroic and Mythic use organized groups. Altar of Fangs is a three-boss dungeon in the Season 2 Mythic+ pool. The Venomous Abyss is the eight-boss raid. These entrances and formats are distinct even though they share the island.
Rare enemies: all twelve achievement targets
Coiled to Strike requires twelve rares and rewards the Amani Forge decoration. Ruby Writhe and Topaz Skyfang are separate chance drops from rares, not guaranteed rewards for completing that achievement. Rares can also provide equipment and Coffer Key Shards; track the kill credit independently of the loot you receive.
Enemy | Coordinates | What to look for |
Farthik the Plunderer | #2512 53.8 72.0 | Interact with the unguarded chest |
Kari'zah the Forgotten | #2512 24.8 73.5 | South of The Forum |
Hisstara | #2512 43.9 50.8 | Inside a building in Venom Rise |
Garsecg | #2512 69.5 45.0 | Mlurkkr Mire |
Coin-Eye Skully | #2512 55.8 67.9 | Swims around the bay; patrol point |
Sss'alik | #2512 60.0 40.0 | Patrols nearby; search the path |
Siltmouth | #2512 50.1 69.0 | Below the venom waterfall |
Lockjaw | #2512 31.7 56.7 | Northern Forum, upper waterfall level |
Szarith the Fanged | #2509 38.8 13.4 | Underground, The Underbelly; dangerous elites |
Nar'zira | #2512 63.1 62.1 | Inside the tomb; entrance at 52.4 43.1 |
Big Mon | #2512 70.1 63.5 | Patrol near the Altar of Wrath |
Destra | #2512 52.0 32.3 | Northern Serpent's Tail |
For Szarith, switch to the underground map. The Underbelly approach is around #2509 47.1 6.4; the target is deeper inside among dangerous enemies. Nar'zira is also easy to misread: the tomb entrance and the interior target have different coordinates. Patrol markers are approximate positions, so search nearby rather than waiting only on the exact point.
Treasures: all twenty-two locations
Treasures of the Coiled Isle rewards the Auriferous Venomfang mount. Unlike the rare-drop mounts, this is tied to completing the treasure achievement. Several treasures require a key, exchange or conversation before the final object can be opened. Every coordinate in this treasure table uses surface map #2512.
Object | Coordinates | What to look for |
Fangbound Sack | 45.9 66.3 | Loot the object |
Sunken Diver's Chest | 65.4 5.8 | Combine 3 key fragments from nearby fish |
Profane Ritual Spoils | 43.6 67.5 | Ritual puzzle; order explained below |
Brine-Crusted Chest | 70.6 76.6 | Pearl exchange with Nacretta |
Possessed Vase | 31.4 83.5 | By the southern shipwreck |
Malfunctioning Staff | 75.4 68.4 | Southern peninsula tip |
Tarnished Amani Glaive | 55.2 38.0 | On bones near the bridge |
Jaktu's Cursed Blade | 60.4 59.5 | South of the hub |
Cracked Skull | 58.1 43.6 | Near the graveyard |
Damaged Loa Trinket | 46.9 29.6 | Bones near the main altar |
Venomjade Necklace | 64.7 36.6 | At the Mlurkkr Mire altar |
Ornate Bottle | 67.0 28.0 | Inside the Torga's Beak wreck |
Stinking Vessel | 53.1 43.1 | Near the tomb entrance |
Waterlogged Basket | 49.5 32.0 | Below the bridge |
Smoldering Incense | 29.5 67.2 | Beside Forum ruins |
Crumbling Urn | 73.5 56.5 | Graveyard east of the arena |
Forgotten Mask | 64.9 78.9 | South of Gnarldor Isle entrance |
Zul'jan's Stash | 43.9 26.5 | Behind the main altar |
Amani Privateer's Cache | 71.9 66.6 | Feed the dolphin, assemble the key |
Lost Spirit | 68.0 65.9 | Bring the trinket from 70.2 64.5 |
Grave of Someone Forgotten | 67.3 48.5 | Speak with the ghost and 3 spirits |
Vul'zahn's Smuggled Treasure | 58.2 45.7 | Finish the hub trading chain |
Solving the interaction treasures
For Profane Ritual Spoils, interact with the four objects in this order: upper right, upper left, lower right, lower left. At Sunken Diver's Chest, combine three Diver's Key Fragments obtained from nearby fish. Do not confuse either puzzle with the privateer's two-part key.
For Amani Privateer's Cache, fish a Grisly Morsel from the pool around 73.4 66.1 and feed the nearby dolphin. Search underwater for the Waterlogged Crate at 73.1 67.0 and Broken Urn at 72.4 68.4, collect the two key halves and combine them. Return to the cache at 71.9 66.6.
For Brine-Crusted Chest, collect the Luminescent Pearl near the Bubbling Clam at 71.9 82.8. Bring it to Nacretta around 70.6 77.1, take the dropped key and open the chest. This distinguishes the pearl location, exchange location and final treasure.
For Grave of Someone Forgotten, begin at the grave, then speak with the spirits at 70.4 58.4, 66.4 57.2 and 69.1 52.7 before returning. For Vul'zahn's treasure, speak with him, visit the cook at 58.0 48.8, obtain medicine from Apothecary Dezi at 57.2 48.5, return to the cook and bring the stew back to Vul'zahn.
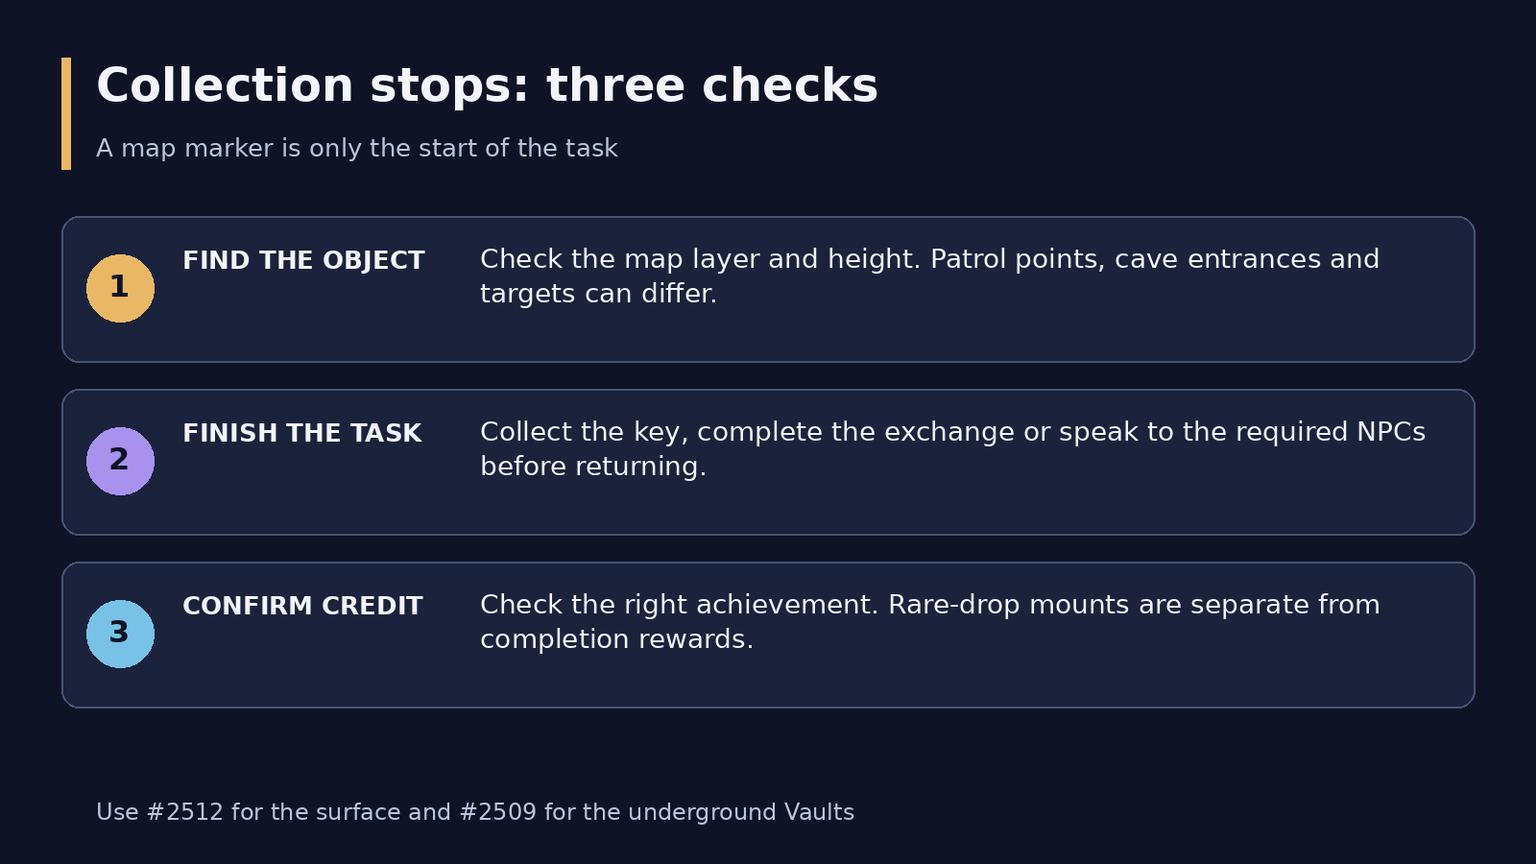
Identify the object, finish its requirement and confirm credit
Skyriding Glyphs and lore objects
The island has eleven Skyriding Glyphs. The reward for this set is its achievement, The Coiled Isles Glyph Hunter; collecting it is not a condition for unlocking outdoor flight. The coordinates below use #2512 and often require checking above or below an arch rather than searching at ground level.
Object | Coordinates | What to look for |
The Fangs | 37.4 60.5 | Tallest peak |
The Wreck of Sethralis's Scales | 28.8 75.2 | Above a peak |
Gate of the Eastern Fang | 45.9 64.9 | Above the entrance |
The Whispering Marsh | 64.1 60.7 | Above a broken tree |
The Serpent's Tail | 52.1 38.6 | Under the rock arch |
Gate of the Serpent's Eye | 43.9 44.2 | Under the serpent head |
The Forum | 26.6 63.2 | Under the large arch |
Southern Island | 40.6 90.5 | Eastern cliff |
Tokka's Landing | 58.9 48.9 | Above the entrance arch |
The Wreck of Paku's Talon | 70.1 48.3 | Under the rock arch |
Blistering Terrace | 42.9 30.6 | Above a large rock |
Student of Hissstory requires ten lore objects and rewards the Cursed Badge of the Soulcoilers toy. Their hourglass markers are different from the glyph targets. Combine nearby lore and treasure stops, but check the relevant achievement after each interaction.
Object | Coordinates | What to look for |
Head Mason's Tablet | 42.5 65.0 | Eastern Fang entry corridor |
Worn Tablet | 70.0 65.9 | Inside the temple |
Message in a Bottle | 31.6 83.7 | Beside the shipwreck |
Forum Rules | 25.0 67.8 | At the base of a stone block |
Zandalari Logbook | 71.9 44.9 | In water by the wreck |
Amani Exile's Words | 57.4 80.3 | Inside a fallen tree |
Abandoned Tablet | 50.7 68.4 | Below the broken bridge |
Oily Black Stone | 45.8 47.9 | In a venom pool |
Survival Journals | 34.1 36.5 | On the small island shore |
Profaned Plaque | 32.5 63.7 | Room left of Western Fang entry |
Head Mason's Tablet and Profaned Plaque sit inside entrance corridors. Approach through the appropriate gate instead of trying to land directly on a two-dimensional marker. Oily Black Stone can be credited without deciphering its special text in a Shadow Priest's Voidform; that extra reading is not required for the achievement.
A practical collection and weekly plan
For a first visit, complete access and World Quest progression before starting a long collection circuit. On later visits, pick one main goal: unfinished story, a collection achievement, fishing progress or Vaults rewards. Combine nearby optional stops without turning every session into a complete island sweep.
Ula'tek Uncoiled combines four achievements: Explore the Coiled Isle, Treasures of the Coiled Isle, Coiled to Strike and The Curse of Ula'tek. Glyphs, lore, fishing and side-quest achievements remain useful separate goals; they are not additional requirements in that four-part meta.
Before leaving, compare the achievement list with your notes, inspect unlocked vendor rewards and check outstanding weekly objectives. A missing collection credit calls for revisiting the interaction, not automatically repeating every rare kill. A missing vendor item may require a rank, currency or quest rather than another lap around the island.
Frequently asked questions
Can an alternate character visit immediately?
After the island introduction has been completed for the Warband, other characters can travel there. World Quests have their own account-wide unlock through Nature of Her Wounds.
Can I fly in the Vaults?
Ordinary flying is unavailable underground. Use Amani Windcallers and the progression-related movement options instead.
Which mount is earned by finding every treasure?
Auriferous Venomfang is the treasure achievement reward. Ruby Writhe and Topaz Skyfang are chance drops from rares and should be planned separately.