WoW Midnight Death Knight Guide: Blood, Frost and Unholy
Death Knights wear plate armor and use Runes and Runic Power. Blood is the tank specialization; Frost and Unholy are melee damage dealers. Shared control and defensive tools do not make the specs interchangeable. A tank manages incoming damage, while the damage specs build different attack cycles.
This guide was checked on October 14, 2026, for Midnight Season 2 and patch 12.1.5. It covers specialization choice, resources, talents and equipment preparation. Damage advice is not a universal class ranking, and the learning principles below do not replace the full priority of your selected build.
Three specializations with different jobs
Specialization | Role and style | Main responsibility |
Blood | Tank with active defenses and self-healing | Survive the hit and recover at the right time |
Frost | Damage dealer using empowered weapon attacks and Frost damage | Spend procs and align major abilities |
Unholy | Damage dealer using diseases and summoned undead | Prepare diseases, ghouls and a strong damage window |
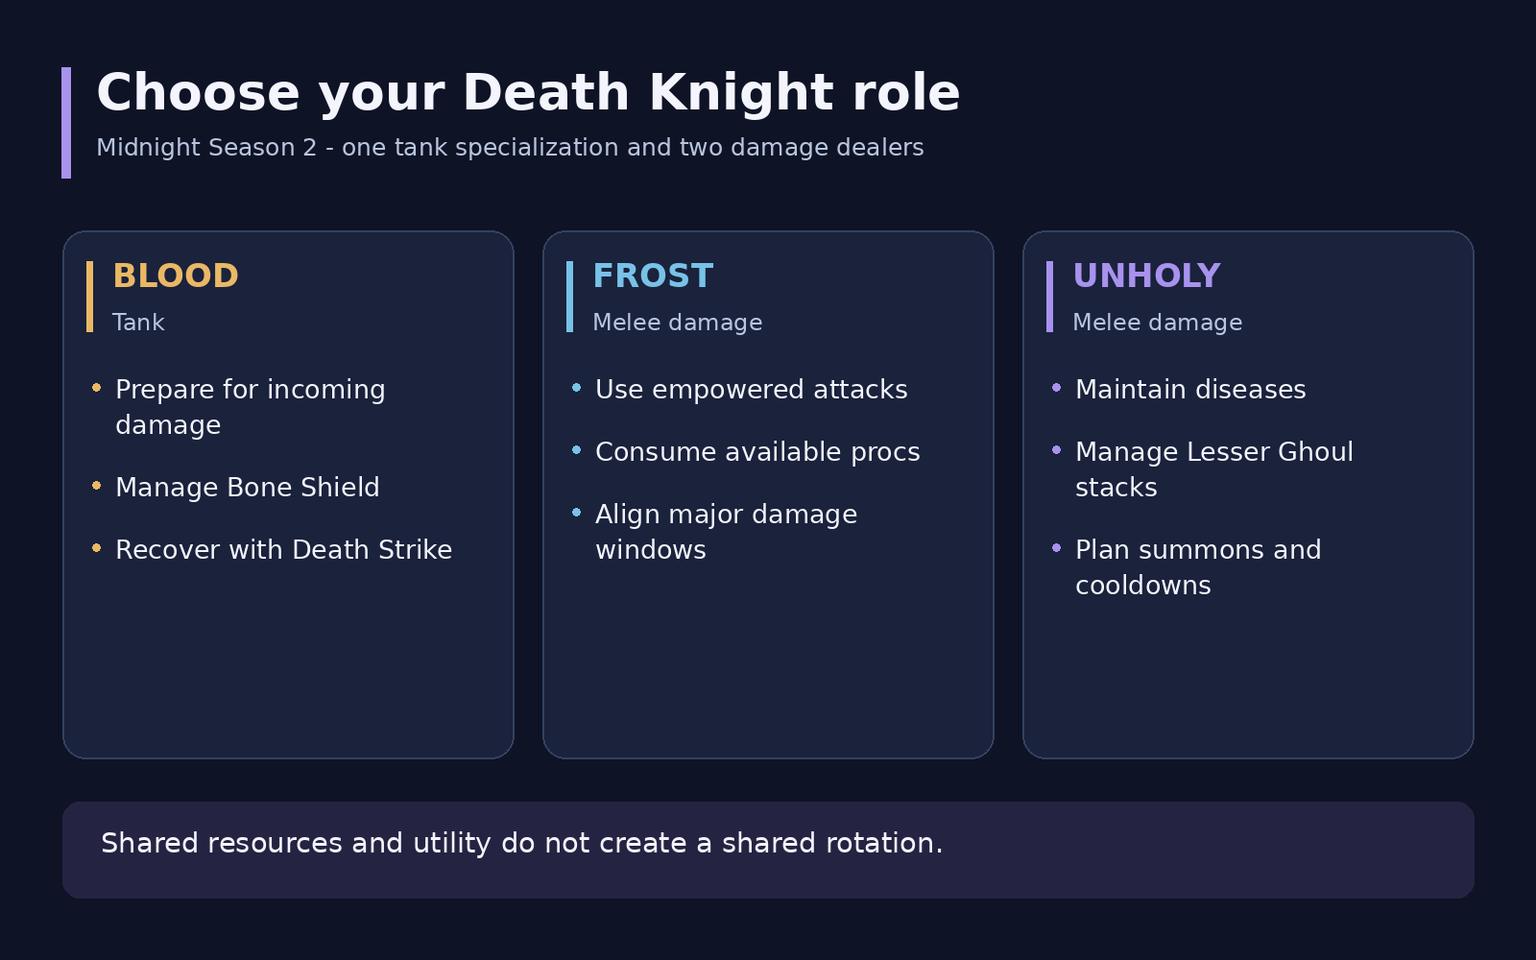
Choose Blood when you want to tank rather than following the most attractive damage number. Frost suits players who enjoy reacting to empowered attacks. Unholy suits those who want to manage diseases and undead minions. Each has ways to sustain itself, but none removes the need to follow encounter mechanics.
Runes and Runic Power: linked resources, different uses
A Death Knight has six Runes that recover over time. Spending them on the relevant attacks generates Runic Power, which pays for another part of the toolkit. Keeping one resource full or spending it without considering the next step can waste useful opportunities.
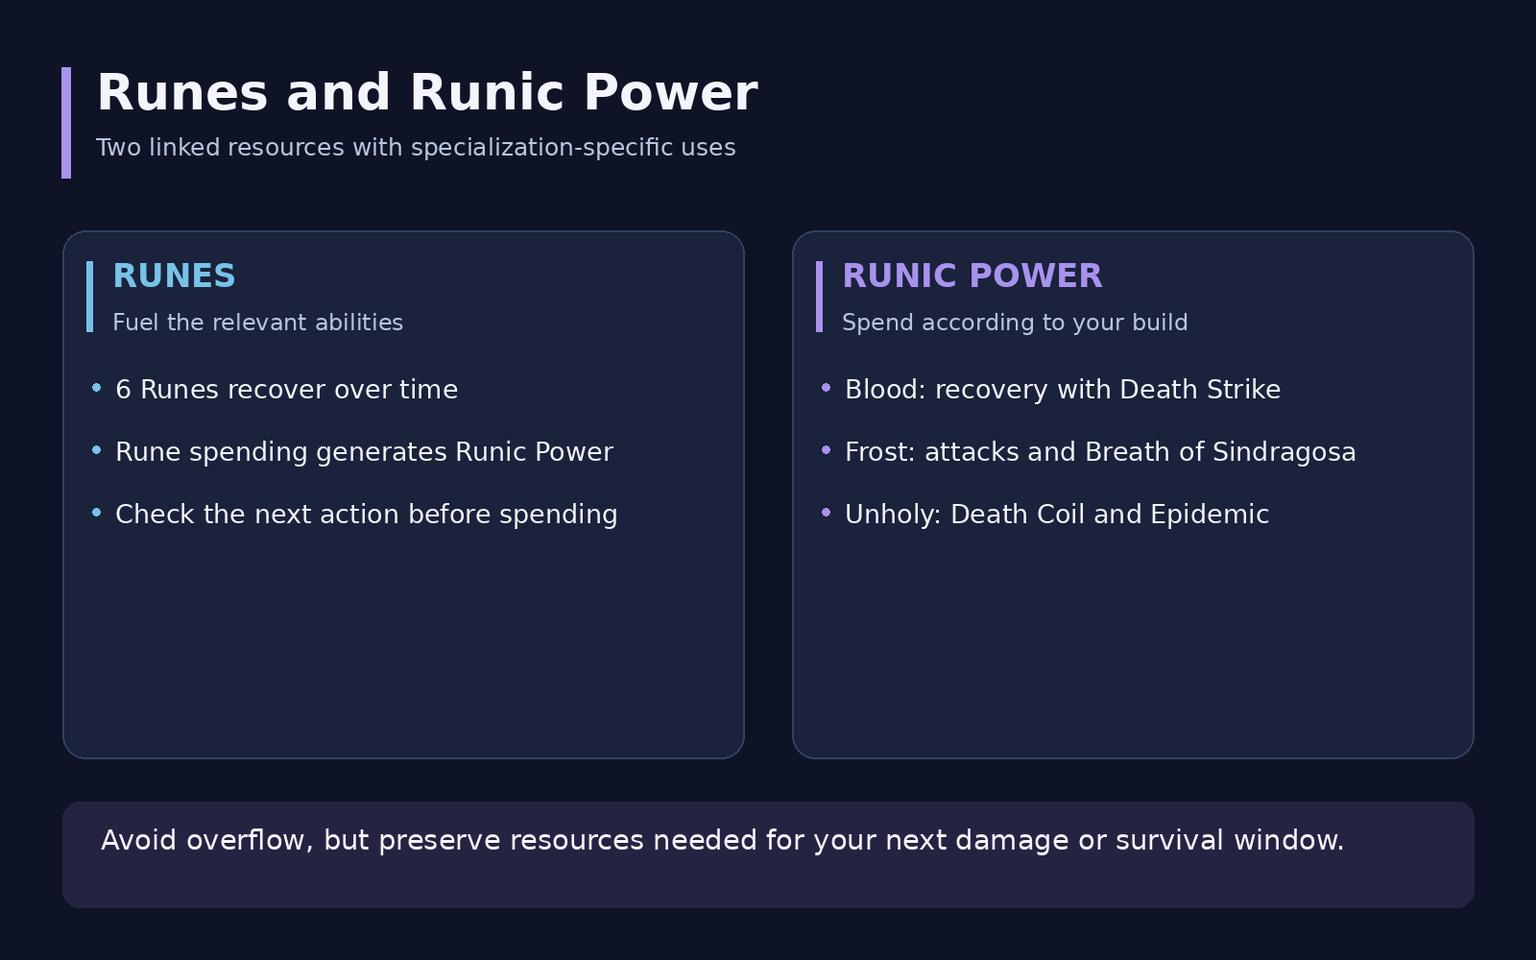
Watch both displays. A damage dealer needs attacks available during a powerful window. Blood also needs resources to answer dangerous incoming damage. Simply spending everything as quickly as possible is therefore not a sufficient rule for all three specs.
Start practice with one problem. If Runic Power keeps overflowing, identify the cause and change one decision. Then check whether the opposite problem appears: no resource when you need it. This helps you understand the cycle instead of memorizing a sequence that ignores the situation.
Separate earlier changes from patch 12.1.5
Midnight changes several talents and active abilities. Unholy's current loop uses Lesser Ghoul stacks and undead Orders; do not automatically transfer an older explanation based on building and bursting wounds. Season 2 changes how Soul Reaper consumes these stacks and reworks Army of the Dead interactions.
The specialization overviews reviewed on October 12 report no core gameplay changes for the three specs in 12.1.5. That does not mean there are no new items or earlier seasonal adjustments. Changes from 12.0.5 and 12.1 belong to their own updates, and equipment recommendations can change without a new rotation.
Talents and Hero trees
The class tree supplies shared defenses, movement and control. The specialization tree defines its combat loop. Hero Talents add mechanics that affect both your ability choices and their timing.
Specialization | Available Hero Talent trees |
Blood | Deathbringer / San'layn |
Frost | Deathbringer / Rider of the Apocalypse |
Unholy | Rider of the Apocalypse / San'layn |
Hero Talents are more than passive damage bonuses. Deathbringer adds Reaper's Mark, while Rider of the Apocalypse changes rider summons and mobility options. Sharing a tree name does not give a tank and a damage dealer the same rotation.
Apex Talents reinforce each specialization: Dance of Midnight for Blood, Chosen of Frostbrood for Frost and Forbidden Knowledge for Unholy. The latter temporarily replaces Runic Power spenders, so account for changing buttons during practice. Keep separate loadouts for raids, dungeons and solo activities.
Combat fundamentals by specialization
Blood: prepare defenses, then recover from damage
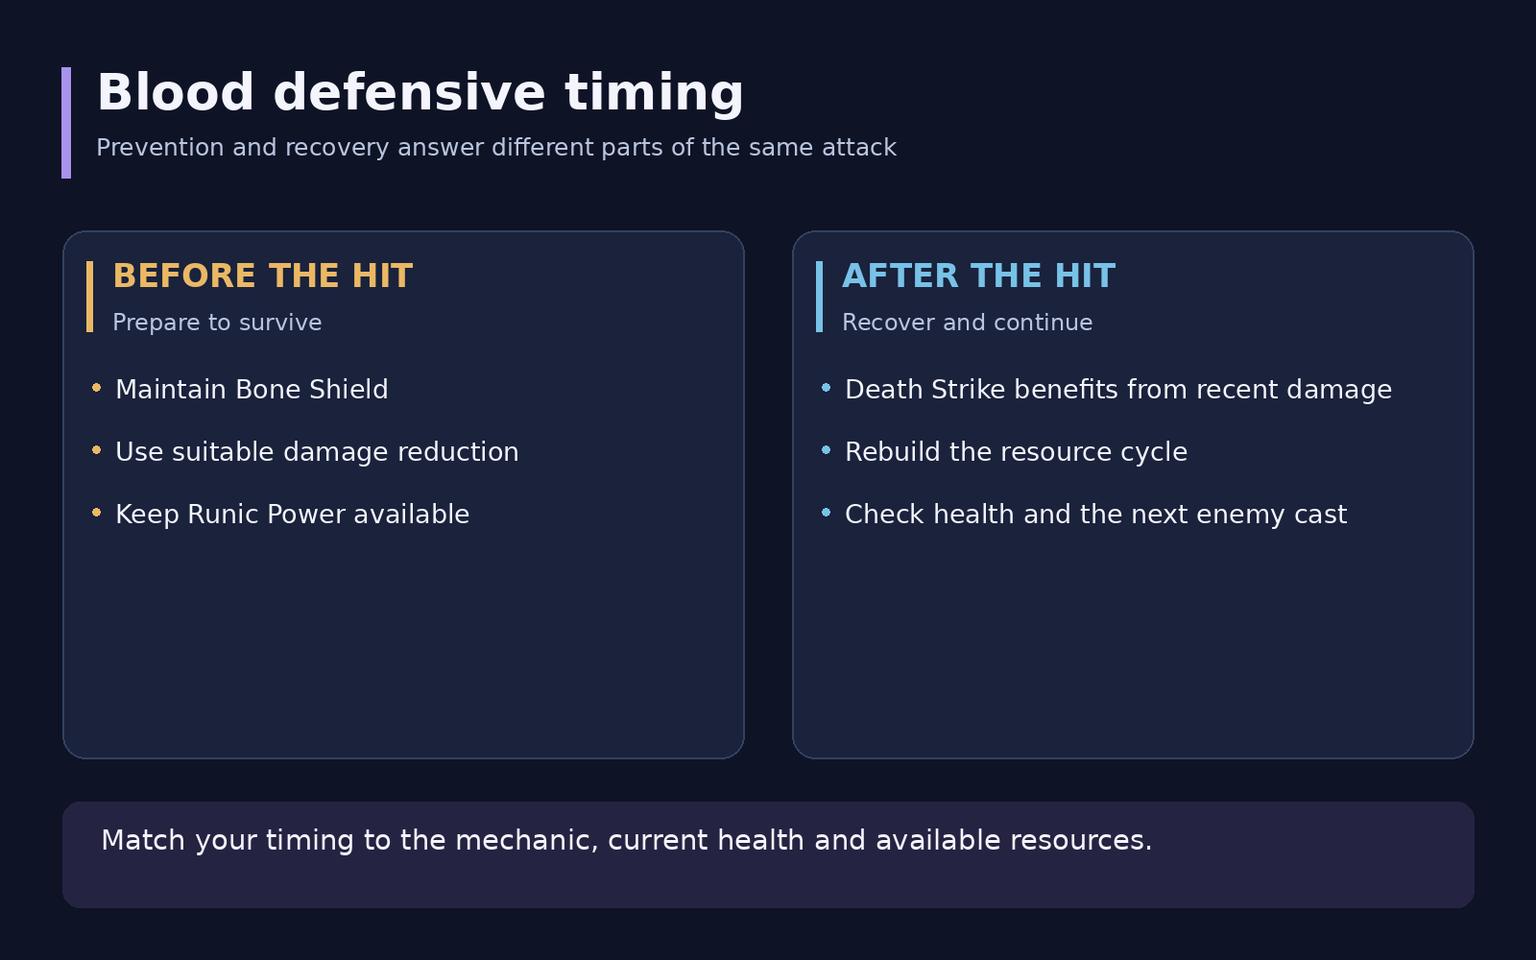
Marrowrend maintains Bone Shield, Heart Strike helps generate Runic Power, and Death Strike spends it for recovery. Death Strike healing considers recent damage taken, making it particularly valuable after a heavy attack. It is not only a low-health button, however: you must also avoid losing resource generation to an overflowing bar.
Do not wait until Bone Shield disappears before rebuilding it. Prepare a defensive for a dangerous opening, decide where to place Death and Decay and monitor available Runic Power. Dancing Rune Weapon contributes to offense and defense; its timing depends on your Hero tree and the encounter.
Frost: consume procs and align your windows
Killing Machine empowers important attacks, including Obliterate and Frostscythe in the appropriate build. Rime interacts with Howling Blast. Avoid repeatedly replacing available procs with new ones before using them. Wasted enhancements are one of the first damage problems worth checking.
Pillar of Frost, Breath of Sindragosa and other major abilities need coordination instead of unrelated button presses. Frost supports both a two-handed weapon and dual-wielding, but that choice affects talents and weapon improvements. Do not copy another build's weapon setup merely because it shares your specialization.
Unholy: diseases, minions and preparation
Maintain diseases through available tools, including Outbreak when you need to apply or refresh them. Festering Strike creates Lesser Ghoul stacks, and Scourge Strike spends them to summon minions. Death Coil and Epidemic spend Runic Power; the choice depends on target count, talents and active ability replacements.
Watch Sudden Doom, your permanent pet and available summons. Dark Transformation, Putrefy and Army of the Dead belong in your damage-window planning. A powerful summon may lose its value if the enemy is about to disappear. Waiting too long without a reason can instead cost an entire use over the fight.
Defenses, control and helping the group
Anti-Magic Shell answers appropriate magical damage and certain harmful effects. It is not a blanket defense against every physical attack. Icebound Fortitude reduces incoming damage, while Blood has extra tools such as Vampiric Blood. Match the ability to the mechanic rather than using whichever button is ready.
Death Grip helps gather suitable enemies, while Mind Freeze interrupts a dangerous cast. Pulling is not a substitute for interrupting: some enemies cannot be moved. Agree on who stops the key spell and where the group wants enemies positioned.
Anti-Magic Zone protects allies inside its area from magical damage. Raise Ally returns a fallen player to combat, but coordinate the target and timing. Plan movement early. Death's Advance helps with slows and forced movement; it does not provide a universal escape from every encounter mechanic.
Stats and equipment choices
Strength is the class's primary stat. Compare secondaries for your actual specialization and Hero build. The following are starting guidelines from specialist guides, not permanent weights for every item.
Setup | Initial secondary-stat guideline |
Blood, San'layn | Haste, Critical Strike, Mastery, Versatility |
Blood, Deathbringer | Critical Strike, Mastery, Versatility, Haste |
Frost | Critical Strike, Haste, Mastery, Versatility |
Unholy | Critical Strike, Mastery, Haste, Versatility |
Frost sources differ on the order of Haste and Mastery; the exact balance depends on talents and equipment. Damage simulations help the DPS specs compare available items. A tank's damage simulation does not capture all defensive value, so survivability and planning for enemy attacks remain separate decisions.
Evaluate weapons, tier bonuses and trinkets together. Best-in-slot lists often assume particular item levels and an established setup. Before crafting, identify a weak slot and realistic replacement drops. Compare the result before breaking a useful tier bonus for one individually appealing item.
Runeforging and consumables
Death Knights use Runeforging to improve weapons at a Runeforge. Frost's rune combination depends on the build and which weapon occupies each hand: Rune of Razorice is not compulsory in every setup. Rune of the Fallen Crusader remains a common choice, but check the complete pair against your selected build.
Prepare a flask, combat and healing potions, food and suitable armor improvements. Current Frost guidance includes Flask of the Shattered Sun and Potion of Recklessness, with flask choice potentially changing as your stat distribution changes. Do not automatically apply that example to a tank.
Blizzard schedules access to Ascendant Venomstones for the week of October 20 after the relevant progression. At this guide's check date, that is still an upcoming upgrade. Distinguish an announced schedule from an already available gearing option.
Leveling, race and professions
The class leveling guide suggests Blood for large solo pulls and tanking leveling dungeons. Frost and Unholy also work for questing if you prefer their style. Do not choose pull size from someone else's video. First establish how reliably you survive and recover your resources.
Your race does not make one spec compulsory. Compare appearance and useful abilities for your preferred activities, reserving exact damage comparisons for the relevant build. Choose professions around a purpose: Blacksmithing for personal crafting, Alchemy for consumables or a gathering profession. Crafting orders also provide access to equipment without personally learning its craft.
Your interface and separate PvP preparation
Keep Runes, Runic Power, important buffs and defenses near your main area of attention. A focus-target macro helps direct Mind Freeze, while cursor placement shortens the targeting step for ground abilities. Test commands and spell names for your client language before relying on them in a group.
Save a separate talent loadout for arena and battlegrounds. Coordinate grips, interrupts and teammate defenses rather than spending every control effect on one target without a follow-up plan. Raid tanking advice does not constitute a complete PvP rotation for a damage spec.
Frequently asked questions
Which specialization tanks?
Blood. Frost and Unholy are damage dealers even though they have self-recovery tools.
Should I use Death Strike before a heavy hit?
Blood's healing is particularly useful after taking damage. Plan protection against the expected hit separately, while still avoiding Runic Power overflow.
Is there one rotation for every Death Knight?
No. Shared resources do not remove differences in roles, talents or how Runic Power is spent.
Is Blacksmithing mandatory?
No. It is a convenient personal crafting option, but equipment also comes from other routes, including crafting orders.