WoW Midnight Egg Hatching Guide: Jan'alai Quests and Emberlyn
Jan'alai egg hatching is a local Midnight story in Zul'Aman, introduced in patch 12.0.7. You help Loa Speaker Brek restore a family tradition, prepare for a dangerous hatching ceremony and check on the young dragonhawks afterward. The final quest awards Emberlyn, a collectible companion that cannot participate in pet battles.
This is a quest walkthrough, checked on October 17, 2026. Follow the active objective rather than treat the activity as a recurring public event: preparing the eggs, hatching them and receiving the pet are different stages. There is no need to wait for a raid release or assemble a dungeon group to follow this local story.
Detail | Where to focus |
Zone | Zul'Aman, around the Temple of Jan'alai |
Starting NPC | Loa Speaker Brek |
First quest | It Takes Two |
Storyline | A Fiery Blast from the Past |
Final reward quest | Like Dragonhawks to a Flame |
Collectible | Emberlyn, a non-battling companion |
Finding the beginning
Look for Loa Speaker Brek at the Temple of Jan'alai and accept It Takes Two. The first objective sends you to Shaja on the shoreline southwest of the temple. This direction is more useful than searching every dragonhawk nest or assuming an egg itself starts the chain.
If you are returning midway through the story, check your quest log before looking for the introductory quest again. An active collection or ritual step means your next action is its objective, not necessarily another conversation with the original quest giver. Keep enough bag space for quest items and the eventual reward.
The route stays around the temple, neighboring shore and cliffs. Use those as three separate search areas: the shoreline is for Shaja and crab supplies, the cliffs behind the temple are for feathers, and the ceremony returns you to the ritual. An objective marker near a building does not always mean the item is inside it.
The five quests at a glance
Quest | Objective to complete |
It Takes Two | Find and speak to Shaja, cleanse a Young Amazard and deliver Brek's message |
Hungry Hungry Hatchlings | Collect 100 Pungent Crab Tomalley and return to Brek |
Eggstra Protection Never Hurts | Gather three Feathers of Jan'alai from the cliffs behind the temple |
Perfect Timing | Take part in the protected hatching ceremony |
Like Dragonhawks to a Flame | Check three hatchlings, speak to Shaja and defeat Cinderscale Patriarch |
The preparation quests lead into the ceremony, followed by checking the young. Do not mistake the pet reward for an immediate result of collecting food: the final follow-up still matters.
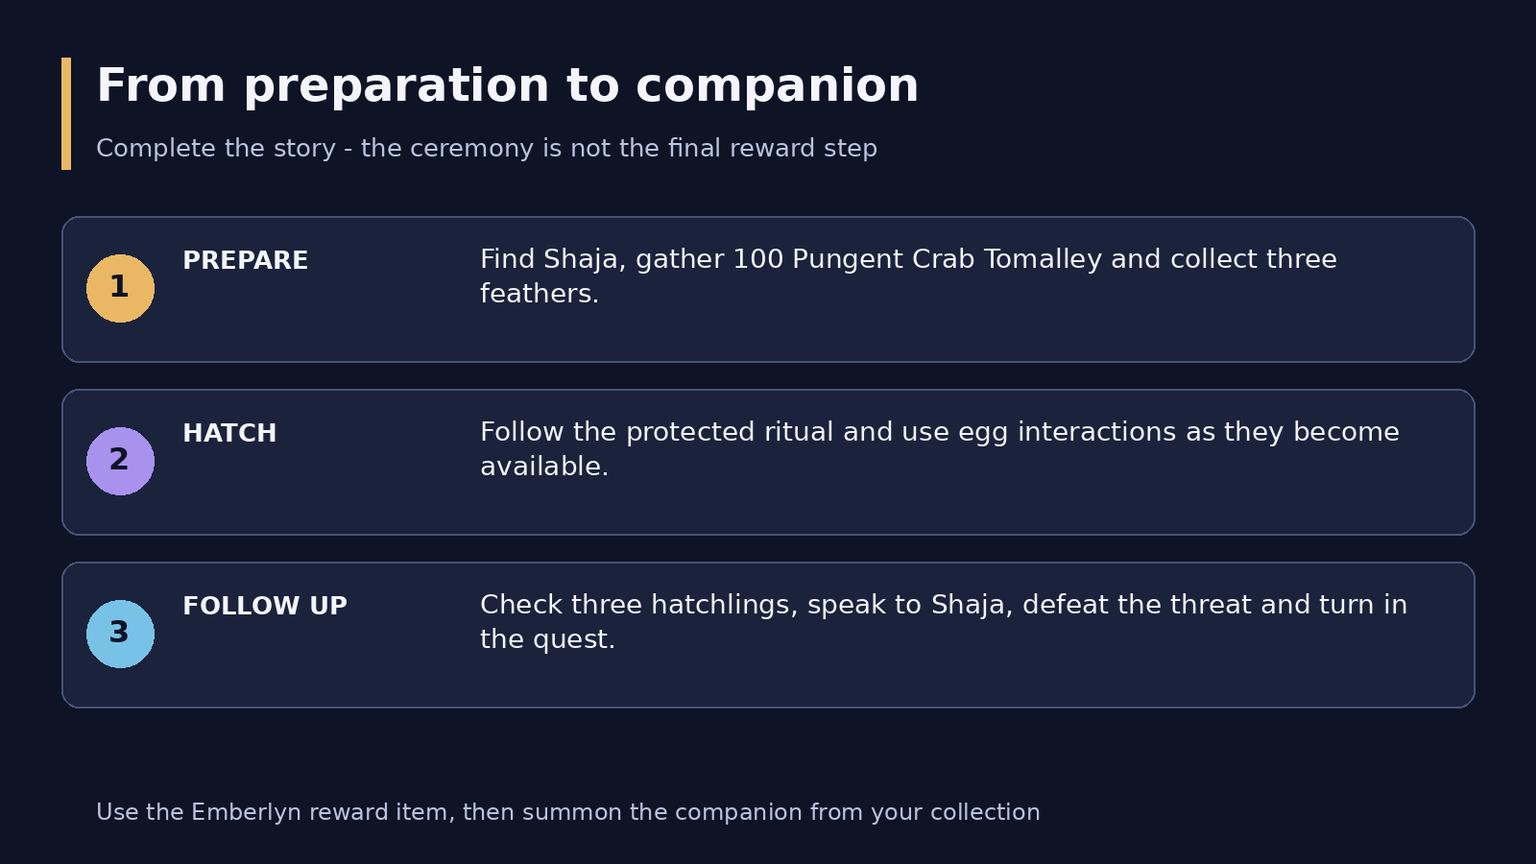
Preparation, ceremony and the final follow-up
It Takes Two
At the shore, speak to Shaja and use the supplied quest interaction to cleanse the Young Amazard. Deliver Brek's message as directed. Merely reaching Shaja is not the whole assignment; check that the conversation, cleansing and message objectives have all registered before leaving.
If a quest item or action seems absent, first confirm that this quest is active and inspect its tracker and your bags. Do not discard other items or abandon the chain just because one sub-objective has not yet completed. The dialogue and the active task are your guide to the next interaction.
Hungry Hungry Hatchlings
Collect 100 Pungent Crab Tomalley from crabs southwest of the temple, then return to Brek. The target is 100 units of the item, not necessarily 100 individual crab kills. Watch the collection counter and loot the relevant enemies instead of counting kills yourself.
Stay near the indicated shoreline until the objective is complete. Travelling to unrelated coastal areas adds movement without improving your understanding of which enemies count. Once the required total has registered, turn the quest in rather than continuing to gather supplies for later steps.
Eggstra Protection Never Hurts
Gather three Feathers of Jan'alai from the cliffs behind the temple. This step prepares protection for the ceremony. Search the outside cliff area rather than repeatedly circling the interior or looking for feathers among the crab groups.
Use the terrain and quest marker together. If a marker appears close but no item is visible, check the ledge above or below your position before widening the search. Stop once all three have registered and follow the turn-in destination shown by the quest.
Perfect Timing
The ritual is the hatching stage. Read the current instructions, obtain the protection offered through the quest and follow the NPC sequence before interacting with the eggs. Remain close enough to see the ritual and the next available interaction.
Let the ceremony progress and use the egg interactions as they become available. Check the live objective counter rather than assuming every nest is ready at once. If nothing is interactable, wait for the dialogue or animation to finish and check that you are on the ritual stage before moving away.
Completing the ceremony does not itself mean the reward has been learned. Look for the next quest and finish the follow-up about the young dragonhawks.
Like Dragonhawks to a Flame
Investigate three hatchlings, speak to Shaja and defeat Cinderscale Patriarch. These are separate objectives in the reward quest. A single inspected hatchling does not satisfy all three checks, and defeating the enemy does not replace the conversation.
Once the objectives are complete, turn the quest in and receive Emberlyn. Use the reward item to learn the companion, then find it in your collection and summon it. This last check distinguishes receiving the item from actually adding the pet to your usable collection.
What the reward provides
Emberlyn is a companion dragonhawk. It follows your character when summoned, but it cannot enter pet battles and has no battle statistics. You do not need a pet-battle team, training plan or upgrade stones to complete this acquisition route.
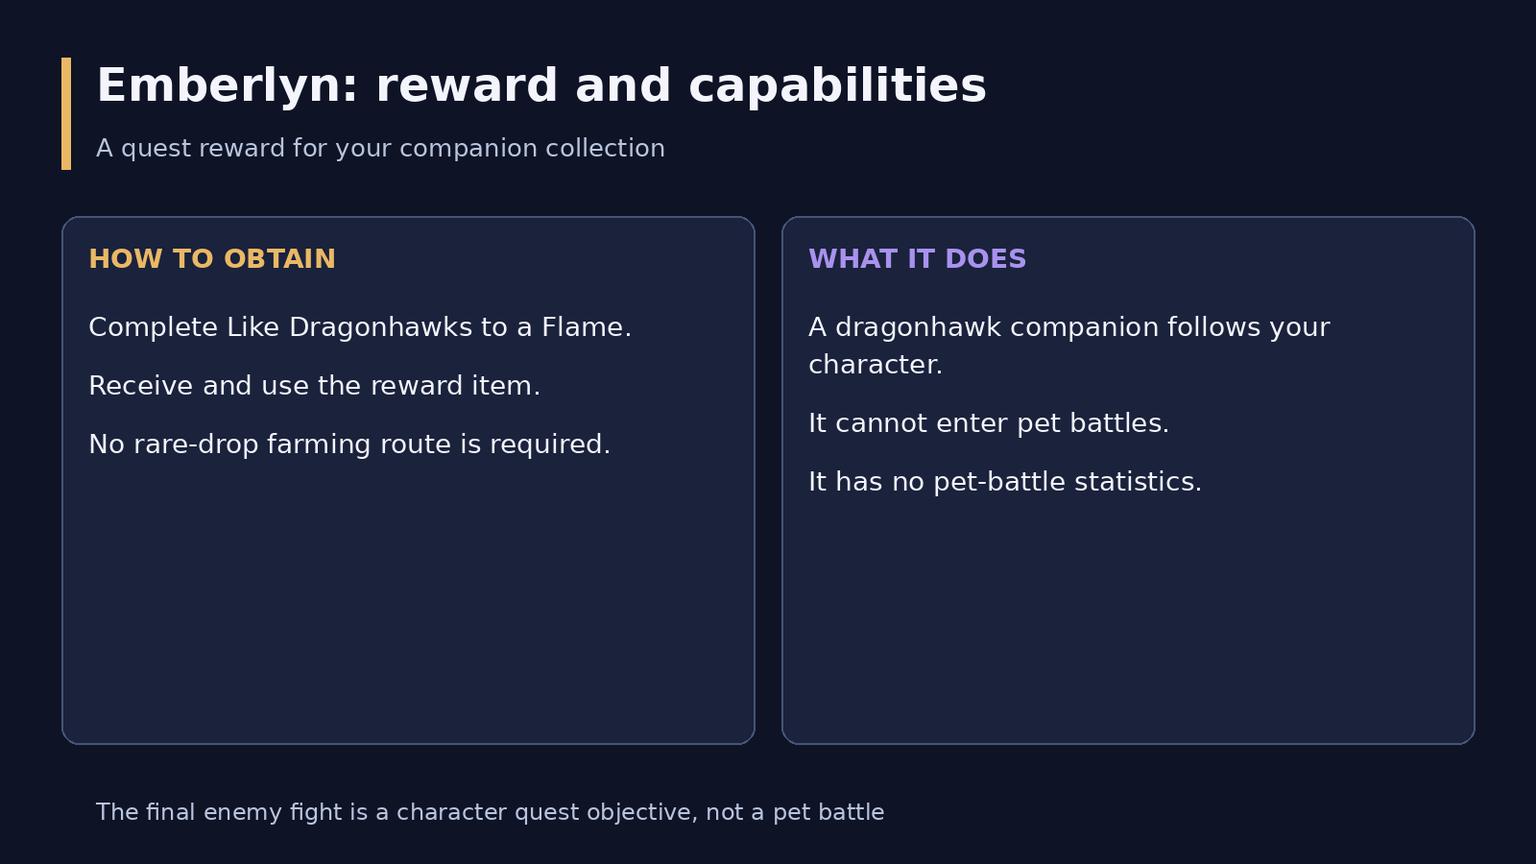
The quest reward and the companion's capabilities
The quest records also list The Amani Tribe reputation and Voidlight Marl among rewards. This guide does not prescribe a repeatable reputation route or a fixed currency total: the reason to follow this story is its quest completion and companion reward.
Emberlyn comes from the final quest rather than a rare enemy's random drop. Repeatedly killing nearby dragonhawks or collecting extra crab supplies is not the documented way to obtain it. If the companion is already learned, check the collection before repeating any travel in search of another reward.
If progress seems stuck
Symptom | First check |
No introductory quest | Look for an active or completed step in the same story |
Shaja found, task incomplete | Inspect conversation, cleansing and message objectives separately |
Food count not increasing | Confirm the active quest, correct crab area and looted quest item |
Feathers not visible | Search the exterior cliffs behind the temple and check elevation |
Eggs cannot be used yet | Check the active ritual objective and allow the NPC sequence to progress |
Pet not available to summon | Turn in the final quest, use its reward item and check collection filters |
These are checks to identify your current state, not guaranteed fixes for every phasing or server issue. Preserve completed progress while finding the missing objective. If the instructions and the visible state still disagree, record the quest name and unfinished objective before seeking support.
Questions before you go
Is this a daily egg-hatching farm?
The documented route is a short local story ending in a quest reward. This walkthrough does not identify a daily reset or recurring supply turn-in that you need to farm for Emberlyn.
Must I finish everything in a few minutes?
No timed completion target is established here. Travel, item collection and dialogue can vary. Follow the objectives at a comfortable pace instead of skipping an interaction to match someone else's completion time.
Does Emberlyn need to win a battle?
No. The pet is the reward, and it cannot battle. The enemy fight in the final quest is your character's objective, not a pet-battle requirement.
What should I check before leaving?
Confirm that Like Dragonhawks to a Flame is turned in, the reward item has been used and Emberlyn can be summoned from the collection. Those checks complete the route from the first conversation to the usable companion.