WoW Midnight Elemental Shaman Guide: Talents, Combat and Gear
Elemental is the Shaman's ranged damage specialization: a caster that combines lightning, fire and earth while contributing interrupts, control and emergency support. Its resource is Maelstrom. Generating that resource is only half the job; good play also means spending it on useful targets while leaving enough time to handle the encounter.
This guide covers PvE in Midnight Season 2, patch 12.1.5, checked on October 16, 2026. It is intended as a practical starting point for raids, Mythic+ and solo play. Talent choices, temporary effects and set bonuses alter the exact action priority, so a single memorized sequence will not cover every character.
What Elemental offers | What needs attention |
Ranged single-target and area damage | Movement can interrupt casting |
A broad utility toolkit | Utility talents must fit the encounter |
Several ways to prepare damage windows | Resource and temporary effects compete for attention |
Start by learning one loadout. Changing Hero Talents, your spender and several utility choices at once makes mistakes difficult to diagnose. Once the basic cycle feels comfortable, compare a second setup under similar conditions.
What changed in Season 2
Blizzard redistributed damage away from the largest Ascendance multipliers and into regular spells. The Season 2 changes increased Lava Burst and Lightning Bolt damage by 30% outside PvP, and Chain Lightning and Flame Shock damage by 60%. Ascendance's Elemental Overload damage bonus became 30%, down from 75%; its activation bonus Lava Bursts became 50% of normal damage, down from 100%.
These changes do not make Ascendance unimportant. They mean that neglecting ordinary casts between major windows remains costly. The official notes also redesigned Power of the Maelstrom and Supercharge; descriptions based on their former random extra Overloads should not be treated as current instructions. Farseer Ancestors' Chain Lightning was expanded to five targets.
The later 12.1.5 class notes contain Shaman fixes for other specializations, rather than a new Elemental tuning section. This guide therefore combines the Season 2 changes with current specialization guidance.
Hero Talents and loadouts
Farseer or Stormbringer
Farseer calls Ancestors that contribute spells alongside you. Stormbringer emphasizes lightning interactions and Tempest. For the checked version, current specialist recommendations favor Farseer in raids and most Mythic+ situations. Stormbringer remains an alternative for players who enjoy that style, particularly when experimenting with large groups; this is not a promise that both paths deal equal damage.
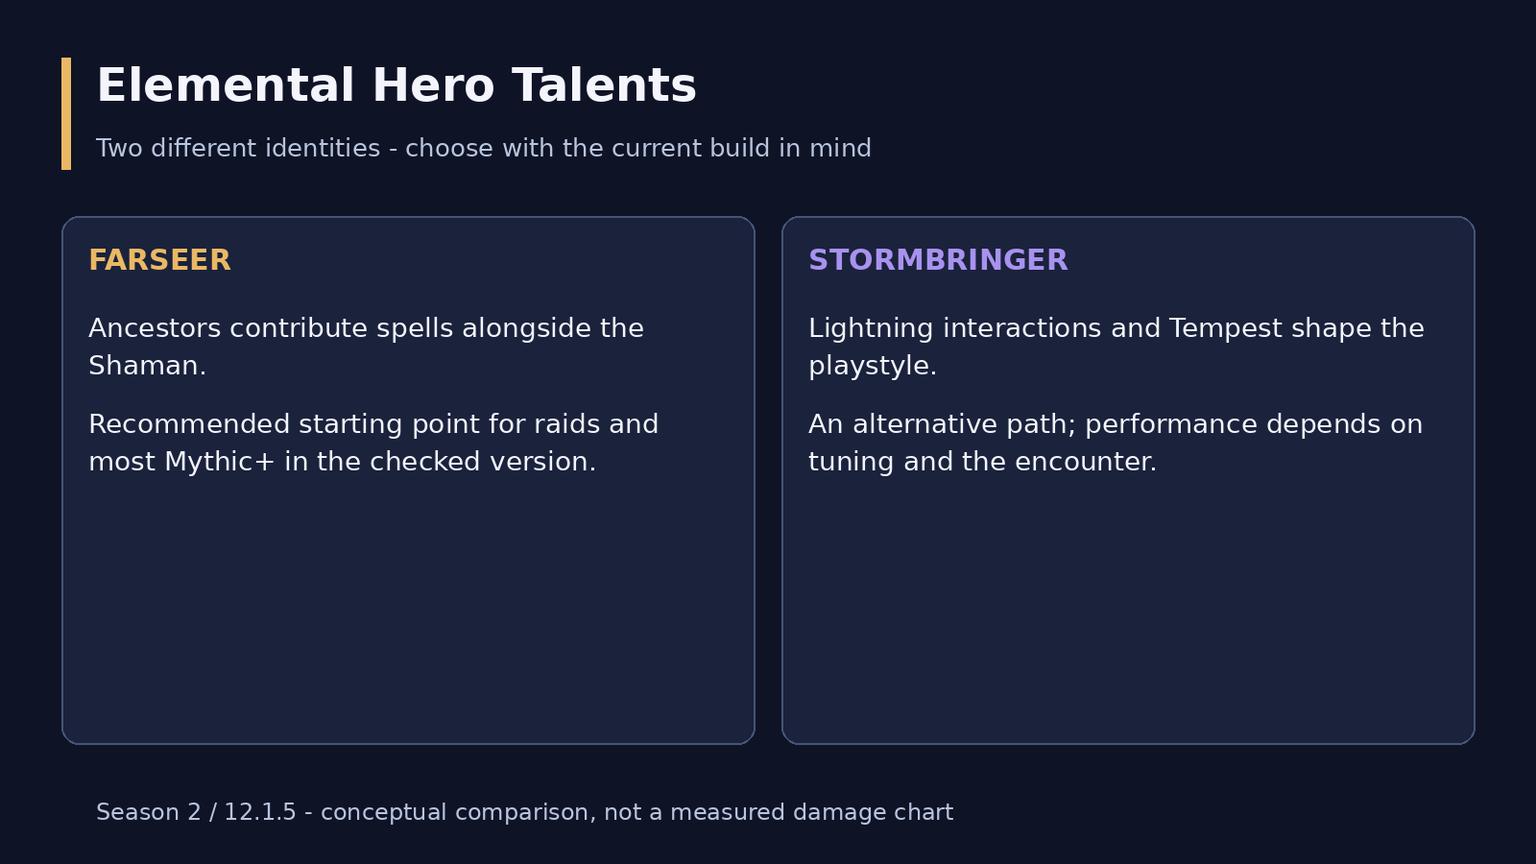
Two Elemental Hero Talent paths
The comparison describes their identities, not a measured damage chart. Do not choose solely from the visual theme: inspect the actual encounter loadout and learn which buttons and temporary effects it expects.
Choose talents for the activity
Activity | Practical starting point | Adapt before entering |
Raid boss | Farseer single-target loadout | Required movement and priority adds |
Mythic+ | Farseer dungeon loadout | Interrupts, control and the planned pull sizes |
Delves and outdoor play | A solo loadout | Self-healing, control and safe recovery |
Elemental Blast provides a different casting commitment from the instant Earth Shock. If an extra cast repeatedly prevents you from finishing mechanics safely, review your positioning and then consider the alternative loadout. A theoretical advantage is useful only when you can execute it.
Keep separate saved loadouts and descriptive names. After importing an updated build, check your action bars and utility selections before joining a group. Omnium Folio choices are another adjustable layer; review them with the chosen build rather than treating a rune list as permanent.
Maelstrom and core spells
Lightning Bolt and Chain Lightning help generate Maelstrom. Earth Shock or the talented Elemental Blast spends it on a target; Earthquake spends it on area damage. Flame Shock supports the fire side of the toolkit, and Lava Surge can make Lava Burst available instantly. Voltaic Blaze changes how Flame Shock is applied in builds that select it.
Spell or effect | How to think about it |
Lightning Bolt | A single-target generator between higher-priority actions |
Chain Lightning | A generator for suitable groups of enemies |
Earth Shock / Elemental Blast | Alternative targeted spenders selected by the build |
Earthquake | Area spending that needs enemies to remain in its damage area |
Stormkeeper / Ascendance | Planned offensive windows, not substitutes for the resource cycle |
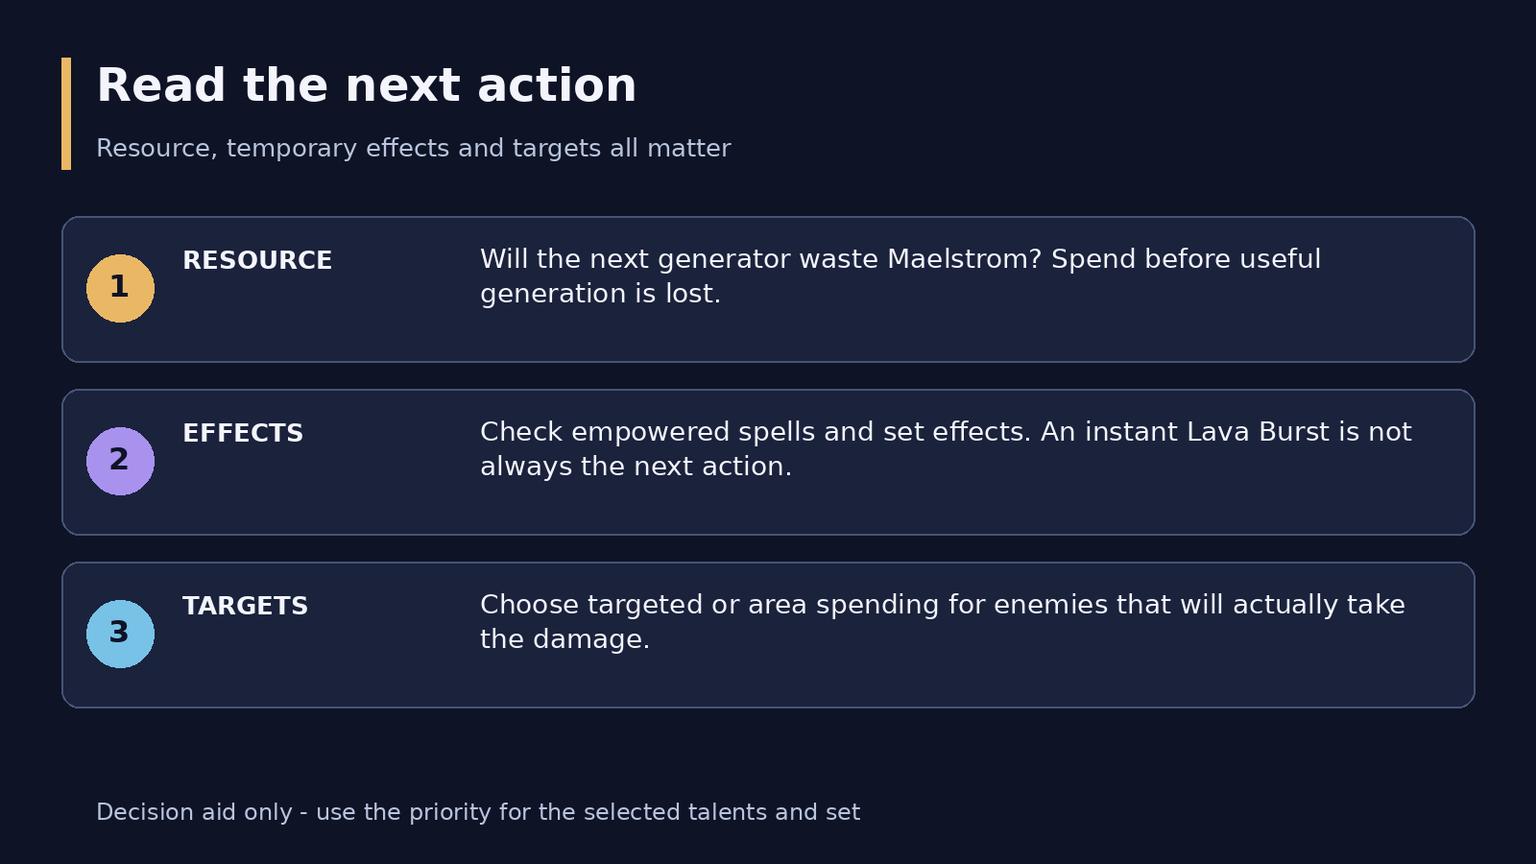
Three checks before the next spell
Watch the resource gain of the spell you are about to cast. Spending just before reaching the limit is often easier than recovering after wasted generation. Conversely, an almost empty bar is not a reason to press an unavailable spender: use the current generator and reassess.
Combat decisions
Preparing the pull
Place yourself where you can see both the target and the next safe location. Check the tank's countdown before using preparation spells; do not start combat with a projectile early. Know whether the selected loadout expects Ancestral Swiftness, Voltaic Blaze and a cast-time spender.
For a planned Farseer pull, prepare Stormkeeper and a timed Lava Burst, then follow the loadout's Ancestral Swiftness and Ascendance sequence. Continue with the appropriate empowered spells and resource spending. Treat this as a preparation outline: exact ordering changes with the selected talents and effects.
One target
Maintain the required Flame Shock coverage, use your major windows while they can accomplish useful damage, and avoid wasting Maelstrom. Check temporary effects before choosing between an empowered lightning spell, Lava Burst and your spender. Season 2 set effects, including Flowing Elements and Overcharge, can raise a spender's priority.
Lava Surge is a useful opportunity, not permission to ignore the rest of the state. A resource cap or an expiring high-value effect may demand attention first. Practice reading a small number of relevant indicators rather than adding every available buff to the center of the screen.
Several targets
Judge where enemies will stand and how long they will live. Earthquake loses practical value if a pull immediately leaves its area. Small groups and large, stable packs also require different decisions; “four targets means Earthquake forever” is too crude for builds with Ancestors, Elemental Blast and set interactions.
Switching the filler to Chain Lightning does not remove the need to manage Flame Shock, empowered spells or resource waste. On the last few enemies, decide whether your next area spell will finish its work. Preserve resources for the next pull only when that does not undermine a dangerous current target.
Movement and cooldown timing
Plan movement in short steps. Spend an appropriate instant action while relocating, then stop in a useful position to resume casting. Avoid moving in a large circle simply because a mechanic has started.
Stormkeeper and Ascendance should be used deliberately. Short alignment can be worthwhile; repeatedly waiting for a perfect moment can lose an entire use over a fight. Before delaying, identify the actual event you are waiting for and whether the target will remain attackable.
Survival and group support
Deal with dangerous casts before they become a healing problem. Wind Shear is the primary interrupt; Capacitor Totem provides delayed area control. Thunderstorm can disrupt enemies but may scatter a pack. A root prevents movement and does not automatically stop a cast.
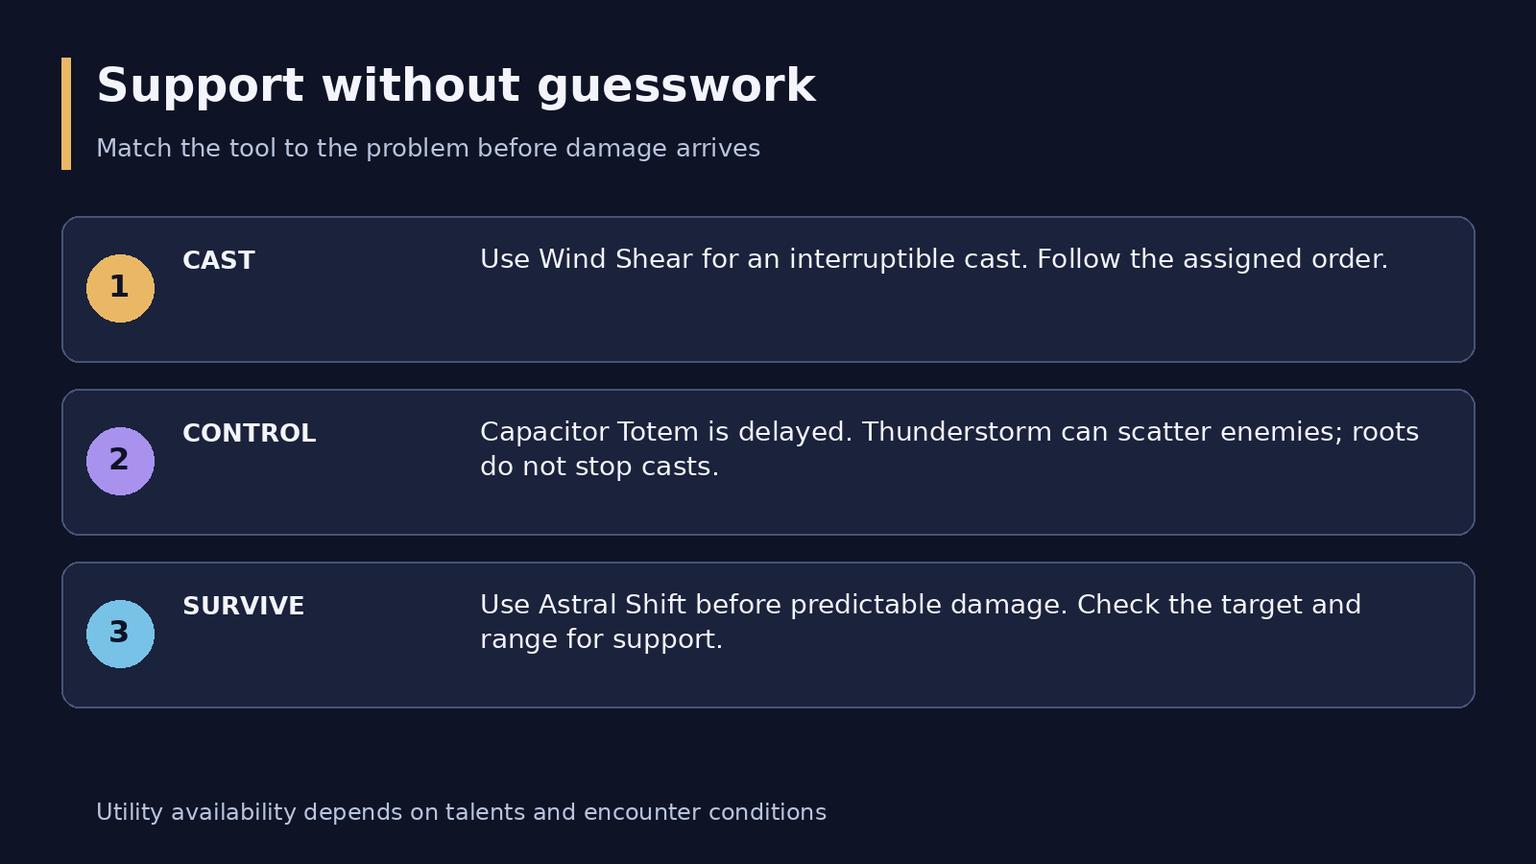
Choose support according to the threat
Use Astral Shift before predictable damage, and reserve emergency healing for situations where it helps someone survive. Check the target and range before committing a support action. Utility availability depends on the selected class talents.
Assign an interrupt target before the pull when possible. If another player has already stopped it, reassess rather than automatically spending your own control. Random Earthquake knockdowns are a bonus, not a reliable substitute for an assigned interrupt.
Gear and secondary stats
Intellect is the primary offensive stat. The current general secondary order is Mastery, Haste, Critical Strike, then Versatility, but an item's complete value matters more than its label. Rings, trinkets, set bonuses and weapon configurations deserve direct comparison.
Upgrade decision | Check before spending resources |
Higher item level | Total gain, set effects and the slot being replaced |
More Mastery | Current buffs and whether additional Mastery still helps |
A new trinket | Timing, target pattern and interaction with the loadout |
A tier conversion | Retained secondary stats and item effects |
Do not chase a universal “1200 Mastery cap.” Percentage limits, temporary buffs and the actual equipment setup matter. Use a current character simulation to compare candidates, then confirm that its assumptions resemble your activity.
For Season 2, do not automatically discard a strong item simply because it is not a natural tier piece: Catalyst conversion can preserve relevant secondary stats and special item effects. Check the conversion preview and current gear guidance before committing a valuable charge.
Enchants and consumables
The checked recommendations include the following starting options. Item names are retained in English for precise lookup; compare alternatives against your actual gear before buying expensive ranks.
Purpose | Starting option |
Weapon enchant | Enchant Weapon - Rite of the Hash'ey |
Leg enhancement | Sunfire Silk Spellthread |
Ring enchant | Enchant Ring - Eyes of the Eagle |
Special gem | Powerful Eversong Diamond |
Mastery flask | Flask of the Magisters |
Offensive potion | Light's Potential |
Food | Silvermoon Parade or Harandar Celebration |
Thalassian Phoenix Oil is an option when the Flametongue Weapon imbue talent is not being used; the two do not stack. Keep healing consumables accessible separately from offensive cooldowns. Check supplies before the group starts rather than discovering an empty slot during the first dangerous pull.
Leveling and a short practice plan
During leveling, choose a manageable number of enemies and learn their dangerous casts. Practice spending before resource overflow and moving without interrupting every cast. Add self-healing and control where the activity rewards them; an endgame raid loadout is not automatically the best solo setup.
For a first practice session, work on one target until you can recognize resource waste. Next, repeat with several targets and observe where area damage lands. Finally, add a movement requirement and an assigned interrupt. Change one variable at a time, and keep notes about the mistake you are trying to remove.
Common questions
Is Farseer mandatory?
It is the recommended competitive starting point for the checked version. Stormbringer can still be played, but preferences and performance recommendations should be distinguished.
Should I always use every instant Lava Burst immediately?
No. Resource overflow, empowered spells and set effects can change the next action. Read the state of the chosen build.
Can I use this as a PvP rotation?
No. This is a PvE guide. Enemy disruption, defensive trading and PvP tuning require a separate approach.