WoW Midnight Outlaw Rogue Guide: Talents, Combat and Gear
Outlaw rewards a player who keeps attacking while making quick resource decisions. Energy pays for abilities, builders generate Combo Points, and finishers spend those points. Restless Blades turns spending into faster cooldown recovery, so lost contact with the target also slows the engine that keeps your abilities available.
This PvE guide covers Midnight 12.1.5 and Season 2, checked on October 18, 2026. The specialization favors sustained damage and nearby cleave rather than one enormous burst window. Its fast pace is manageable when the interface shows the next useful decision clearly: available points, Opportunity stacks, Roll the Bones stage and important cooldowns.
What changed and what remains important
Roll the Bones now grants one of four stages. Higher stages include the benefits of every lower stage. The system still has random outcomes, but it is not the old collection of independent buffs with a long reroll checklist.
Stage | Added benefit |
1 | More double Sinister Strikes and Opportunity generation |
2 | Additional Combo Point generation and damage for Sinister Strike and Ambush |
3 | Stronger Restless Blades cooldown reduction |
4 | Additional Critical Strike chance |
For example, Stage 3 includes the first two stages as well. Track the stage rather than trying to identify an old named combination.
Season 2 strengthened Killing Spree. Extra effective Combo Points beyond your maximum improve its damage instead of extending its duration, and Adrenaline Rush accelerates its execution. Patch 12.1.5 also changed Deft Maneuvers: its extra Blade Flurry Energy cost is now 5 per target hit, capped at 30, instead of a flat 30. That is an additional cost from the talent, not Blade Flurry's total cost.
Hero Talents and practical builds
Trickster is the current recommended choice for both raids and Mythic+. Its cleave scaling and Coup de Grace interactions support Outlaw's sustained profile. Fatebound remains a playable alternative built around coin effects, but it currently trails Trickster. Switching Hero trees does not turn Outlaw into a completely different specialization.
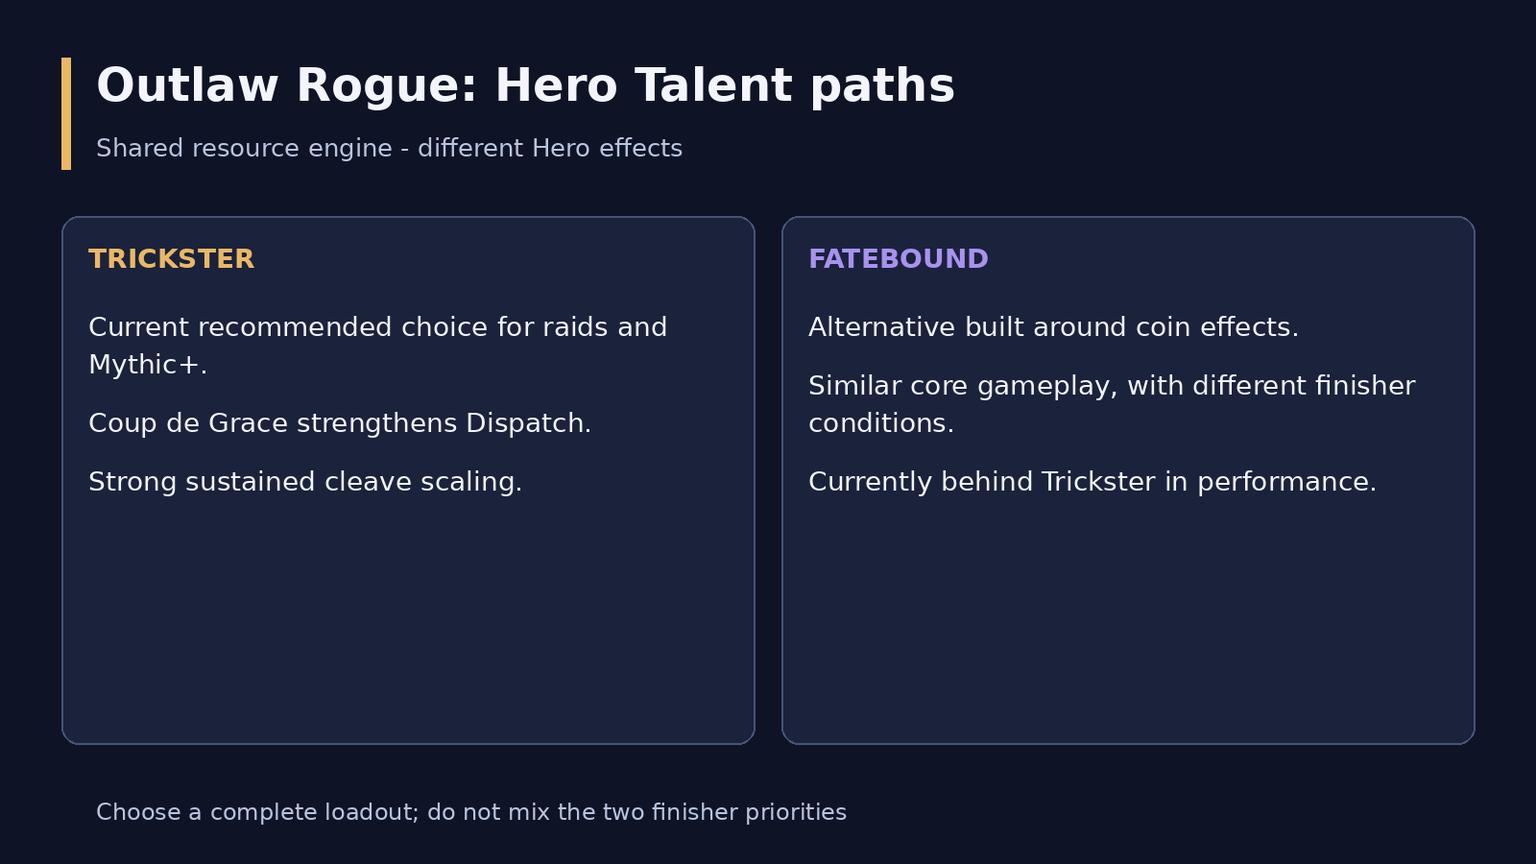
Compare Outlaw Hero Talent paths
Choose the loadout for the encounter:
Content | Build direction |
Predominantly one raid target | Trickster single-target setup |
Raid with useful nearby secondary targets | Cleave setup that matches the enemy pattern |
Mythic+ | Trickster area setup with the required control and utility |
Delves and outdoor play | Keep the damage engine while selecting useful survival and movement tools |
Blade Rush is optional and is not part of every current single-target recommendation. Check whether your chosen build actually includes it. The same applies to Killing Spree, Preparation and other active talents: importing a setup should be followed by inspecting the spell bar and reading the changed nodes.
Save separate raid and dungeon loadouts with clear names. During leveling, learn efficient generation and spending first, then add the endgame interactions as they unlock. A level-by-level list is useful only when it matches the current tree and your chosen Hero path.
Prepare the pull
Apply Instant Poison and the appropriate non-lethal poison before combat. Coordinate the utility poison with your group: slowing movement, slowing attacks or reducing damage can solve different problems. Enter Stealth where the encounter allows it and choose a safe place to start attacking.
For a basic Trickster opening:
1. Prepare Adrenaline Rush, Roll the Bones and Slice and Dice immediately before the pull when needed. Do not recast a maintained effect simply because an opener lists it.
2. Use Keep It Rolling if the stage meets the chosen condition; Stage 3 or higher is the standard starting rule.
3. Against multiple nearby targets, establish Blade Flurry. At low Combo Points, Deft Maneuvers can generate points without wasting as much of its benefit.
4. Build to at least six Combo Points with Sinister Strike and the appropriate Opportunity-powered Pistol Shots, then use Between the Eyes.
5. Continue the conditional priority. If using Killing Spree, prepare at least six points and Supercharger for it; do not press it at low points merely because Adrenaline Rush was just activated.
Blade Rush can replace an opening builder when selected. This is a learning framework, not a script that must ignore a proc, a delayed pull or dangerous ground. Coordinate combat potions and on-use items around a useful period of attacking.
Build and spend without losing value
For the recommended Trickster style, keep the following decisions connected. The default finisher threshold is six or more Combo Points; specific empowered effects can change what the next action should be.
· Refresh Roll the Bones when available at Stage 1 or lower. Avoid replacing Stage 2 or higher without a build-specific reason.
· Use Keep It Rolling at Stage 3 or higher. If waiting repeatedly leaves it unused for long periods, Stage 2 is a documented practical fallback rather than an instruction to chase perfect luck forever.
· Use Adrenaline Rush at low Combo Points, normally two or fewer. Use selected short cooldowns regularly rather than saving the entire toolkit for a hypothetical perfect pull.
· Spend with Between the Eyes when ready at six or more points. Dispatch is the regular fallback finisher at six or more points for Trickster; respond to its empowered Coup de Grace opportunity.
· Use Pistol Shot at six Opportunity stacks, or at three stacks while holding one to three Combo Points. Otherwise use Sinister Strike as the ordinary builder.
Recheck resources after each action. A proc can change the next decision immediately, so repeatedly pressing the same builder is an easy way to waste points. Avoiding a capped Opportunity stack can sometimes matter more than preventing every single point of overflow.
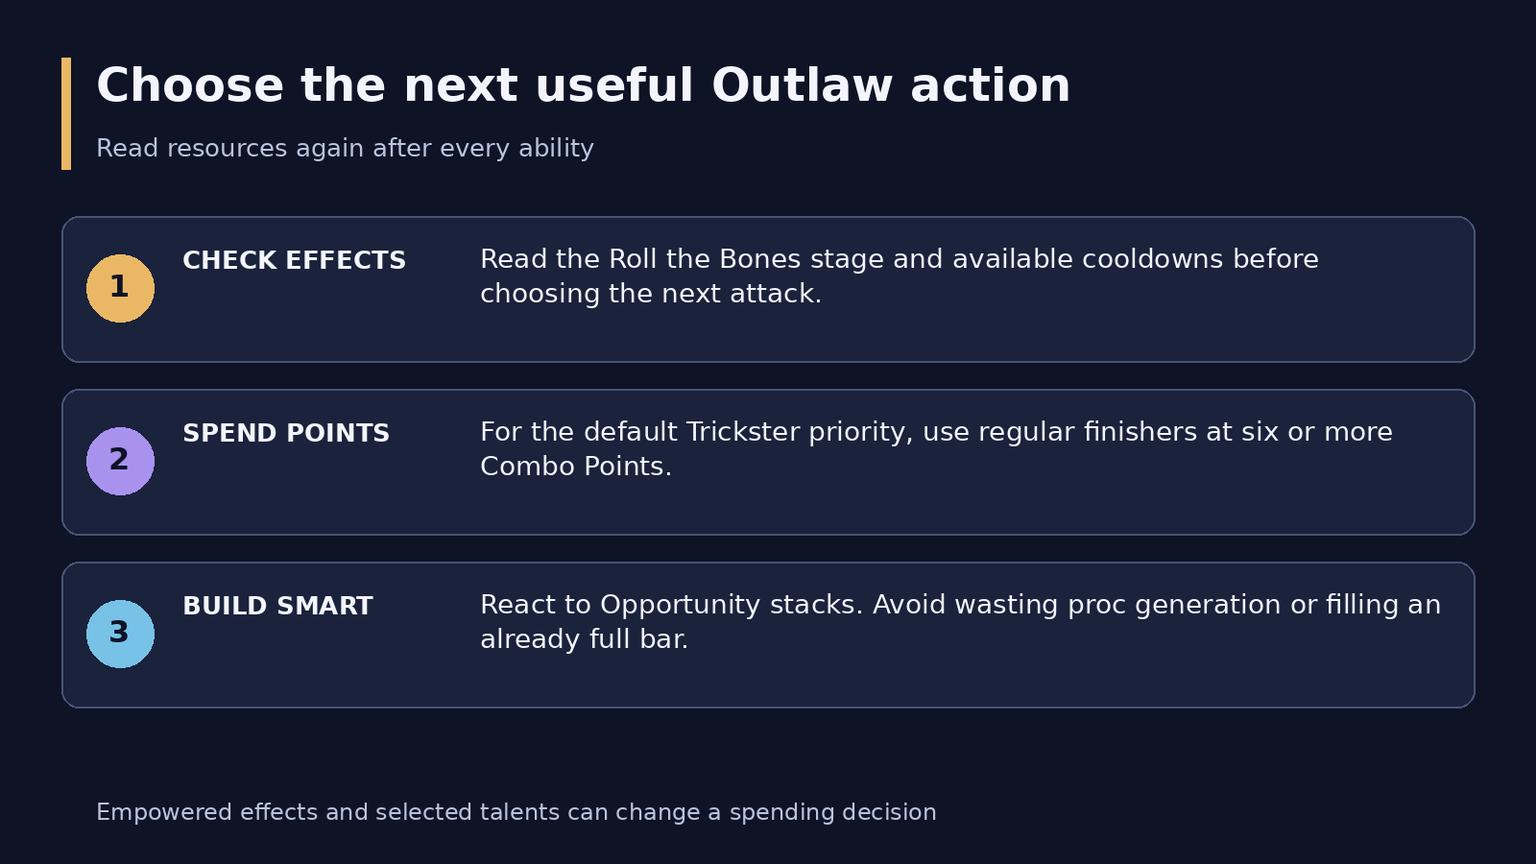
Check the next Outlaw resource decision
Gravedigger and cooldown resets
Gravedigger is the Apex talent. It adds damage and builds toward a free Between the Eyes opportunity. The resulting reset may appear after the hit reaches the enemy, so a brief cooldown display is not always the final state. Watch the actual reset before spending Preparation into it.
Preparation is valuable after the cooldowns it can restore have been used. It does not gain value from pressing it while those abilities are already ready. Resolve an available Between the Eyes reset, then evaluate Preparation against the encounter timeline. This matters especially near the end of a fight, when holding it may cost the only remaining useful reset.
Killing Spree has its own resource and positioning requirements. Use the current six-point and Supercharger conditions for a selected build, and check whether the enemy's next mechanic allows the attack. A short delay for safety is different from leaving the ability unused through several worthwhile opportunities.
Several enemies: positioning comes first
Outlaw's area priority stays close to its single-target priority, with Blade Flurry maintained when a second enemy is in cleave range. The relevant enemies must be near your character. Standing at maximum reach from the selected target can leave another enemy outside the cleave area.
Let the tank assemble the pull, then position so the dangerous target and nearby enemies are covered. Prefer low points when activating Blade Flurry with Deft Maneuvers, and account for its current Energy cost. Keep your normal spending cycle running rather than inventing an unrelated area rotation.
If enemies spread, move to a safe position that restores useful coverage. Do not follow an unimportant target into a frontal attack simply to preserve total damage. A missed interrupt, accidental pull or death can outweigh the benefit of one more cleaved attack.
Use Grappling Hook and Sprint to shorten necessary movement. Before committing the hook, identify the landing point and the next mechanic. Mobility helps only if you arrive somewhere that lets you continue attacking safely.
Defensives and dungeon utility
Tool | Useful purpose and limit |
Feint | Prepare for predictable area damage; broader protection depends on talents |
Cloak of Shadows | Handle eligible magical effects; do not assume every encounter mechanic can be removed |
Evasion | Avoid eligible attacks; it is not universal protection against magic or ground damage |
Crimson Vial | Recover health before the next dangerous hit, without replacing preventive defense |
Kick and control abilities | Interrupt or stop eligible enemies; coordinate targets rather than overlapping every stop |
Shroud of Concealment | Support an agreed route; it does not guarantee passage through every detection mechanic |
Sap requires an eligible target that is not in combat and your own Stealth. Blind, Kidney Shot and other control tools have different restrictions; a stun cannot replace every interrupt. Shiv can remove an eligible enrage effect when the relevant utility is available.
Before a dungeon starts, agree on the intended skip and which cast you will interrupt. During a raid, plan Feint and Cloak for known events instead of waiting until health is almost gone. One clear assignment is easier to execute than several vague intentions.
Stats and an equipment plan
Agility and weapon quality matter. Critical Strike and Haste are generally valuable, but their order changes with the current equipment and build. Versatility becomes more competitive as the other stats accumulate; Mastery is usually a lower starting priority.
Do not treat 23% Haste as a universal stopping point. Current guidance distinguishes raw gear stats, talent bonuses and the faster global cooldown during Adrenaline Rush. Approximate targets also differ between raid and dungeon setups. Compare complete gear sets for the content you play rather than sacrificing a substantial upgrade to force one percentage.
Useful Season 2 targets include:
Item | Source | Role |
Aman'muso, Warlord's Vengeance | Coiled Altar | Main-hand weapon target |
Zul'jin's Guillotine Technique | Coiled Altar | Trinket candidate |
Voracious Heart of Ula'tek | Ula'tek | Trinket candidate |
Gaze of the Coiled Watcher | Ula'tek | Armor option to evaluate with tier planning |
Apex Brute's Claw Ring | Sszorak | Ring option |
These are targets, not a promise that each beats every higher-level alternative. Complete tier bonuses before waiting for the ideal individual slot. Catalyzed armor retains its original secondary stats and eligible effects, so compare the actual piece you intend to convert. An available helmet that completes a bonus can be more useful than waiting another week for preferred shoulders or gloves.
Compare weapons in their correct hands and simulate the complete setup. Evaluate a crafting order before paying for it: the weakest slot, available loot and expected replacement all influence whether the order is worthwhile. Profession choice should follow your crafting or income plans rather than an assumption that one profession is mandatory for Outlaw damage.
Enchants and consumables
Acuity of the Ren'dorei is a current weapon-enchant recommendation; Jan'alai's Precision can change value with your Haste balance. Check both weapons. Mark of the Worldsoul for the chest, Forest Hunter's Armor Kit for legs and Eyes of the Eagle for rings are useful starting references.
Powerful Eversong Diamond benefits from a deliberate mixture of gem colors. Choose the remaining gems as a complete arrangement; Critical Strike and Haste options are common starting points, but the best next gem can change after an upgrade.
Prepare a Flask of the Shattered Sun or Flask of the Blood Knights according to your stat balance, Thalassian Phoenix Oil and a Concentrated Silvermoon Health Potion. Light's Potential is a straightforward combat-potion option; Potion of Recklessness is another current recommendation to evaluate for the equipped setup. Harandar Celebration is a suitable feast option. Apply weapon oils and poisons as separate enhancements.
A focused practice routine
Practice one target until you can see why the next action changes. Then add Blade Flurry and positioning around a compact group. Finally introduce movement, an assigned interrupt and a planned defensive event. Keeping those steps separate makes it easier to identify what went wrong.
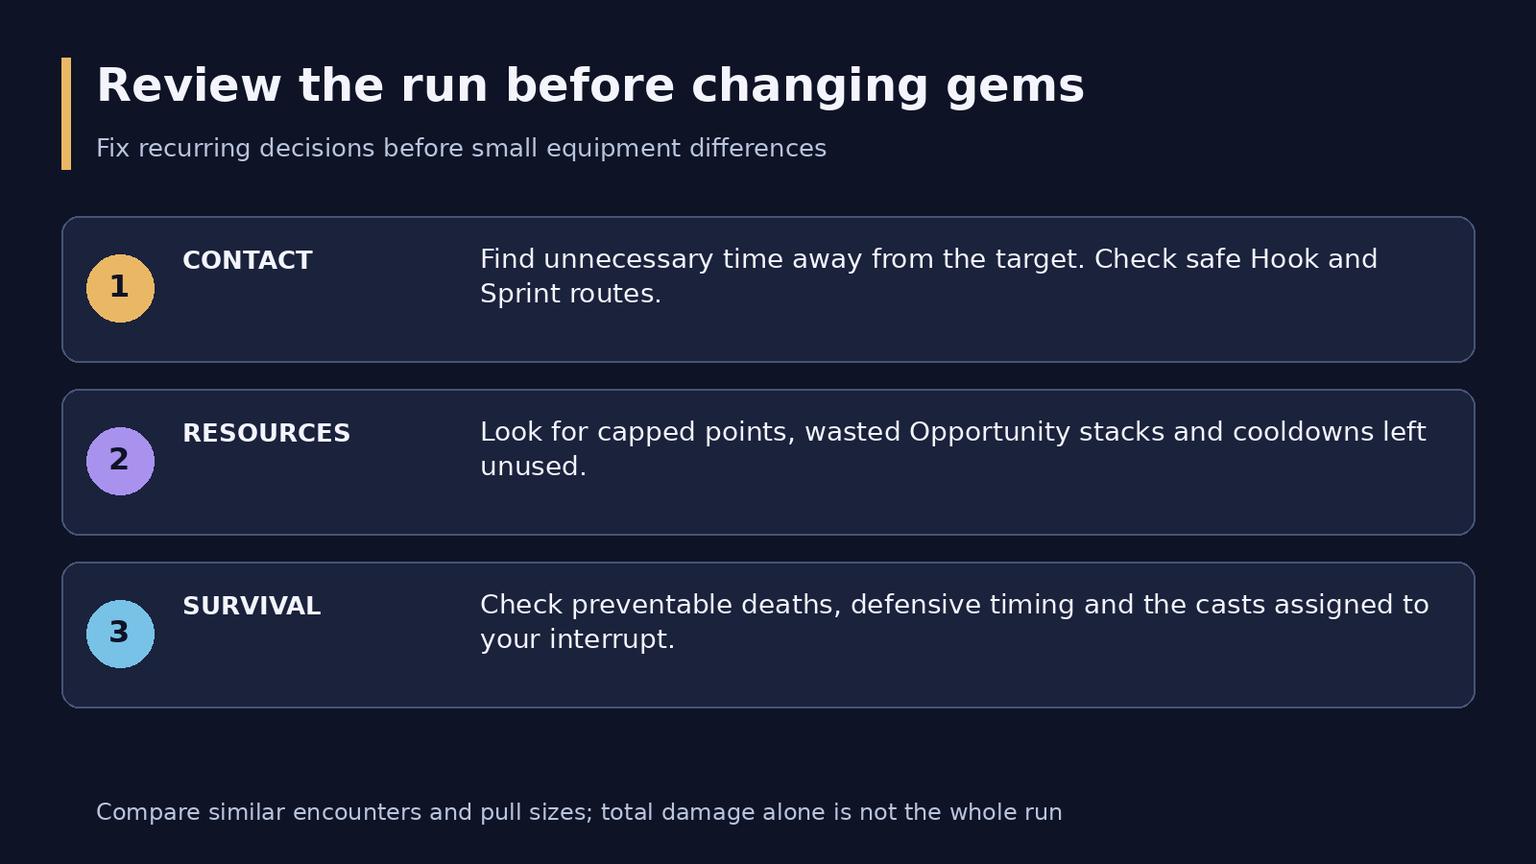
Review an Outlaw run in a useful order
When reviewing a run, compare similar encounters and pull sizes. Check lost melee contact, avoidable deaths, capped resources and unused cooldowns before changing gems. If the same mistake returns after every equipment upgrade, practice the decision that causes it.
Is Fatebound unusable?
No. It remains an alternative, but Trickster is the current performance recommendation. Choose deliberately and use the appropriate finisher conditions rather than mixing both priorities.
Is Blade Rush required in every build?
No. Check the imported loadout. An instruction for an optional talent is not a reason to replace another selected talent without considering the encounter.
Should Outlaw save everything for one burst phase?
Usually its strength comes from regular use and sustained attacking. Hold an ability for a specific imminent benefit, and check whether the delay costs another use before the fight ends.