WoW Midnight Paladin Guide: Specs, Talents and Gameplay
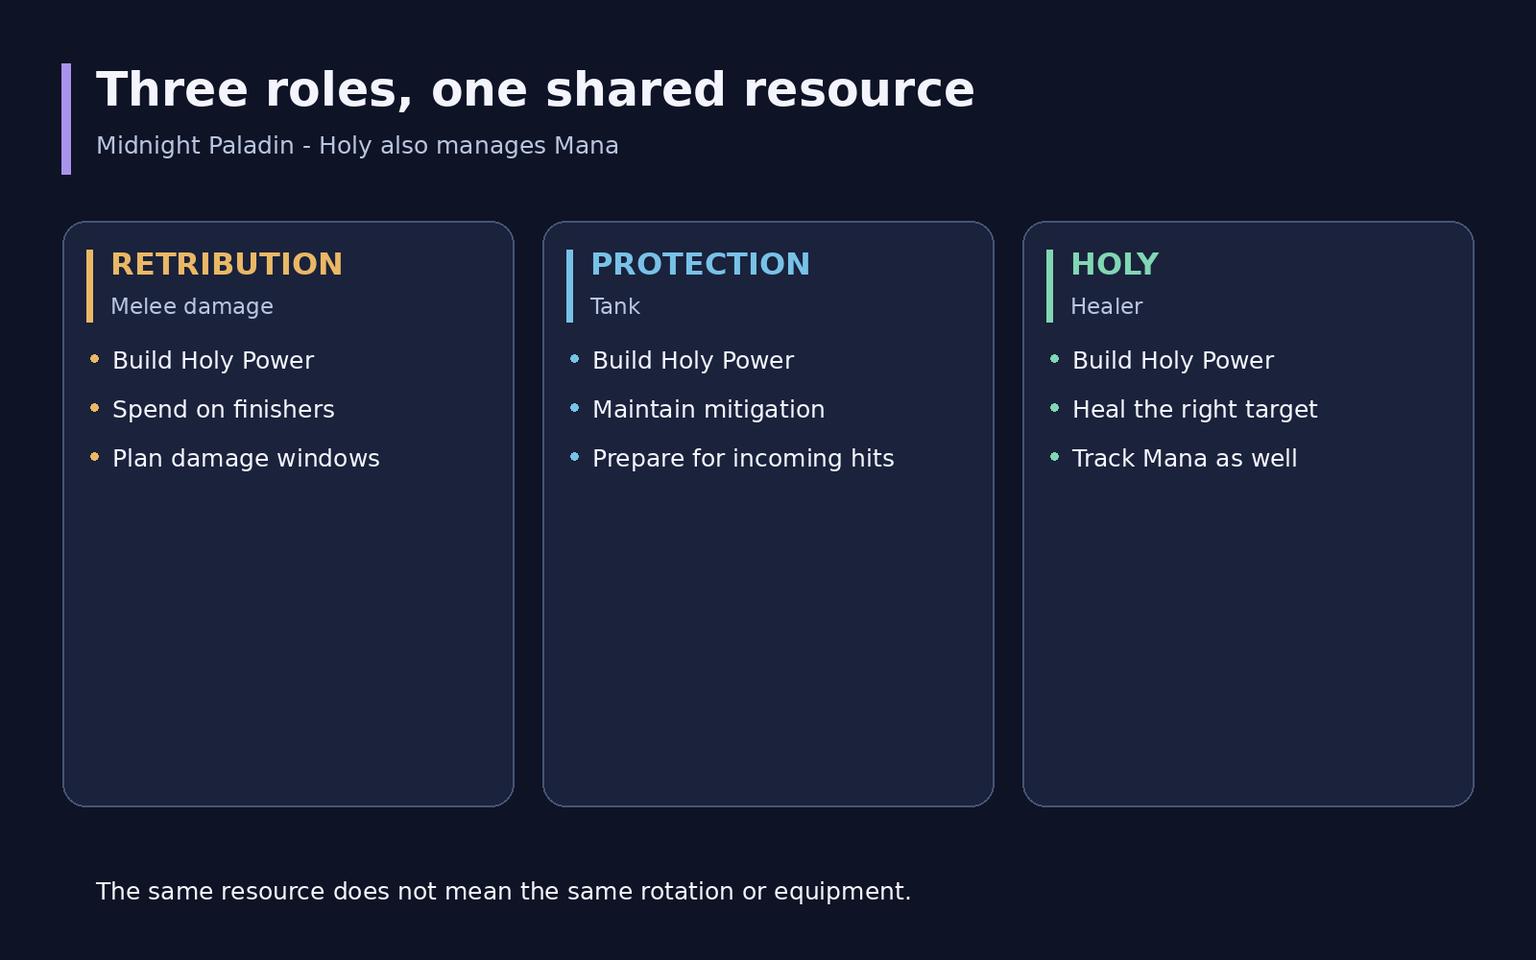
Paladin in Midnight can deal melee damage, tank or heal. Holy Power is a shared resource, but abilities and equipment serve different purposes. Holy also manages Mana: having a full Holy Power bar does not mean you can cast healing spells indefinitely.
This guide covers Season 2 PvE and patch 12.1.5, with information checked on October 14, 2026. Choose a main role, learn its resource cycle and defensive tools, then add support actions for the group. That is more useful than trying to learn all three specializations through one rotation.
Specialization | Main role | What to track |
Retribution | Melee damage | Holy Power, empowered windows and target access |
Protection | Tank | Threat, mitigation uptime and incoming damage |
Holy | Healer | Ally health, Holy Power and Mana |
Strengths and limits
Paladin combines personal defenses with group support. Blessings, Auras and extra healing can solve a particular mechanic, but they do not replace your main assignment. Damage players must keep attacking, tanks must hold enemies, and healers must respond to injured allies.
Movement needs planning. Use Divine Steed for the required repositioning rather than merely to start combat faster. Think ahead about where the next attack or heal needs to happen. A strong defensive toolkit improves resilience, but does not guarantee recovery from every mistake or remove the need to learn enemies.
Choosing a race
Consider faction, appearance and the practical use of a racial ability. Dwarf Stoneform, for example, helps remove dangerous debuffs, while Tauren War Stomp provides additional control. Their value depends on the encounter. One race should not be declared best for damage, tanking and healing together, and a character change should have a clear purpose.
Relevant Midnight changes
Patch 12.1 moved some Retribution power from cooldown windows into regular abilities. Crusading Strikes changed its interaction with extra attacks, while Light Within allows additional stacks of relevant procs. Check an older action sequence against the selected build rather than recognizing only familiar button names.
Protection received a specialization-tree redesign and broader access to defensive talents. Blessed Word changes Word of Glory: Critical Strike is accounted for differently, and part of overhealing becomes an absorb. This interaction does not make unnecessary healing on a full-health target a universal replacement for active mitigation.
Holy received healing buffs and changes to talent interactions, including support for Beacon of Virtue. Percentages from the beginning of the season describe a specific change relative to the previous version, rather than a permanent bonus to add again to current values.
The official 12.1.5 notes contain no separate Paladin redesign, and current specialist overviews retain the foundations of all three specs. New rewards may still change gearing decisions. Check build and equipment dates separately: a new item recommendation does not necessarily mean a new rotation.
Talents and Hero Talent trees
The class tree controls available defense, movement and support; the specialization tree determines your primary role. A Hero Talent tree adds its own interactions. After importing a build, check changed abilities and their positions on your bars.
Specialization | Hero Talent trees | Apex talent |
Retribution | Templar / Herald of the Sun | Light Within |
Protection | Templar / Lightsmith | Glory of the Vanguard |
Holy | Herald of the Sun / Lightsmith | Beacon of the Savior |
Apex belongs to the specialization tree, rather than providing a third Hero Talent choice. Learn its procs alongside the main rotation. They can raise the priority of an ability that otherwise looked like a filler.
What the tree changes
Templar Retribution revolves around Hammer of Light and Empyrean Hammers, while Herald of the Sun emphasizes periodic effects, including Dawnlight. In the current Season 2 version, Templar Retribution's Hammer of Light costs three Holy Power. Do not transfer its old cost or another specialization's rules into this build.
For Protection, Templar links Divine Toll with Hammer of Light, while Lightsmith uses Sacred Weapon and Holy Bulwark. The choice is not a compulsory split of Lightsmith for one target and Templar for multiple enemies: composition, assignment and the current build matter.
Holy's Herald of the Sun replaces Word of Glory with Eternal Flame and adds periodic healing. Lightsmith supports allies through armaments and associated talents. Check raid and Mythic+ builds separately; one tree is not an unconditional answer for the entire season.
Gameplay foundations for each spec
Retribution
Build Holy Power through Blade of Justice and Judgment, then spend it on finishers. Final Verdict serves a primary single target, while Divine Storm helps against multiple enemies. The exact choice depends on talents, procs and target count. At a full bar, find a useful spender before the next generation is wasted.
Maintain Expurgation and account for Judgment's effect. Pair major abilities with a window when the target is accessible and damage matters. If the enemy becomes unavailable in a few seconds, reconsider timing. However, constantly holding cooldowns for later reduces the number of uses across a fight.
Use available actions during movement while preserving a way back into melee attacks. Healing an ally can be the right choice, but that resource spend needs a purpose. First establish a reliable resource cycle, then refine your Hero Talent tree's opening sequence.
Protection
Start with secure enemy control and Holy Power generation through Judgment and the appropriate hammer. Maintain Shield of the Righteous during relevant incoming damage, and plan additional defenses ahead of time. Word of Glory restores health, but healing spends must be weighed against resources and remaining mitigation duration.
Avenger's Shield provides damage and control, while its Holy Power generation depends on Glory of the Vanguard. An empowered cast can provide up to three Holy Power. Do not count every cast as an unconditional generator or ignore the associated proc.
Consecration remains part of your abilities and selected talent interactions; it does not replace the entire survival plan. Before a dangerous sequence, identify the defensive effect that covers it, the direction enemies face, and whether moving is safe. A good tank reduces group pressure through predictable enemy positioning as well as damage output.
Holy
Track Holy Power, Mana and ally health together. Holy Shock, Flash of Light, Holy Light and Judgment participate in resource generation and talent interactions. Healing versus damage is a situational decision: during intense incoming damage, continuing an offensive priority list can leave allies without help.
Consume Infusion of Light with Flash of Light when healing is needed; Judgment has a place in a suitable damage and resource window. Spend Holy Power on Word of Glory or Eternal Flame, and assess Light of Dawn according to injured targets and build procs. A dungeon especially rewards a fast response to one player in danger.
Place Beacon of Light and use selected Beacon variants for the group's needs. Plan Avenging Wrath and Divine Toll around expected events. Holy Light offers powerful healing but demands attention to Mana. Deal damage when healing is unnecessary while keeping a way to respond to the next threat.
Blessings and group support
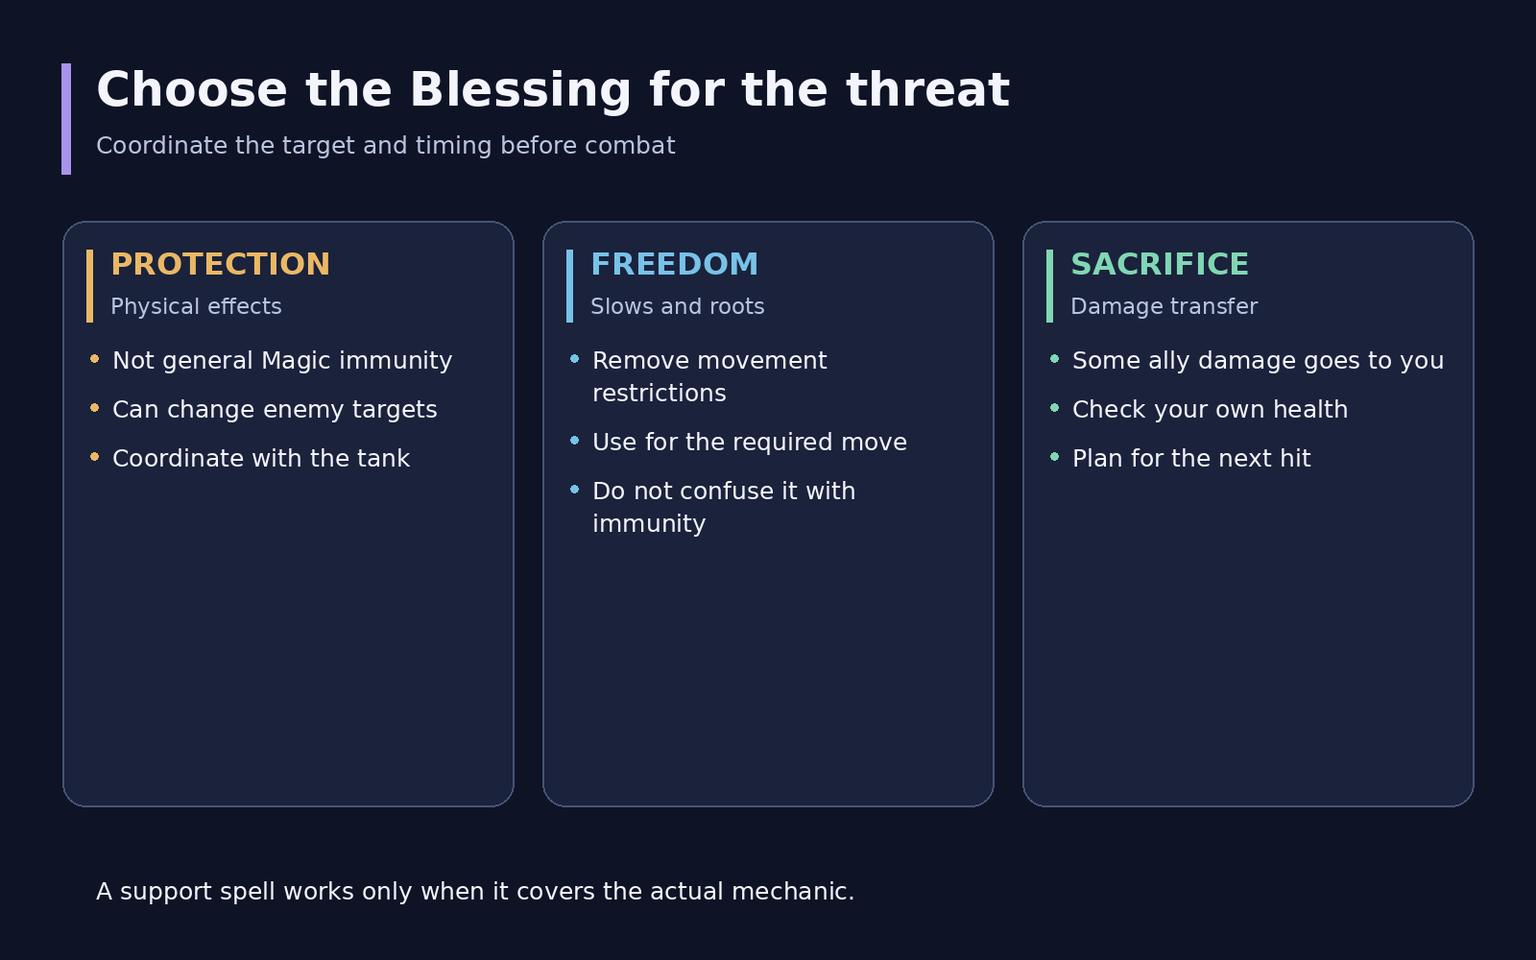
Choose a support tool according to the threat rather than the most prominent button. Blessing of Protection covers appropriate Physical effects; it is not general Magic protection. Using it on a tank without coordination can make enemies switch to another player.
Blessing of Freedom helps against slows and roots. Blessing of Sacrifice transfers some of an ally's damage to the Paladin, so account for your own health and the next hit. Agree targets and timing before combat, especially when several Paladins are present.
Coordinate interrupts: Rebuke should stop the intended spell rather than overlap with someone else's interrupt. Check the selected Aura and its purpose in your composition. Support works when it arrives in time; applying it after a dangerous mechanic has finished no longer solves the original problem.
Equipment and stats
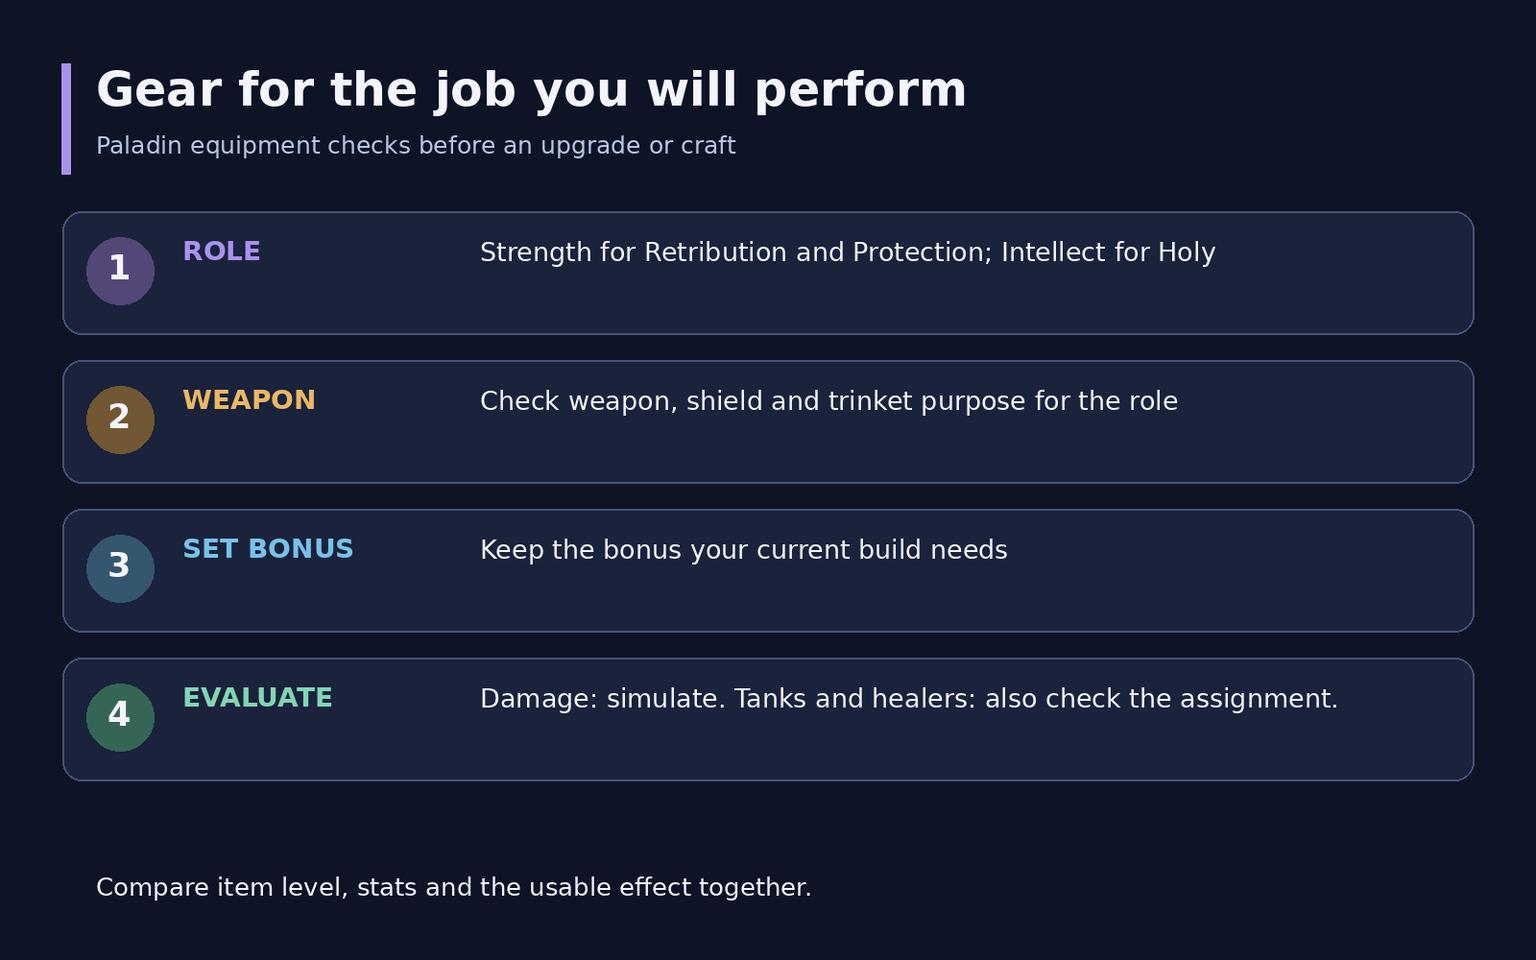
Retribution and Protection need Strength; Holy needs Intellect. Damage generally uses a two-handed weapon, while tanking uses a one-handed weapon and shield. When switching to healing, check the primary stat on the weapon and shield, as well as each trinket's purpose. Shared plate armor does not make all three equipment sets identical.
Mastery is often useful for Retribution, but Haste and Critical Strike also enter the comparison. Protection pays attention to Haste and the interaction between stats and defenses; Holy values Intellect and secondary stats appropriate to the healing assignment. A general stat order is not a set of exact weights for your character.
Evaluating an upgrade
Compare item level, set bonuses, stats and the effect's actual use. Damage players should simulate available choices for their own character. Tanks must also examine real incoming damage and mitigation consistency; healers need an evaluation suited to group composition and encounter events. A damage calculation does not solve all three jobs simultaneously.
Plan crafted items after checking weak slots and rewards already received. Select an embellishment for the role, and do not abandon an important set bonus for one item without comparison. A ring with useful stats remains equipment rather than a gem, even when it appears in the same list as socketed stones.
Consumables enchants and gems
These are PvE starting options on the check date. They do not replace assessing your character's stats and assignment.
Specialization | Flask | Combat or resource potion |
Retribution | Flask of the Magisters; alternatives after comparison | Potion of Recklessness; Light's Potential with an unsuitable stat distribution |
Protection | Flask of the Shattered Sun or Flask of the Blood Knights according to the goal | Light's Potential as a baseline |
Holy | Flask of the Magisters for healing; alternatives for another goal | Lightfused Mana Potion when Mana is needed; Potion of Recklessness for throughput |
For Retribution, check which stat Potion of Recklessness boosts and whether your equipment fits its conditions. Holy's stat and Mana potions share a cooldown, so do not plan both for the same moment. Keep Concentrated Silvermoon Health Potion separately for your own health recovery.
Thalassian Phoenix Oil temporarily enhances a weapon. For Lightsmith Holy, Rite of Sanctification takes its place, so oil is not automatically needed by every build. Bring appropriate food, such as Harandar Celebration for group content, and a separate drink to restore Mana between encounters.
Equipment enhancements
Enchant Weapon - Rite of the Hash'ey is a verified option for Retribution. Weapon recommendations differ for Protection and Holy; compare alternatives for the assignment rather than transferring one table to the entire class. Forest Hunter's Armor Kit serves the damage and tank roles, while Holy uses Arcanoweave Spellthread.
Gems adjust stat distribution. Indecipherable Eversong Diamond is one baseline Retribution option; Holy also considers Telluric Eversong Diamond with Mana in mind. Choose gems and enchants alongside the rest of your equipment. A more expensive purchase is not necessarily more useful than a budget alternative in your set.
Interface and macros
Keep Holy Power, major procs, personal defenses and support tools visible. A tank needs mitigation timers; a healer needs party health and Mana. Establish a readable base interface before adding necessary features.
For an English client, this protects a living friendly mouseover target, falling back to normal casting:
#showtooltip Blessing of Protection
/cast [@mouseover,help,nodead][] Blessing of Protection
Interrupt a living hostile focus, otherwise the normal target, provided the build has Rebuke:
#showtooltip Rebuke
/cast [@focus,harm,nodead][] Rebuke
Check targets and range in your client before combat. Macros accelerate targeting, but do not automatically identify a dangerous cast or execute the rotation with one press. Syntax and condition intent were checked here; testing in the game client is not claimed.
Leveling professions and PvP
On the way to level 90, Retribution is comfortable for solo quests through damage and self-support. Protection suits enemy groups and learning to tank dungeons. Holy is more naturally learned in a party. Speed depends on route, equipment and queue role, so the best questing choice is not necessarily the best dungeon approach.
As talents unlock, keep the core cycle functional and gradually add defense and control. At maximum level, revisit the build for raids or Mythic+. A leveling import code is not automatically ready for difficult group encounters.
Choose professions by purpose: Blacksmithing for armor and weapons, Alchemy for consumables, or Enchanting for enhancements. Crafting requires investment and is not always cheaper than buying. Assess budget and demand before selecting a profession solely for promised savings.
PvP requires separate talents, equipment and a control plan. Blessings and personal defenses remain useful, but their timing depends on opponents. Class flexibility does not imply that all three specializations are equally suitable for every arena or battleground.
Frequently asked questions
Can I change roles without replacing equipment?
Some plate pieces can be reused, but weapons, shields, trinkets, talents and stats need separate checks. Intellect is particularly important for Holy.
Should I always save Holy Power until the cap?
Pool for a specific next action while avoiding wasted generation. A full bar generally calls for useful spending, but tanks and healers also account for the next threat.
Which Hero Talent tree is always best?
There is no permanent universal answer. Compare current builds for your specialization, composition and encounter type, then learn the changed interactions.
Are Blessings enough to save the group?
No. They address particular threats and require the right target and timing. Positioning, interrupts and performing your main role remain essential.