WoW Midnight Prey Guide: Hunts, Difficulties and Rewards
Prey is an optional outdoor hunting activity in WoW Midnight. Choose a contract, complete relevant activities in its zone and reveal the target's location. The target also hunts you, so an ordinary fight can become an ambush before the final encounter is ready.
Keep three goals separate: progress within your current contract, the seasonal Preyhunter's Journey and weekly rewards. A completed crystal means that the target has been located. You still need to finish the encounter. A higher Journey rank opens features and purchases rather than guaranteeing another equipment chest from every repeated hunt.
This guide covers Midnight Season 2 and patch 12.1.5, with information checked on October 14, 2026. The season is already open. The current reference includes Journey catch-up and the requirement to use hunt-accelerating Souls between contracts. Start at a difficulty you can finish consistently, then increase it for the reward or challenge you actually want.
Unlock the activity and Season 2 features
At level 90, visit Astalor Bloodsworn in Silvermoon City. The Prey icon on the map identifies his location. Begin the introduction with Prey: Astalor's Initiative and follow it to the Hunt Table in his sanctum.
Read a contract before accepting it. The table displays the zone, difficulty, active Torments and rewards. Older advice about grinding Journey ranks to unlock every difficulty does not describe the current specialist guide: Hard and Nightmare become available after unlocking the activity at level 90. Check any remaining requirements for your character at the table.
Season 2 has another introduction. After gaining access to the Coiled Isle through its campaign, accept Prey: A Slithering Threat from Astalor. This chain introduces the island's additional activities and unlocks the refreshed seasonal Journey. Unlocking the basic Hunt Table does not complete every condition for those features.
On an alt, account for shared Warband unlocks but still check the character's level and available difficulties. Normal hunts can support leveling after the system has been unlocked. That does not make a Nightmare contract appropriate for an unprepared character.
Complete a contract
Choose a route and reveal the target
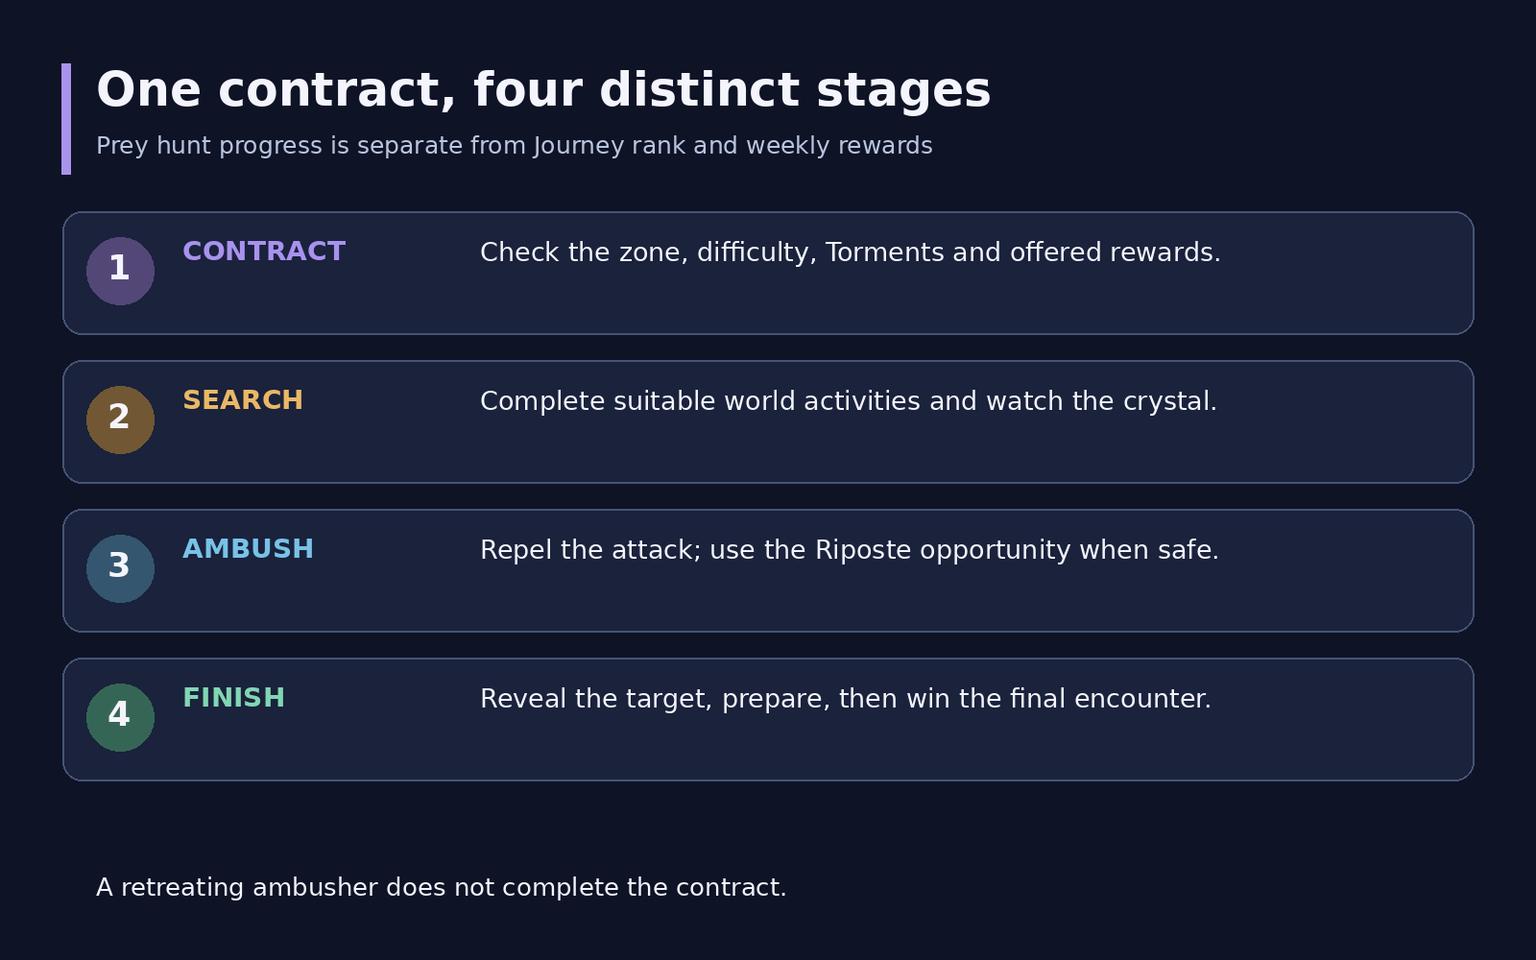
Accept a contract and travel to the specified zone. World Quests, treasures, rare enemies, disarmed traps and dedicated Prey activities can advance the hunt. Watch the minimap markers and the crystal's state in your interface.
Combine suitable nearby activities instead of crossing the zone for one isolated source of progress. Consider the fight already in front of you, however. Prey adds an ambush risk, so a difficult rare requires a plan that still works if the target arrives during combat.
Do not assume that every contract takes the same number of quests. The difficulty and activities affect the search. Once the crystal glows bright red and the target's location appears, move on to the final stage.
Survive an ambush
Your target can attack unexpectedly while you are fighting. Repel the ambush by reducing its health to 50% or using an appropriate Disarmed Trap. These traps can be obtained when disarming traps in the zone; receiving one is not guaranteed from every interaction.
After the target retreats, a Riposte opportunity can provide extra hunt progress. Follow the indicated trail when it is safe to do so. Chasing the extra action through several enemy groups can create a more dangerous situation than the ambush you just survived.
Keep a defensive option available for an unexpected attack. If an ordinary pull already consumes your entire toolkit, reduce the size of the next fight. At higher difficulty, death can set hunt progress back, so preparation also reduces the time spent rebuilding a failed attempt.
Finish the encounter
Travel to the revealed location and restore your health before interacting with the crystal that starts the fight. Check available cooldowns and a useful direction to move. During the encounter, respond to hazardous ground, target movement and the fight's own boundaries or restrictions.
Defeating the final target completes the contract and awards its applicable rewards. Review the completion summary and Journey progress before accepting another hunt. Making an ambushing target retreat is a useful step, but does not complete the contract by itself.
Difficulties and Season 2 Torments
Difficulty | Base hunt chest track | Corresponding Great Vault track |
Normal | Adventurer | Veteran |
Hard | Veteran | Champion |
Nightmare | Champion | Hero |
These are equipment tracks rather than a promise of a chest on every repeated completion. Soul rewards and the separate weekly Vault choice are explained below. Compare eligibility and reward type instead of relying on an old season's item-level table.
Normal offers a useful place to learn routes and ambushes, with other players able to help in the outdoor encounter. Hard and Nightmare add Torments and demand stronger defensive decisions. Prepare to handle a final Nightmare target independently. Ral'kala is a separate encounter designed around players working together.
Read the threats before committing
Torment increases the danger as the hunt develops. Read the current contract and effect tooltip for its conditions and stacking behavior. A prolonged Nightmare hunt can become considerably harder than the first fight you took in the zone.
Pack Ambush introduces additional attackers during combat. Preserve a control option when the existing enemies do not need every available button. Leave an escape route that does not run through another unbeaten pack.
Exploding Corpse Snakes turn defeated enemies into another source of danger. Move away from the indicated venom explosion area. A pile of defeated enemies does not necessarily mean that the ground around them is safe.
Toxic Snare requires attention to nets and the ground during combat. Continue moving during a barrage and avoid stepping back onto a trap already placed. If you spent a survival tool to escape, assess how you will respond to the next hazard.
A useful outdoor build combines sufficient damage with interrupts, defense and health recovery. A stationary damage test does not describe the entire hunt. Choose talents for the mechanics your class can solve, and identify what failed before changing specializations after one unsuccessful attempt.
Journey progression and catch-up
The refreshed Season 2 Journey has ten ranks, with 4,000 progress corresponding to one rank. View the track in Journeys in the Adventure Guide. The Hunt Table also displays the progress reward for a selected contract.
Patch 12.1.5 accelerates progression for players behind on ranks. The amount depends on your current Journey state. An old schedule assigning the same standard reward to everyone's first four hunts is no longer a complete reference.
Journey state | Catch-up progress | Condition to remember |
Below Rank 4 | 4,000 per hunt | Replaces standard progress without consuming the first four weekly progress awards |
Ranks 4-9 | 2,000 for each of the first four weekly hunts | This increase is tied to those four weekly awards |
Subsequent activity | Check the table's displayed reward | Do not assume the boosted amount continues without its condition |
When a completed hunt changes your rank, assess the next reward under the new conditions. Multiplying one starting amount across the entire week can give the wrong result. Check your Journey and contract again, especially when aiming for a specific feature unlock.
The standard Season 2 weekly hunt pool expands to 15. Available contracts, boosted Journey awards and equipment chests have different limits. Build the week's plan around the outcome you need rather than assuming that every available hunt provides an identical reward.
Souls and bonus equipment
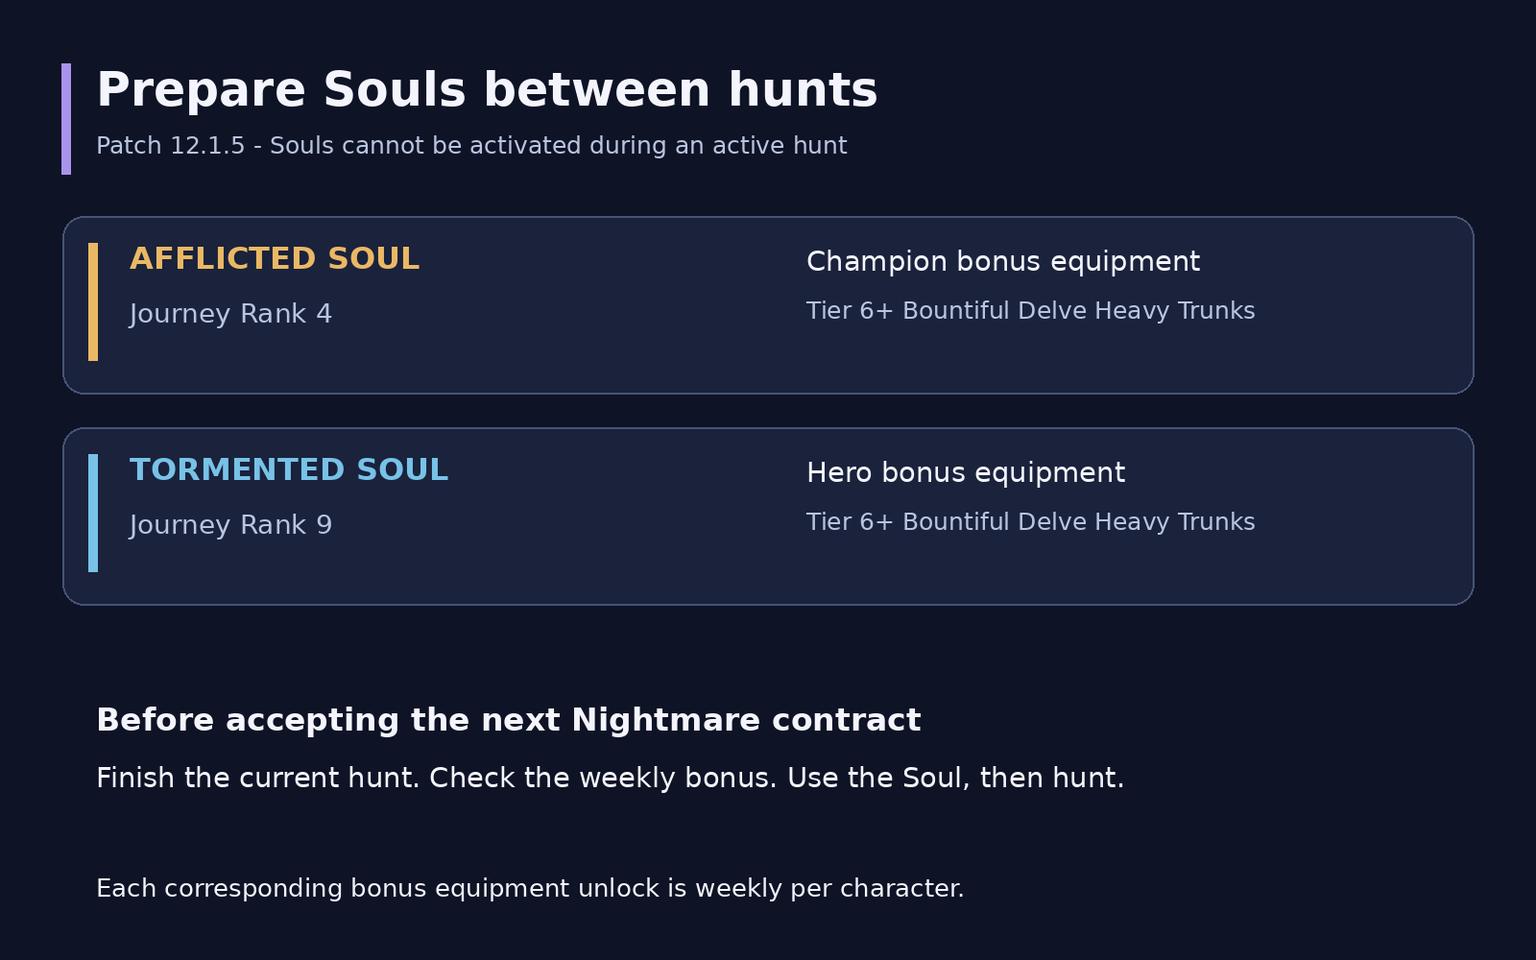
Season 2 links Prey to Bountiful Delves. Once the corresponding Journey feature is unlocked, special Souls can drop from Heavy Trunks in Tier 6 or higher Bountiful Delves. They reveal the target for your next Nightmare hunt and provide an additional equipment reward when that target is defeated.
Item | Journey unlock | Bonus equipment track |
Afflicted Soul | Rank 4 | Champion |
Tormented Soul | Rank 9 | Hero |
Use these items between hunts in patch 12.1.5. You cannot activate a Soul after a contract is already running. Finish your current hunt, check the item and weekly bonus entitlement, then prepare the next Nightmare target.
The bonus equipment associated with each corresponding unlock is available once per week per character. Several Souls do not mean several additional rewards of that type in the same week. Revealing the target also does not remove the need to defeat it.
Keep these items separate from Corrosive Souls, which serve the island's outdoor power system. The shared word in their names does not make all Souls interchangeable hunt accelerators.
The Coiled Isle and Ral'kala
Season 2 introduces four new Nightmare targets: Janoa the Fang, Kursak the Coiled, Kadani the Claw and Batani the Scaled. They expand the enemy pool rather than adding a fourth difficulty. Review the particular contract before engaging its target.
Curse of the Isle is a separate island feature. After its introduction, speak with the Image of Astalor to enable or disable it. You must not have an active regular hunt when enabling the curse. The mode keeps Nightmare Torments active during island activity and supports its additional resource loop.
Summon the separate encounter
Collect Ossified Relics through appropriate island activities and contribute them to a Haunted Brazier marked on the map. Summoning Ral'kala requires a combined total of 100 relics. Different players can contribute; one character does not have to supply the entire bar alone.
This is a cooperative encounter rather than a random replacement for your contracted target. Avoid combining it with an already dangerous active hunt unless you can handle both threats. An ambush during the extra boss fight may need a defensive you have just spent.
The encounter offers currencies and chances at collectibles. Hexflame Reaver and Pale Hexscale belong to Ral'kala's loot, with no guaranteed first-summon drop. Contributing to the brazier interacts with a Journey benefit, but a higher chance remains a chance rather than a guaranteed purchase.
Plan the rewards you want
Equipment and the Great Vault
The current specialist description awards base equipment chests from the first two hunts of each difficulty per week. After using those opportunities, do not count every repeated contract as another base chest. Check the selected reward card, completion summary and the week's previous completions.
Hunts contribute to the Great Vault's outdoor activity row. The Vault provides a separate weekly selection rather than handing out every displayed item after each kill. Review its current progress in game, particularly if you are also completing Delves.
After a hunt, a separate bonus loot roll is available for a Nebulous Voidcore. It consumes a resource and is not automatically included in the base chest. Consider the useful slot and reward track before spending it.
Collections and purchases
Construct V'anore and Construct Ali'a in Astalor's Sanctum sell rewards opened through Journey progress. Check the required rank, currency and any profession condition for a recipe. Unlocking an item on the track does not necessarily add it to your collection without a purchase.
Goal | Main condition | Where to check |
Afflicted Soul | Rank 4 and eligible Bountiful Delves | Journey and Heavy Trunks |
Preyhunter's Prismguard | Rank 8, then purchase | Construct V'anore |
Tormented Soul | Rank 9 and eligible Bountiful Delves | Journey and Heavy Trunks |
Preyhunter's Fury | Rank 10, then purchase | Construct V'anore |
Hexflame Reaver | Chance drop from Ral'kala | Separate encounter loot |
Housing decor also depends on Journey ranks and hunt achievements. Sturdy Silvermoon Crate Lid and Crimson Crystal Column are examples in the seasonal selection. Establish the acquisition method for a collectible before deciding how many repeated encounters to run.
Zero prices in an automatically generated database table do not establish that an item is free. Check the vendor's actual offer before buying. Choose Nightmare for a needed reward or a challenge you want to learn, rather than a promise that a rare drop must appear.
Build a manageable weekly routine
At the start of the week, choose a main objective: Journey rank, base equipment, a Soul's bonus reward or a collectible. Review available contracts and awards under the 12.1.5 catch-up conditions. For equipment, separately track which difficulty chests you have already received.
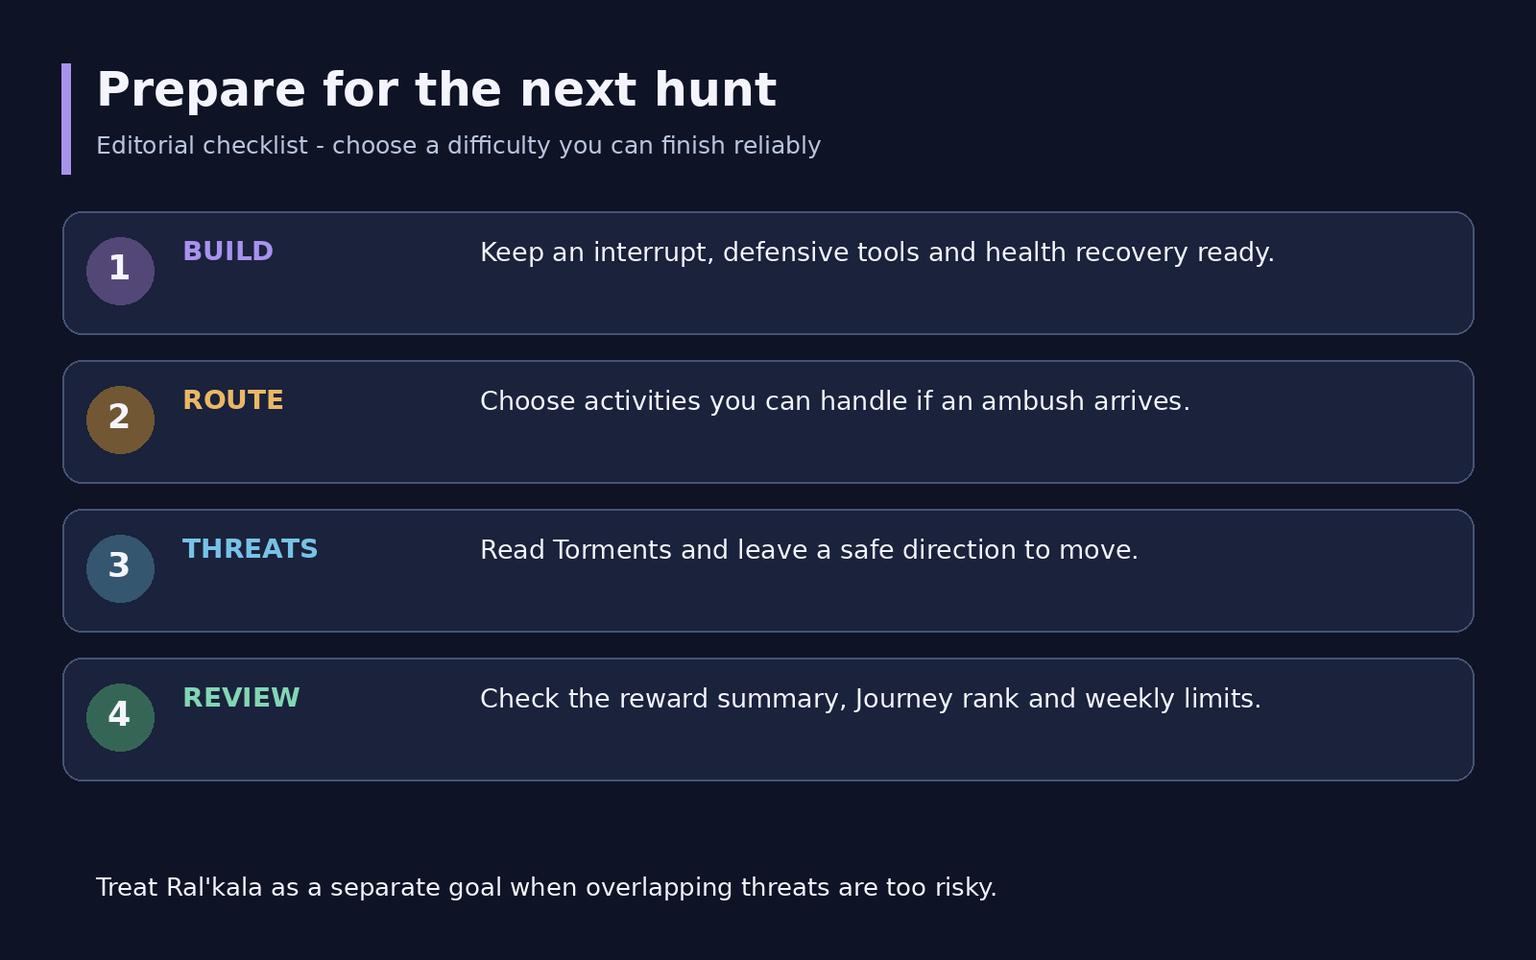
Before traveling, prepare an interrupt, defensive tools, health recovery and room to move. Select route activities that remain manageable if an ambush arrives. Apply a Soul before the new contract, and handle Ral'kala as a separate goal when overlapping threats would overwhelm the character.
After a hunt, inspect the reward summary and your rank. If attempts repeatedly end in death, address the recurring cause: a missed interrupt, an unresolved dangerous effect or a poor route. A lower difficulty you complete provides a better starting point than an unfinished contract with an attractive reward card.
Frequently asked questions
Is participation mandatory
No. Prey is optional outdoor content. Accept a hunt when you are ready for the added attacks and want its associated rewards.
Does every hunt require a Delve first
No. Ordinary contracts do not require a fresh Delve run. Eligible Bountiful Delves are a source of special Souls after the relevant Journey unlock.
Why can I not use a Soul during a contract
Patch 12.1.5 moves its use to the interval between hunts. Instructions telling you to activate it during an existing contract are outdated.
Does Ral'kala guarantee a mount
No. His mount is a possible encounter drop. Preyhunter's Fury has a different route: unlock it at Journey Rank 10 and buy it from the vendor.