WoW Midnight Tier Sets: Bonuses and How to Get Them
Season 2 class sets provide two bonus thresholds: two equipped pieces and four equipped pieces. Reaching the relevant threshold usually matters more to a gearing decision than simply filling every eligible slot with matching armor. Raid loot, the Great Vault and the Catalyst provide complementary routes to those pieces.
This overview was checked on October 14, 2026 for Midnight Season 2 in the context of patch 12.1.5. It covers all 13 set names, acquisition routes, Catalyst rules and examples of how bonuses affect play. It is a guide to collecting and using sets, not a promise of a fixed damage increase for every talent build.
Two pieces, four pieces and the fifth item
Five slots count toward the bonuses: head, shoulders, chest, hands and legs. Equipped pieces from the same seasonal set contribute together. Two activate the first bonus; four activate both. A third piece brings you closer to the second threshold without adding its own bonus. A fifth does not unlock another threshold.
The fifth item can still be useful through item level, stats or an available upgrade path. Compare the complete loadout. Once four pieces preserve both bonuses, the remaining slot can hold a suitable non-set item.
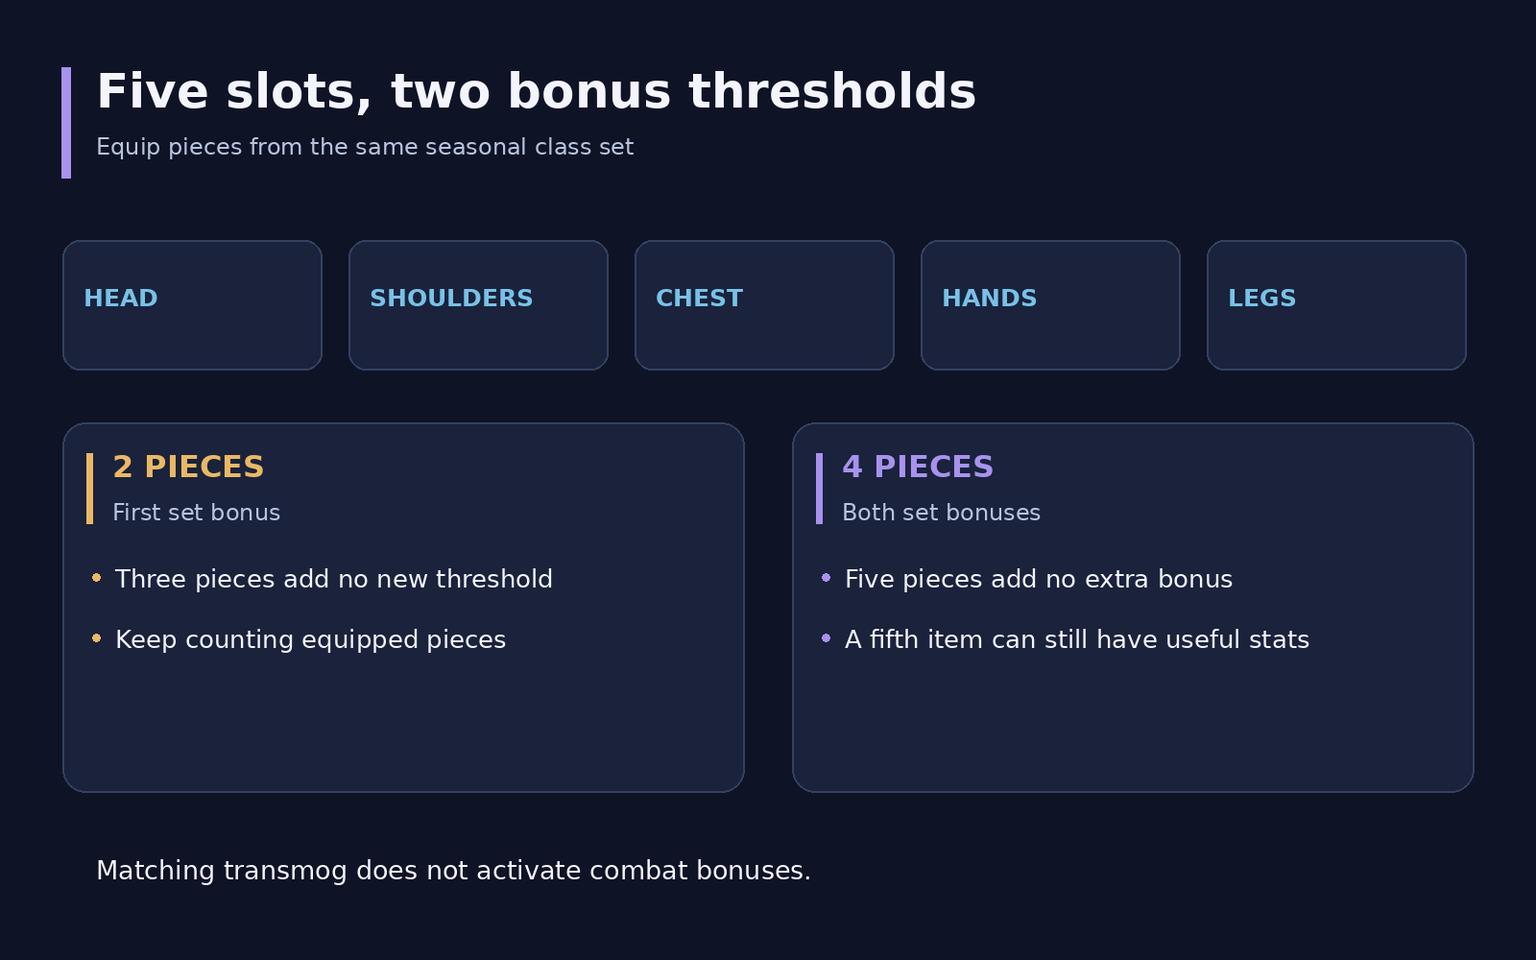
Do not combine different seasons into one set counter. Two Season 1 items and two Season 2 items do not create the new four-piece bonus. Whether temporarily combining separate bonuses is worthwhile depends on the specialization and actual items, not a universal rule that newer always wins.
All Season 2 class sets
The table concerns Season 2. Season 1 sets have different names and effects. Changing specialization changes the bonus available to that specialization, so read the description for the role you intend to play.
Class | Season 2 set |
Death Knight | Baleful Grave-Knight's Crucible |
Demon Hunter | Abyssal Doomhound's Pursuit |
Druid | Bark of the Enigmatic Dreamwatcher |
Evoker | Echo of Calamity |
Hunter | Skulking Viper's Ambush |
Mage | Primal Leywarden's Attire |
Monk | Guile of the Monkey King |
Paladin | Radiance of the Consecrated Flame |
Priest | Cosmic Penitent's Raiment |
Rogue | Chosen Bloodslayer's Hexweave |
Shaman | Ophidian Oracle's Prophecy |
Warlock | Damned Necrolyte's Shattered Restraints |
Warrior | Jade Warlord's Dominion |
Where to obtain set pieces
Raid tokens
The Venomous Abyss distributes tokens for the main slots across different bosses. This is raid loot that produces the appropriate class item, rather than profession crafting. Not every boss awards every token, so check the relevant loot table before planning a run.
Boss | Token slot |
Vashnik the Malignant | Chest |
Entombed Sentinels | Hands |
The Lost Explorers | Shoulders |
Sszorak | Legs |
The Twin Fangs | Head |
Token groups follow armor types: cloth for Mage, Priest and Warlock; leather for Demon Hunter, Druid, Monk and Rogue; mail for Evoker, Hunter and Shaman; plate for Death Knight, Paladin and Warrior. Check the classes shown on the item before treating a drop as usable.
The universal token
Ula'tek can drop Slumbering Coil Curio. Kirana, near the Catalyst in Silvermoon, exchanges it for a chosen class-set piece. The resulting item level depends on raid difficulty. This offers another way to fill a missing slot, but an item appearing in a loot table does not guarantee you will receive it in one run.
The Great Vault
The weekly reward can contain a set piece. Completing the corresponding activities expands the available choices without guaranteeing a particular slot. Before selecting a reward, compare it with the items already acquired that week and the pieces you could convert.
Item level alone does not answer every gearing question. Completing a four-piece bonus solves a different problem from taking an individual item with better stats. Damage dealers can compare real loadouts through character simulation; tanks and healers should also consider protection, usability and team assignments.
The Catalyst
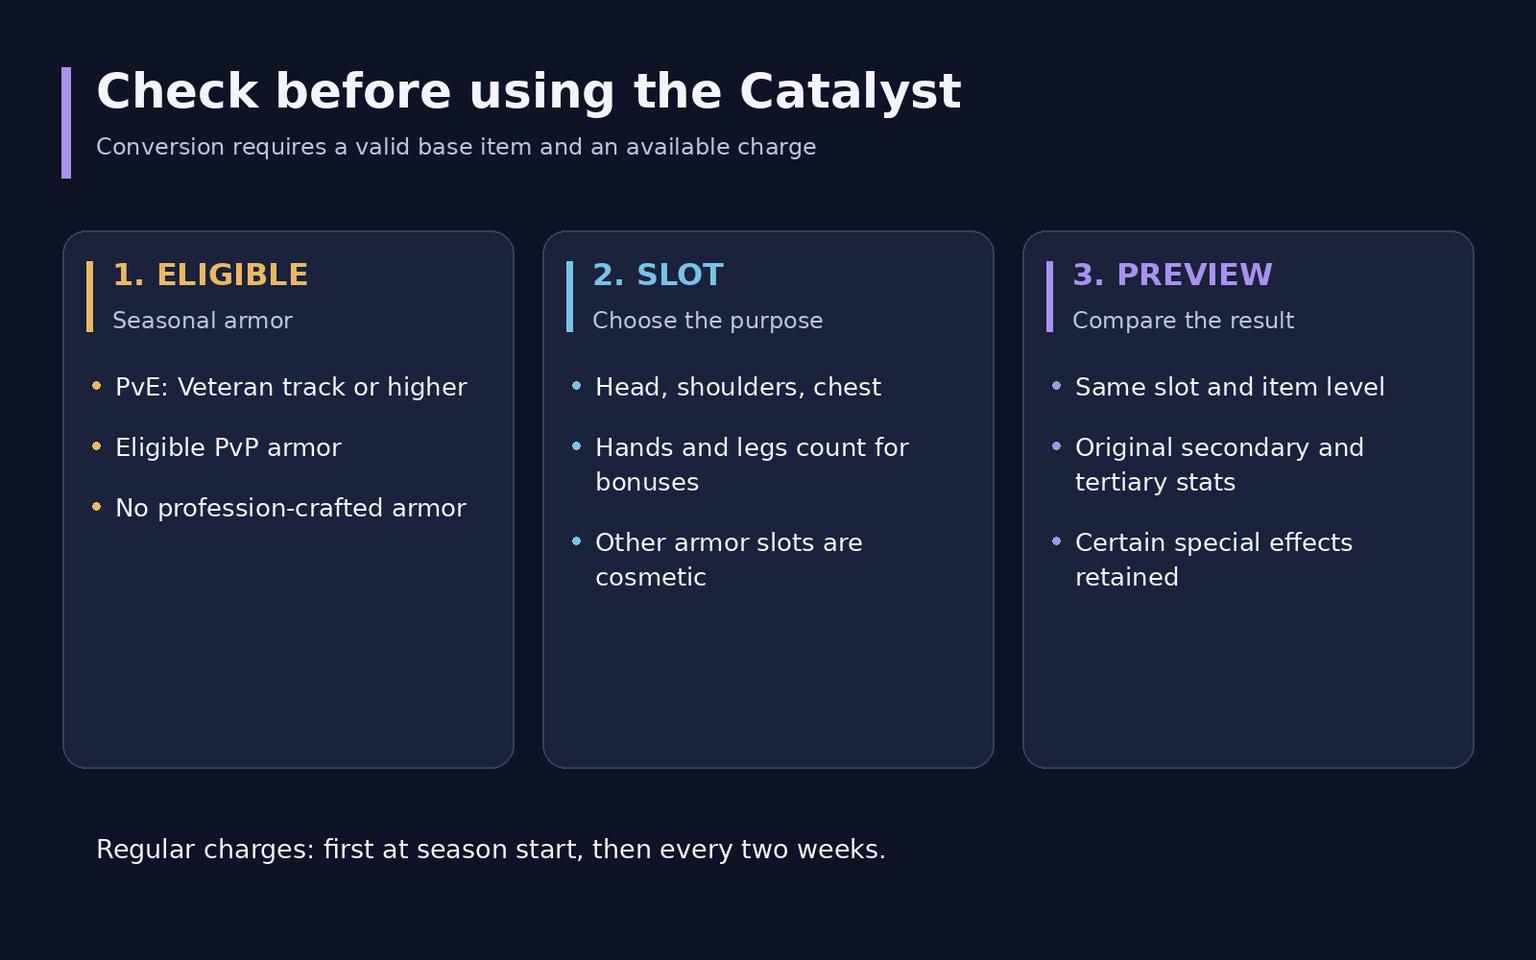
The Catalyst converts eligible seasonal armor into a class item for the same slot. It does not require raiding, but it also does not create armor from nothing. You need a valid base item, an available charge and a supported slot.
Season 2 Catalyst rules
Silvermoon has two Matrix Catalysts. The neutral one is near the Sanctum of Light, while the Horde one is in the Court of Blood. Guide coordinates are 40.6, 64.6 and 70.0, 83.3 respectively.
For PvE, eligible armor must be on the Veteran track or higher. Appropriate Honor, Conquest and War Mode PvP armor can also qualify. Profession-crafted armor cannot be converted. Check eligibility in the interface: purple item quality alone does not establish that an item is suitable.
Season 2 uses Venomblight Manaflux. The first regular charge becomes available at the start of the season, followed by another every two weeks. Do not plan around an outdated weekly-charge rule. Additional sources should be considered separately from automatic accrual.
Midnight Season 2: Serpent Scion awards an extra charge to a character for completing one of three conditions: 1,600 Rated PvP rating, 2,000 Mythic+ rating, or defeating Ula'tek on Heroic or Mythic difficulty. All three are not required for this reward.
Acquiring the four-piece bonus unlocks Midnight Season 2: Catalyst Unbound for that character. Charges can then drop from raid bosses, Mythic+, Bountiful Delves and Rated PvP for the remainder of the season. This does not promise a charge from every encounter or unlock the feature for every character on the account.
Conversion preserves item level. Since patch 12.1, the resulting armor also retains the original secondary and tertiary stats and certain special cantrip effects. It therefore does not have to adopt a raid counterpart's fixed stat combination. Compare the input and previewed output before confirming.
How bonuses affect different classes
The following specialization examples illustrate different interactions. They are not a complete numerical catalogue: another specialization of the same class has different effects. Check current item descriptions for exact coefficients. Older summaries contain conflicting values and effects that do not render fully, so those numbers are not repeated here.
Death Knight
Frost's two-piece connects damage from Remorseless Winter with a temporary buff. Four pieces make that ability deal damage more frequently and extend Freezing Tempest. Blood and Unholy have different chains; a bonus for one specialization should not be applied to the others.
Demon Hunter
Devourer's two-piece links harvesting Soul Fragments to an additional burst, while four pieces supplement it with resources and ability improvements. The reward involves an action sequence rather than just a universal damage percentage. The other two specializations have their own effects.
Druid
Restoration's two-piece allows Rejuvenation to trigger Genesis, improving healing over time. Four pieces expand its triggers and duration. This rewards preparation for damage rather than making every defensive ability an identical source of the buff.
Evoker
Preservation's two-piece sends an additional Living Flame toward a suitable target when Essence Burst is consumed. Four pieces improve green-spell healing and connect Verdant Embrace to gaining Essence Burst. Evaluate that sequence in the intended build instead of applying another Evoker specialization's bonus.
Hunter
Beast Mastery's two-piece adds a pet action after Barbed Shot, while four pieces connect Stomp to the next Cobra Shot. Track the interaction when using abilities rather than expecting identical passive improvement to every shot.
Mage
Arcane's two-piece adds a missile to Arcane Missiles and improves it. Four pieces let its waves empower the next suitable spell. Fire and Frost use other interactions, so reread both bonuses when changing specialization.
Monk
Mistweaver's two-piece improves Rising Sun Kick and Rushing Wind Kick healing. Four pieces can allow the next use of these abilities to bypass the usual cooldown and mana cost. An older description connecting the first bonus only to periodic healing should not replace this interaction.
Paladin
Holy's two-piece expands the benefits of Infusion of Light, while four pieces add ways to obtain it. The Holy Light interaction also increases that spell's mana cost. Consider the resource cost alongside the benefit: an additional trigger does not mean free healing.
Priest
Discipline's two-piece improves Penance and helps Mind Blast recover sooner. Four pieces improve the next appropriate shielding spell after Mind Blast. Action order matters, and this differs from the bonuses used by Holy and Shadow.
Rogue
Outlaw's two-piece improves Dispatch. Four pieces can make the next use free and deliver its maximum combo-point effect. Track the buff so the next finisher decision matches the character's actual state.
Shaman
Elemental's two-piece improves Earth Shock, Earthquake and Elemental Blast. Four pieces provide an additional sequence after Stormkeeper or Ascendance ends and remove the Maelstrom cost of a subsequent suitable spell. Plan for what happens after those effects finish.
Warlock
Demonology's two-piece improves Wild Imps and their explosion, while four pieces add an interaction when the imps run out of energy. The bonus follows a creature lifecycle rather than applying an identical increase to every spell.
Warrior
Arms' two-piece improves core attacks and adds nearby damage when using Slam. Four pieces connect other attacks to the next Slam. Track the setup instead of transferring the effect to every Warrior action.
Choosing an item to convert
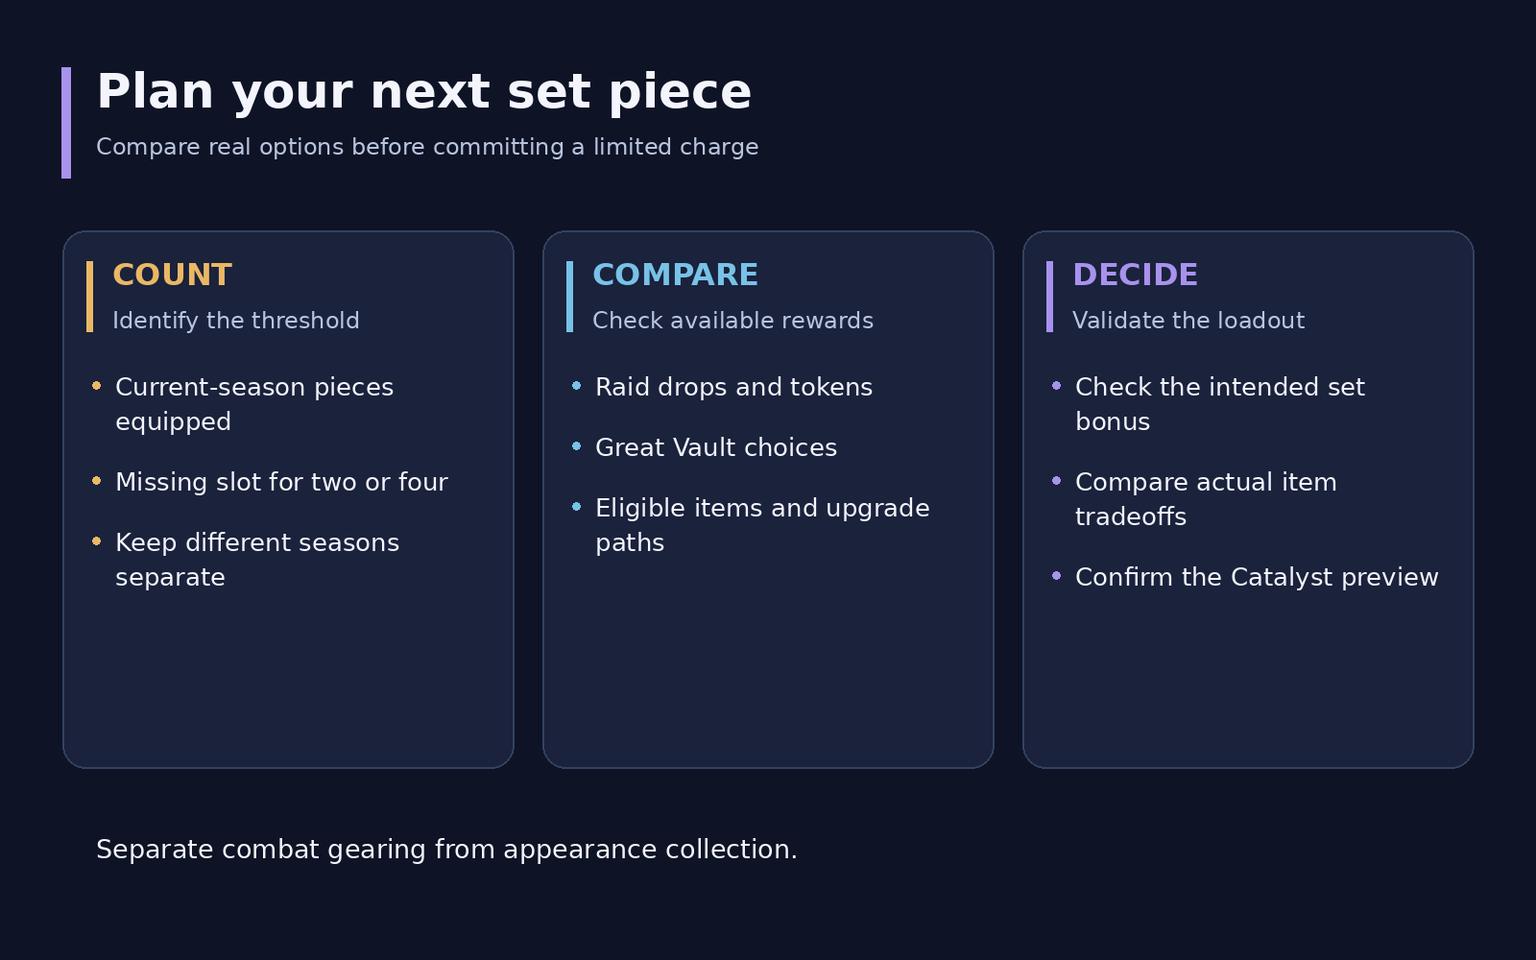
First count equipped pieces from the current season and identify the missing slot. Next compare available base items: item level, stats, upgrade path and the effect of replacing existing armor. Finally check that the resulting loadout actually reaches the intended threshold.
Do not delay a useful threshold indefinitely for perfect stats, but do not assume any item-level loss is justified either. Compare real alternatives for the current character. There is no universal percentage at which a set always defeats every higher-level item.
Selecting a Great Vault reward before spending a charge can help when that reward changes the missing slot. This is a way to avoid an unnecessary conversion, not a mandatory prohibition on using the Catalyst earlier. Decide around available rewards and upcoming group content.
Appearances and combat bonuses
The four raid appearances correspond to Raid Finder, Normal, Heroic and Mythic. PvP variants also exist. Transmogrification changes appearance without granting a two-piece or four-piece bonus by itself.
Bracers, belts, boots and cloaks can be converted for matching appearances but do not contribute to the five main bonus slots. Those conversions also cost a charge. If completing four pieces is the priority, distinguish a combat need from expanding the collection.
Additional visual effects are associated with Sssensational! Its conditions include defeating Ula'tek on Mythic, reaching 2,500 Mythic+ rating or earning Elite in Season 2 PvP. Insidious Venomstone unlocks the appearance effects. This is cosmetic, not a third combat bonus.
Frequently asked questions
Can I get a set without raiding?
Yes. Eligible seasonal armor can be converted at the Catalyst. An available charge and a valid base item are required.
Does the fifth item add another bonus?
No. The thresholds are two and four pieces. A fifth can be useful as an item without adding a five-piece bonus.
Can I convert profession-crafted armor?
No. Do not plan to turn a profession-crafted item into seasonal tier armor through the Catalyst.
Are stats preserved after conversion?
Since 12.1, original secondary and tertiary stats and certain special effects are retained. Check the preview before confirming the transformation.