Dota 2 Tier List: 15 Heroes for All Five Positions in 7.41f
A useful Dota 2 hero choice begins with a job: who receives safe farm, who starts fights, how the team holds a target and what happens after a won engagement. Even a strong character cannot answer every question at once. A tier list narrows the choice after you understand your position.
This shortlist covers 15 heroes for all five positions in patch 7.41f, checked on October 15, 2026. Tiers express an editorial assessment of a practical compact pool for ordinary lower- and middle-level ranked matches: a clear plan, useful team contribution and execution demands. This is neither a current win-rate table nor a ranking of the entire roster.
The assessments do not transfer directly to professional drafting or guarantee MMR gains. Familiarity, opponents and allied composition matter. Also account for the version changes: patch 7.41 removed Facets, so an old recommendation to choose a particular Facet no longer describes current match preparation.
Tier list across five positions
S means a recommended foundation for a clear positional plan. A means a strong alternative with additional timing or cooperation requirements. B means a more demanding choice for deliberate practice. The letter describes how comfortably we can recommend the hero under these conditions, rather than the character's maximum strength.
Position | S | A | B |
|---|---|---|---|
1: carry | Wraith King | Juggernaut | Anti-Mage |
2: mid | Dragon Knight | Zeus | Puck |
3: offlane | Centaur Warrunner | Axe | Tidehunter |
4: support | Lion | Tusk | Rubick |
5: hard support | Jakiro | Crystal Maiden | Oracle |
Missing heroes do not automatically receive a low tier. The goal is to offer three different directions for each position, rather than force you away from a practiced character after every patch. Roles indicate recommended use within this article, rather than prohibit other ways of playing.
Carry: turn farm into useful pressure
S: Wraith King
He takes the first recommendation because of his readable combination of control and frontline participation. Wraithfire Blast helps hold a target, while an available Reincarnation allows a return after death. That makes the plan easy to follow: obtain the necessary resources, enter with the team and maintain pressure.
An extra life does not justify attacking alone. If allies are too far away, opponents can survive the first phase and prepare for the second. Check Reincarnation's availability and the team's route before making yourself the initial target.
A: Juggernaut
Juggernaut provides several useful tools: Blade Fury for close pressure, Healing Ward for group recovery and Omnislash for an attacking window. His value increases when you can control the ward independently and choose the ultimate's timing in advance.
The limitation is application quality. Poor Healing Ward placement gives away an important resource, while an unsuitable Omnislash target reduces the attack's impact. Practice these actions before attempting to compensate for execution mistakes solely through expensive purchases.
B: Anti-Mage
Blink and mana pressure provide an independent movement and targeting plan. That plan requires understanding where resources can be obtained safely and when allies need you. We reserve Anti-Mage for deliberate practice, especially if you can already track visible opponents and lane access.
The main mistake is explaining every lost area of the map as a need for slightly more farm. Each movement should account for buildings and the team's opportunities. Mobility helps you choose a risk, rather than removing it.
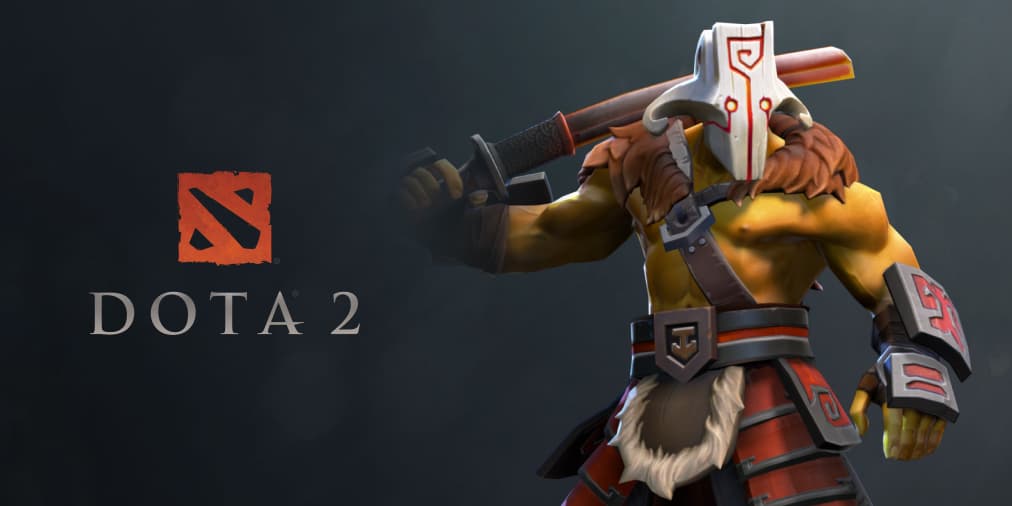
Juggernaut is a carry option in the shortlist: practice Healing Ward control and Omnislash timing separately.
Mid: lane stability and map influence
S: Dragon Knight
Dragon Blood supports durability, Dragon Tail provides a stun, and Elder Dragon Form grants a ranged attack with additional properties. That creates a clear foundation for someone seeking a deliberate transition from laning to group pressure. The plan does not require winning every duel purely through combo speed.
Use the availability of dragon form as a reason to agree on the next objective with allies. Simply continuing the habitual farming route leaves some opportunities unused. Nevertheless, the transformation alone does not make every trip into enemy territory safe.
A: Zeus
Zeus fits a team that needs magical damage and participation from range. His kit includes Arc Lightning, Lightning Bolt and the global Thundergod's Wrath. We place him in A because useful application depends on preserving position and choosing the moment.
Avoid being the first player into an unknown area merely to cast one additional spell. Let vision and allied control create the conditions. An opponent reaching Zeus before the proper engagement changes the entire picture of his damage contribution.
B: Puck
Illusory Orb with its teleport, Waning Rift and Phase Shift offer many entry and exit decisions; Dream Coil restricts enemy movement. This flexibility requires preparation. Retaining an exit and knowing enemy disables matters more than merely possessing several movement buttons.
Choose Puck to learn that rhythm and the combinations. A high potential ceiling does not compensate for a poor exit in your first ranked match on an unfamiliar hero.
Offlane: give your team a fight opener
S: Centaur Warrunner
Hoof Stomp supplies a nearby stun, while Stampede helps allies reposition for an attack or retreat. That straightforward team plan earns Centaur S here. Before acting, communicate the intended target and check whether teammates are ready to continue.
The ability to accelerate the group does not mean it must only be used forward. Preserving important allies after a failed engagement can be more valuable than another attempt to catch a retreating target.
A: Axe
Berserker's Call forces nearby enemies to attack Axe while granting him armor; Counter Helix punishes contact. The plan is easy to understand when the team can damage the caught targets. However, access and engagement timing must be selected carefully.
Do not judge success purely by the number of heroes caught. Controlling one important target can be more useful than a visually impressive initiation into several enemies with no allied follow-up. That execution requirement keeps him in A under these criteria.
B: Tidehunter
Ravage provides an area stun around the hero, while Anchor Smash helps weaken nearby opponents' attacks. This is a powerful teamfight toolkit, but we place Tidehunter lower in a compact learning pool because handling the key ultimate is so important.
Do not wait for five perfect targets while the team loses the engagement. Equally, avoid using Ravage where allies cannot exploit its control. After spending it, deliberately change the plan until the ability becomes available again.
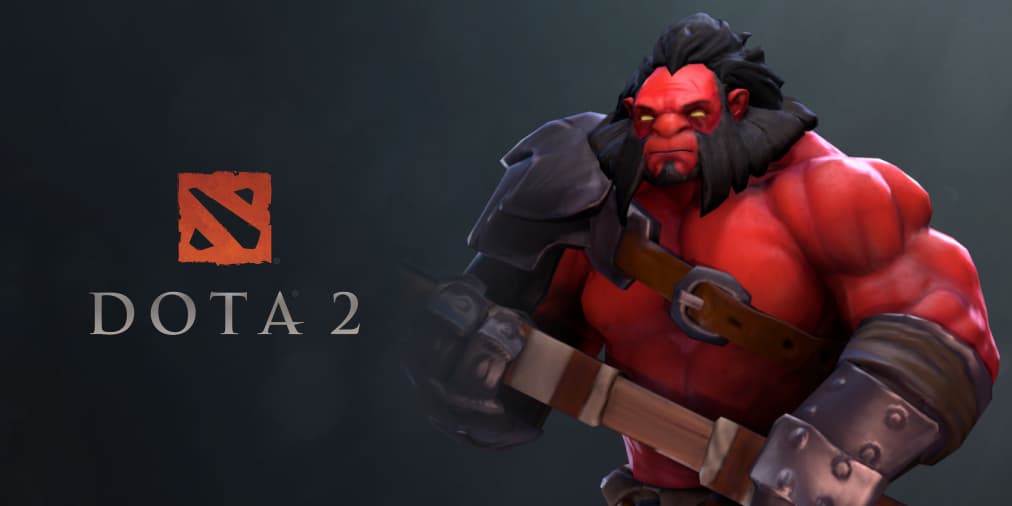
For Axe, catching targets matters alongside allies being ready to follow the initiation.
Position four: control and rotations
Lion - S. Earth Spike and Hex provide an understandable control sequence. Contributing does not require waiting for an exceptional stolen spell or complicated terrain setup. Choose a target, preserve distance from threats and give the team time to follow up. Having a stun is not a reason to personally check every dark entrance.
Tusk - A. Ice Shards changes available movement routes, while Snowball enables a shared action with allies. These tools support active rotations, but poor direction can spoil an engagement. Before pressing the button, assess whom you are taking along and what waits at the destination. An ally's presence alone does not establish readiness to commit.
Rubick - B. Spell Steal provides access to an enemy hero's last cast spell; Telekinesis supplies an independent control tool. Reliable value requires reading the enemy's action order and knowing what you intend to do with the stolen spell. Avoid postponing your entire contribution for a rare spectacular ultimate: available ordinary control may decide the present fight.
Position five: lane assistance and safe casting
Jakiro - S. Dual Breath combines slowing and damage over time, Ice Path controls a route, and Macropyre covers an area with fire. The kit provides clear laning and group-fight tasks. Aim where an opponent must pass or remain, rather than only at their present location. After a successful exchange, help turn space into a useful result.
Crystal Maiden - A. Crystal Nova slows an area, Frostbite holds an individual target, and Arcane Aura supports mana availability. The hero rewards careful distance and timely help. Avoid making Freezing Field your only fight plan: a good position for the entire channel does not always appear, while the team already needs your basic spells.
Oracle - B. False Promise delays incoming damage and healing until the effect ends, creating a save window. His other spells require understanding the sequence and purpose of application. Oracle particularly suits learning attentive fight reading, but tolerates random inputs poorly. Plan whom to save and how to support them afterward; casting the ultimate does not itself establish that the ally survived.
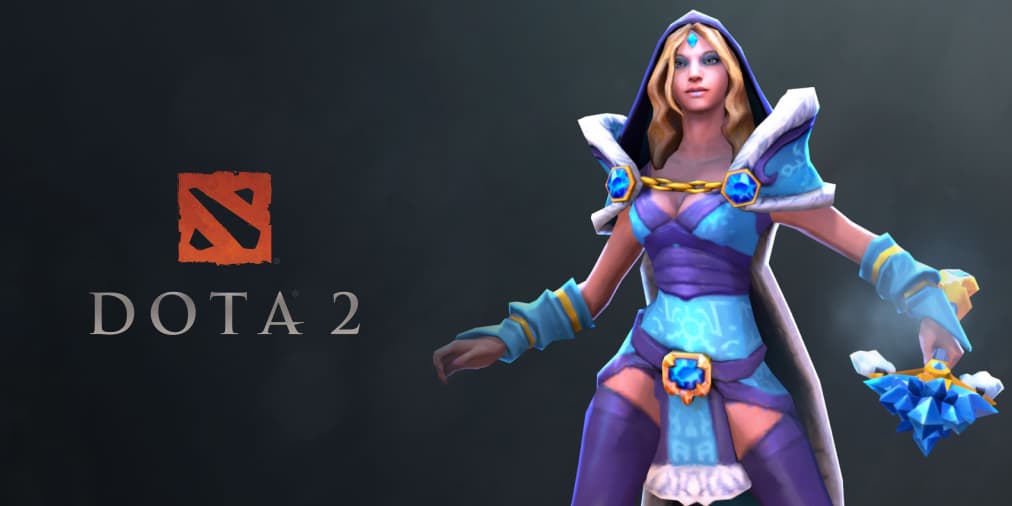
Crystal Maiden is a position-five option: useful contribution starts with laning and safely applying spells.
Apply the shortlist to a draft
Confirm your position and start with a familiar foundation.
Check whether the team can initiate, extend control and work on objectives.
Choose an alternative to supply one specific missing action.
Check the hero's current abilities before playing, rather than following old Facet routes.
Afterward, review your first useful action following the lane and how the team used a won fight.
FAQ
Is this a complete tier list of every hero?
No. It covers 15 selected options, three per position, with editorial assessments of suitability for a compact ranked pool.
Can I gain MMR just by choosing S-tier?
No. Laning, map decisions, purchases and cooperation continue to determine the outcome.
Why are Puck and Oracle in B?
Because of learning and reliable application demands under the stated conditions. This does not imply a low ceiling for either hero.
Do I choose a Facet in 7.41f?
No. The base 7.41 update removed Facets. Advice on choosing them belongs to earlier versions.