Best FC 27 Formations: Choose Tactics for Your Squad
The best FC 27 formation gives your players understandable jobs and keeps the team connected after possession changes. A shape does not create an available teammate or choose when to tackle by itself. It establishes the conditions in which you make those decisions.
For a new squad, choose a stable base and one alternative. Changing the formation, defensive line and every role together produces a different picture without revealing which adjustment helped. Start with a problem you can repeatedly identify in matches.
The following is an editorial comparison of four practical FC 27 options, not a statistical meta ranking. Suitability depends on the squad, mode and your defensive ability. Evaluate each shape in play and treat professional recommendations as a starting point rather than a result guarantee.
Understand the shape before assigning roles
Formation numbers describe lines rather than every movement. The same shape can develop differently in possession: one wide player comes inside, another holds width, one midfielder supports the ball and another provides cover. Establish those responsibilities before choosing exact roles.
Manual defending matters particularly in FC 27 Competitive gameplay. Ask which player meets an attack and who remains behind the ball. An exciting attacking shape becomes difficult to use if every turnover immediately exposes your centre-backs.
Shape | Main idea | Consider it when | Main risk |
|---|---|---|---|
4-4-2 | Two forwards and clear lines | You need straightforward connections and a second forward target | Two central midfielders can be overloaded |
4-4-1-1 | A connector behind one striker | You need access between the lines | The connector is screened out of the attack |
4-3-1-2 | Central combinations and a forward pair | Your midfielders suit close combinations | Natural width is limited |
4-2-1-3 | A front three with two deeper midfielders | You want wide options and transition cover | The attacking group becomes disconnected |

Read the defender and your next attacking option before taking an action on the ball.
4-4-2: a clear base for a new team
Two lines of four and a forward pair make responsibilities easy to identify. The second striker provides another passing target, while wide midfielders can stretch the opposition. The forwards should not repeatedly make the same run at the same time.
Try separating their jobs: one threatens space behind the defence while the other offers a closer option. These are behavioural goals, not a compulsory identical set of menu roles for every card. Observe the distance between the forwards and whether midfield can support the combination.
The common defensive problem is sending both central midfielders toward the ball. This opens a route in front of the back line. Begin by preserving central cover with one midfielder. If possession remains difficult, review support from the flanks rather than increasing pressure across the entire team.
The shape is also a useful alternative when you need another player to finish chances. However, adding a forward does not solve delivery. If the opponent has blocked your build-up, rearranging the front line alone will not remove that original problem.
4-4-1-1: connect through a player between the lines
This shape provides a receiver behind the striker. That player can connect midfield with the attack and reduce the need for the striker to drop deep every time. The value comes from being available for a pass, not from the position's label.
Watch the central channel. If your connector is hidden behind an opposing midfielder, move the ball wide to change the passing angle. Do not force the same blocked pass repeatedly. Width can be used to reopen access to the centre.
After losing possession, the supporting attacker's position can obstruct the opponent's first pass and help midfield recover. If the team is already stretched, rebuild the structure rather than demanding an immediate tackle at any cost.
Choose a player comfortable receiving under pressure and moving the combination forward. If you use the connector solely as another runner beyond the defence, you may lose the relationship that made the 4-4-1-1 useful in the first place.
4-3-1-2: build central triangles
Three central midfielders, an attacking connector and two forwards create several short connections. The shape suits a player who can release the ball before contact and change the target when the nearest lane closes.
Width is the key question. If everyone moves into the same central area, numbers become congestion. Decide who stretches the opponent and who protects the space that player leaves. Fullback support requires a deliberate balance, particularly when attacks develop on both sides.
Do not select a narrow shape merely to include another highly rated central player. If nearly all your attacks use the touchline and you do not want to change those habits, a formation with natural wide players may feel more comfortable.
4-2-1-3: width with a deeper pair
A front three can occupy wide areas while two midfielders begin deeper. The working idea is to avoid sending every attacker into the box together. One available player should help progression while another threatens the next phase of the attack.
Check the distance between the deeper pair and the attacking midfielder. If the front group is isolated, repeated long passes can reinforce the separation. Offer an intermediate connection or recycle possession to change the direction of play.
Do not assume the midfield pair automatically provides cover after a turnover. That protection disappears when both players have already advanced. Decide who stays closer to the centre and when a fullback can join without leaving an unacceptable risk.
Adjust defensive height and roles for a reason
Replace the search for a magic number with a question: are you unable to engage the opponent, or are you leaving too much space behind? A higher line can shorten distances ahead of the defence but requires you to protect depth. A lower line brings a different risk by allowing longer possession near your box.
Professional 4-4-1-1 and 4-3-1-2 setups use different responsibilities. Their existence does not establish that the same roles suit your team. Choose according to the card and the movement you need. Decide what should happen on the pitch before looking for a setting to produce it.
Prepare one alternative with a clear purpose: add finishing presence or preserve structure. Check the player assignments when switching. The decisive part of a match is a poor time to discover that footballers occupy unexpected positions.
Two starting profiles to test
For 4-4-1-1, try Short Passing with CAM - Playmaker / Balanced and ST - Advanced Forward / Attack. For 4-3-1-2, begin with Balanced, one CM - Holding / Defend and another - Box-to-Box / Balanced. These establish selected connections rather than prescribe identical responsibilities for the whole squad.
If you switch defenders confidently, test a high line with a custom value of 61-65. Watch balls over the top and your centre-backs' recovery speed. Reduce the height when opponents repeatedly get behind, then compare. Save the original setup before adjusting it.
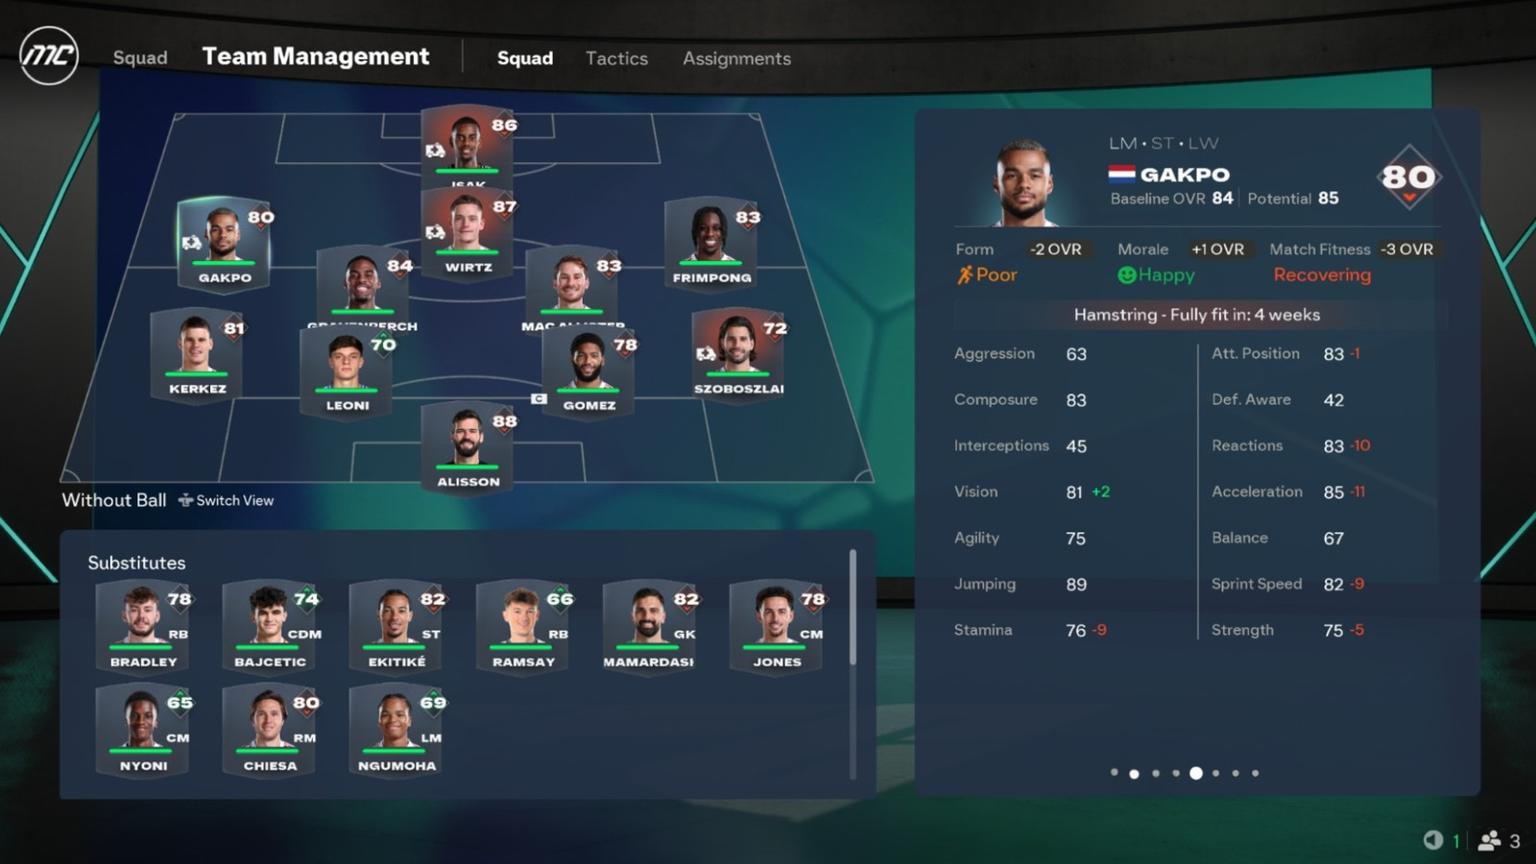
A Career Team Management example presents the lineup alongside the selected player’s condition.
Test the option you select
Play several comparable matches with the same base.
Record a recurring problem more precisely than saying everything is wrong.
Change one setting or responsibility.
Check whether the problem improves and whether another appears.
Keep an alternative only when you can explain its purpose.
FAQ
Which formation should a beginner start with?
4-4-2 is a clear starting point with two forwards and distinct lines. A squad that naturally fits another structure does not need rebuilding purely to match those numbers.
Should I copy professional tactics?
Use them as a testable idea. A professional may use different players, decide more quickly and defend spaces you currently find difficult to manage.
Are five defenders always safer?
Defender numbers alone do not determine defensive quality. Distances, midfield support and decisions after losing the ball matter as well.
Why does a good formation fail to create chances?
Check passing availability, spacing and movement. When everyone runs forward or gathers in one zone, responsibilities and pass selection may be the problem rather than the shape.