FC 27 Chemistry Styles: Choose Upgrades for Your Players
Choose Chemistry Styles in FC 27 around a job you want a player to perform. A useful consumable addresses a weakness in a familiar situation: tracking a runner, escaping pressure or finishing an attack. Buying the most expensive style does not automatically solve any of those problems.
Start with the item, its position and the squad in which it plays. The same footballer used wide and centrally may need different priorities. Chemistry Styles, squad chemistry, PlayStyles and tactical roles belong to different parts of team building, so evaluate them separately.
This guide takes you from identifying a gameplay problem to checking the result: decide which attributes matter, compare available options and judge whether spending Coins is worthwhile. Use the changes shown for your item in its current squad as your reference instead of a universal best-style table.
Chemistry Styles, chemistry and PlayStyles
Separate three questions. A Chemistry Style concerns the consumable selected for a player item. Chemistry concerns the environment in which that item plays. A PlayStyle is a separate player characteristic. Do not buy a style expecting it to provide a missing PlayStyle or replace a more suitable item.
FC 27 includes consumable options in the item actions menu. Open the player from your squad, find the consumable action and compare options before confirming. Labels can vary with the interface language. Recording the existing style first gives you a useful baseline and a reason for the change.
Do not carry a conclusion automatically between a standard, special or upgraded version of the same player. Check which item you are evaluating. Different starting attributes and player features can change which priorities make sense, even when the name on the card is identical.
The Jude Bellingham item-actions example shows Apply Recommended Consumable with Maestro named beneath it. That gives you a concrete starting point to inspect, but an interface recommendation does not explain why the style fits your role. Open the consumable option and compare it with the item attributes. If your goal is the first pass after winning possession, inspect the relevant receiving and distribution attributes instead of relying on the word Recommended. Repeat the comparison for a different player or item version.
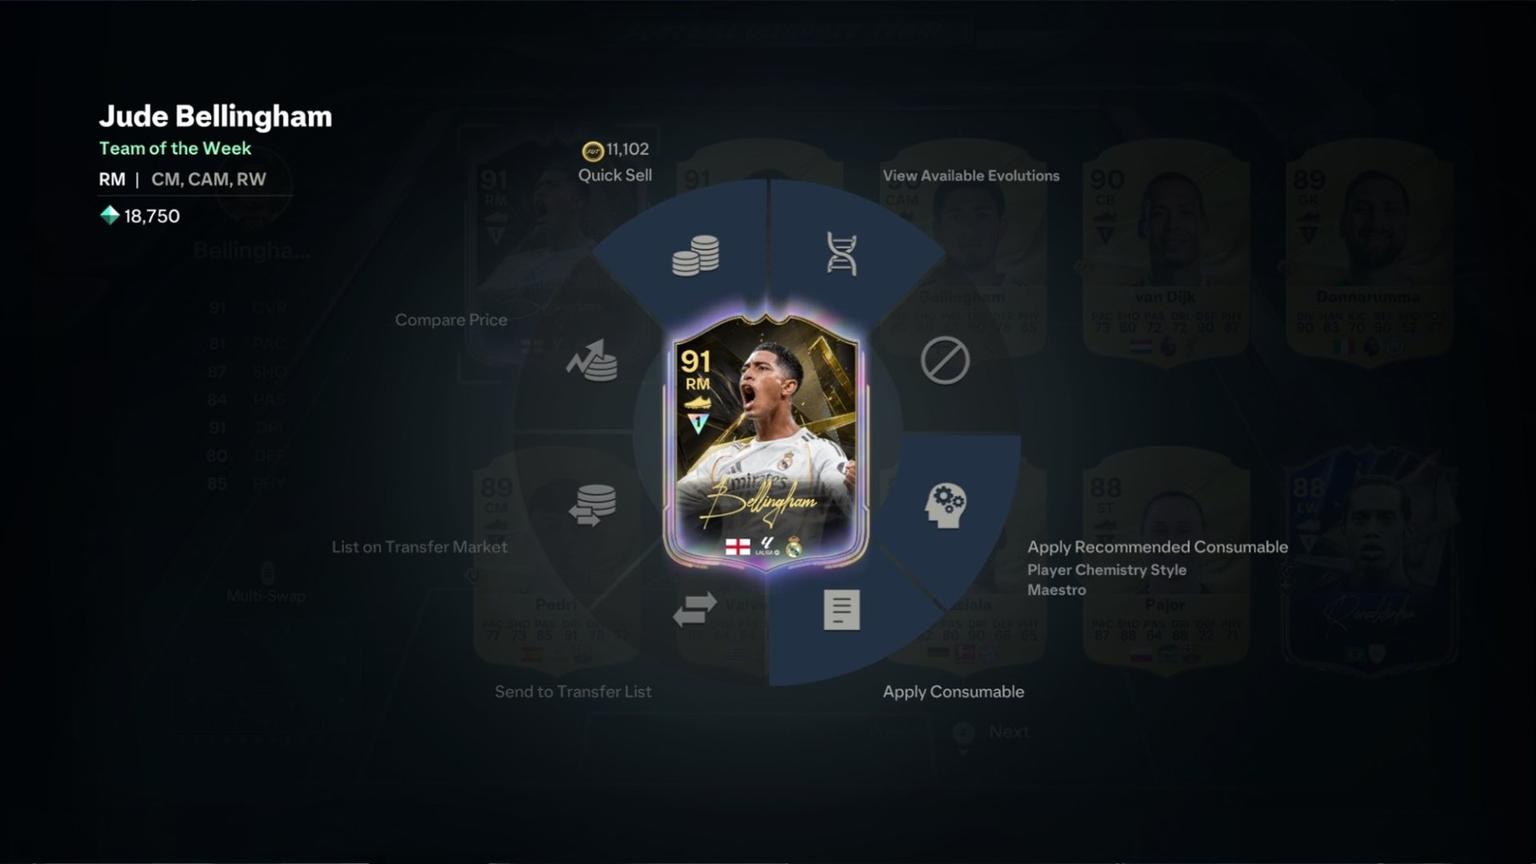
Item actions include consumable application and a Maestro recommendation. Compare its usefulness for your own item before applying.
Named styles to compare for your role
The style selects the areas receiving boosts, while the player’s chemistry determines how much applies. At zero chemistry there is no style boost; at three the effect is maximal. Fix the squad and a suitable position before choosing the consumable. Applying a new style replaces the previous one rather than stacking both. Goalkeeper and outfield styles apply to different player types.
Style | Boost areas | When to consider it |
|---|---|---|
Hunter | Pace and Shooting | Improve running support and finishing together |
Shadow | Pace and Defending | Address recovery and defensive actions |
Anchor | Pace, Defending and Physicality | Choose a more distributed defensive profile |
Sentinel | Defending and Physicality | Pace is sufficient; defending and physical contests matter more |
Engine | Pace, Passing and Dribbling | Support carrying the ball and progressing with passes |
Powerhouse | Passing and Defending | The holding player primarily wins and distributes possession |
Maestro | Shooting, Passing and Dribbling | The creator also finishes; pace is not the main gap |
Deadeye | Shooting and Passing | Prioritise the final pass and finishing over added pace |
Glove | Diving, Handling and Positioning | A goalkeeper option, not an outfield consumable |
This is a practical shortlist rather than a ranking or complete attribute matrix. A category name does not mean every underlying attribute gains the same amount: inspect the detailed attributes and the result for your own item. Compare Shadow with Sentinel according to the need for pace; compare Engine with Powerhouse according to whether carrying or defending matters more. Price alone does not settle the choice.
Identify the action you want to improve
“He plays badly” is too vague to guide a purchase. Replace it with a repeatable situation. Does a centre-back lose the first steps after turning? Does your holding midfielder lose possession when receiving under pressure? Does the striker reach shooting positions that leave the ball on an uncomfortable foot? In that last case, changing your attacking direction may help more than a consumable.
Role | First priority to inspect | Practical test |
|---|---|---|
Centre-back | Recovery speed and defensive attributes | Track a run without pulling the entire line forward |
Full-back | Recovery, passing and defending in position | Complete an attacking overlap and return |
Holding midfielder | Receiving, short distribution and defending | Escape a press through a nearby teammate |
Creator | Ball control and relevant passing angles | Turn and find a teammate between the lines |
Finisher | Shooting from your usual positions | Finish after the same type of first touch |
This is an editorial framework for choosing priorities, rather than a promise of particular bonuses from a named consumable. Compare it with the detailed attributes on your own item. Similar headline numbers can hide different suitability for the actions you actually attempt.
Compare options before spending
Pick two candidates available through your menu or the market and compare the attributes that matter. Consider the entire trade-off. Improving one useful area may be less valuable if it means giving up another priority. The number of highlighted increases alone is a poor basis for the decision.
For example, you use a central midfielder to play the first pass after winning possession. If most turnovers happen while turning, focusing only on long passing misses the problem. Review how you receive the ball, then compare options relevant to that action. Better passing attributes still cannot create an open lane when the teammate is covered.
Before buying, record the player item, the situation you want to improve and the consumable price. After applying it, return to the squad and inspect the resulting attributes. If the interface does not provide a clear comparison before consumption, avoid using an expensive purchase as a blind experiment.
Set a sensible Coins budget
Base your budget on how long you expect to use the player. An inexpensive available option may be more sensible for a temporary item. A costlier choice for a long-term starter needs a clear benefit. Market popularity does not prove that your player needs that particular style.
Compare the consumable cost with your next squad upgrade as well. Sometimes the item itself lacks the right qualities for the role, and repeated style changes only postpone replacement. Keep some Coins available so a small experiment does not prevent you from addressing a more important weakness elsewhere.
An item already in your club can still have another useful application. Equally, selling a helpful consumable simply to increase the balance is not automatically the right choice. Judge its value against your squad plan rather than somebody else's shopping list.
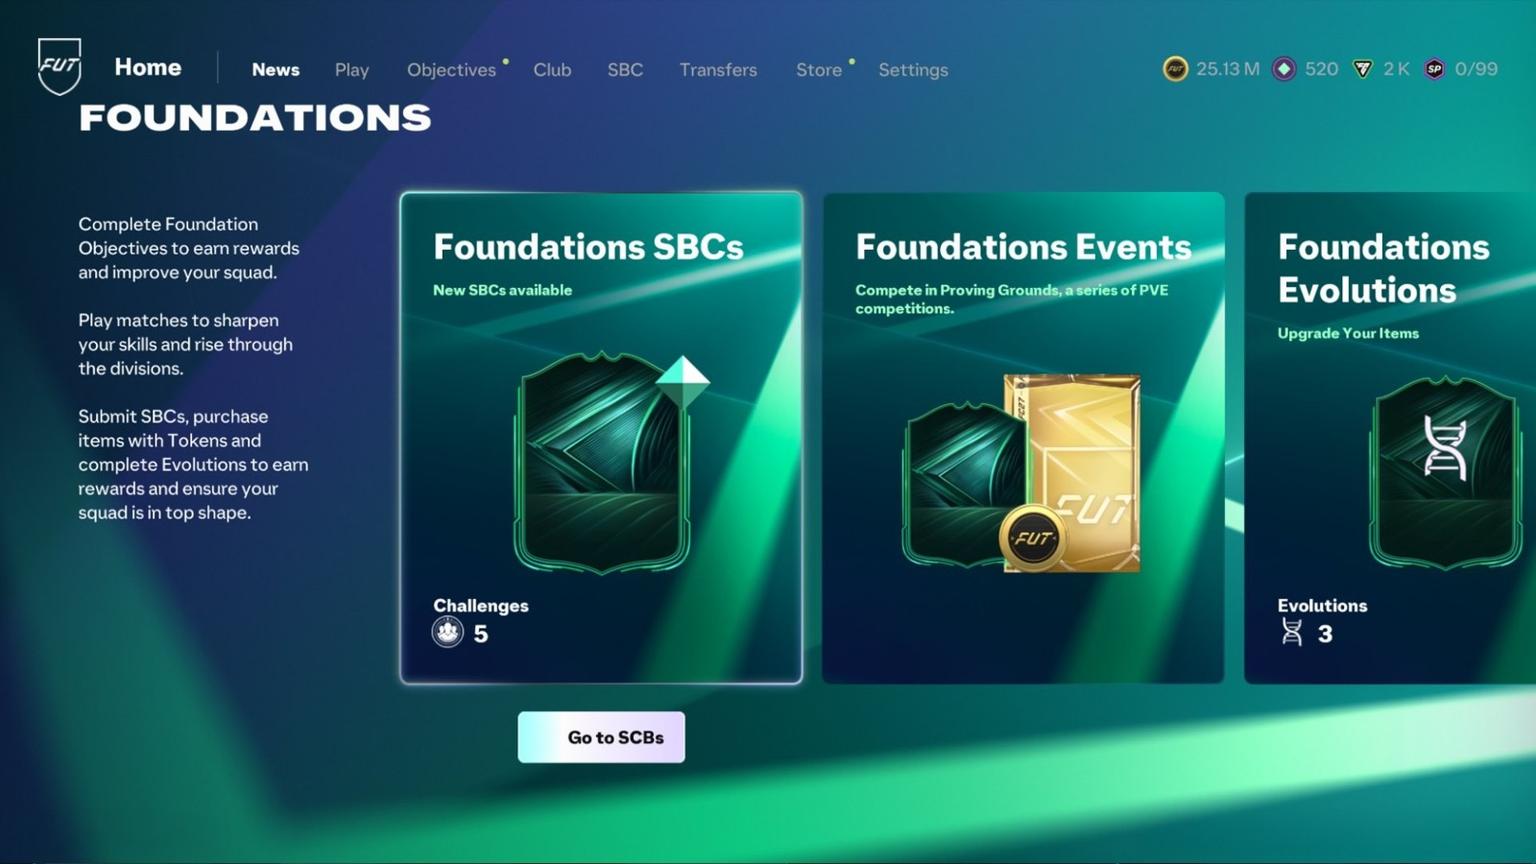
Foundations brings together introductory SBCs, events and Evolutions. Check the available tasks in your game.
Test the result after applying
Play several matches with the same setup and the player's familiar role. Do not change the formation, camera and entire squad at once, because that makes the cause of any improvement impossible to separate. Track the relevant action instead of relying only on a final score shaped by many other moments.
Defender: can you follow the run when starting from a sensible position?
Midfielder: are there fewer awkward touches in the scenario you selected?
Striker: is finishing more effective from the chances you normally create?
If little changes, revisit the original explanation. Decision-making, movement direction or the item itself may be the real limitation. Make another style change only when you have a clear new reason. Cycling blindly through popular options spends Coins without teaching you much.
Mistakes worth avoiding
The first mistake is choosing solely from the printed position rather than the actual role. A conservative full-back and a player making frequent overlaps have different jobs. The second is judging the setup from one goal or one lost race. The third is treating item version, squad context and individual player characteristics as if they were one number.
Keep a short record: item, role, problem, chosen style and result. This helps you repeat a useful decision with a similar footballer and reject purchases unrelated to the situations in which you lose possession.
FAQ
Is there one best Chemistry Style for everybody?
Choose around the item and its job. An expensive or popular option may improve attributes that are not limiting your player.
Should I change the style after upgrading an item?
Review the priorities because the upgraded version may address the previous weakness. An automatic change is unnecessary.
Where do I apply a Chemistry Style?
Open the relevant item actions and consumables section. Check the item, current squad and expected change before confirming.
Why does the player still lose the ball?
Review the receiving direction, opponent pressure and your next passing option. A consumable cannot replace space or a timely decision.