Genshin Impact Anemoculus Routes: Mondstadt and Missing Collectibles
Mondstadt's collection includes 66 Anemoculi: 65 in the open world and one associated with Lisa's early trial at the Temple of the Lion. This distinction matters when comparing map markers with collected items and wondering whether you overlooked an entire area.
The initial sweep does not require an elaborate party. Stamina, unlocked waypoints and accurate records matter more. Some collectibles are immediately visible, while others only become obvious after climbing a cliff or dropping below a ledge.
The following guide provides a practical regional exploration order and a method for finding the final missing items. It is a planning companion for the map rather than a numbered coordinate list or a promise to complete the collection within a fixed time.
Establish what you have already collected
Open the Teyvat Interactive Map and select the Anemoculus filter. If you have completed the early quests, account for the Temple of the Lion reward separately from your open-world routes. A total of 66 does not mean another collectible must be waiting somewhere on the surface.
On a new playthrough, record every pickup immediately. For an established account, begin with places you definitely missed. Your map marks are your own exploration record, so keep uncertain locations separate until you have checked them again.
Before jumping towards an item over a cliff, find a starting point above it. Restore stamina before a long swim and assess the distance to safe ground. Avoid spending the entire bar on faster movement if you still need to remain in the water afterwards.
Four routes through Mondstadt
Area | Suggested route | Pay attention to |
|---|---|---|
Starfell Valley | Accessible waypoints towards cliffs and coast | Items above ledges and distant shoreline sections |
Galesong Hill | Windrise, Dadaupa Gorge and Cape Oath | Trees, elevation and a separate trip to Musk Reef |
Windwail Highland | Springvale and Dawn Winery surroundings | Height differences between roads and slopes |
Brightcrown Mountains | The canyon and Stormterror's Lair | Different ruin levels and higher starting points |
Starfell Valley
Divide northeastern Mondstadt into shoreline and high-ground routes. Begin at an accessible high waypoint and descend towards the water, recording pickups along the way. When the nearest star points to another elevation, inspect the cliff above and below before continuing.
Reserve distant coastal sections for a separate trip. Repeatedly leaving the plains to return to the water makes the route harder to track and obscures which side of a slope you have already inspected.
Windrise, Dadaupa Gorge and Cape Oath
It is easy to stay on the road and miss an item above a tree or on an adjacent cliff. Look beyond the character's eye level: raise the camera before leaving a marker that appears to coincide with your position.
Clear the flatter section first, then continue towards Dadaupa Gorge and Cape Oath. Treat Musk Reef as a separate destination with its own crossing, rather than mixing the island trip with the land circuit. Establish a safe approach before committing to that part of the route.
Springvale and Dawn Winery
Explore one slope at a time, using roads as the boundaries of smaller search areas. Clear elevated points before descending towards buildings and water. Simply running along a road does not establish that its neighbouring cliffs have been checked.
If a jump starts too low, return to higher ground. Movement abilities can help, but changing the departure point is often more effective than repeatedly trying to reach a collectible from the same awkward position.
Brightcrown Mountains and Stormterror's Lair
Explore this area after opening the necessary paths through the main story. Separate the outer slopes from the interior ruin levels. For an item on a ledge, identify a suitable gliding approach before attempting to climb a sheer wall.
Avoid leaving after a single successful pickup. Review neighbouring markers and inspect the accessible level as a coherent route. Once the upper section is finished, make a separate pass through the lower areas.
An elevated pickup beside an Anemo Monument
One Anemoculus in the ruins of Stormterror’s Lair hangs above a platform with an Anemo Monument. Activate the monument with an Anemo attack and use the resulting current to rise towards the item. Look up and identify the Oculus before entering the current; standing on the platform below it is not enough.
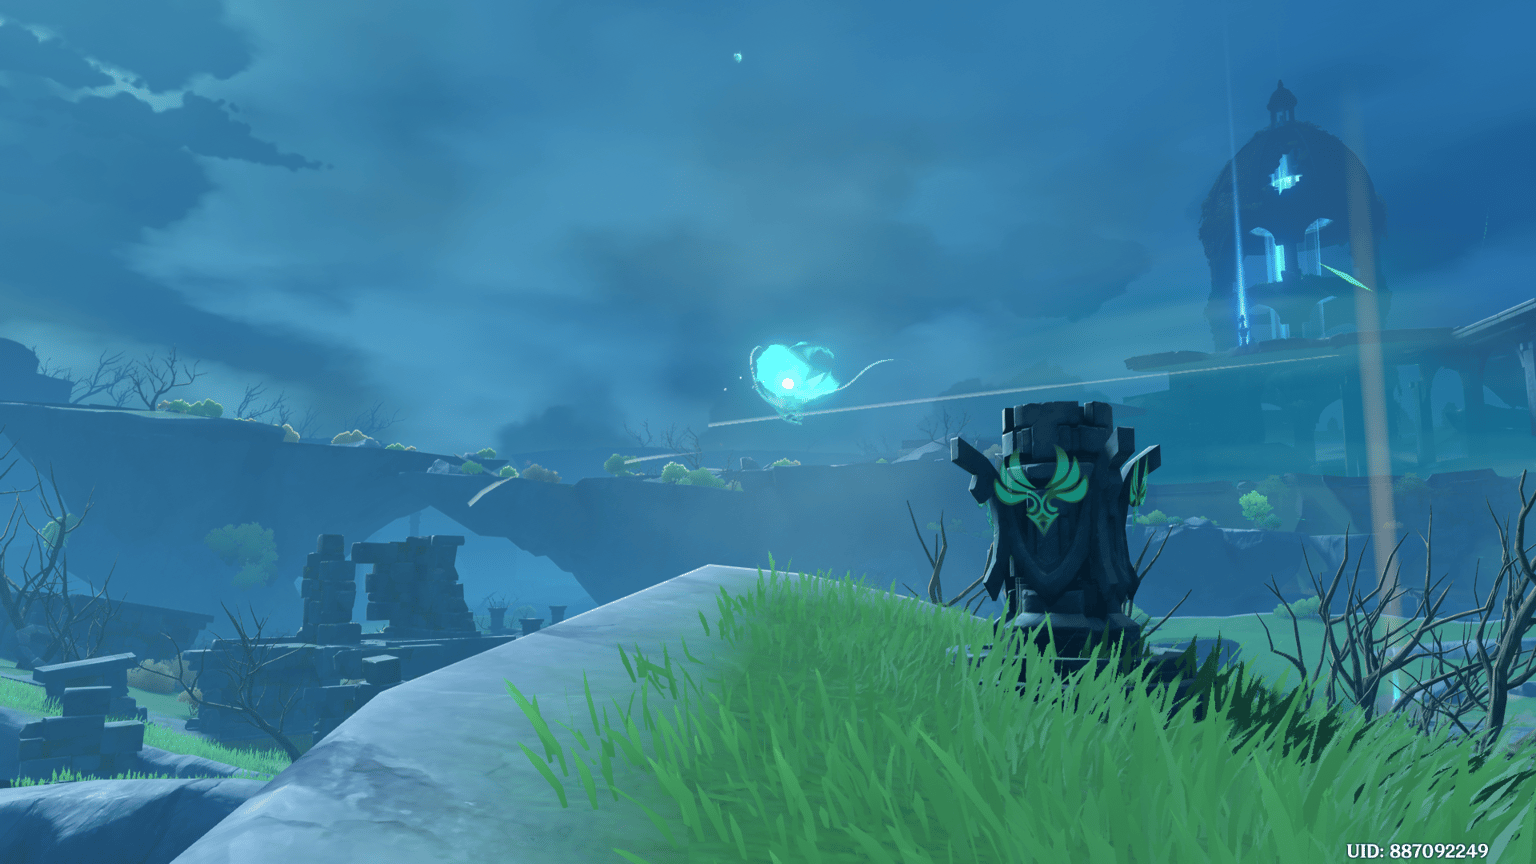
An elevated location beside an Anemo Monument: use the current rather than jumping from the platform.
Why a marker can seem empty
The most common problem is elevation. You may be below the item, above it or on the wrong side of an overhang. Step away from the wall, raise the camera and inspect the terrain. If a wind current or local mechanism is visible, investigate it first.
An inaccurate previous record is another possibility. A collectible that has already been obtained will not reappear because you revisit its position. When uncertain, check the whole small sector systematically rather than circling the same single point.
Account separately for the Temple of the Lion item. It belongs to Lisa's early trial, not an independent route across the plains. The total of 66 does not mean 66 surface pickups need to be found in Mondstadt.
For the airborne location shown in the next illustration, collect the nearby Anemograna to create a wind current. Ride it upward and open the glider to approach the Anemoculus. Establish the current before beginning the glide.
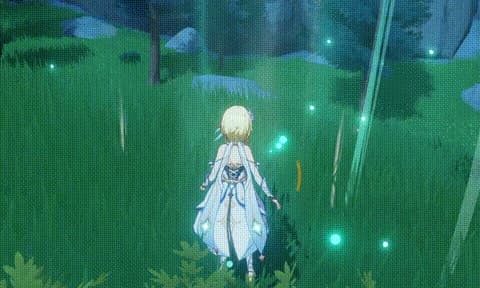
A wind current supplies elevation before gliding towards a collectible.
When to use the Anemoculus Resonance Stone
The Anemoculus Resonance Stone works in Mondstadt and narrows the search for remaining items. After learning its instructions and crafting it, use the gadget to test uncertain areas. A completely new regional sweep is unnecessary when the problem has already been narrowed to a few sectors.
The search area does not provide the exact elevation. Inspect high ground, the base of cliffs and hidden passages within the marked section. To change the target after a successful search, wait for the two-minute cooldown. The stone can then mark another eligible Oculus if one is available.
Update your collection record after every find. That turns the final stage into a sequence of remaining checks instead of an attempt to remember everywhere you visited several play sessions ago.
Frequently asked questions
Are there 65 or 66 Anemoculi?
There are 66 including the early Temple of the Lion reward, with 65 placed in the open world.
Do I need a particular five-star character?
No. Convenient movement abilities help, but routes can use the terrain and available traversal mechanisms.
Why does the star disappear when I descend?
Your position relative to the item changes. Check the required elevation rather than treating a missing icon from another position as proof of collection.
What should I do when only one collectible remains?
Review uncertain markers and the Temple of the Lion reward first. Then use the Resonance Stone in the remaining search areas.