Arlecchino Build Guide: Weapons, Artifacts and Teams
Arlecchino is a Pyro polearm damage dealer who turns Bond of Life into enhanced Normal Attacks. Building her starts with ATK, CRIT stats, and a team that lets her finish an attack window. Stacking Max HP because her resource is displayed beside the health bar misses the purpose of that resource.
Her defining defensive rule applies during combat: she can only receive healing through her own Elemental Burst. Shields, interruption resistance, and timely dodges therefore affect practical damage as much as a promising stat screen. A healer can help the rest of the party without replacing Arlecchino’s personal recovery.
This guide uses a C0 baseline and explains Bond of Life, artifact choices, useful weapons, team options, and a repeatable rotation. It focuses on making a complete build work with the resources you own rather than treating a signature weapon or extra Constellations as an entry requirement.
Understand Bond of Life first
All Is Ash applies Blood-Debt Directives to opponents. A Charged Attack absorbs nearby marks and gives Arlecchino Bond of Life. At a value of at least 30% of Max HP, Masque of the Red Death converts her Normal, Charged, and Plunging Attacks into Pyro damage. Enhanced Normal Attacks then consume the stored resource.
After unlocking Agony Alone May Be Repaid, a Directive becomes a Blood-Debt Due after 5 seconds. Absorbing the upgraded mark grants more Bond of Life, so against a durable single target it makes sense to set up your teammates first. Use those seconds for a shield, Hydro application, and buffs instead of waiting without acting.
The Max HP reference expresses the size of Bond of Life; it does not mean the mark increases Max HP. Treat it as an offensive resource. An HP sands usually addresses the wrong problem when the rest of the build is intended to improve her attacks.

Arlecchino is a Pyro polearm character whose combat loop uses Bond of Life.
Artifacts and main stats
Slot | Starting choice | When to reconsider |
|---|---|---|
Sands | ATK% | Compare Elemental Mastery in a reliable Vaporize team |
Goblet | Pyro DMG Bonus | Compare ATK% when the team already supplies substantial damage bonuses |
Circlet | CRIT Rate or CRIT DMG | Choose the stat your complete weapon-and-artifact setup lacks |
Substats | CRIT, ATK%, useful Elemental Mastery | Energy Recharge depends on access to emergency recovery |
Fragment of Harmonic Whimsy matches her resource cycle: it supplies ATK and increases damage when Bond of Life changes. It is a sensible long-term farming target for a dedicated Arlecchino build. However, four weak pieces with the correct set name do not automatically beat an established build with useful stats.
Gladiator’s Finale is a practical transitional option for a Normal Attack polearm user. If you already own a functioning set, improve the weapon and main damage talent before replacing everything. Keep enough CRIT Rate to make the rotation consistent instead of chasing a large CRIT DMG number at any cost.
Elemental Mastery is useful when Arlecchino actually triggers reactions such as Vaporize. The same stat has a different value in a mono-Pyro party. There is no mandatory EM target that applies equally to every team, weapon, and buff arrangement.
Choose a weapon for the complete build
Weapon | Why it fits | What to consider |
|---|---|---|
Crimson Moon’s Semblance | Its Bond of Life and damage effects fit her main loop | Excellent synergy does not make it mandatory |
Primordial Jade Winged-Spear | CRIT Rate and offensive effects | Account for the final CRIT balance and the time spent building its effect |
Staff of Homa | CRIT DMG and offensive bonuses | Do not deliberately stay at unsafe HP if it causes deaths |
Deathmatch | CRIT Rate makes balancing artifacts easier | This is a paid Battle Pass option |
White Tassel | An accessible Normal Attack option | Its low base ATK makes external ATK support valuable |
Start with weapons available to your account and compare them at a meaningful level and refinement. A famous weapon left underleveled may contribute less than a properly upgraded alternative. Also revisit the circlet whenever you switch between a CRIT Rate and CRIT DMG weapon.
The Catch focuses on Elemental Burst damage and is not a natural foundation for an Arlecchino build centered on Normal Attacks. Sharing a weapon category with another character does not make their equipment priorities interchangeable.
Vaporize teams and defensive choices
Arlecchino, Xingqiu, Bennett, and Zhongli are a useful starting combination. Xingqiu supplies Hydro application linked to Normal Attacks and defensive utility, Bennett supports ATK, and Zhongli’s shield helps Arlecchino finish her window. Bennett is primarily an offensive support here: his healing does not restore Arlecchino during combat.
At C0, Bennett’s ATK buff applies only while the active character is above 70% HP. C1 removes this HP restriction. This matters especially for Arlecchino: the field cannot heal her up to that threshold during combat, so at C0 preserve HP through shielding or use her own Burst.
Replacing Zhongli with Kazuha is a more offensive option. Grouping and an elemental bonus after Swirl help suitable encounters, but the party asks more of your dodging. Make this change when survival is already stable, rather than using it to solve a build that repeatedly loses its on-field character.
Yelan can occupy the Hydro slot as an alternative source of damage and Normal Attack interaction. The defensive profile changes, so do not treat her as an exact copy of Xingqiu. Overloaded teams are another direction, but their Chevreuse requirements, element restrictions, and enemy knockback deserve a separate composition check.
A practical C0 rotation
Use Arlecchino’s Skill and check that the intended target has a mark.
Set up the rest of the party: shield, Hydro abilities, and relevant buffs.
Return after the mark has upgraded and absorb it with a Charged Attack.
Use Normal Attacks during the support window. Dodge when the next enemy action is dangerous.
Before restarting, check HP, remaining Bond of Life, and support readiness. Use the Burst when recovery is needed.
At C0, do not plan around standing still through every enemy attack. An early dodge often preserves more damage than finishing one animation and losing the character. Bond of Life stays on Arlecchino when a new wave appears, so continue Normal Attacks if enough remains. Enemy marks do not transfer to new targets; apply and absorb fresh marks when you need to refill the Bond.
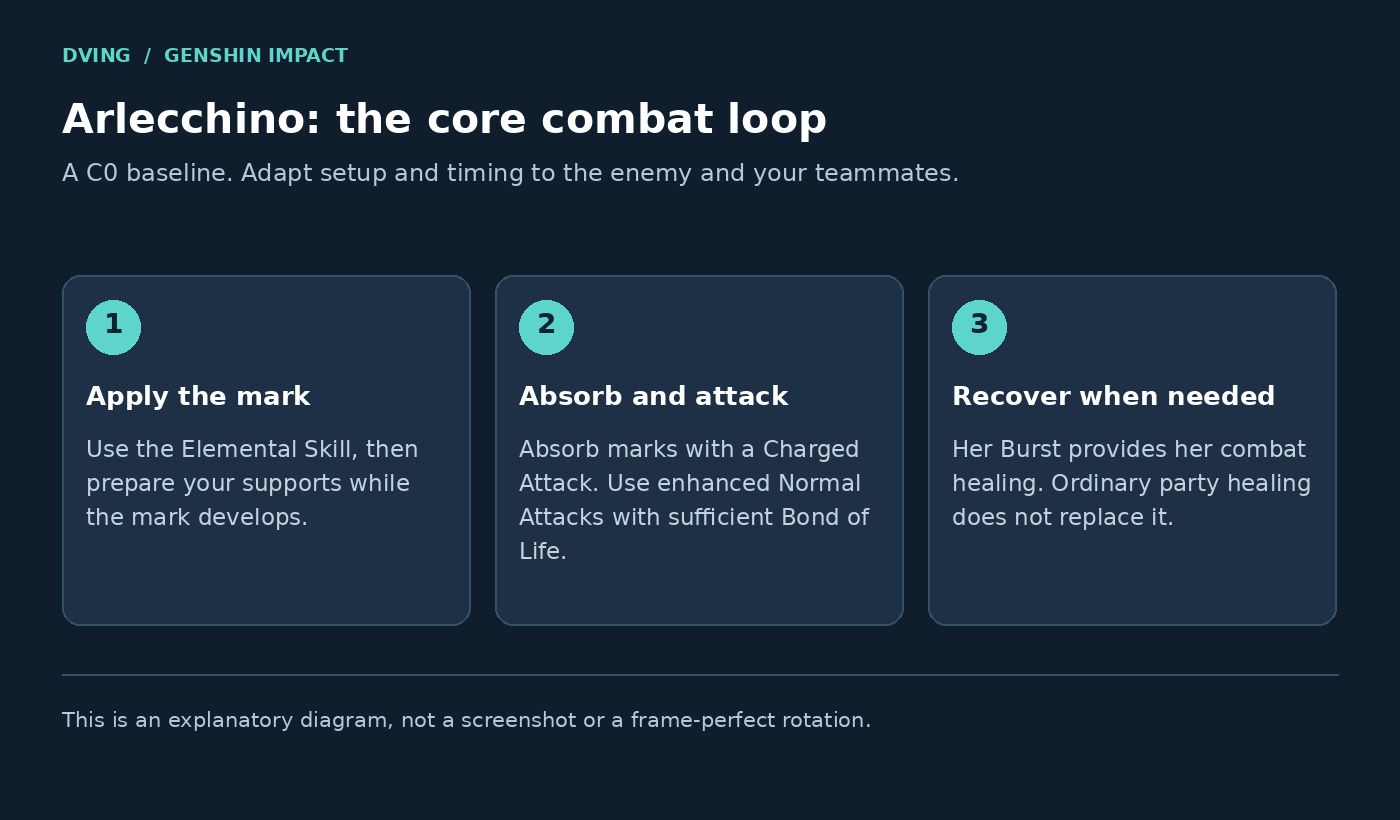
Skill, support setup, mark absorption and the Normal Attack window; use the Burst as needed.
When to use the Burst
Balemoon Rising deals damage, clears the Skill cooldown, and heals Arlecchino. It is a tool for controlling the fight, not an instruction to press the button every time energy becomes available. With healthy HP, keeping useful Bond of Life can be preferable to immediately resetting the loop.
At dangerous HP, recover before a lethal hit lands. Prepare the attack cycle again after the Burst and check the resource instead of assuming the previous enhancement remains unchanged. Repeated emergency Bursts are a reason to review the shield, dodging, and field time rather than simply adding more offensive stats.
Upgrade order and mistakes to avoid
For a conventional build, prioritize the Normal Attack talent because it contains the foundation of her enhanced attack series. Develop the other talents according to your resources and how often the rotation uses them. Ascension materials include Agnidus Agate, Rainbow Roses, Fatui Insignias, and Fragments of a Golden Melody.
Do not build her primarily around HP because Bond of Life references Max HP.
Do not absorb a single-target mark prematurely when teammates can use the setup time.
Do not expect an ally’s healing to save her during combat.
Do not sacrifice a functioning rotation for a signature weapon or an incomplete artifact set.
Do not treat C1 or C2 as prerequisites: learn the basic cycle at the Constellation level you own.
FAQ
Does Arlecchino need her signature weapon?
No. It works well with Bond of Life, but other offensive polearms can support a functional build.
Why does Bennett fail to heal her?
Her combat passive restricts healing to Balemoon Rising. Bennett’s ATK buff can still help when its conditions are met.
Must I always wait 5 seconds?
That is the basic single-target approach after the relevant passive is unlocked. Enemy count, defeated marked targets, and Constellations can change the setup.
Is a new set more important than good stats?
Compare complete builds. An upgraded, suitable set is often worth keeping until you obtain a complete replacement.