Genshin Impact Dendroculus Routes: Forests, Deserts and Underground Areas
Sumeru contains 271 Dendroculi. Collection becomes especially time-consuming when every marker is checked only at surface level. Forest caves and multi-level desert ruins often require a different entrance, quest progression or an approach from above.
Divide the collection into the rainforest, Great Red Sand, Desert of Hadramaveth and northwestern desert areas. Keep two lists within each sector: accessible items and locations that require a return visit. This allows exploration to continue even when one particular passage remains locked.
The following guide explains an exploration order and provides examples of underground Dendroculi. It helps you plan with the map and understand why a location is difficult; a regional selection should not be mistaken for a coordinate catalogue of all 271 items.
Prepare for Sumeru exploration
Select the Dendroculus filter on the Teyvat Interactive Map and begin with an area where you already have waypoints. Keep underground layers available. For each awkward location, record its entrance as well as its position. In the desert, reaching the correct floor can be harder than spotting the item itself.
Bring characters that make local mechanisms and short encounters comfortable. When you meet a puzzle, inspect its required element or interaction first. Avoid rebuilding the entire party around an untested guess: some barriers depend on quest progress rather than party composition.
Four-Leaf Sigils help connect elevated locations. Look around before jumping, as a chain of sigils can be more convenient than climbing a trunk or wall directly. Preserve stamina for the final section of a glide even when the first part of the journey uses traversal mechanisms.
Rainforest routes: heights first, caves second
Sumeru City, Mawtiyima Forest and Chatrakam
Start from accessible high points, check branches and ledges, then descend towards the roads. If a marker is below a slope, identify the cave entrance first. Searching the summit cannot reach a collectible in the chamber underneath it.
Record passages associated with forest quests separately. There is no need to ignore an area's quest line to chase each individual Oculus. Opening the relevant access and checking several interior markers in one visit is usually easier to track.
Apam Woods and Devantaka Mountain
Work through these areas in elevation bands. Select a high starting point, then plan a descent through nearby markers. Switch between ground level, branches and caves deliberately instead of following every new minimap star into another layer.
A forest landmark: an Aranara house
Another forest example is a Dendroculus near an Aranara house surrounded by Dendro Crystalflies. Water with Hydro Fungi is a landmark on the approach; continue towards the house and look for the collectible above the plants beside it. Match these features together, since similar-looking trees can make the wrong location seem convincing.
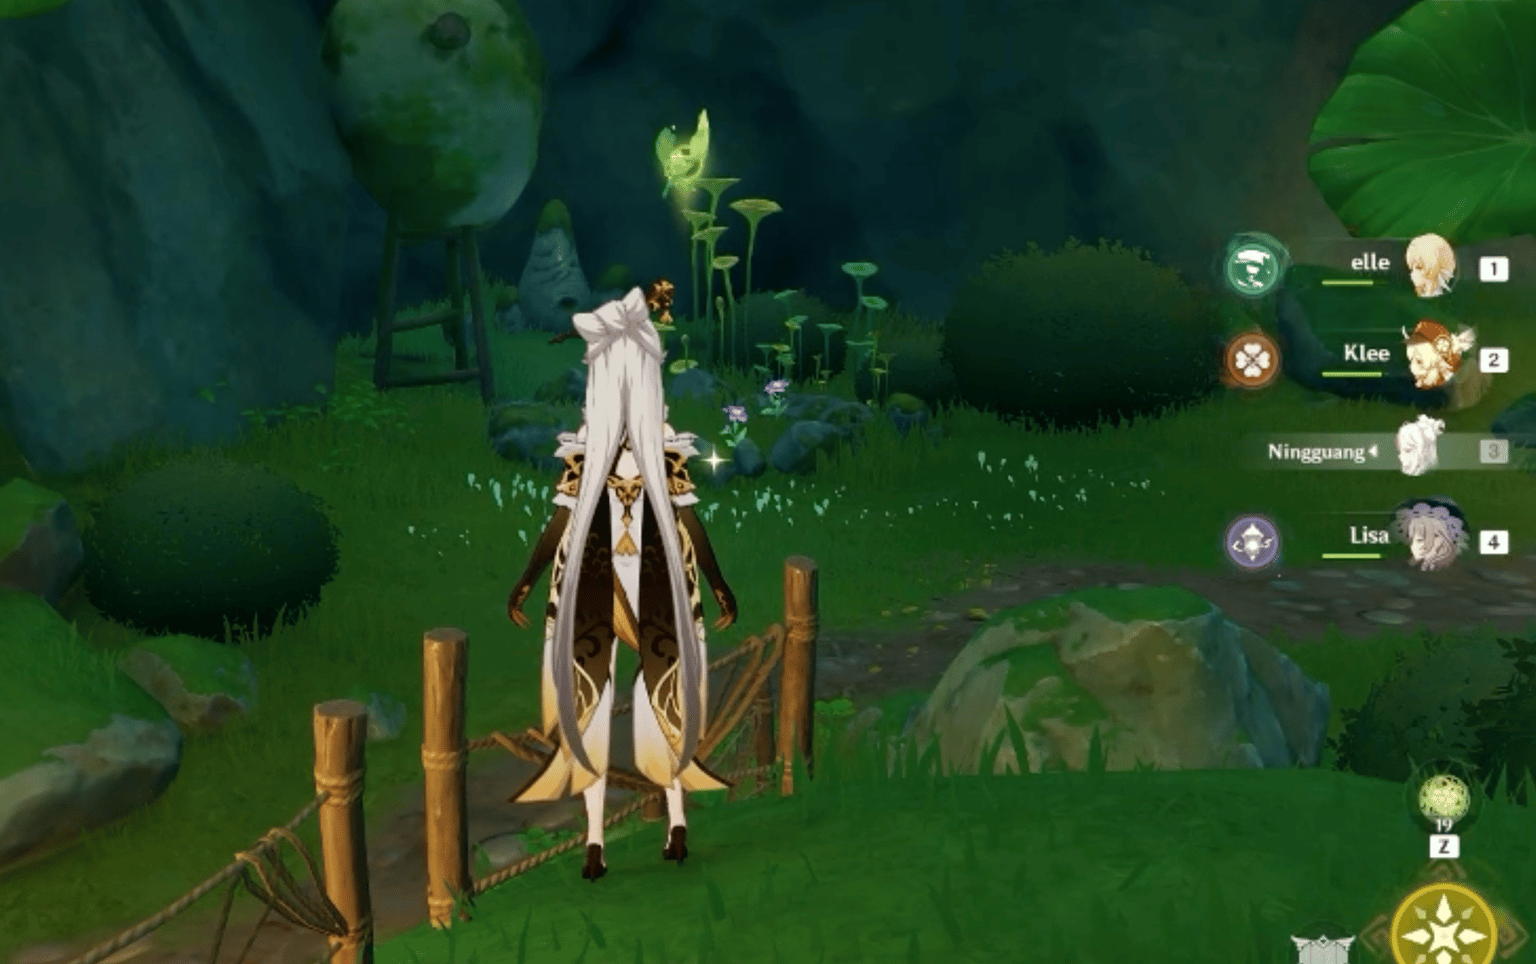
The Aranara house and surrounding plants help distinguish this location from similar forest areas.
Desert routes: separate the surface from ruin floors
Zone | Exploration order | Record for later |
|---|---|---|
Rainforest | Upper branches, ground and accessible caves | The required passage or quest branch |
Great Red Sand | Surface separately from temples | Entrance and interior floor |
Desert of Hadramaveth | Open ravines, then underground halls | The quest stage that opens access |
Gavireh Lajavard and Realm of Farakhkert | Accessible paths, then quest-related caves | Entrances and unfinished mechanisms |
Around Aaru Village and the temple complexes, collect accessible surface items first. Begin an underground route at an open entrance and follow the connected interior, checking corridors and vertical transitions. Avoid teleporting back to the surface after every pickup when the next marker is in the same ruin system.
Around the Mausoleum of King Deshret, knowing the current floor is particularly important. If you stand above a marker and see only sand, open the lower map layer instead of looking for an invisible surface button. For an inactive mechanism, check the relevant quest progression and available clearance.
Hadramaveth: do not approach an underground target from a dune
Keep separate surface and underground lists in Hadramaveth. If a passage is not yet available, continue the local quests and return to the connected caves in one pass. A quest name in the record is much more useful than an unexplained “later” note.
A concrete example is the Dendroculus in a deep underground chamber encountered during Dune-Entombed Fecundity: II, part of The Dirge of Bilqis. A chain of Four-Leaf Sigils helps reach it, and a nearby time trial also traverses that elevation. The useful starting point is the unlocked chamber rather than the nearest surface waypoint.
Before leaving a large cavern, check above and below the main path. Leaving immediately after the quest objective can mean overlooking a collectible on a neighbouring ledge that was already accessible.
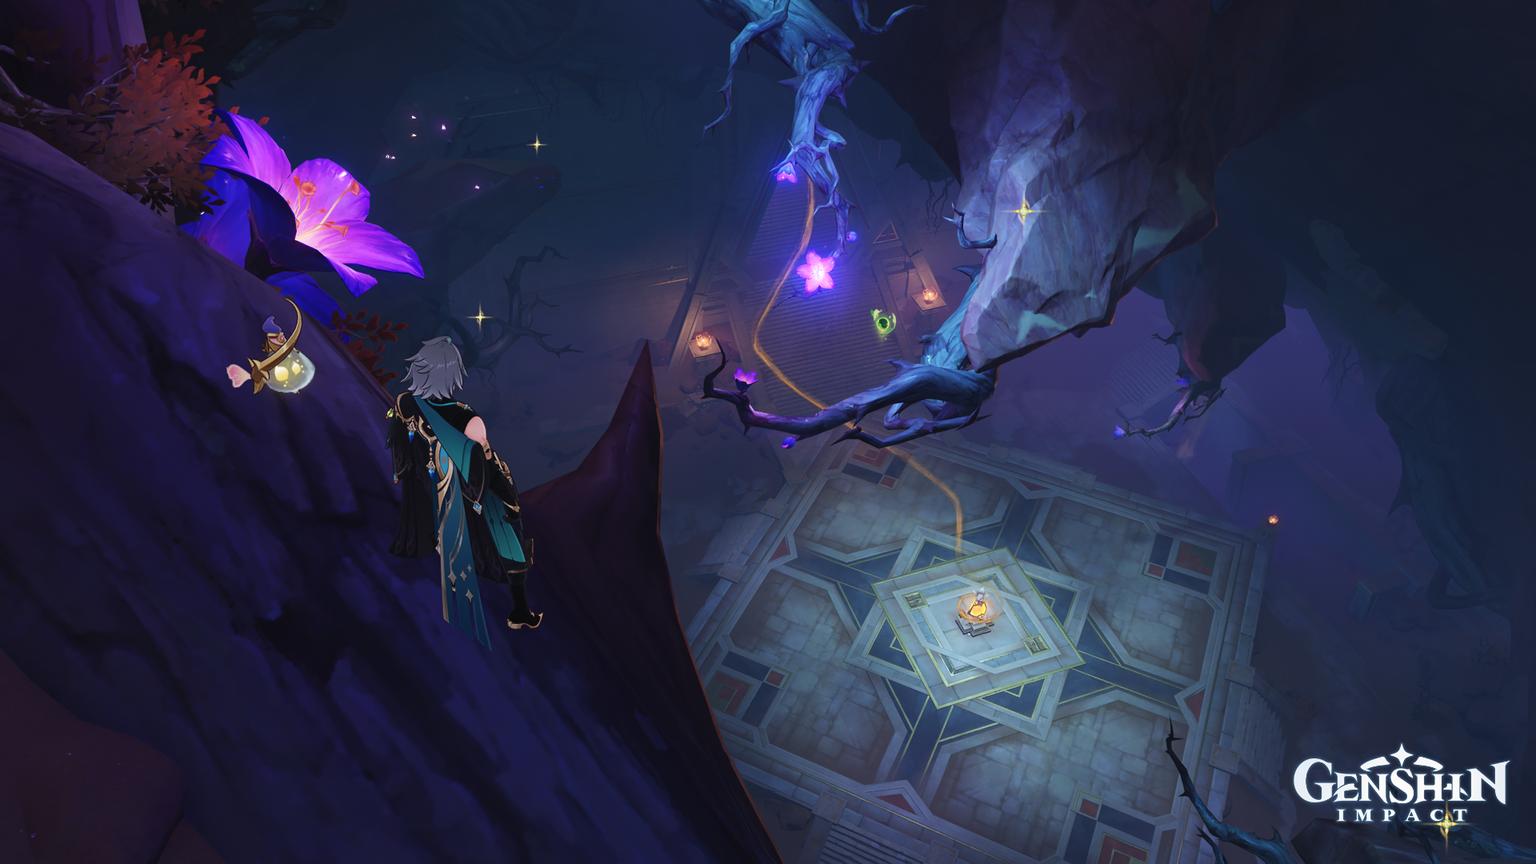
An underground Dendroculus in Hadramaveth: the useful landmarks are inside the chamber, not on the dune above.
Northwestern desert and quest-controlled locations
In Gavireh Lajavard and the Realm of Farakhkert, combine collection with opening local routes. Inspect a cave while first travelling through it for a quest. That is easier than trying to remember its entrance much later.
One example sits inside a cave accessed after starting Khvarena of Good and Evil. After entering, a Seelie near the Treasure Hoarder camp provides a useful landmark; following it leads towards the Dendroculus. A flat-map marker does not explain that approach, so record both the entrance and the interior landmark.
Avoid describing every blocked item as requiring the entire story. A specific reason is enough for planning a return: the entrance is locked, a mechanism has not been activated or the wrong underground layer is selected.
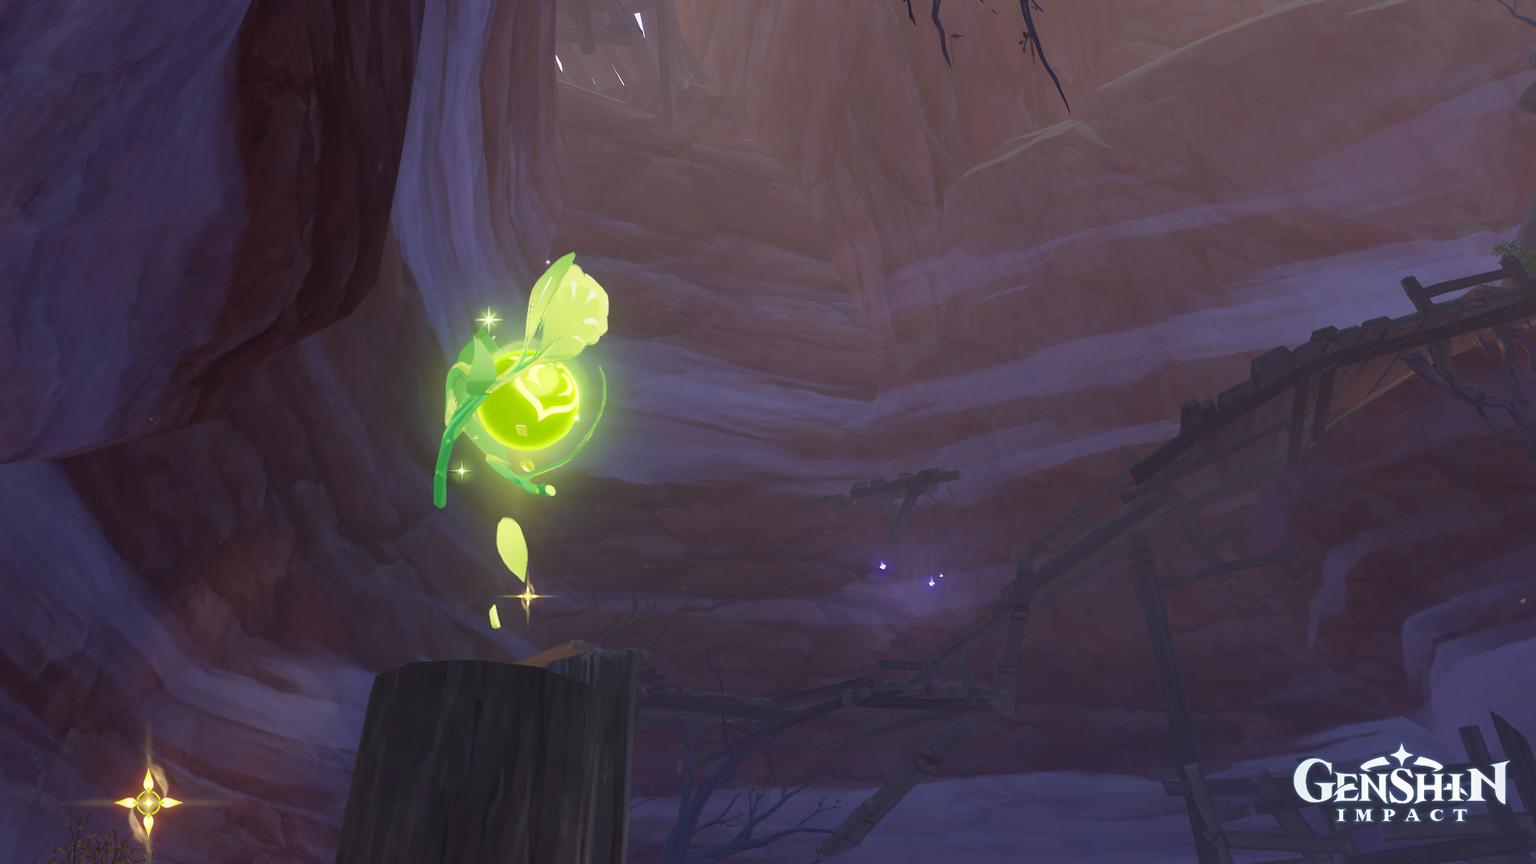
A cave location in the northwestern desert: unlock the quest-related passage, then check the item’s elevation.
Find the final Dendroculi systematically
Compare your inventory and Statue of The Seven progress with your own collection records. Then review postponed locations. The Dendroculus Resonance Stone narrows the search but does not unlock quest-controlled passages or identify the correct entrance to every cave.
When the stone marks an area, inspect it vertically. If no item is visible at the surface, open the underground map and identify an accessible approach. A successful use has a two-minute cooldown; after that, another eligible Oculus can be selected. Keep a record of the previous target if you change it.
Frequently asked questions
How many Dendroculi are in Sumeru?
There are 271 across the region's forest and desert areas. That number does not describe the rainforest alone.
Must every quest be completed before collecting them?
No. Collect accessible items immediately and return to locked passages after progressing their particular quests.
Why does a marker lead to empty sand?
The item may be inside ruins below the surface. Check the underground layer and the entrance to the connected interior.
Should I use one route for the entire desert?
Splitting it into regions and connected underground systems is more practical. The convenient order depends on which paths your account has unlocked.