Genshin Impact Fontaine Chests: Regional Routes and Four Puzzle Examples
Search for Fontaine chests by region and access method rather than rarity alone. A chest behind underwater plants, a time-trial reward and treasure inside a ruin require different actions even when their map markers are close together.
Begin with accessible land and nearby water, then continue into caves and quest-controlled areas. Include puzzles, challenges and Seelie in your map filters as well as chests themselves. Otherwise, some rewards can remain unseen after an apparently thorough sweep.
This guide provides a regional search order and four mechanism examples. It covers methods for exploring Fontaine, including Nostoi and the Sea of Bygone Eras, rather than claiming to catalogue every chest or guarantee a particular Primogem total.
Choose the area before choosing filters
Open the Teyvat Interactive Map, select Fontaine and focus on a small section. Display chests and associated activities, then keep only the filters relevant to that route. Too many icons make it harder to distinguish an existing chest, a challenge reward and a separate puzzle.
Treat “puzzle solved” and “chest opened” as different records. Some actions merely create access to the reward; you still need to reach and open the chest. Update the collection mark after taking its contents rather than after a mechanism animation plays.
The total number of chest icons also does not establish the number of every reward in a region. Some treasure belongs to other activity filters or a separate map. A selection from Fontaine's initial areas therefore cannot represent the entire completed region.
A practical regional exploration order
Region | Initial pass | Separate check |
|---|---|---|
Belleau and Beryl | Roads, shores and accessible high ground | Water, islets and local mechanisms |
Court of Fontaine | City surroundings and outer slopes | Underwater areas and elevated structures |
Liffey and the Research Institute | Accessible outdoor complexes | Caves and energy mechanisms |
Erinnyes Forest and Morte | Open routes around lakes and ruins | Interior spaces and different layers |
Nostoi and Sea of Bygone Eras | Petrichor and unlocked quest paths | Faded Castle and the separate underwater map |
Initial regions: separate the shore from the seabed
In Belleau, Beryl and the Court of Fontaine surroundings, finish one compact land section first. Then explore its adjacent water at the selected depth. Constantly switching between shore and seabed after every icon makes it easy to leave an entire layer unfinished.
Underwater, inspect the space above and below a target. Identify what actually locks the chest: enemies, plants, a barrier or an incomplete puzzle. One borrowed ability does not solve every type of obstacle.
Northern Fontaine and later expansions
In Liffey and Research Institute areas, inspect interior spaces and accessible mechanisms separately. When a marker is behind a wall, identify the entrance instead of circling above it at surface level. Record postponed locations together with the specific condition for returning.
Explore Erinnyes Forest and Morte in connected sections: a lake, neighbouring ruins and an unlocked underground area. Keep Petrichor and the Sea of Bygone Eras on a separate line in your plan. Checking Fontaine's main map does not replace checking this area.
Four examples of obtaining chests
Underwater plants and the Xenochromatic Hunter's Ray
Some chests are obstructed by underwater plants. Borrow the Xenochromatic Hunter's Ray ability and use it against the appropriate plant nodes. Confirm that the obstruction is fully removed, then swim to the chest and open it.
If ordinary attacks do nothing, stop applying random actions. Check which creature is nearby and which ability the particular puzzle requires. Inspecting the local setup is more effective than replacing a combat party that does not control the borrowed ability.
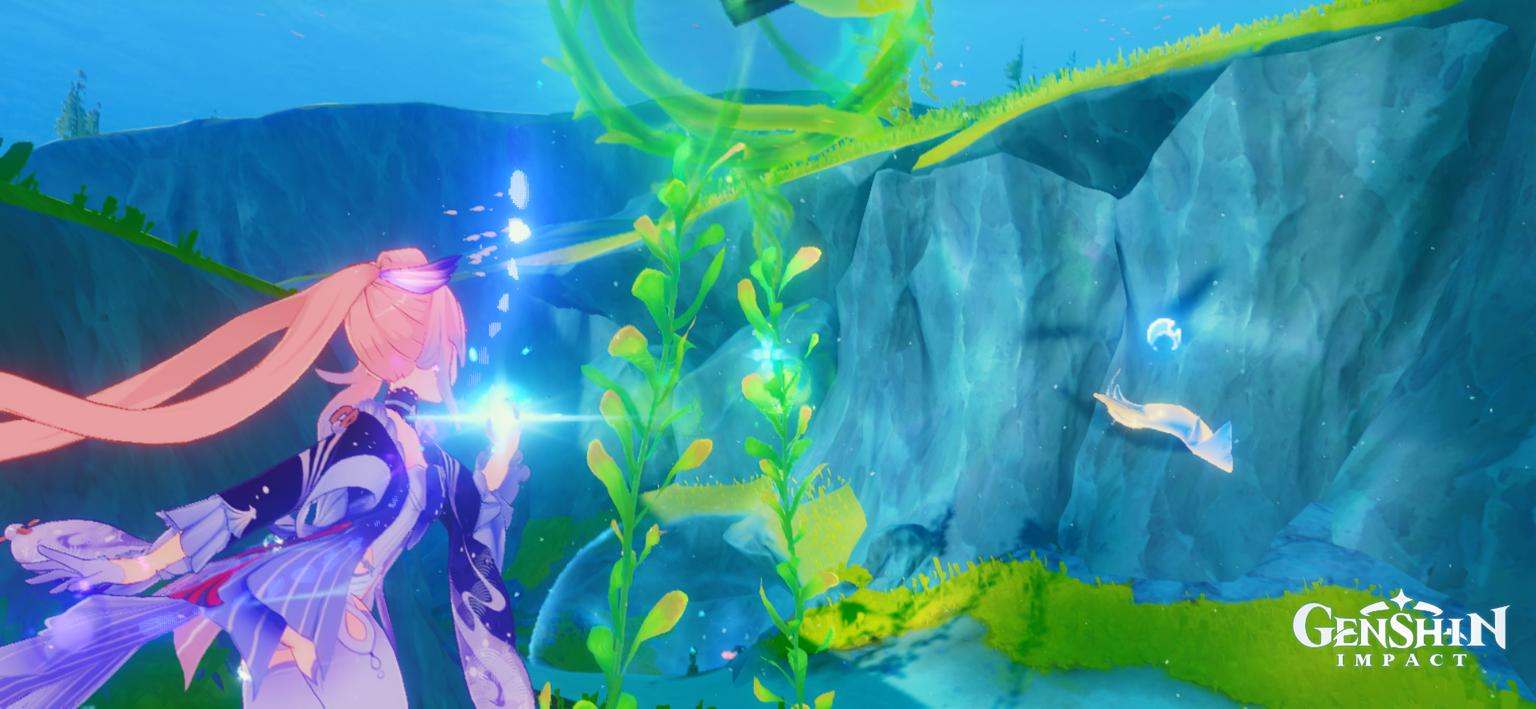
Use the appropriate borrowed ability for underwater plants: a Xenochromatic Hunter’s Ray is visible nearby.
A bubble barrier with two nearby puzzles
One Luxurious Chest loses its underwater barrier after two nearby puzzles are solved. Inspect the area around the sphere and identify the connected mechanisms. Completing one side does not mean the entire barrier should disappear.
Return to the chest after finishing both parts. Do not record it as collected merely because you completed the nearest challenge. The chest is a separate reward requiring a final approach.
Faded Castle: the B3 level
A Precious Chest on level B3 is connected to moving grimoires. Return the Lost Grimoire first, then use the Ancient Autoharmonic Music Box to play a soundwave and operate the mechanism. Defeating the Praetorian Golem in this location is also necessary to unlock the chest.
Separate the two requirements: gaining access to the mechanism and completing the encounter. If one is finished but the chest remains locked, check the other before assuming the game has malfunctioned.
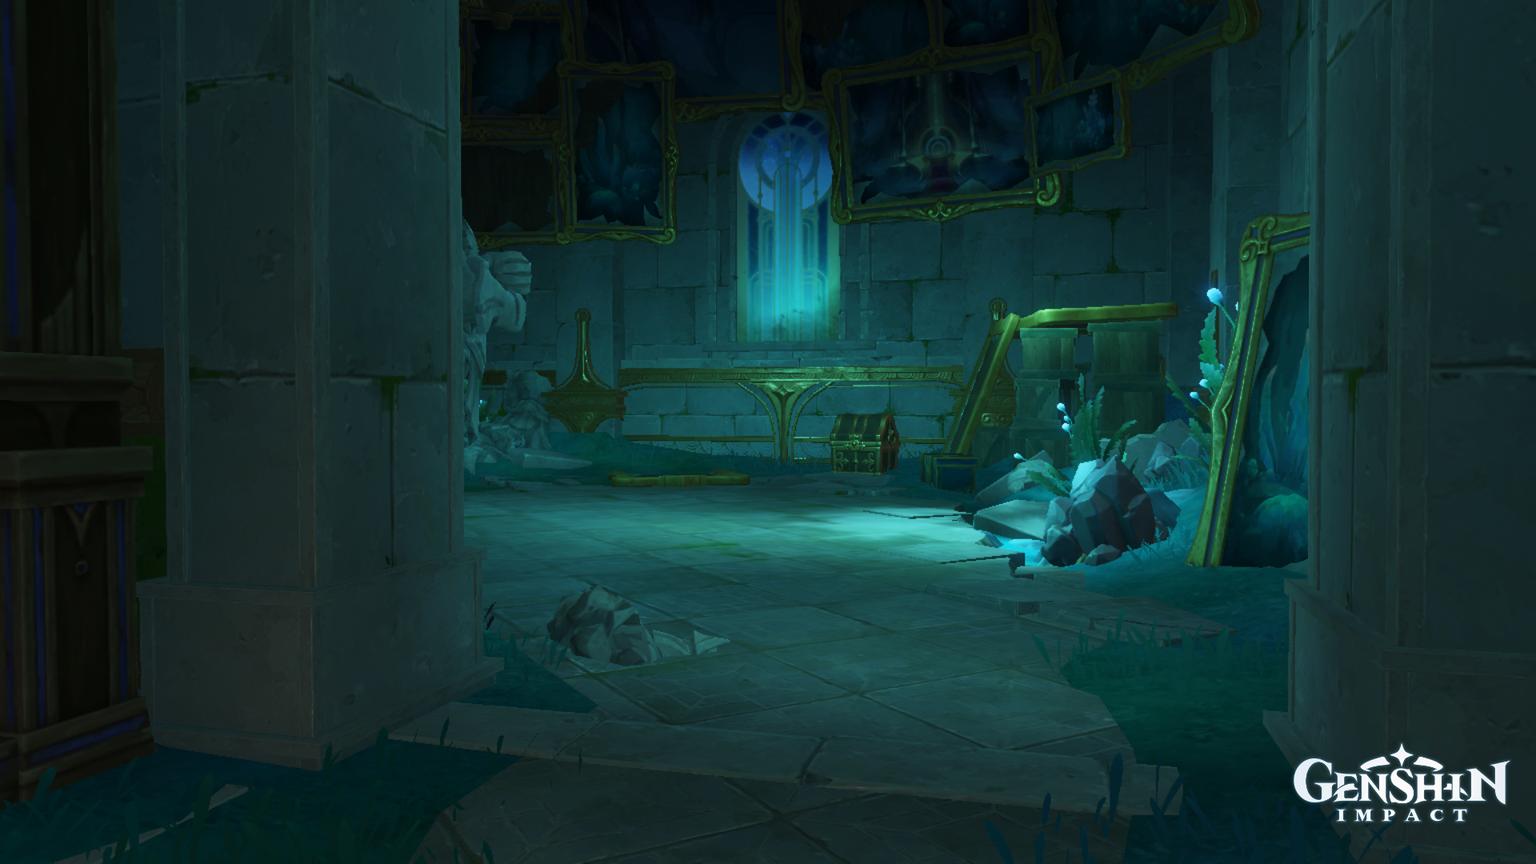
A lower chamber of the Faded Castle: access to the chest involves local mechanisms and an encounter.
The airship route to Palais Mermonia
The marked airship uses an Ousia Block at its control device. Complete the associated Anemo Slime challenges to obtain the reward. The route also reaches the roof of Palais Mermonia, making it useful to combine the chest with exploration of that elevated location.
Avoid leaving the airship after the first interaction while its connected sequence remains unfinished. Watch for new targets and confirm that the chest has actually unlocked rather than assuming that starting the movement completed the activity.
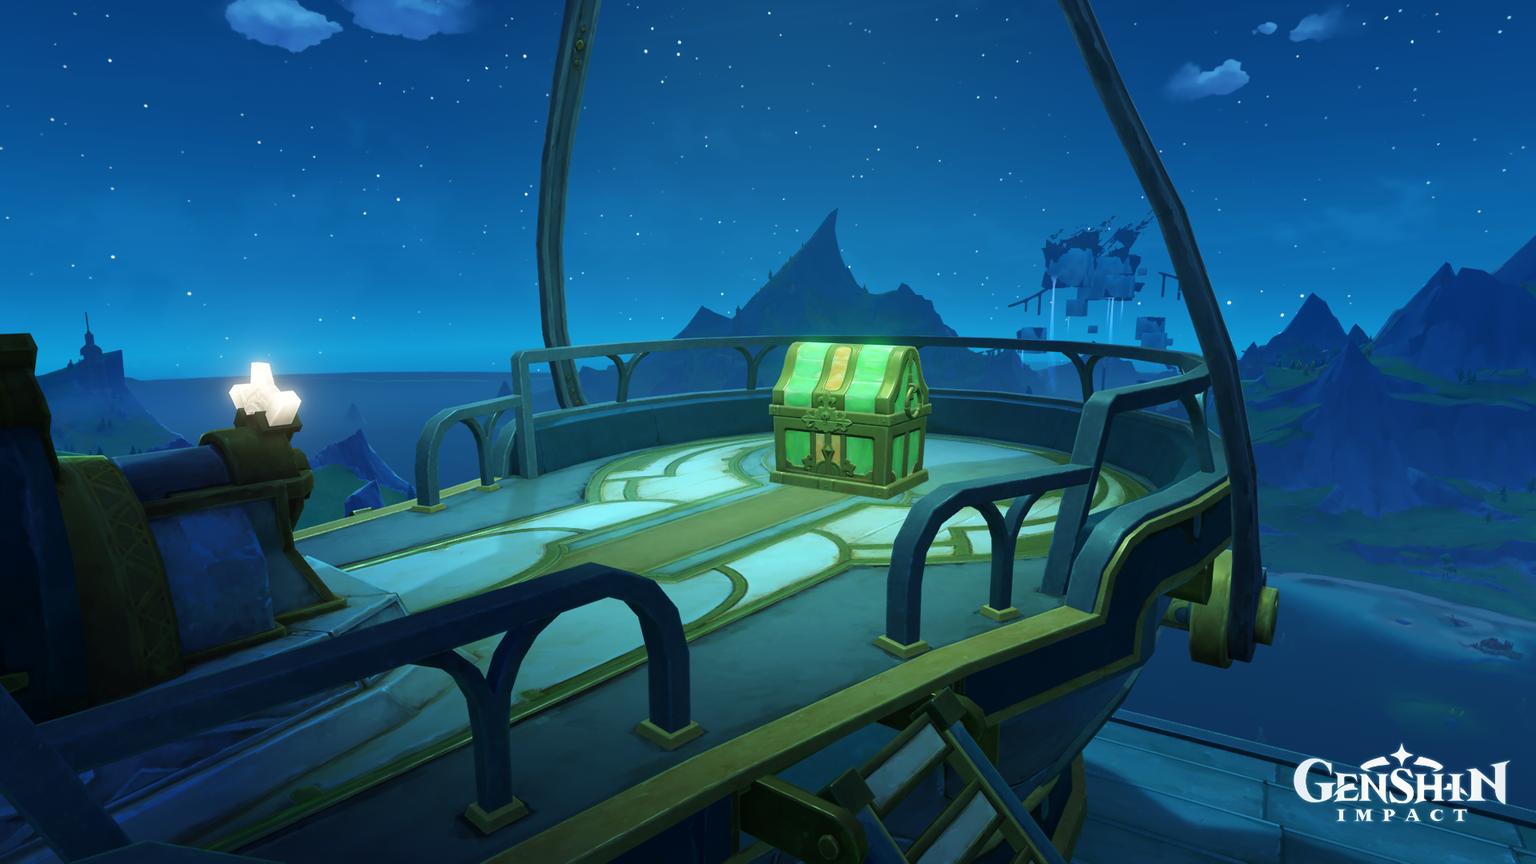
The airship reward appears after its connected challenges are completed.
What the Hydro Treasure Compass can do
The compass helps investigate gaps after regional routes have been explored. It belongs to Fontaine's reputation tools. Learn its instructions after obtaining them, craft the gadget and use it within the section you are checking.
The compass does more than indicate existing chests. It can also mark some clues leading to their appearance, including Time Trial Challenges and Seelie that have not returned to their courts. That does not mean it automatically solves every puzzle or checks every quest condition.
For an apparently empty sector, review the map layer and selected filters first. If the surface has been explored but rewards remain, inspect caves and separate areas. Repeatedly pressing the gadget in one position is not a substitute for an organized search.
Frequently asked questions
Why do direct chest pins not count every reward?
Some chests appear after puzzles, challenges, or quests represented by other marker categories. The Sea of Bygone Eras also uses a separate map. Check both sets of filters and both maps.
Does the compass find only existing world chests?
No. It can also indicate some associated challenges and Seelie. Other reward conditions still require investigation.
What should I check for an underground chest?
Select the correct map layer and identify the entrance to the connected interior. The nearest surface waypoint may be an inconvenient starting point.
Should the Sea of Bygone Eras be checked separately?
Yes. It uses a separate map, and its missing rewards are easy to overlook when reviewing Fontaine's main territory.