Three Stadium Builds: Reinhardt, Soldier: 76 and Ana
A working Stadium build starts with a repeatable action: Reinhardt must reach hammer range, Soldier: 76 must hold a useful area, and Ana must hit the right target while supporting her team. Purchases strengthen that plan. When the hero never gets the opportunity to perform it, another damage item does not fix the underlying problem.
These are three editorial recommendations for Competitive Stadium checked on October 15, 2026. They cover tank, damage and support. Each offers four specific Powers, item priorities and practical use cases, rather than claiming that one combination beats every possible lineup.
Competitive grants Powers before rounds 1, 2, 4 and 6. Items can be sold for their full price, while chosen Powers remain with the hero. Establish a long-term core, then adapt purchases to the actual reason a fight was lost. After October's reduction to passive health gained from currency, durability deserves separate attention.
Choose a build quickly
Hero | Plan | Choose it when | Main obstacle |
|---|---|---|---|
Reinhardt | Hammer pressure, barrier recovery and sustained contact | The team will approach through cover | Kiting and long exposed approaches |
Soldier: 76 | Mobile Biotic Field and area control | You need pressure near the group and objective | Enemies leave the area or burst you down |
Ana | Rifle tempo and teamwide Nano Boost pressure | You have a safe sightline to allies | Repeated pressure on Ana herself |
Each route has an order, but that order must not replace observation. If the first round shows that your main obstacle is survival, change the next purchases. Do not delay necessary defense until round six simply to preserve an attractive final loadout.
Reinhardt: hammer pressure with barrier recovery
Power order: Reinhardt
Round 1 - Smashing!: hammer hits grant stacking movement-speed and weapon-lifesteal bonuses.
Round 2 - Barrier Reconstruction: Melee damage and Fire Strike damage restore barrier health.
Round 4 - Feeling The Burn: every third hammer swing adds a Burn effect.
Round 6 - Infusion Generator: bonus maximum life increases barrier health.
The opening pair creates a cycle: reach contact, deal damage, and recover part of the resource needed for your next movement. Feeling The Burn strengthens extended contact. Infusion Generator links later investment in bonus life to a stronger barrier. This is not a plan for standing permanently behind a raised shield.
What to buy
Start by balancing useful weapon improvement with survivability among affordable Common Items. Your next priority is surviving the approach and obtaining time for several swings. Weapon Power helps once you are already reaching targets; bonus life is especially logical before Infusion Generator. A slot that does not help you establish contact should give way to an answer to the real threat.
Among verified general items, Nebula Conduit provides health and Divine Intervention provides shields. Decide using the complete item effect and your own needs, rather than rarity color alone. Against strong enemy healing, consider El-Saka Suppressor: October's adjustment lets it apply healing reduction through all weapon damage. Do not replace necessary defense with it if you die before reaching melee range.
How to play and when to adjust
Start from cover, move the barrier between dangerous sightlines, and close distance with your allies. Once near the enemy, alternate pressure and protection according to the fight. Use Charge with a known endpoint: disappearing far around a corner can cancel the value of all the durability you purchased.
If opponents consistently hold you outside hammer range, change the approach route first. Then check whether you invested in pure damage too early. This build cannot create reach from nothing; the team still needs to enable a safe approach.
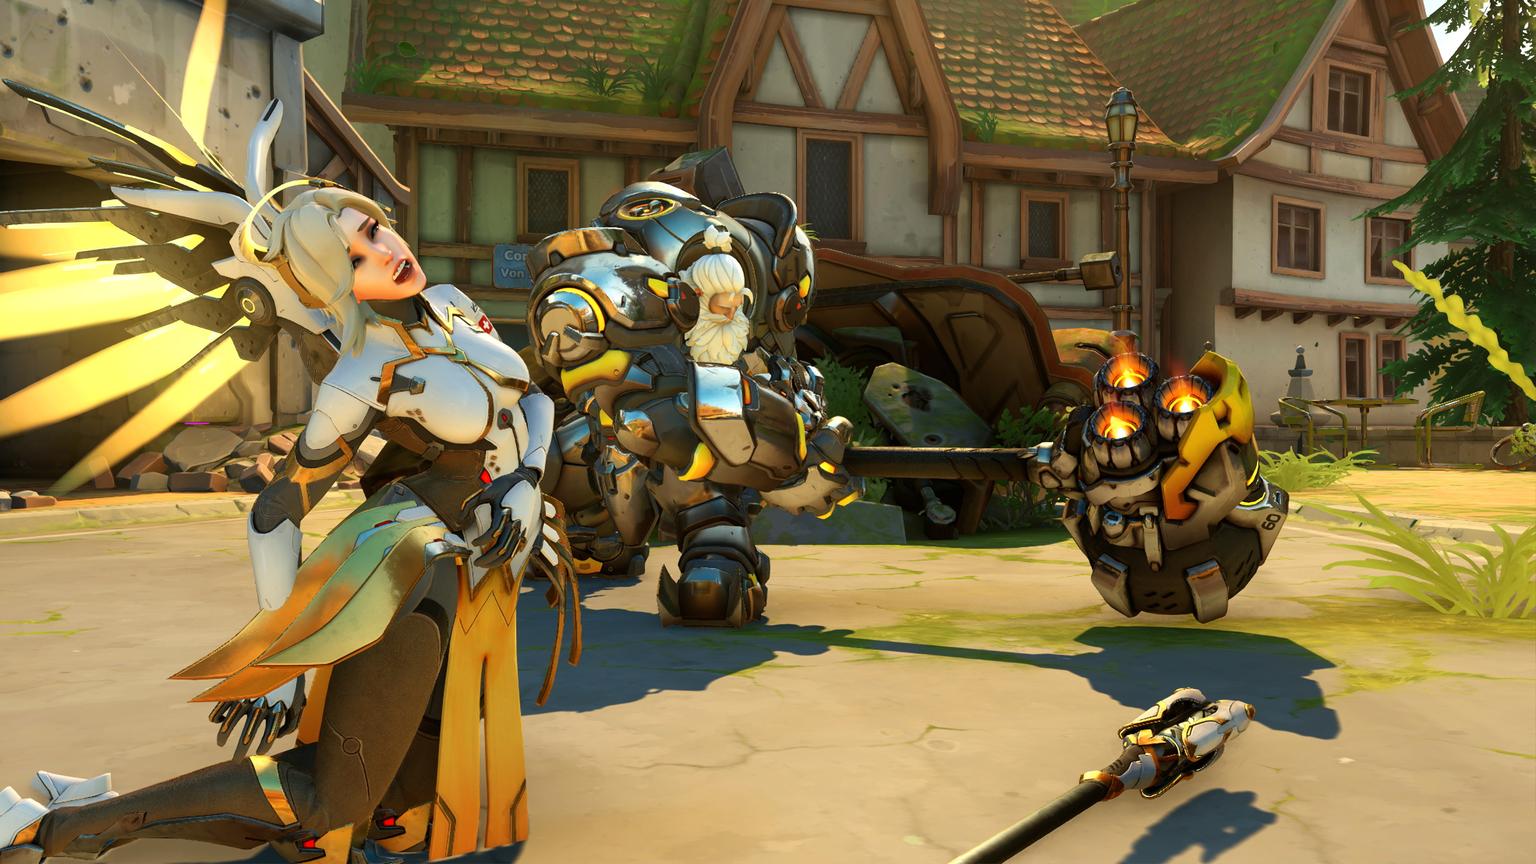
The base Rocket Hammer establishes this build’s engagement range; the image illustrates the weapon, not Stadium Power effects.
Soldier: 76: a mobile field for the nearby fight
Power order: Soldier: 76
Round 1 - On Me!: Biotic Field moves with you.
Round 2 - Aura Cloud: increases the field radius, while enemies inside take damage linked to its healing.
Round 4 - Track and Field: Sprint accelerates ability recovery and restores ammunition.
Round 6 - Frontliners: allies in the area when the field appears receive temporary overhealth.
The purpose is to hold a useful area close to the engagement, rather than run deep into the enemy formation. On Me! lets the field follow your group's movement. Aura Cloud threatens opponents who remain nearby. Track and Field links regrouping with preparation for the next ability window.
Items and development priorities
After affordable opening purchases, look for Ability Power that supports the chosen direction and enough defense to remain near the engagement. Weapon Power still makes sense if most of your contribution comes from rifle fire. Avoid spreading investment equally across every statistic: first identify which part of the kit actually creates results.
Cybervenom is a concrete situational answer when you need healing reduction through ability damage. For regular rifle pressure, El-Saka Suppressor answers the same need through weapon damage. Choose the application method that fits rather than automatically buying both. Consider Nebula Conduit as a defensive slot if its extra health lets you survive the opening contact.
The fight cycle
Enter behind the frontline, place the field where allies can actually benefit, and use the rifle to cover a short side angle. When pressure returns, Sprint back toward cover while preparing the next attempt. There is no need to stop shooting simply to run constantly: resource recovery is useful between pressure windows.
If enemies spread away quickly, do not chase them with the entire field area. Keep the objective or a useful entrance and force opponents to take a worse route. If you repeatedly die quickly, exchange some amplification for survivability before testing the build again.

Biotic Field is the foundation of this approach. The image shows the base ability without Stadium modifications.
Ana: rifle tempo and a shared Nano Boost window
Power order: Ana
Round 1 - No Scope Needed: unscoped Biotic Rifle hits grant a stacking temporary attack-speed bonus.
Round 2 - Pinpoint Prescription: the rifle can critically hit both allies and enemies.
Round 4 - Our Turn: Nano Boost also affects other allies in line of sight, with a shorter duration for them.
Round 6 - Falconer: Nano Boost grants additional attack speed and ultimate charge to the recipient.
This route suits a player who confidently alternates assistance and damage from safety. The first pair develops the rifle; the second develops the team's empowerment window. Having access to critical hits does not make searching indefinitely for a perfect shot compulsory: needed healing now is worth more than an elegant hit delivered too late.
Allocate item slots
First establish a sustainable rifle rhythm through suitable weapon, attack-speed and ammunition improvements. Next assess personal safety. If you are repeatedly forced off the sightline or killed before using important abilities, a defensive purchase creates more practical value than another damage upgrade.
Divine Intervention and Nebula Conduit are options to evaluate using their complete effects and your budget. A situational El-Saka Suppressor fits when you can consistently hit an opponent and the team needs healing reduction. Do not become an isolated marksman merely to trigger an item: the responsibility to support allies remains.
Before Nano Boost, establish sightlines to the teammates who should benefit from Our Turn. Signal the start of the empowerment and confirm that the group can act. An ultimate used on retreating allies or teammates separated by walls loses purpose despite a correct Power loadout.
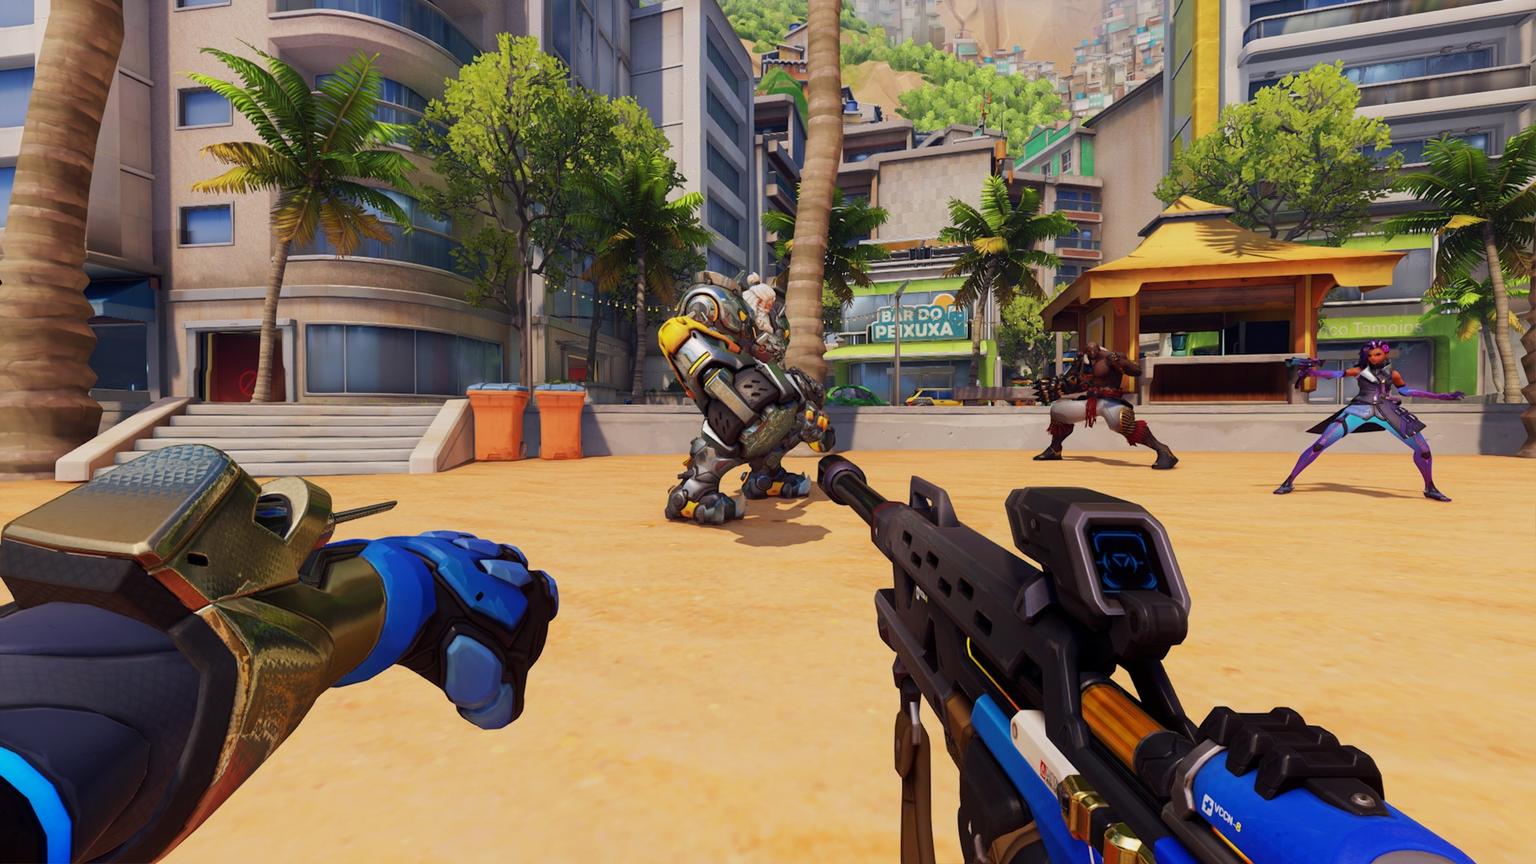
Time Nano Boost around allied readiness; this image shows the base ultimate, not the teamwide Our Turn effect.
Adapt the remaining item slots
There is no universal six-item set to buy regardless of the match. Keep room to answer the enemy plan. Heavy healing calls for suitable healing reduction; substantial overhealth calls for checking Sundering Vial; repeated quick deaths call for reviewing defense and positioning.
After a round, name one cause of defeat and one purchase that addresses it. Sell an item that has lost its purpose for full value and rebuild that slot. If the cause is not a statistic, such as teammates entering individually, correct the action sequence: the Armory cannot replace coordination.
FAQ
Which of these three builds is strongest?
The one your team enables. Reinhardt needs contact, Soldier: 76 needs a useful area, and Ana needs a safe sightline. There is no overall winner without considering composition and map.
Can I change a selected Power?
Normal item selling does not remove it. Plan the core ahead of time and use Items to adapt.
Does this order work in Quick Play?
The round order is written for Competitive. Quick Play awards Powers at a different pace; keep the core logic but check the available stages in the interface.
Should I immediately save for an Epic Item?
Only if your existing purchases already let you perform your task. Staying without useful stats solely to afford a later expensive item is often a poor trade.