The First Descendant Beginner's Guide: Start to Hard Mode
A strong start in The First Descendant comes from choosing the right next objective. Open the story regions, build a reliable Descendant and main weapon, then move into targeted farming. Researching several characters while trying to perfect every weapon spreads your materials thin and often leaves the actual story obstacle untouched.
Your first selection offers Lepic, Viessa and Ajax. Pick Lepic for grenades, Viessa for Chill skills or Ajax for defensive abilities. The other two starting Descendants are also awarded after the prologue, so choose the controls and combat style you prefer. You can change characters and develop different tools for different activities later.
This route covers story progression and your first steps after unlocking Hard difficulty. It separates essential growth from optional perfection. Additional systems and tougher activities are best approached gradually: seeing a difficult operation in the menu does not mean it should immediately become your next farming destination.
Your first route: story, Bunny and a main weapon
Track the Main Quest in Albion and use the map to reach the indicated region. Activate nearby fast travel points as you progress. They save unnecessary travel when you return for materials. If the objective seems stuck, check whether it requires a conversation in Albion, an item research step or an Intercept battle.
In Kingston, complete the Bunny research-material quest alongside your main objectives. Bunny is a useful early choice for missions with many enemies. Her appeal is movement and clearing space, so standing still works against the role she performs best. You can also keep using a starter while learning the underlying systems.
Thunder Cage from the Sterile Land is another useful early target. It is an accessible Ultimate weapon to develop on a new account. Its electric effects help against groups, but weapon level and modules still determine how well the complete setup performs. Obtaining the correct weapon name is only the beginning of its progression.
Avoid researching the entire roster before advancing the story. Set one immediate goal: finish a region, obtain Bunny or complete Thunder Cage. Leave unrelated projects for the next stage. This makes every mission easier to evaluate because you know exactly which piece of progress you expect from it.
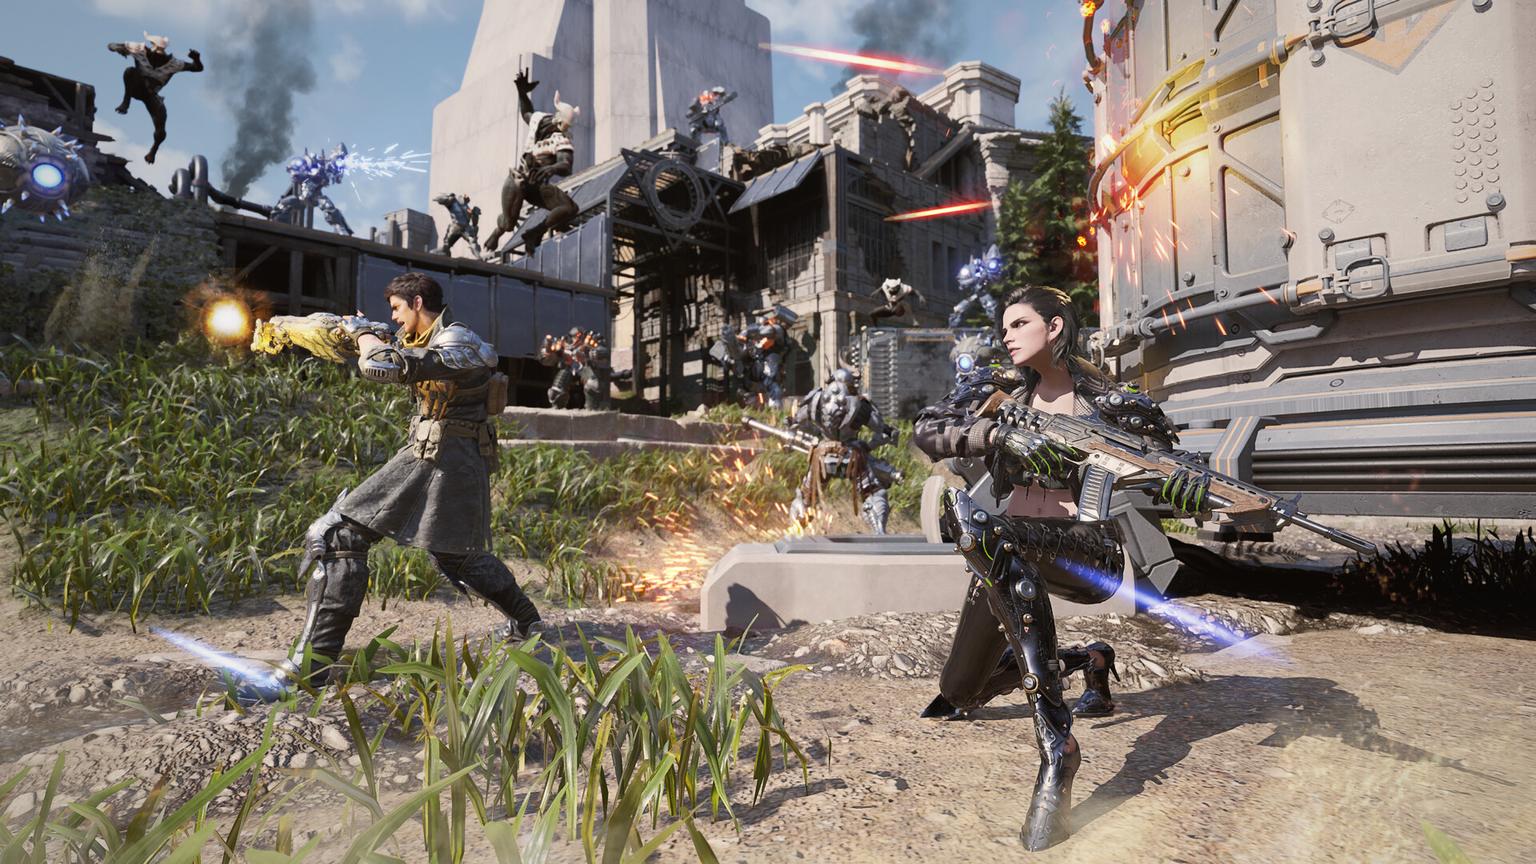
Missions combine weapons, skills and movement.
Who does what in Albion?
Character or station | Practical purpose |
|---|---|
Anais | Research Descendants, weapons and consumable materials |
Silion | Enhance, dismantle and combine modules |
Prime Hands | Raise Mastery Rank and access related growth systems |
Workbench | Manage weapon levels and equipment improvements |
Seneca | Prepare for and enter Void Intercept Battles |
When the number of menus becomes overwhelming, start with the problem. Weak gun damage points toward your weapon and its modules. Weak skills suggest checking the reactor and relevant power bonuses. Frequent deaths call for a review of HP, defenses and external components. Visiting a station without identifying the bottleneck is less productive.

Albion is the hub for account development and operation preparation.
Build a reliable starter setup
Survival comes first
Early investments in HP and DEF give you more time to shoot, avoid attacks and recover. Enhance the defensive modules you actually need before filling every empty slot with unrelated bonuses. Several upgraded cards with clear purposes can contribute more than a full page of weak, unplanned additions.
Check your External Components as well. Their main attributes and additional options can materially change your health and defenses. Keep useful pieces, but avoid forcing a set if an individual piece causes a large survival loss. Evaluate a set together with the stats you surrender to activate its bonus.
Then improve weapons and reactors
Compare new weapon drops with your current loadout throughout the story. Higher item level matters, but handling and suitable modules also affect actual performance. Keep a main gun you can use accurately and additional weapons that use different ammunition families, rather than making all three slots compete for the same reserve.
Weapon Level Transmission at a workbench helps keep a favorite Ultimate weapon relevant. Do not confuse it with Unique Ability enhancement, which uses identical weapon copies. After transmission to level 100, perform Weapon Readjustment separately: a newly crafted Ultimate weapon retains level-one options until you readjust them.
A reactor should be judged by more than rarity. Match its Attribute and Arche Type to the skill responsible for your main damage, then check its Optimization Condition. An impressive-looking reactor with an unmet condition can contribute less to your actual setup than a simpler, correctly matched option.
Find the material you actually need
Open the target item in Research or the Library.
Identify the missing component, rather than searching only for the finished Descendant.
Use Acquisition Info to inspect available sources.
Compare those sources with your unlocked missions and difficulties.
Track the requirement and set an appropriate Focus Strategy target when supported.
After obtaining it, update your target to the next missing material.
Check Eckert's HQ Orders for additional routes to useful parts and materials. Read the conditions of the active order instead of following an old schedule. A mission completion reward and the result of shaping an Amorphous Material are separate steps, so confirm that the activity supplies the item you are actually missing.
Do not change your entire project after every unsuccessful run. Give a farming session a reasonable boundary, then review what happened. Did you obtain useful secondary materials? Could you finish reliably? Did the activity advance another objective? This approach is more manageable than repeatedly switching between routes that serve unrelated projects.
Prepare for your first Colossus
Open the boss information before entering. Its attack Attribute and its elemental weakness are different pieces of information. Resistance modules address incoming damage, while an appropriate weapon element attacks a low resistance. Choosing the same element for everything simply because it appears beside the boss is a common preparation mistake.
During battle, focus on readable attacks and vulnerable parts. Learn to survive the dangerous pattern before chasing a faster damage rotation. When a part becomes removable, use your Grappling Hook. Removing it creates a window in which the team can concentrate fire more comfortably.
Diagnose failed attempts instead of buying random upgrades. Frequent knockdowns suggest survival or movement problems. A timer expiring while everyone stays alive calls for checking weapon performance and shot placement. A repeated team wipe during the same phase usually means a mechanic needs attention. One universal module does not solve all three situations.
What to do after unlocking Hard
Finish the required story and access quests. Follow the available Ultimate Bunny reward progression, then establish a stable farming setup. Your first priorities in Hard are appropriately leveled equipment, enhanced core modules and one functioning Descendant. The number of unlocked endgame activities is a less useful measure of readiness.
Move into 400% Infiltration Operations for leveling and materials once you meet their access conditions. Keep world Hard difficulty separate from Intercept naming: later Intercepts were reorganized under Extreme. Access to an operation does not remove its requirements or the need to survive reliably after entering.
Next, develop a Fellow for looting convenience, expand your Descendant roster for specific tasks and work on Mastery. Use Crystallization Catalysts with a planned module layout. Socket assignment resets Descendant level or Weapon Proficiency, so make room for another leveling pass before committing the resource.
Frequently asked questions
Should I restart after choosing the wrong character?
No. The first selection does not permanently exclude the other starters. Learn the basic systems and switch to another available Descendant when you are ready.
Should every weapon drop be upgraded?
No. Develop your main loadout. Keep other weapons for a defined purpose, such as first-time Proficiency progression, a future build or a particular encounter.
Why does leveling barely improve my damage?
Descendant level does not replace weapon item level, module enhancement or a reactor that matches your damaging skills. Review those systems separately.
Should I spend all my Catalysts immediately?
Plan the build direction first. Confirm the modules, their compatibility groups and the purpose of each socket before investing repeatedly.