The First Descendant Void Intercept Guide: Colossi and Extreme
Void Intercept Battles are Colossus encounters where preparation, accuracy and mechanics work together. Strong equipment shortens a fight, but it does not replace a correct response to a dangerous phase. Understanding why a particular attempt failed is more useful than changing your entire character after every defeat.
Later Intercepts are now organized under Extreme. Update 1.3.34 renamed the former Hard difficulty and removed separate Abyss and Challenge categories. A route based on an old Hard boss list and an independent Abyss rotation can therefore lead to outdated access information.
This guide covers preparation, part management and troubleshooting. It supports both learning and repeat farming. The special mechanic of each Colossus still needs individual attention, while the selected encounter's information screen should determine its requirements and rewards.
Unlock Normal, Extreme and Critical Point Breakthrough
Normal Intercepts form part of story progression. Check their required quests and clear them as they become available. Use Seneca in Albion or the corresponding map section. Do not read the monster's level as a requirement for an identical Descendant level: these are different progression scales.
Extreme unlocks after all Fortress Main Quests and the Colossus of Another Level subquest. Work through its available Colossi. Once every Extreme Colossus is defeated, Critical Point Breakthrough becomes available. It has an Arche Activity requirement of 81,580.
Critical Point Breakthrough allows additional difficulty conditions. Higher settings change both risk and farming efficiency. Learn the basic encounter first, then add restrictions gradually. Being able to select a demanding condition does not automatically make it efficient for the current group.
Your pre-entry checklist
Information | Purpose | Common mistake |
|---|---|---|
Boss Attack Attribute | Choose incoming elemental protection | Confusing it with the boss's weakness |
Attribute Resistance | Select an effective offensive element | Attacking a strong resistance |
Weak points and parts | Plan aiming and removal | Shooting only the center of the body |
Weapons and modules | Establish consistent damage | Treating high item level as a complete build |
Encounter-specific rules | Complete mandatory mechanics | Treating every Colossus as the same DPS test |
Inspect the resistances and identify an actual elemental weakness. Separately prepare against the boss's attacks. Grave Walker, for example, attacks with Fire but is weak to Chill. Heat Antibody on your character and Chill Enhancement on a weapon therefore solve different parts of the encounter.
Do not remove your entire HP foundation to chase one resistance. Elemental protection helps against corresponding attacks, but the fight also requires surviving positioning errors and maintaining shooting time. Judge the setup by how consistently it handles the actual encounter.
Weapons: useful damage beats an impressive number
Your main gun must hit the relevant parts at a usable distance. High theoretical fire rate contributes little if recoil and boss movement send most shots away from the target. Choose a controllable weapon, then develop its modules and options.
Account for reloads, ammunition and genuine attack windows. Three weapons sharing one awkward ammunition reserve can leave you without a suitable answer at a critical moment. A secondary gun should have a job, such as precision part damage, another ammunition family or a useful effect.
For skill builds, check reactor matching and its Optimization Condition. Do not assume every Firearm ATK module boosts a Descendant's Unique Weapon. The interaction depends on the particular skill and should follow its description.
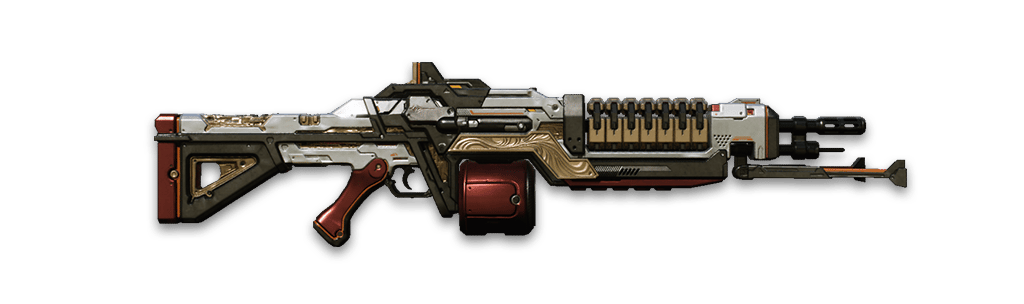
Enduring Legacy: inspect weapon level, modules and Unique Ability separately.
Weak points, destructible parts and removable parts
Learn to identify the desired part while the boss moves. Damage it deliberately, watch its condition and prepare your Grappling Hook. Destroying a part through gunfire and removing it after grappling are not identical actions.
When a removable part is weakened, grapple and complete the removal. This creates Groggy and a valuable focused-damage window. Coordinate with teammates so they understand which part is being used and when to commit their main burst rotation.
Do not expect guaranteed stagger during every animation. Particular mechanics have restrictions. Gluttony, for example, does not enter Daze during the Mining Device summoning animation. If an attempted interaction fails to create the expected opening, review the phase rather than repeating it blindly.
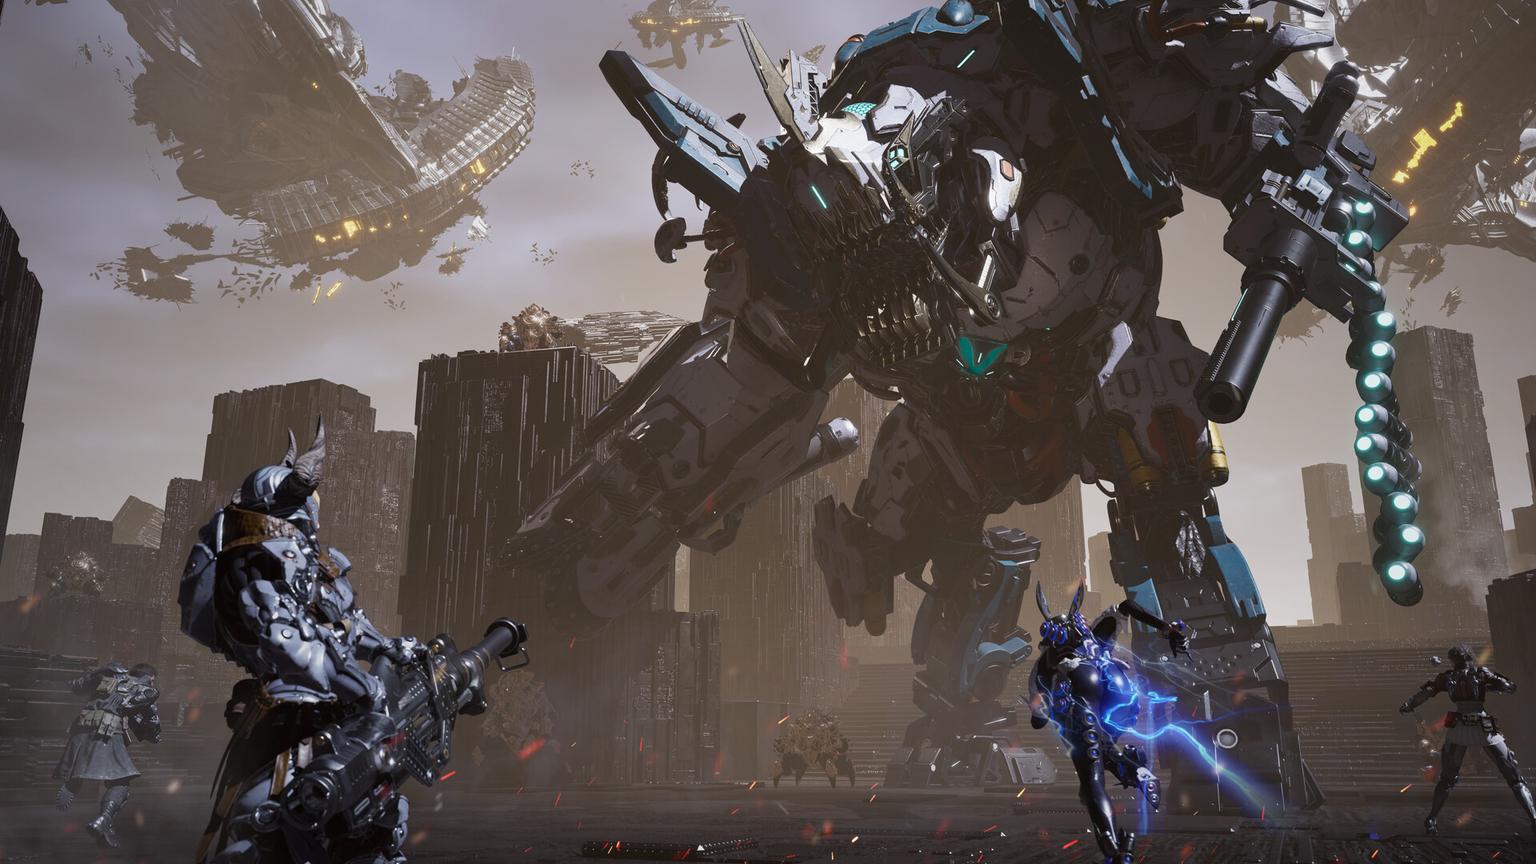
A Colossus encounter illustrating the battle format, without depicting Gluttony or a specific mechanic.
Respond to Frenzy correctly
Frenzy requires attention to the boss's state. A familiar damage target may stop being effective and the arena may introduce additional tasks. Learn the specific Colossus's Frenzy solution before optimizing your opening damage sequence.
Assign an initial mechanic player and a backup in group encounters. Roles do not need to remain fixed for the whole fight. What matters is knowing who responds first and who covers a knockdown or poor position. This is more reliable than expecting everyone to perform the correct action accidentally.
Coordinate the group
Confirm the mandatory mechanic before launching.
Choose an initial part for aimed damage and removal.
Maintain a distance that allows clear attack reads and accurate shooting.
Revive allies with incoming attacks in mind, rather than placing both players under another hit.
Stop unnecessary damage and perform the required phase mechanic.
Use the resulting safe window for coordinated burst.
Evaluate support by its actual contribution. Recovery, buffs and the ability to survive a mistake can improve the team's result even when personal damage is lower. However, adding support does not solve the rest of the group ignoring an encounter mechanic.
Diagnose an unsuccessful attempt
If teammates repeatedly fall, inspect HP, defenses and movement first. If everyone survives but the timer expires, review weapons, shot placement and time lost between phases. If the entire group fails at the same moment, look for an unresolved mechanic.
Change one important element at a time and compare the next result. Otherwise it is difficult to know whether a module, character swap or more careful execution made the difference. Farming optimization becomes easier once victories are consistent.
Choose a reward before repeat farming
Check the current Extreme rewards in the interface. Research changes mean old Amorphous Material Pattern tables should not be treated as a complete modern loot list. For a particular component, begin with the Library and Acquisition Info, then select an appropriate encounter or another source.
Frequently asked questions
Can I enter without a full group?
Check the launch options for the selected encounter. Some Intercepts support solo play, but the specific boss's rules take priority over a general recommendation.
Are Hard and Extreme separate late-game paths?
No. The later Intercept Hard category was renamed Extreme. World Hard difficulty and other operations' difficulty settings remain separate.
Must I always use a character with the boss's weakest element?
The right element helps, but consider the full build, weapon, mechanics and team responsibilities. One Attribute cannot guarantee a clear.
What should I upgrade first?
Fix the cause of the failure: survival, reliable damage or mechanic execution. Optimize completion time once those foundations work.