WoW Midnight Augmentation Evoker Guide: Buffs and Rotation
Augmentation is a damage specialization whose output combines its own spells with damage enabled through allies. You occupy a damage slot, while bringing tools that also help the group survive and move. Maintaining support effects requires an active casting cycle, not standing beside stronger players and waiting.
This guide covers PvE in Midnight Season 2 and Patch 12.1.5. It explains the central buff cycle, talent choices, raid and dungeon decisions, equipment and practical preparation. Recommendations assume group play; a solo character has fewer opportunities to benefit from ally-focused effects.
Component | Your job |
Ebon Might | Maintain useful uptime on eligible damage dealers |
Prescience | Choose valuable recipients and avoid capped charges |
Eruption | Spend Essence and extend active Ebon Might |
Empower spells | Deal damage, extend buffs and trigger supporting effects |
Breath of Eons | Create a useful damage window and summon your Duplicate |
Do not judge the specialization solely by a meter showing direct personal damage. Equally, the support role does not excuse idle casting, poor positioning or missed mechanics. Your spells determine how much useful support the group actually receives.
Ebon Might no longer needs four chosen recipients
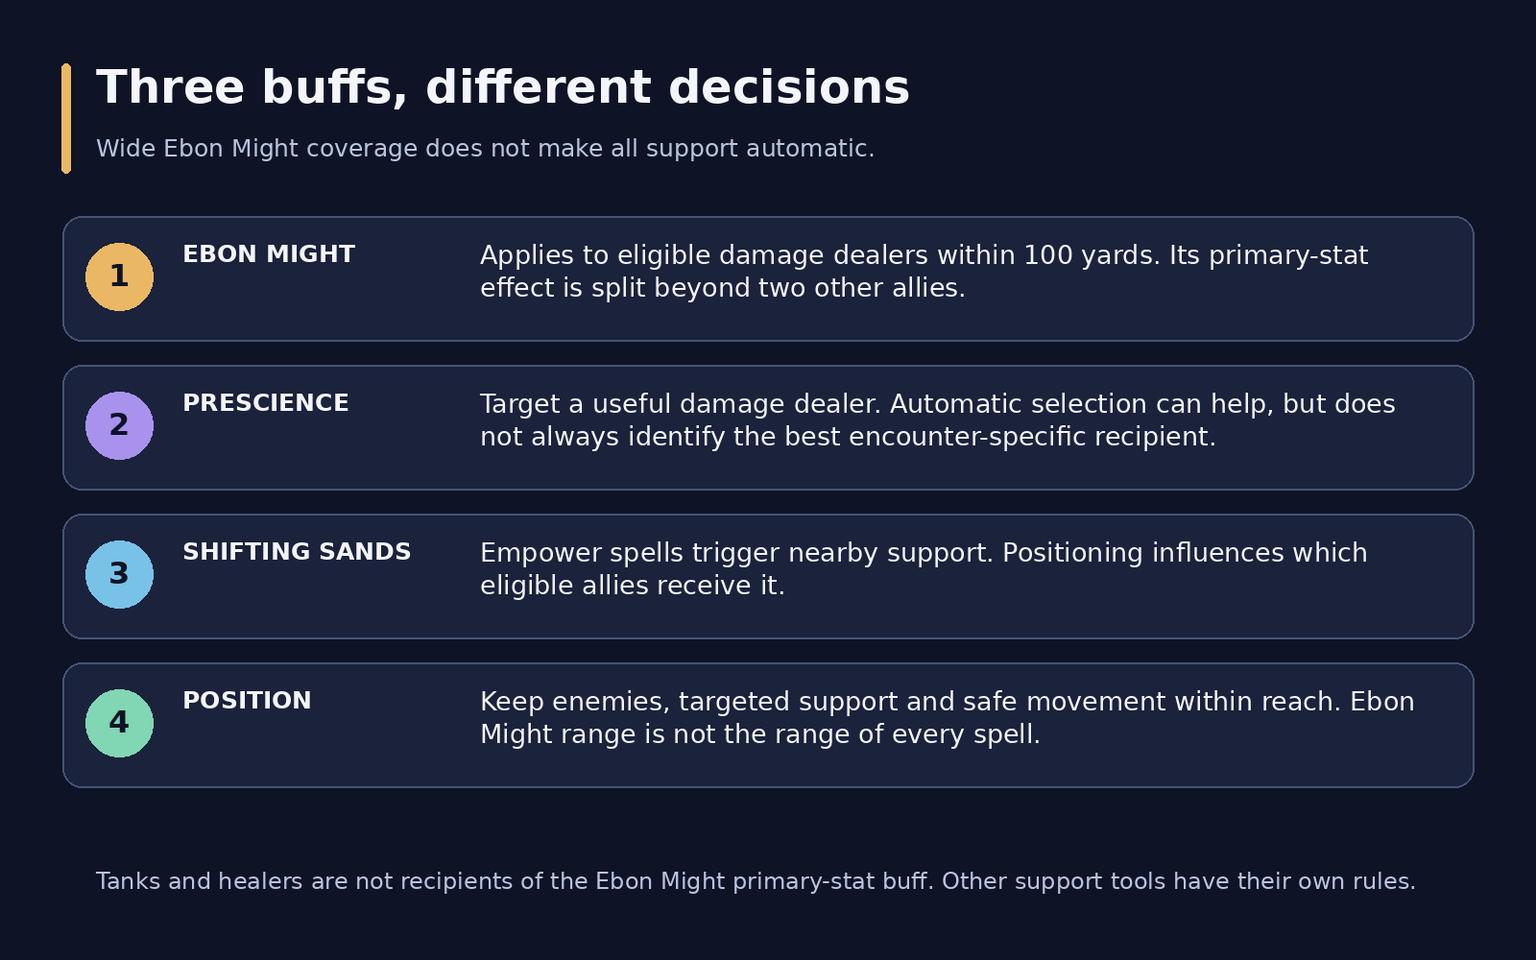
In Midnight, Ebon Might applies to damage dealers within 100 yards instead of requiring the old small selection of recipients. Tanks and healers are not eligible recipients of this primary-stat effect. The bonus is divided when it affects more than two other allies; a large raid does not receive the full small-party bonus on every player.
This wider application simplifies one task, but does not remove positioning. Your offensive spells and targeted help have much shorter ranges. Shifting Sands also favors nearby recipients, so where you stand can influence who benefits. A player inside Ebon Might's broad reach may still be outside another important ability's range.
Separate three decisions: keeping Ebon Might running, choosing Prescience recipients, and standing where your spells and nearby support reach useful targets. Treating them as one automatic system loses much of the specialization's value.
Hero Talents and useful loadouts
Chronowarden is the current starting recommendation for raids and demanding coordinated keys. It emphasizes support effects, Prescience and a faster resource cycle. Scalecommander remains a reasonable option for weekly keys, with a more direct damage focus and a convenient instant filler in the relevant build.
Assignment | Starting direction |
Raid progression | Chronowarden with planned support targets and cooldown timings |
High coordinated keys | Chronowarden, adapting utility to the route |
Weekly keys | Scalecommander is viable when its familiar playstyle helps execution |
Learning | Keep one complete loadout and practice its priorities before comparing variants |
Season 2 changed Wingleader and reduced Scalecommander's former cooldown loop. Duplicate-cast Upheavals also stopped knocking enemies into the air. Do not count on the copy to provide an extra uncontrolled interruption, or assume the previous season's strongest dungeon setup remains unchanged.
Time Skip and Interwoven Threads alter cooldown planning. Select them with the encounter's timings in mind rather than combining fragments from different builds. If you choose Time Skip, use the channel when the abilities it should recover are actually on cooldown. An unnecessary channel while those tools are ready does little for the next cycle.
Blistering Scales is also build-dependent. It is commonly relevant to dungeon setups, while some raid builds omit it. When selected, place it on the tank and check the chosen interactions; do not present it as a mandatory button in every loadout.
Essence and the repeating cycle
Essence recovers over time and fuels Eruption. Essence Burst allows a free spender, with the selected stacking talent letting you retain two charges. Watch that buff before another generator, especially when both charges are already available.
Your normal cycle establishes Ebon Might, then extends it with Eruption and empowered casts. Spending those tools while Ebon Might is absent wastes their extension opportunity. When resources run low, use the filler appropriate to your loadout to keep dealing damage and obtain further procs.
Living Flame is not always the best single-target filler for every build. Scalecommander with Echoing Strike can favor Azure Strike even against one enemy; Living Flame still matters for consuming Leaping Flames. Chronowarden uses its own corresponding flame interactions. Check the complete loadout instead of treating a movement backup from another build as your universal rule.
Empower ranks should solve a problem
A longer empower is not automatically a better cast. Fire Breath changes the balance between initial damage and its damage-over-time effect. Higher ranks can add Leaping Flames value, but the additional casting time must not make an important buff expire or delay the next useful spell.
Upheaval primarily gains area coverage from additional empowerment. Choose the lowest rank that covers the intended enemies. Rank 1 is sufficient for a tightly placed single target, while a spread-out pack may need a larger radius.
Situation | Practical choice |
Upheaval on a single compact target | Rank 1 normally covers the requirement |
A spread-out pack | Increase Upheaval only as much as needed for coverage |
Comfortable Fire Breath window | Consider higher rank for the selected interactions |
Ebon Might or Duplicate about to expire | Prefer a prompt useful cast over unnecessary charging |
Tip the Scales ready | Use the instant full empower to fit the planned sequence |
Hover lets you cast many spells while moving, but does not ordinarily allow normal empowered casts on the move. Tip the Scales provides an instant empowered spell when available. Plan a safe stationary moment for the remaining empowers rather than starting them during forced movement.
Breath of Eons and Duplicate
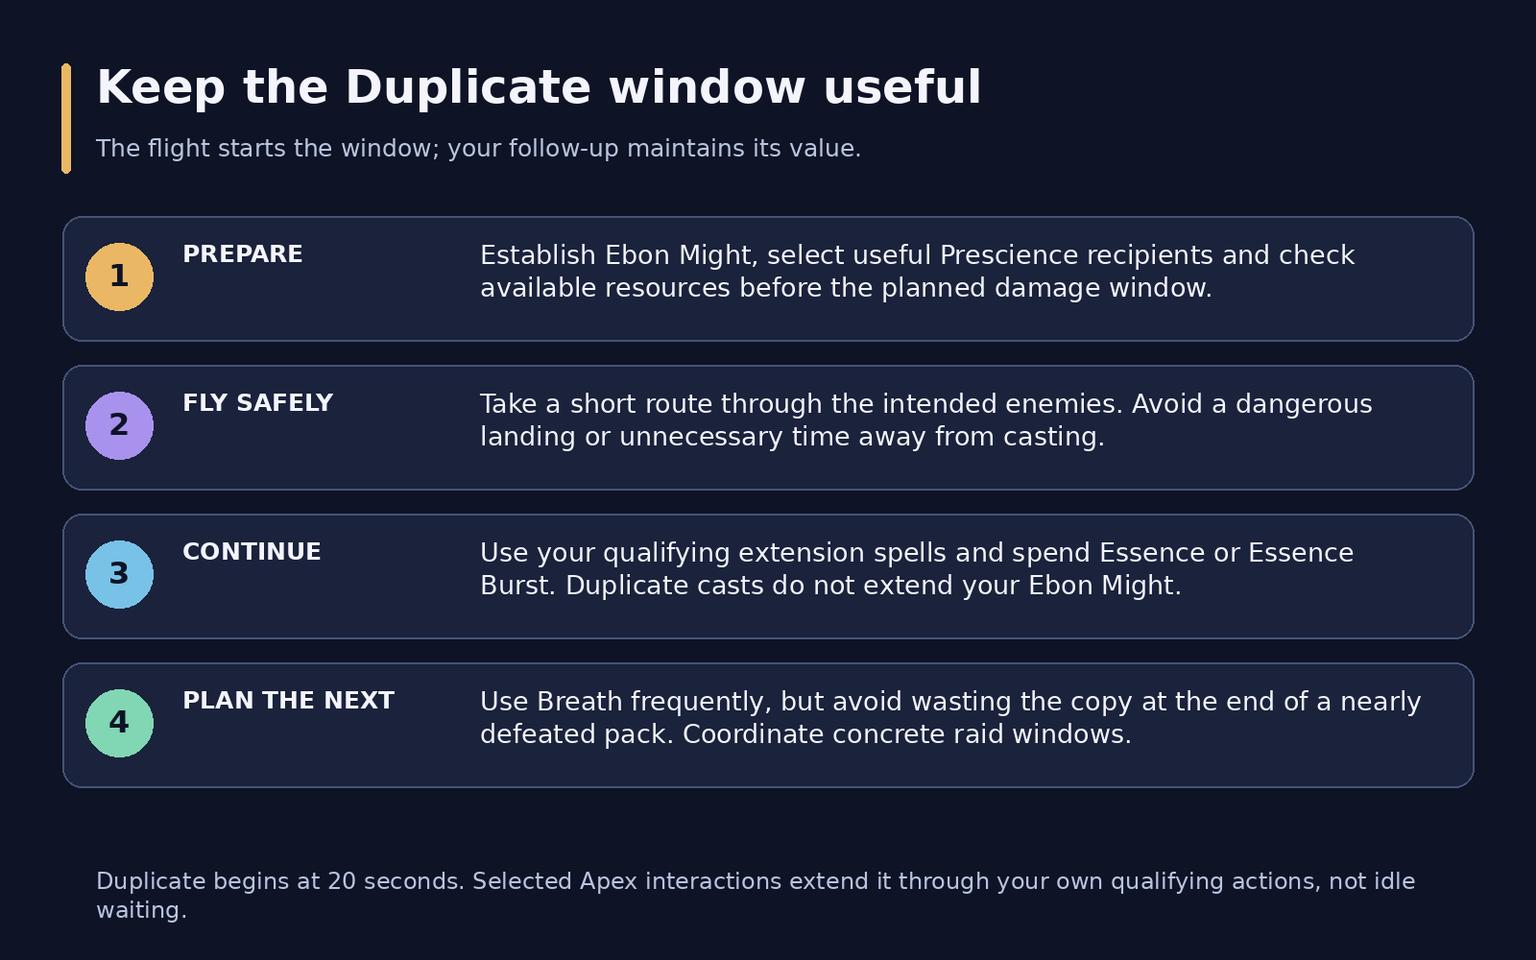
Breath of Eons applies Temporal Wound to enemies crossed during the flight and interacts with damage dealt by Ebon Might recipients. Plan a short safe route through the relevant targets. A longer cinematic flight does not justify arriving in danger or delaying subsequent casts.
Establish Ebon Might before the planned window so its duration and the following casts work together. Continue extending it afterward. Duplicate begins with a 20-second duration and casts damage spells independently; its own casts do not extend your Ebon Might. Your qualifying extension spells maintain the active copy through the selected Apex talents.
That makes the follow-up just as important as the flight. Use the available Eruption casts, release your empowers appropriately and avoid overcapping resources. Recasting Ebon Might is not equivalent to every qualifying extension for Duplicate, so do not assume one button maintains both effects by itself.
Use Breath frequently rather than holding it indefinitely for one ally's cooldown. A brief planned delay for a raid damage window can be useful if it does not lose a whole cast. In dungeons, avoid sending it into a nearly finished pack when the next group would make much better use of the copy.
Prescience and the Season 2 set
Prescience remains a targeted critical-strike buff. Automatic selection can help while learning, including casting it with an enemy targeted, but it does not always identify the best recipient for a specific encounter. Start with reliable damage dealers, then refine the choice around their useful cooldowns and the group's priority targets.
The Season 2 two-piece bonus reduces Upheaval's cooldown by ten seconds. Four pieces make Upheaval temporarily strengthen Fate Mirror, giving Prescience targeting additional importance. This is not the old description of a generic empower-speed bonus during Ebon Might.
Do not choose recipients only from a fixed class list. An ally who is dead, moving without attacking or unable to reach the target will not realize the expected benefit. Review the actual encounter, and coordinate decisions with another Augmentation player when your group has one.
Utility without losing the encounter
Quell interrupts eligible casts. Upheaval and Tail Swipe knock enemies into the air; Wing Buffet pushes enemies away. These stops are not interchangeable with a spell lockout, and some enemies can cast again after landing. Avoid scattering the pack out of allied damage areas.
Cauterizing Flame removes eligible bleeds, poisons, curses and diseases. It does not remove every magic debuff. Coordinate its use with the healer so the group retains an answer for the next dangerous application.
Zephyr protects you and up to four nearby allies from area-of-effect attacks; it is not blanket damage reduction for an entire raid. Use Obsidian Scales proactively for personal threats. Rescue requires a safe destination as well as a reachable ally, because moving someone into a second mechanic can make the situation worse.
Spatial Paradox can help a healer cast while moving and extend range. Time Spiral offers an extra use of the affected movement ability for a short period. Choose the support tool you will actually use, communicate the moment, and keep Fury of the Aspects aligned with the group's agreed plan.
Equipment and stat priorities
Intellect and meaningful item-level upgrades are the foundation. For group play, Mastery is generally the strongest secondary starting point, followed by Critical Strike and Haste, with Versatility lower for damage. Compare Mastery alongside the other stats instead of selecting only Crit and Haste.
Mastery supports buff duration and Shifting Sands. It is not merely another personal-damage multiplier, and its value differs when you play alone. Rings and necklaces also deserve separate comparisons because they do not carry the same primary-stat budget as armor or weapons.
Upgrade | Examples to compare |
Main-hand weapon | Jan'thrazet, the Soul Fang |
Matching off-hand | Hissing Voidspike |
Raid trinkets | Font of Venomous Rage and Twisted Horror's Tendril |
Crafted armor | Farstrider's Plated Bracers or Farstrider's Trophy Belt |
Set progression | Complete four Season 2 pieces, then compare suitable slot combinations |
Compare complete gear sets using the actual talents, encounter profile and relevant support contribution. A personal-damage result alone is an incomplete optimization target. Trinket timing also matters: cooldown reduction can prevent every active item from lining up perfectly with Breath of Eons.
Gems, enchants and supplies
Use one Indecipherable Eversong Diamond as a starting point. Flawless Deadly Amethyst supports Mastery and Critical Strike in other sockets; compare alternatives when your stat balance changes. Do not collect different colors for an effect this diamond does not require.
Slot | Starting enhancement |
Weapon | Arcane Mastery |
Helm | Empowered Rune of Avoidance |
Shoulders | Amirdrassil's Grace |
Chest | Mark of the Worldsoul |
Legs | Sunfire Silk Spellthread |
Boots | Lynx's Dexterity |
Rings | Zul'jin's Mastery |
These armor choices provide a practical baseline. Other current recommendations emphasize different utility enchants, so compare those against your assignment and budget.
Purpose | Preparation |
Flask | Flask of the Magisters |
Combat potion | Potion of Recklessness when Mastery is highest; Light's Potential as an alternative |
Healing | Concentrated Silvermoon Health Potion |
Weapon buff | Thalassian Phoenix Oil |
Food | Hearty Silvermoon Parade or Hearty Royal Roast |
Additional Intellect | Void-Touched Augment Rune when affordable |
Choose professions for your crafting plans and supply costs. No profession compensates for a missed buff cycle, and no single pair is required to play the specialization.
Review useful support
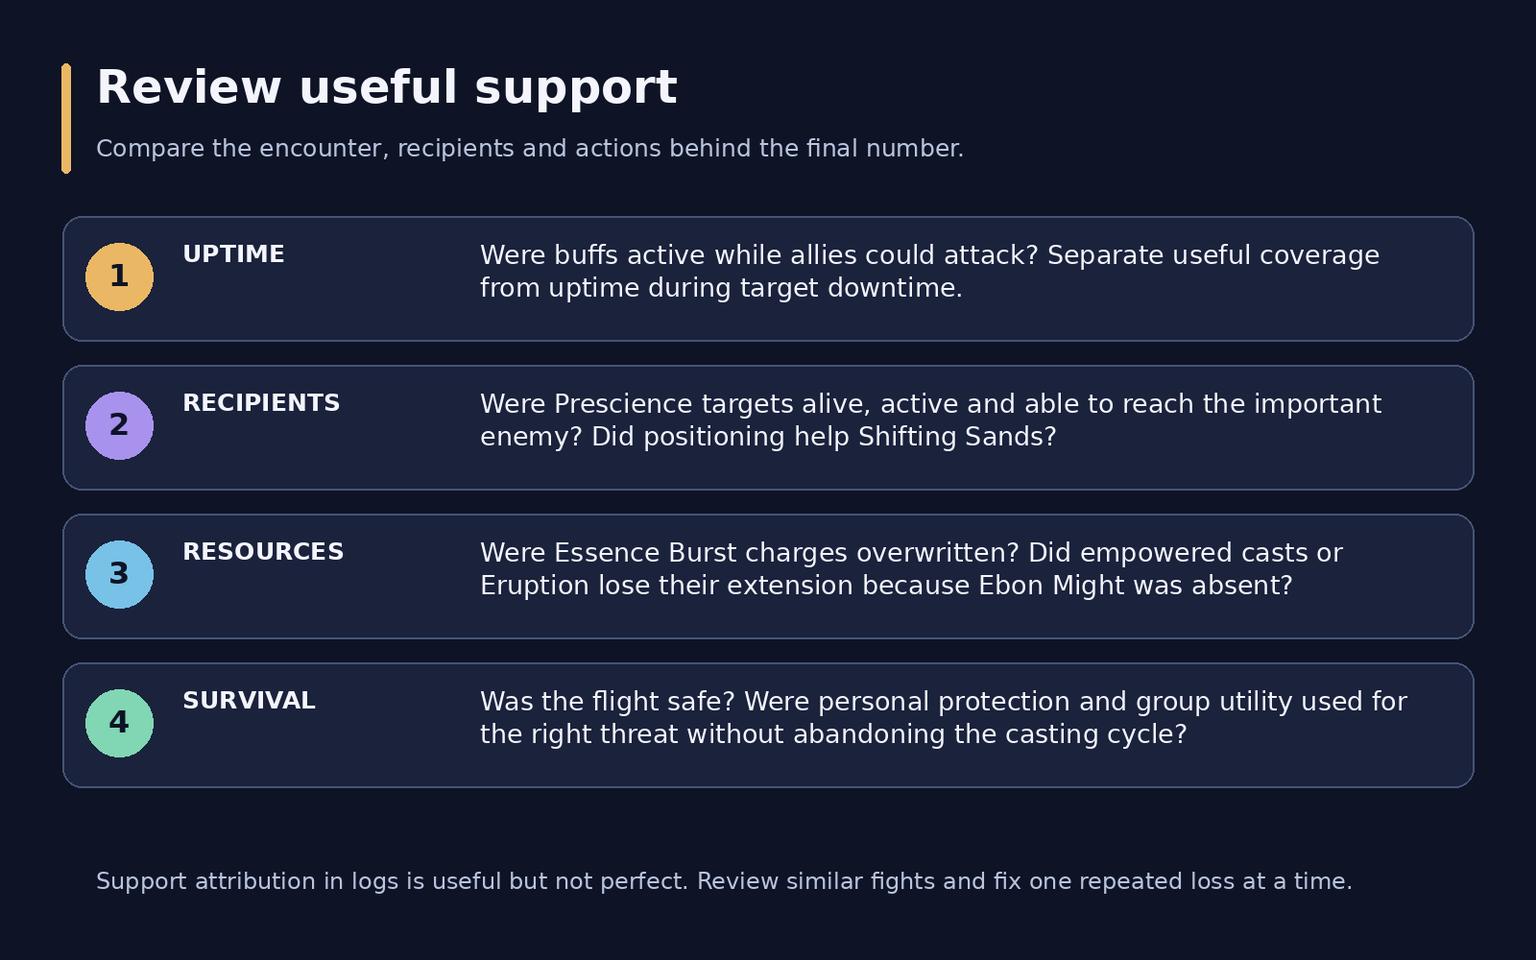
Warcraft Logs can attribute damage enabled by support effects, but that attribution is not perfect for every event. Compare similar encounters and inspect buff uptime, recipient activity, resource waste and safe flight timing together. A high uptime percentage during downtime can look better than the useful support it produced.
Frequently asked questions
Does automatic Ebon Might remove manual targeting?
It removes the old small recipient selection for that buff. Prescience and other targeted support still need decisions.
Does Duplicate keep my buffs active for me?
Its own casts deal damage without extending Ebon Might. Continue your normal extension cycle.
Is Scalecommander the default for every dungeon?
It remains viable for weekly keys. Current demanding-key recommendations favor Chronowarden, with utility adapted to the route.