WoW Midnight Frost Mage Guide: Talents, Rotation and Gear
Frost rewards a player who can keep several small decisions moving: spend target debuffs, use available procs, and find a safe position for the next important cast. Slowing enemies remains part of its identity, but familiar spell names conceal a substantial Midnight redesign. Returning players should rebuild their understanding of Shatter before trying to reuse an old rotation.
This guide is checked for patch 12.1.5 and Midnight Season 2 on October 16, 2026. It covers raids, Mythic+ and solo play. Treat recommendations as a practical starting point rather than a promise of a particular damage ranking. Your build, equipment, encounter and completed casts all affect the result.
The appeal is straightforward: ranged damage and movement control fit naturally together. The limitation is that control cannot solve every encounter. A slowed ordinary enemy is manageable; unavoidable raid damage still requires a defensive plan. Ray of Frost also needs a safe casting opportunity, even when the rest of a pull feels comfortable.
Understanding the new resource loop
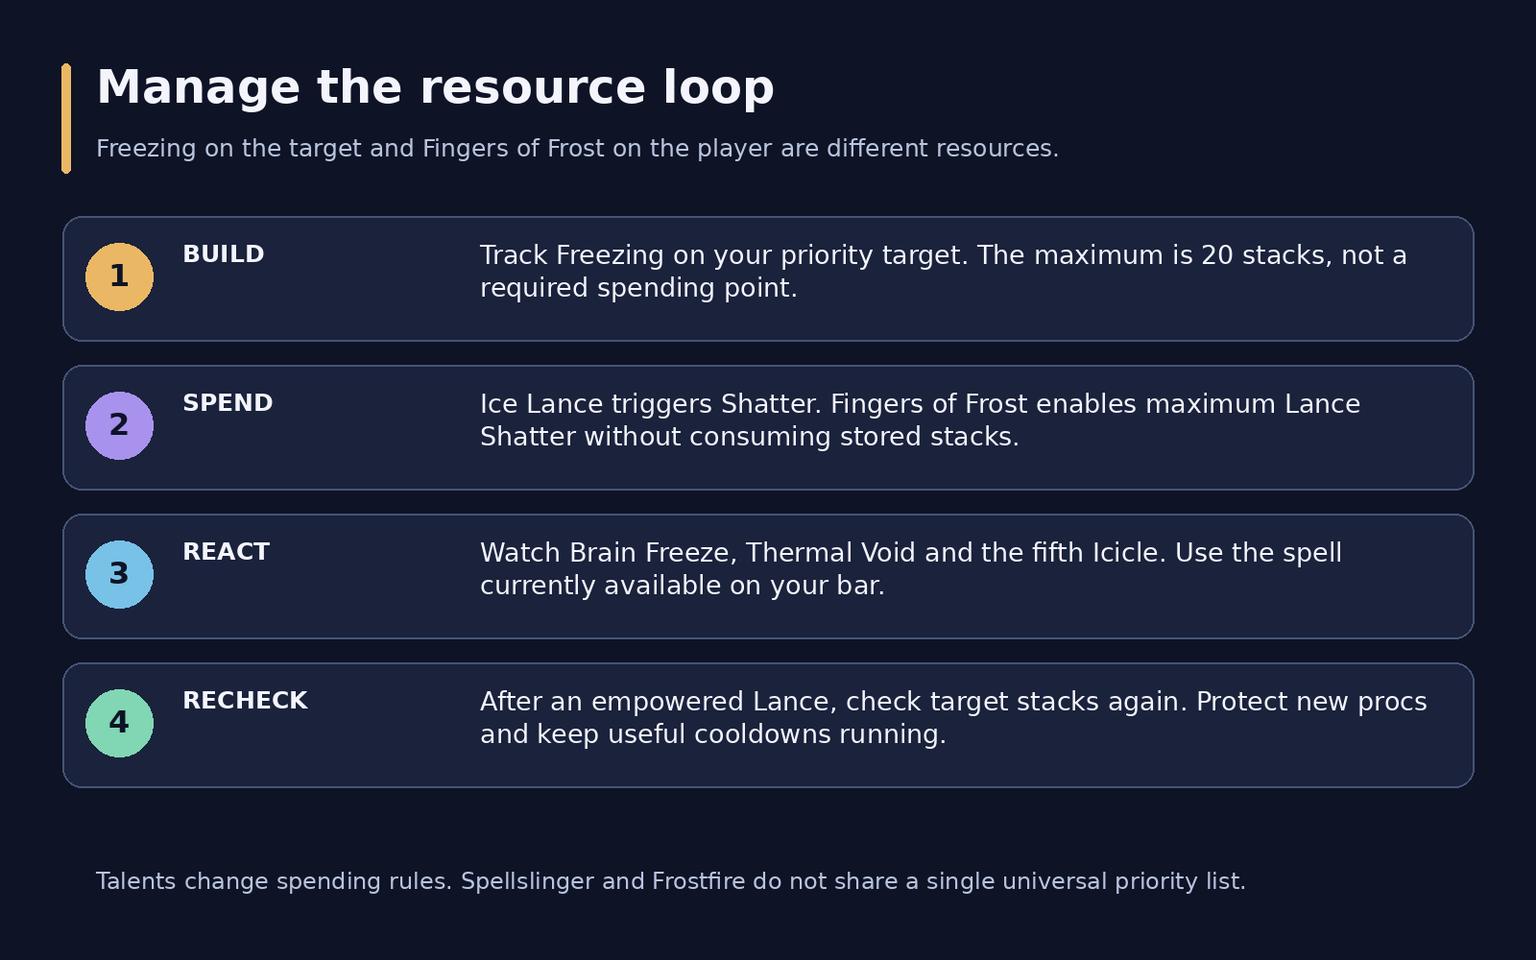
Freezing is a target debuff that stacks to 20. Selected spells consume those stacks to trigger Shatter damage. The old rule about reaching 33.34% Critical Strike for the previous version of Shatter does not carry over. A target being rooted and a target having Freezing stacks are different states.
Element | Watch for | Practical response |
Freezing | Stacks on your current target | Spend before overflowing; 20 is a limit rather than a compulsory waiting point |
Fingers of Frost | Available empowered Ice Lances | The empowered Lance produces its maximum Shatter without consuming stored stacks |
Brain Freeze | An empowered Flurry | Account for Thermal Void instead of overwriting a useful effect |
Icicles | The fifth Icicle becoming available | With the relevant talent, Frostbolt changes into Glacial Spike |
Comet Storm | Ray of Frost changing into another button | Use the available follow-up when talented; do not assume an automatic volley after every channel |
Icicles develop over time, with Haste affecting their generation. Do not try to reconstruct an older system in which every familiar cast necessarily built the next Icicle. Watch the spell that is actually available on your bar and the state of the target.
Consider a target with substantial Freezing while you have two Fingers of Frost procs. Spending the procs protects you from losing another proc, but those empowered Lances need not lower the target's stored stacks. Check the target again afterward. This distinction explains why a series of Ice Lances may not empty the debuff as expected.
Choosing a build for the encounter
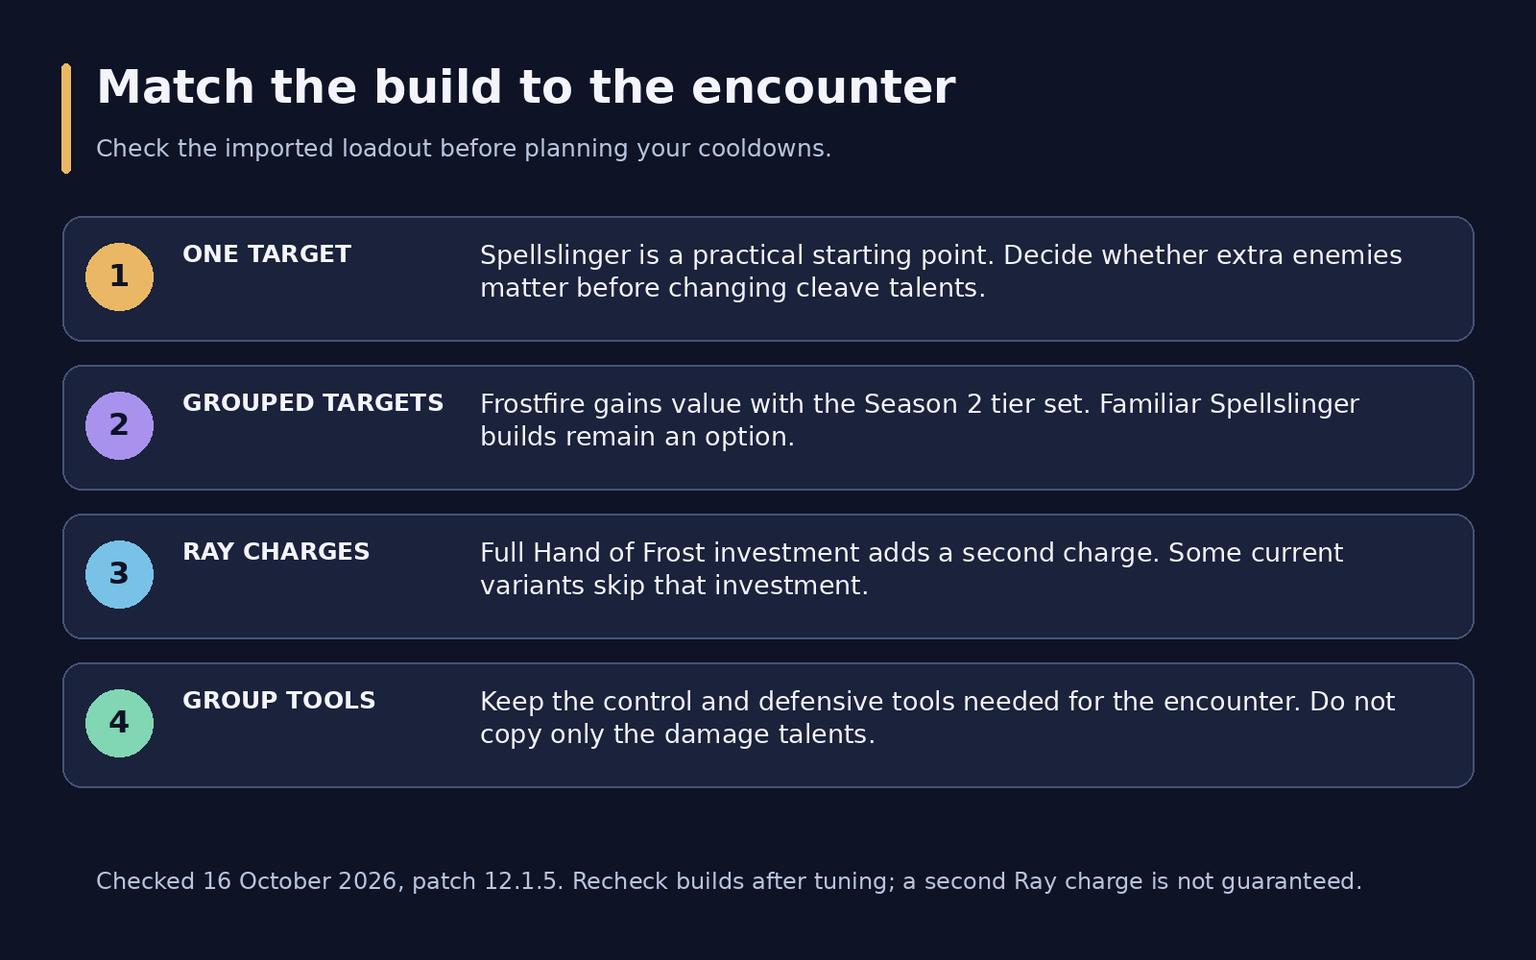
Spellslinger is the initial recommendation for single-target work. Frostfire gains particular value in grouped encounters with the Season 2 set. Their priorities differ enough that combining both into a single universal list is a poor way to learn either.
Situation | Starting point | Check before committing |
One important enemy | Spellslinger | Whether additional enemies actually matter to the encounter |
Raid encounters with adds | Spellslinger with cleave talents | Splitting Ice and Fractured Frost versus a pure single-target allocation |
Dungeons and stacked enemies | Frostfire or a familiar Spellslinger setup | Tier bonuses, pull length and opportunities to finish casts |
Delves and outdoor play | A build you can execute reliably | Control, defensives and the ability to finish a fight alone |
Hand of Frost supports the Shatter loop and, when fully invested, adds a second Ray of Frost charge. It does not mean four charges, and it is not a property of every build. Current Frostfire variants can skip the Apex investment to reach other strong talents. After importing a loadout, inspect your actual bar: a plan involving a spare charge makes no sense when your build has only one.
Preserve the purpose of a copied loadout. Trading some single-target allocation for relevant cleave can help more than chasing a small theoretical advantage. Equally, removing a required control tool can make a dungeon harder for the whole party. Learn one version first, then make deliberate changes for a specific encounter.
The Omnium Folio provides another progression system rather than replacing the class trees. Complete available unlocks and review your nodes, but keep its smaller choices in proportion. Learning the main spell loop is a more useful first exercise than repeatedly changing minor runes while making the same casting mistakes.
Rotation priorities and the opening sequence
Use a priority system: after each action, reassess what is available and what the encounter permits. The following is a condensed Spellslinger reference. Talent-dependent buttons only apply when selected; Frostfire has a separate ordering.
Order | One or two targets | Three or more enemies |
1 | Brain Freeze Flurry when Thermal Void is absent | Apply the same condition |
2 | Ice Lance at two Fingers of Frost stacks | Avoid losing another proc |
3 | Frozen Orb | Send it through the gathered pack |
4 | Glacial Spike when available | Do not leave the ready Spike unused without a reason |
5 | Ice Lance with Fingers of Frost | Freezing Rain Blizzard, then the empowered Lance |
6 | Ice Lance at six or more Freezing | Spend stacks on the priority enemy |
7 | Ray of Frost with no more than three Icicles | Use a safe Ray, then other available actions |
8 | Flurry, then Frostbolt | Flurry and appropriate remaining filler |
A usual Spellslinger opening starts with a prepared Frostbolt, followed by Flurry, Frozen Orb and Ray of Frost. For multiple enemies, Blizzard can serve as the preparation cast. After the opener, return to current priorities immediately. Procs make replaying the same opening buttons an unreliable plan.
Frostfire gives Glacial Spike and Comet Storm more prominent positions. Its ordinary Ice Lance stack threshold is around 12 on a single target, while Fingers of Frost combined with Thermal Void has its own priority. The six-stack Spellslinger rule is not interchangeable with this. Frostfire Bolt occupies the appropriate filler position when that replacement is selected.
Getting value from Ray of Frost
The base channel lasts four seconds before Haste. Before starting, look at the next mechanic and identify a safe destination if movement becomes necessary. Shimmer, when selected, can reposition you without an ordinary step cancelling the channel. Choose the landing point first; teleporting into another hazard does not preserve useful uptime.
For normal play, aim to complete the channel. Some Frostfire variants have intentional early-cancellation cases for their proc interactions. That is an advanced build-specific decision, not an instruction to interrupt every Ray. With two charges, you can hold one for an important target while the other recharges. Sitting at two full charges for a long time sacrifices future uses.
Adjusting to dungeon pulls
Pick an important enemy that will stay near the rest of the pack. Launch Frozen Orb once the tank has established the group position. A pack moving out of your damage can cost more than a small error in button order.
Blizzard does not have one universal rule across all loadouts. Freezing Rain makes its instant application attractive, while hard-cast usage depends on talents and target count. Frostfire and Spellslinger handle those decisions differently. Several enemies on screen are not a reason to replace the rest of your rotation with repeated Blizzard casts.
Staying alive and helping the party
Use Ice Barrier before predictable damage where possible. Glacial Bulwark and the relevant supporting talents can provide additional defensive charges, but those charges still need time to recover. Ice Block and the Ice Cold alternative are different tools: damage reduction should not be mistaken for full immunity.
Alter Time requires a sensible return position and a healthy starting snapshot. Following Season 2 adjustments, automatic Temporal Realignment is not an obvious default for everyone. If you choose the manual option, practise returning before lethal damage rather than waiting until the outcome is already decided.
Do not budget the old damage reduction from Mirror Image or Greater Invisibility into a survival plan. They can still solve other problems, but their previous defensive effects are not a safe assumption. Interrupting dangerous casts, removing curses and stealing eligible enemy buffs also reduce pressure on the group.
Refresh Arcane Intellect before a raid and coordinate Time Warp with the party. While moving, use suitable instant spells or renew a needed defensive. A useful action is better than stopping completely while waiting for the perfect combination. Keep your attention on the next safe casting location rather than only on the damage meter.
Season 2 gear and secondary stats
Start with Intellect, then Mastery and Critical Strike, followed by Haste and Versatility. This is a direction for comparison, not an instruction to buy only Mastery. The relative value changes with your equipment, and a set bonus or special item effect can outweigh a simple item-level comparison.
Goal | Examples or requirement | Decision to make |
Four tier pieces | Primal Leywarden's Attire | Compare the full set, especially for Frostfire and Glacial Spike |
A strong weapon | Jan'thrazet, the Soul Fang | Compare it with your weapon and any required off-hand together |
Competitive trinkets | Gebbo's Bottomless Bag, Wavecaller's Seastone, the new Kith'ix trinket | Test the pairing and scenario; current specialist lists differ |
Crafted equipment | Aln'hara Cane or armor with Arcanoweave Lining | Account for available weapons, tier slots and existing embellishments |
Upgrading owned items | A lasting improvement to your current set | Estimate the gain before spending limited materials |
The Season 2 set strengthens Glacial Spike and affects Icicle generation. A proposed armor replacement therefore needs more scrutiny than comparing its two secondary stats. Check whether the four-piece bonus survives, then compare the resulting equipment as a whole.
There is no mandatory trinket pairing that wins for every character at every item level. One current recommendation includes the new Kith'ix drop, while another retains older options for an ideal equipment set. Treat a new item as a candidate to test rather than a guaranteed upgrade. A list designed around perfect gear can answer a different question from a list helping a progressing character.
Run comparisons with your real talents and a plausible fight length. Separate raid priorities from dungeon goals. Be especially careful before crafting in a tier slot: correcting an unnecessary resource expense is harder than replacing an ordinary drop. For a one-hand weapon change, include the off-hand in the comparison rather than evaluating only half of the final setup.
Enchants, gems and consumables
Slot | Practical starting point |
Weapon | Acuity of the Ren'dorei or Jan'alai's Precision, checked for your character |
Chest | Mark of the Worldsoul |
Head and shoulders | Empowered Rune of Avoidance and Amirdrassil's Grace; consider the tertiary effect you need |
Legs and boots | Sunfire Silk Spellthread and Lynx's Dexterity |
Rings | Eyes of the Eagle or the result of your own comparison |
Sockets | Powerful Eversong Diamond with a suitable supporting gem combination |
Read the diamond's requirements before filling the remaining sockets. Do not automatically use one gem family everywhere: a current recommended arrangement includes Amethyst, Garnet, Peridot and Lapis. Compare your gems alongside the potion setup instead of treating each enhancement as an isolated stat decision.
Preparation | Bring |
Flask | Flask of the Magisters or Flask of the Shattered Sun for the chosen setup |
Combat potion | Potion of Recklessness; compare Light's Potential as an alternative |
Recovery | Concentrated Silvermoon Health Potion, with Healthstones used separately |
Weapon augment | Thalassian Phoenix Oil |
Food and rune | Appropriate personal food or Harandar Celebration; Void-Touched Augment Rune when affordable |
Current specialist pages differ on flask and weapon enchant recommendations. Choose a coherent setup for your equipment instead of combining disconnected top entries. Gathering tea should not be counted as a required dungeon movement buff: outdoor usefulness does not establish an instanced combat benefit.
A practical learning plan
While leveling, pull enemies you can keep at range and retain an escape route. A Water Elemental may help with control, but do not expect it to replace a tank. Profession choice should fit your budget and convenience. Tailoring with Enchanting supports personal equipment improvements, while Alchemy with Herbalism supports consumable production. Neither pairing is a requirement for the specialization to function.
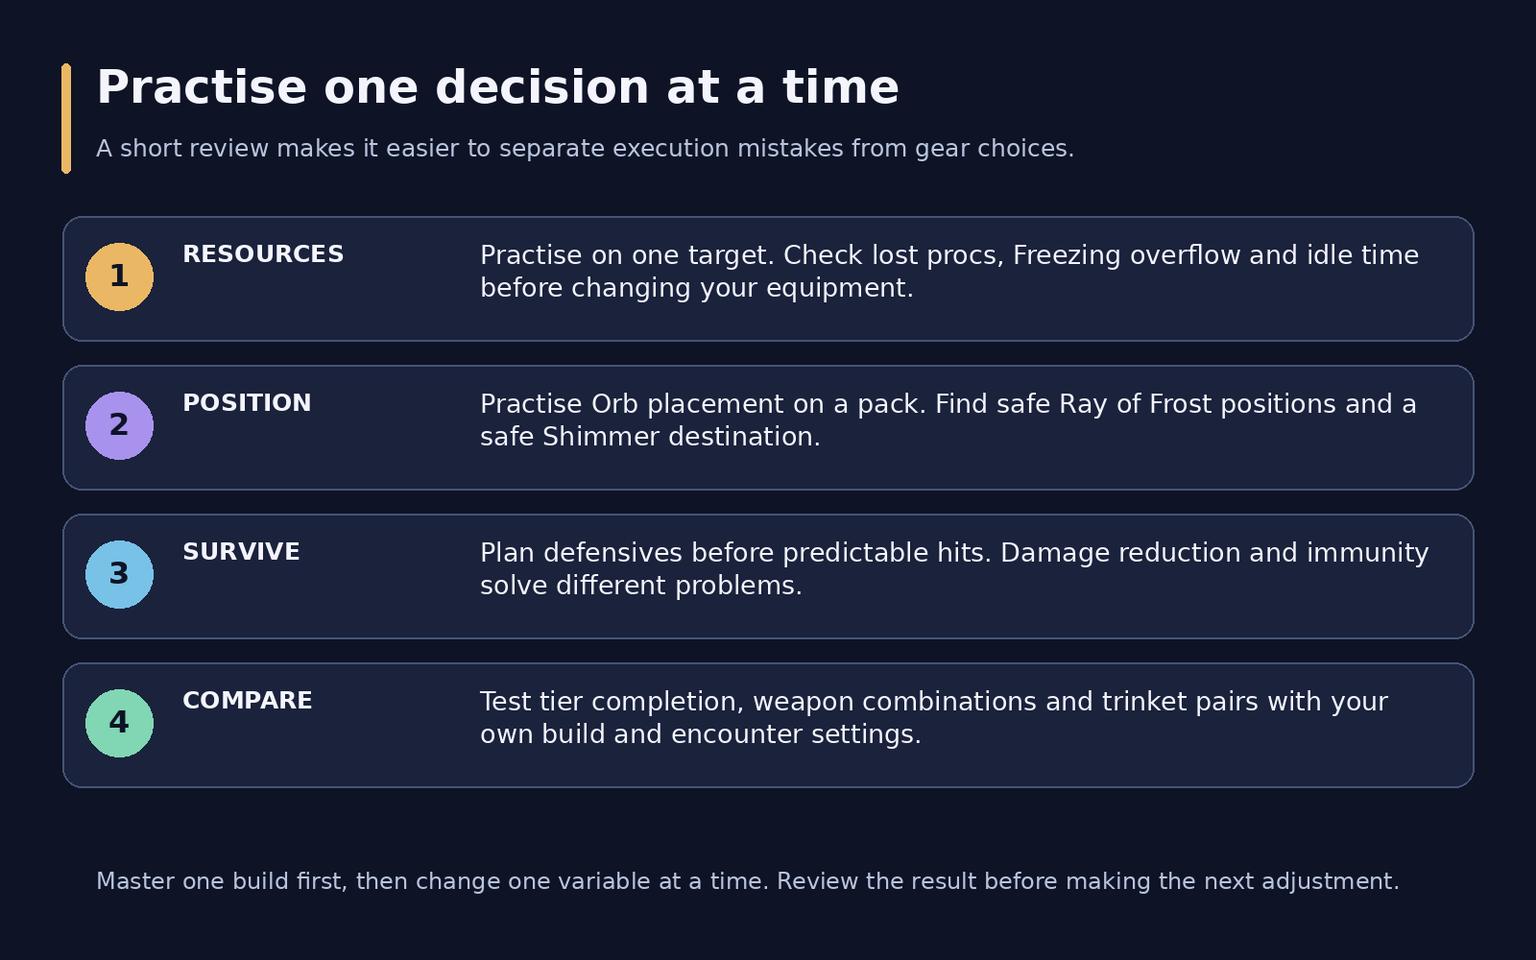
Train in stages. First practise on one target without losing procs. Next, use a pack to learn Orb positioning. Finally, add movement and deliberate defensive use. Review one repeated mistake at a time. That approach makes it easier to distinguish an execution problem from a build choice and gives each practice session an observable objective.
Frequently asked questions
Should I always wait for 20 Freezing stacks
No. That is the cap. Spending thresholds and empowered Lance priorities depend on the build, and waiting for the limit often wastes new stacks.
Can I use one talent build everywhere
Yes, while learning. Later, adjust cleave and useful group tools for the content. Keep Spellslinger and Frostfire priorities separate when you switch.
Why can I not prepare Glacial Spike for every raid pull
Its availability depends on Icicles, which reset at the start of a raid encounter. Do not assume that a prebuilt Spike will always be part of your opener.
What should I improve first
Correct lost casts and avoidable deaths first. For equipment, compare tier completion, weapons and strong special effects. A universal shopping order cannot account for what you already wear.