WoW Midnight Mining Guide: Leveling and Specializations
For a convenient start, unlock mounted gathering by investing 40 Knowledge in the Meticulous Mining root. Follow with Plentiful Ores and the ore types that actually appear along your routes. Over-LODED supports infused deposits, but its early value depends on how often you interact with those deposits rather than on its name alone.
Mining supplies Blacksmithing, Engineering and Jewelcrafting. A crafting partner is optional if you plan to sell materials: Herbalism lets you collect two resource groups during the same trip. For your own equipment, choose a partner around the recipes you need. Ore you gather yourself still has a value because selling it is an alternative to processing it.
This guide was checked on October 16, 2026, for Midnight Season 2 in the context of Patch 12.1.5. It covers learning the profession, materials, leveling to 100, specializations, Overload, Knowledge and gathering preparation. It does not assume a fixed income or a single route that is best for every player.
Learning Mining and identifying your materials
Learn Midnight Mining from Belil in Silvermoon City, around 42.6, 52.8. Check basic Mining training too if the profession is new to your character. Enable deposit tracking on the minimap and make sure you are looking at the current expansion's skill rather than an older profession category.
Quality-based Midnight ore has two ranks. The previous refining progression is absent from the specialization trees, so plan around the quality your current gathering setup produces. Artisan Miner's Moxie is specific to Mining and should be budgeted separately from the resources of your second profession.
Material | Gathering category | What to remember |
Refulgent Copper Ore | One of the three base ores | Compare prices for the two quality ranks separately |
Umbral Tin Ore | Base ore with its own deposits | Specializing in another ore does not replace this ore's progression |
Brilliant Silver Ore | Base ore with its own deposits | Its actual frequency along your route matters |
Dazzling Thorium | Rare additional material | Do not budget it as a guaranteed reward from every vein |
Deposits have their own variations. Alongside ordinary nodes, you will encounter Rich deposits, Seams and infused versions with additional mechanics. The ore name identifies the material, while the deposit modifier describes how the interaction differs. A single ore can appear in several deposit variants.
Leveling from 1 to 100
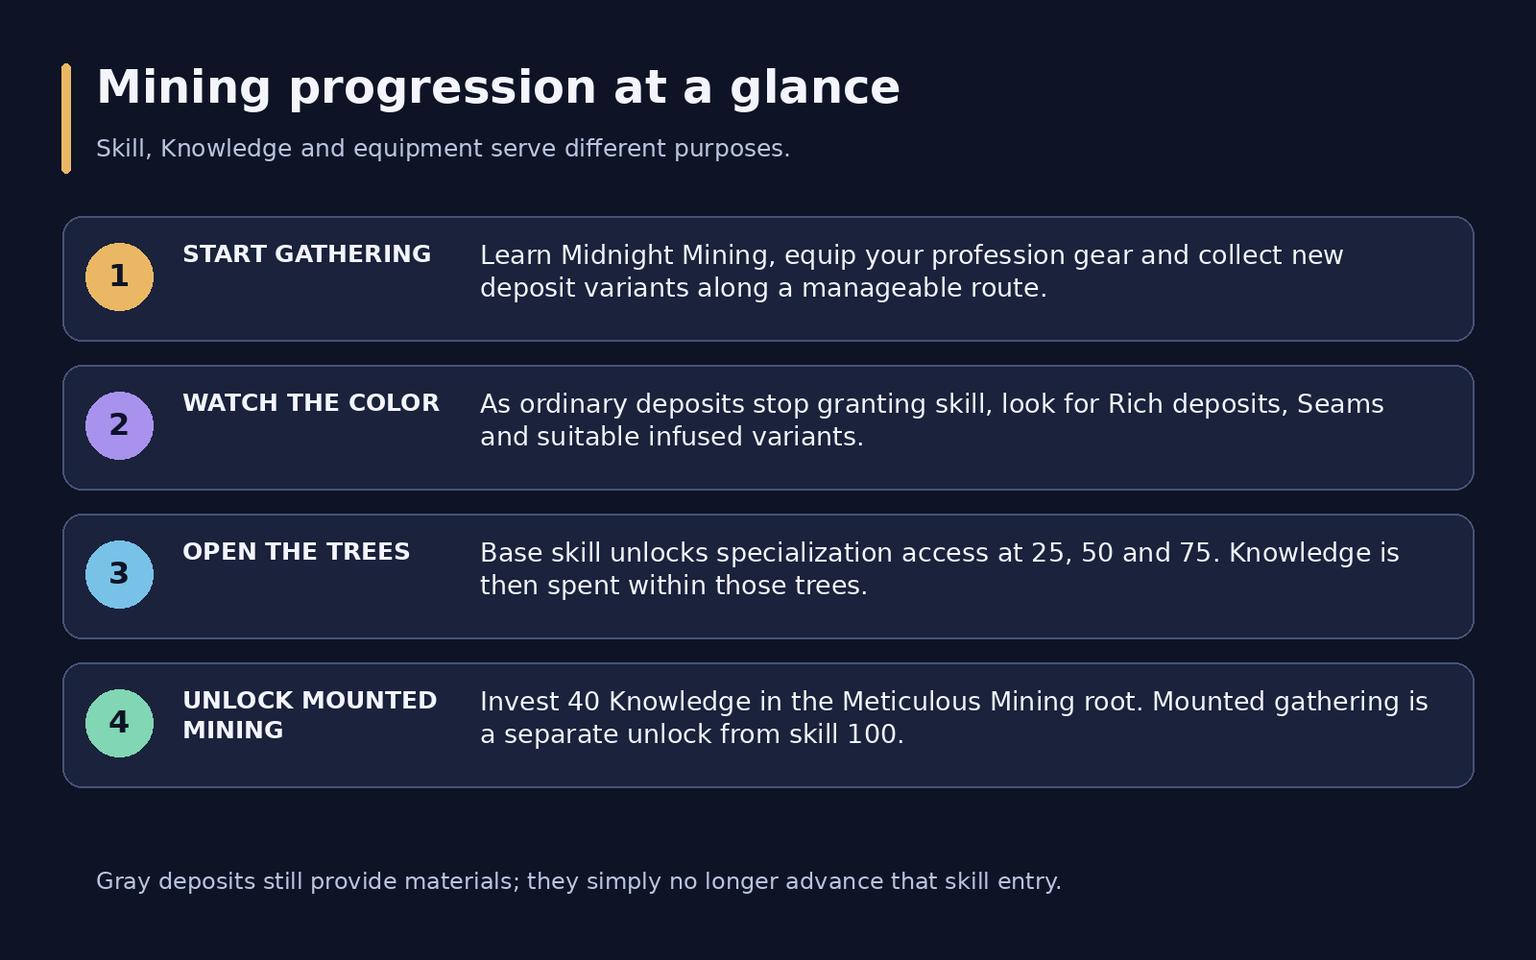
Your skill rises when you gather from eligible deposits. Early on, collecting broadly helps you learn the zones and obtain first-discovery rewards. Eventually ordinary deposits stop providing skill, and more advanced variants become necessary to finish leveling.
Stage | What to watch | Practical action |
Opening skill points | Most available deposits | Learn a short route and collect new variants rather than skipping them |
Middle progression | The ordinary deposit's color in the profession journal | Shift attention toward Rich and infused versions as skill gains become less reliable |
Finishing to 100 | Rich deposits, Seams and suitable infused deposits | Check the specific entry's color; gray deposits remain material sources |
Keep skill, Knowledge and equipment bonuses separate. Base skill opens additional specialization trees at 25, 50 and 75. Knowledge develops nodes within those trees. Tools and accessories improve your gathering, but do not replace the base skill requirement for opening another specialization.
If your skill stops rising, inspect the deposit type you keep collecting. Moving to another zone will not fix the issue if you continue selecting the same gray variants there. A gray deposit is not useless, however: it still provides materials even though it no longer advances your profession skill.
The three specializations and an opening plan
Specialization | Main purpose | Early use |
Meticulous Mining | General deposit handling and mounted gathering at 40 root points | A practical first investment for frequent gatherers |
Plentiful Ores | Gathering skill and individual ore progression | Improving ordinary collection along your chosen route |
Over-LODED | Infused deposits, Overload and associated effects | Targeting additional reagents from special deposits |
Opening with mounted gathering
Put your first 40 Knowledge into the Meticulous Mining root if you want to reduce repeated dismounting. This is a Midnight Mining bonus: it does not automatically unlock mounted gathering for other professions or expansions. Druid flight form and the Sky Golem do not independently replace the node for Midnight ore.
A straightforward next stage is up to 50 Knowledge in the Plentiful Ores root. Then develop individual ore branches according to your collection and market prices. Fully completing one ore immediately is not mandatory. If your route produces several materials, weigh broader coverage against concentrating your investment in one ore.
When to develop Overload and rare materials
An individual ore branch improves work with that deposit type, and its capstone also supports Dazzling Thorium collection. A high asking price on one Thorium listing is not enough evidence to redirect your entire Knowledge plan. Measure a few ordinary gathering sessions before committing to a rare-material strategy.
Develop Over-LODED around the infused type you encounter most often. Completing its root at 40 points provides an additional Overload charge. Its branches change interactions with specific deposit families, so investing in one branch does not improve all four families in the same way.
Infused deposits and Overload
Overload Infused Deposit becomes available after your first infused gather. Select the Midnight version in your spellbook because Overload versions from earlier expansions also exist. A deposit being Rich does not by itself make it a valid target for this ability.
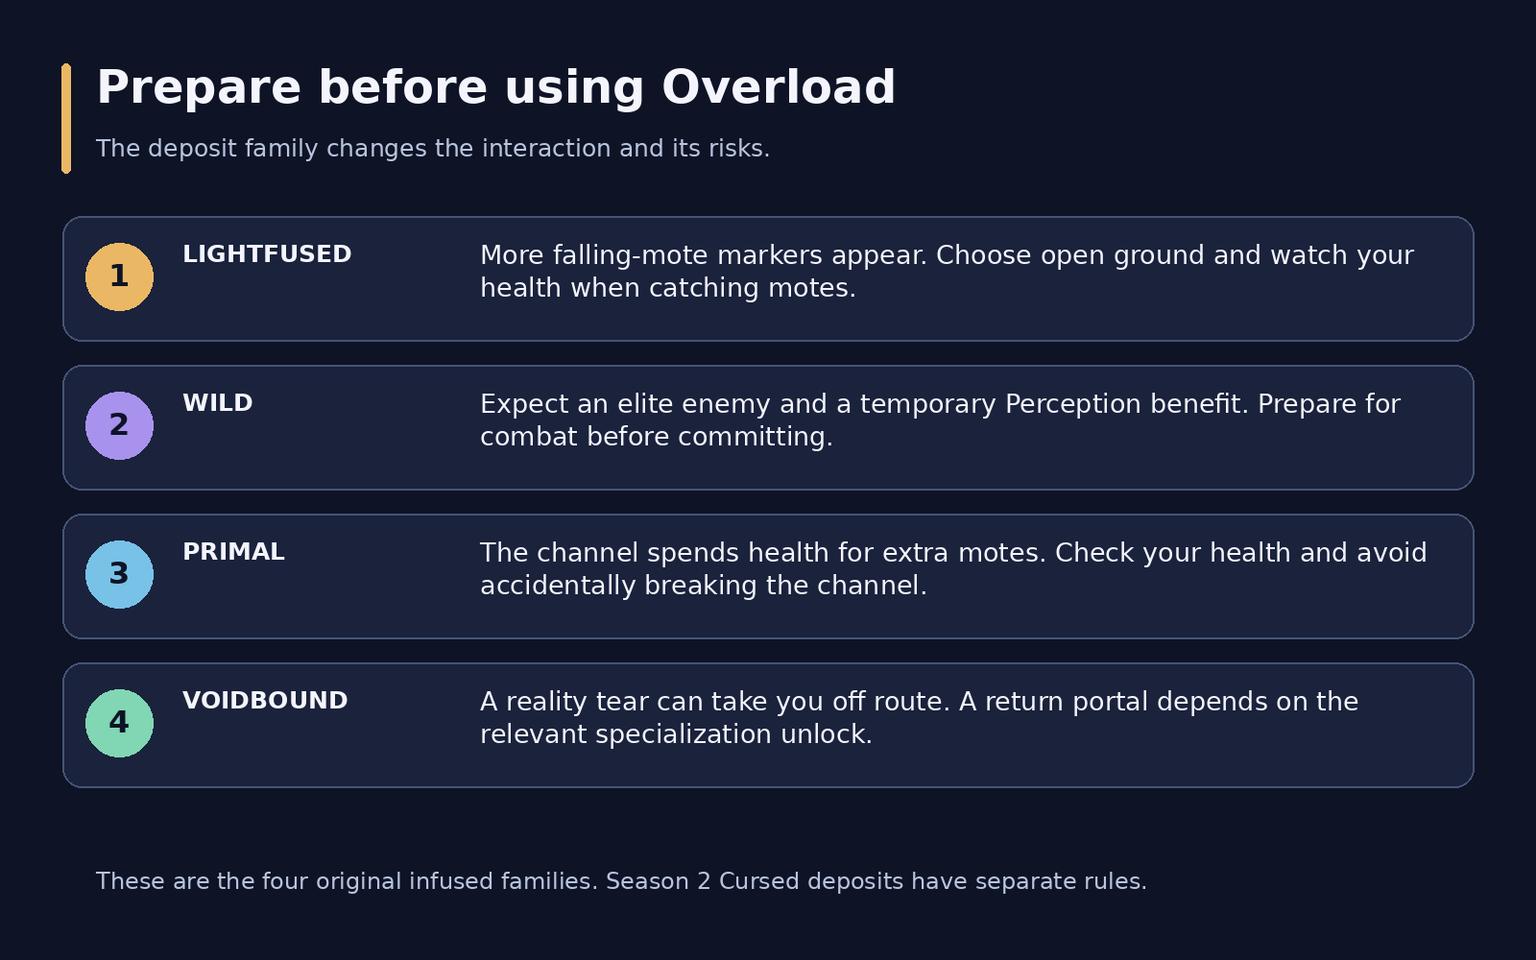
Ordinary gathering and overloading are separate actions. The added effect depends on the deposit family. Inspect the immediate area first: you may need open ground, a healthy character or the ability to defeat a summoned enemy.
Deposit family | Normal interaction | Overload considerations |
Lightfused | Marked locations appear for falling Motes of Light | More markers appear; catching motes deals damage, so do not chase every one at any cost |
Wild | Rumbling Orelings appear; their bodies can be mined after combat | Summons an elite enemy associated with a temporary Perception benefit |
Primal | Applies a movement restriction and periodic damage | A channel spends health for extra motes; check health first and avoid accidentally breaking it by moving |
Voidbound | Creates a dangerous Void area | Overload involves a tear that can take you far off route; a return portal depends on branch progression |
Overload has recovery that is reduced by mining Midnight deposits, with specialization nodes further modifying the ability. Check your actual charge and tooltip instead of assuming Overload will be ready again after every infused node.
Season 2 additions
On The Coiled Isle, completing a Curse Surge leaves the surrounding area affected by Cursed Land and Waters. Special deposits become available under those conditions. These are separate seasonal mechanics rather than properties of every copper deposit throughout Midnight.
Envenomated Copper is associated with Neutralized Venom Clots. Finish cleansing the node, then collect the green orbs that appear. Other nearby players can collect the orbs too. Cursed deposits, including Cursed Refulgent Copper, provide Cursebound Globes and can be overloaded for additional globes. Do not automatically extend that Overload interaction to the envenomed variant.
Obtaining Mining Knowledge
The first discovery of a new deposit type awards one-time Knowledge. Midnight's base discovery set accounts for 25 discoveries, including deposit variants and first overloads. This is an opening progression pool, not 25 points that can be earned again every week.
There are also eight one-time open-world Mining treasures granting three Knowledge each, for 24 in total. Whisper of the Loa: Mining and Echo of Abundance: Mining grant 10 Knowledge each; check vendor access, reputation and the actual purchase price before buying. Track these one-time rewards separately for each character.
Weekly source | Knowledge | Requirement |
Trainer quest | 3 | Unlock weekly profession quests and complete the current assignment |
Items from gathering | Up to 8 | Five Igneous Rock Specimens worth 1 each, followed by a Septarian Nodule worth 3 |
Thalassian Treatise on Mining | 1 | Obtain a treatise from a Scribe and use the weekly allowance |
The normal recurring set provides up to 12 Knowledge per week when all three requirements are met. Count catch-up rewards separately. The trainer quest requires a level 90 character in your Warband and Midnight Mining 25 on the recipient. If the quest does not appear, check those conditions first.
The Darkmoon Faire profession quest supplies another 3 Knowledge per monthly cycle. It is separate from the weekly 12. Also distinguish the eight one-time world treasures from the eight points available through weekly items obtained while gathering ordinary deposits.
Equipment and gathering stats
Miners use one tool and two accessories. Equip at least a basic set before a long session: its benefits apply while gathering rather than only while the profession window is open.
Slot | Starting item | Crafted by |
Tool | Thalassian Pickaxe | Blacksmith |
Accessory | Farstrider Rock Satchel | Engineer |
Accessory | Farstrider Hardhat | Engineer |
Finesse supports additional ordinary materials, Perception is associated with additional rare rewards, and Deftness speeds up the gathering action itself. Finesse is a sensible consideration for bulk ore. If enemies repeatedly interrupt you, first assess whether gathering is fast enough. These stats solve different problems; none removes every source of lost time.
Epic profession equipment has more secondary stats than rare equipment with the same base skill bonus. Judge an upgrade against its price and your expected gathering time. Haranir Phial of Finesse, Haranir Phial of Perception and suitable temporary enhancements are additional options, but compare their expense with the results of a normal session.
Choosing a route and measuring the result
Start with a short loop in a familiar zone, such as Eversong Woods. Watch not only deposit markers but also the time spent turning, changing altitude, finding cave entrances and fighting. Flying a long way toward one rare deposit can be less productive than collecting several ordinary nodes along a convenient path.
In Zul'Aman, allow for enemies from Wild deposits. In Harandar, consider vertical terrain. In Voidstorm, account for dangerous areas. The three base ores occur across different zones, so the best practical loop depends on more than a material's name. The diagram below is a planning aid, not a map of ore locations.
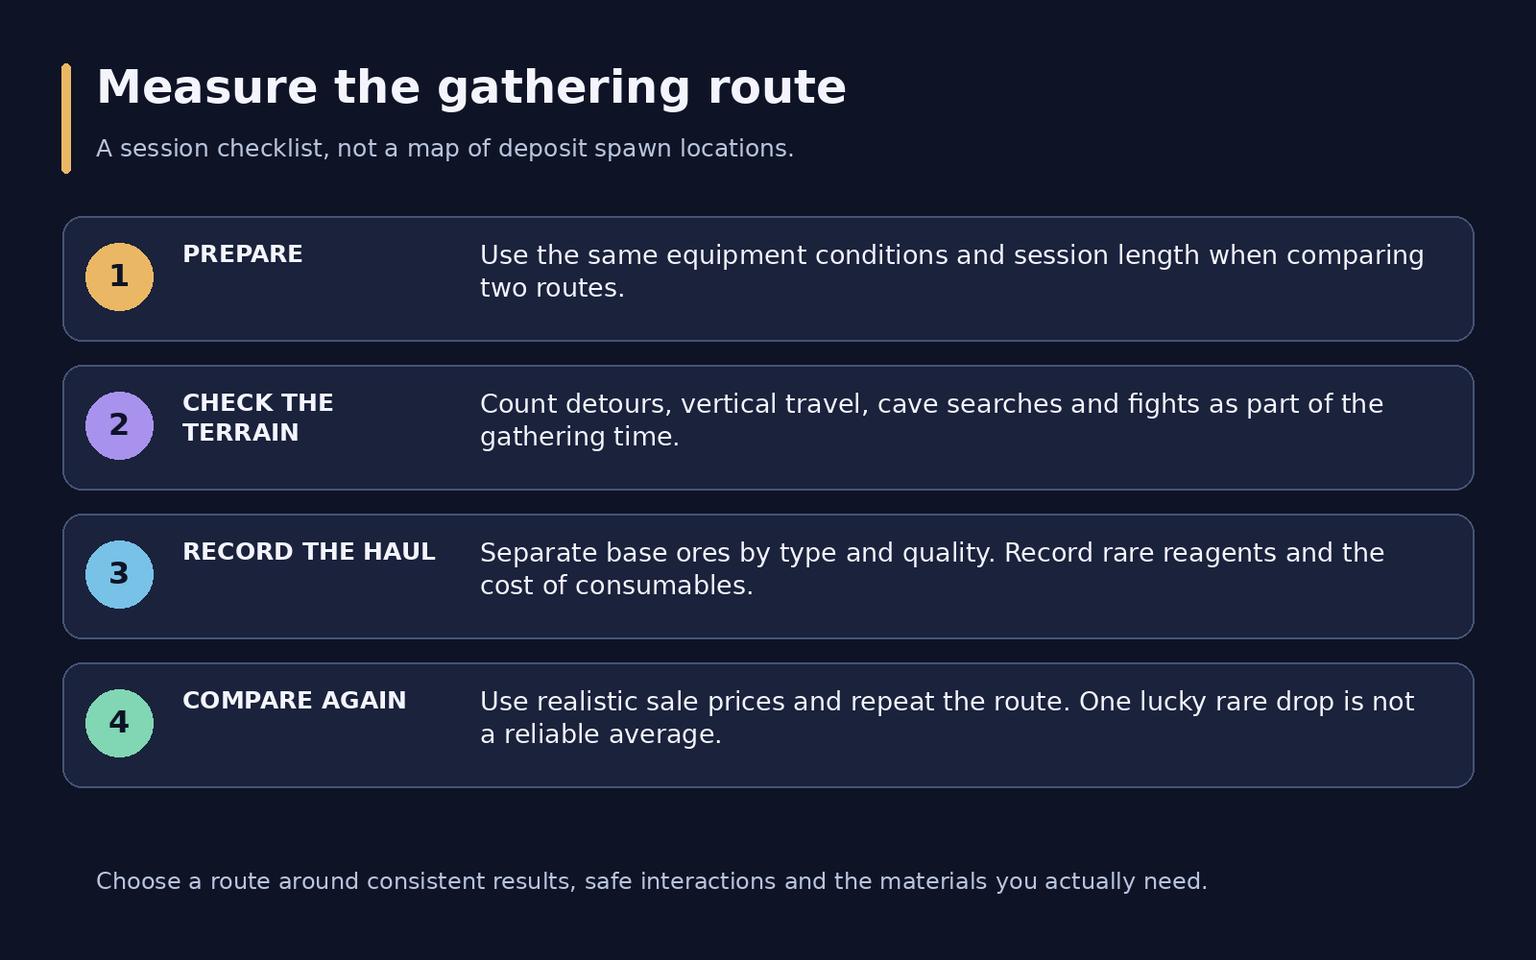
To compare two routes, use equal session lengths, such as 20 minutes, with the same equipment conditions. Record ore by type and quality, rare reagents, consumables and time spent away from gathering. Value the haul at realistic selling prices instead of a single expensive listing. Repeat the loop before treating an unusually lucky rare drop as the normal result.
When choosing between selling and processing ore, compare the net outcome of both options. A finished product's higher sale price may not cover other ingredients, fees and time. An adequate starting goal is to find a route that reliably supplies the materials you need without repeatedly forcing inconvenient fights.
Frequently asked questions
Why does ordinary ore no longer increase my skill
That deposit type may have turned gray. Finish with Rich deposits, Seams and suitable infused variants, checking the relevant profession journal entries.
Can I mine while mounted immediately after training
Midnight ore requires the appropriate benefit from 40 Knowledge in the Meticulous Mining root. Ordinary riding or flight form does not replace that unlock.
Must I reach 100 before selling ore
No. You can sell gathered materials while developing the profession. Available nodes, equipment, material quality and prices affect the outcome; the same income is not guaranteed for every character.