WoW Midnight Priest Guide: Discipline, Holy and Shadow
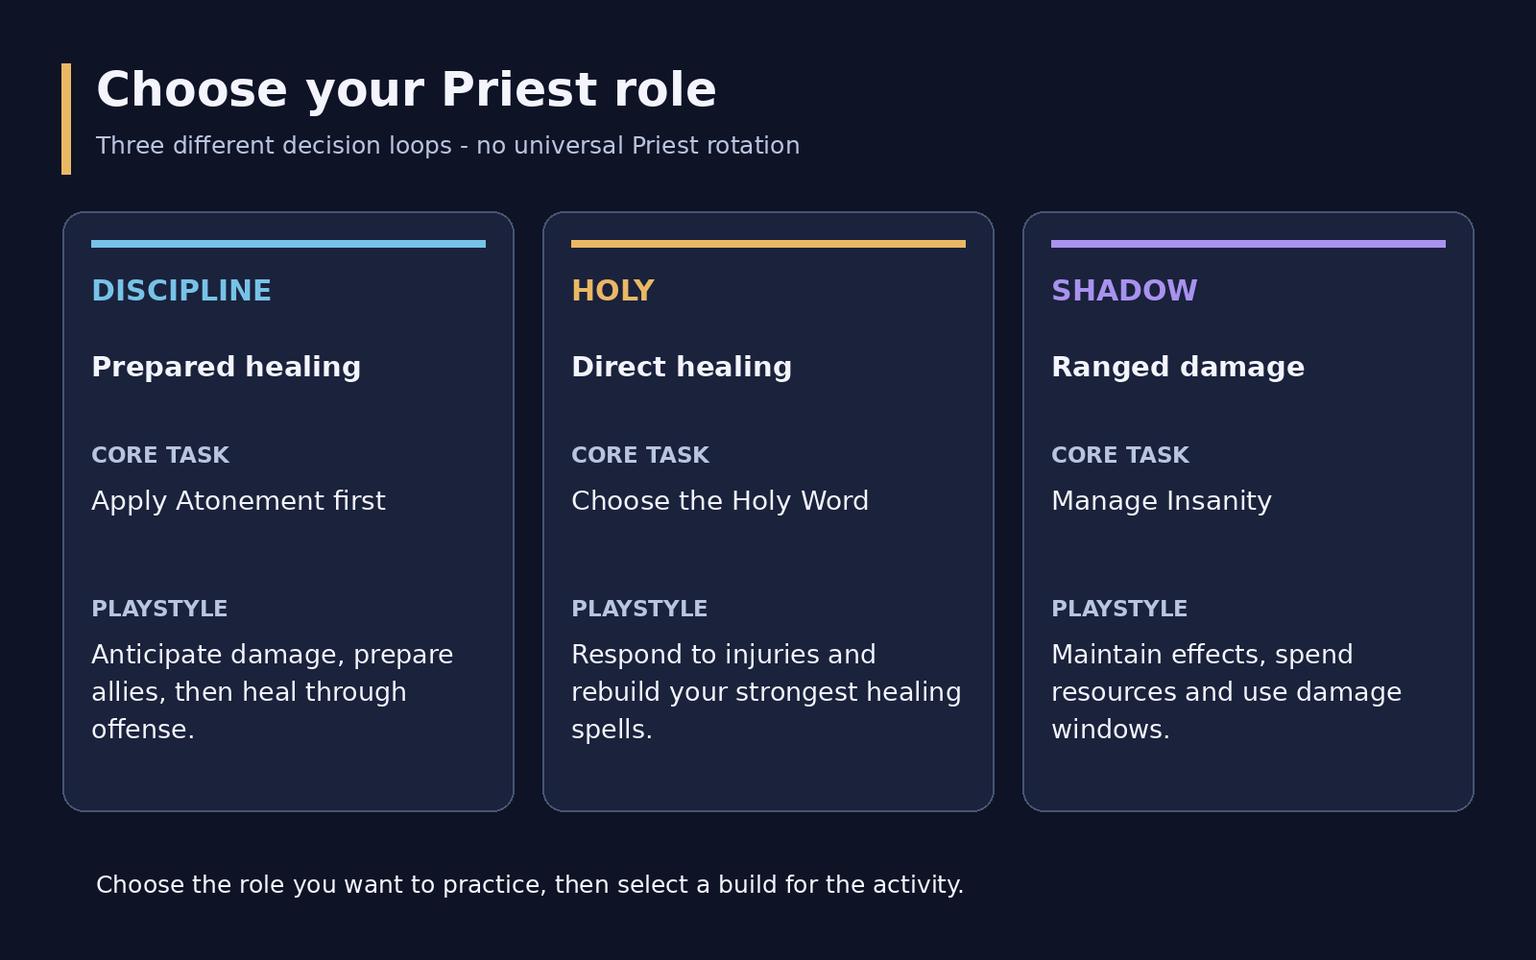
Priest offers two healing specializations and one ranged damage specialization. Discipline prepares allies with Atonement before turning offensive casts into healing. Holy restores health directly and builds its decisions around Holy Words. Shadow maintains damage effects, generates Insanity and spends it on Shadow Word: Madness. Learning one universal Priest rotation would teach the wrong habits for all three.
This guide reflects Midnight Season 2 and patch 12.1.5, checked on October 15, 2026. It covers the choices that matter when picking a role, learning its basic loop and preparing gear. Keep separate talent loadouts for raids and Mythic+ once you start specializing: the tools needed for a scheduled raid damage event differ from those needed to recover a five-player party.
Specialization | Main job | What you need to learn |
Discipline | Prepared healing through damage, shields and mitigation | Incoming damage timing and useful Atonement coverage |
Holy | Direct healing for individuals and groups | Holy Word selection, cooldown reduction and mana management |
Shadow | Ranged damage with priority-target pressure and cleave | Damage effects, Insanity and cooldown windows |
Holy is usually the clearest starting point for a new healer because each cast has an immediately visible result. Discipline suits players who enjoy planning their response before damage lands. Shadow lets you keep Priest utility while focusing on damage. Those are playstyle recommendations, rather than a permanent ranking of specialization strength.
The changes that affect your decisions
Season 2 changes more than damage percentages. Discipline's Shadow Mend talent now passively upgrades Flash Heal rather than depending on an intermittent trigger. At the final rank of Master the Darkness, Mind Blast prepares your next Void Shield. You can hold two stacks, but patch 12.1.5 reduces the effect's duration from one minute to 30 seconds. A shield opportunity saved indefinitely can expire before it helps anyone.
Holy's final Benediction rank now guarantees an upgraded Flash Heal after Holy Word: Serenity. Divine Hymn grants Guardian Spirit while you channel it. In 12.1.5, Ultimate Serenity and Holy Celerity exchange positions in the talent tree, making an old import worth checking even when its main healing buttons look familiar.
Shadow's Void Volley now uses a limited number of casts during Voidform instead of repeatedly returning on a short cooldown. Improved Voidform increases that allowance. Ancient Madness rewards Shadow Word: Madness casts during Voidform with interactions that extend the window. A launch-era sequence can therefore waste both resources and the value of current talents.
Talents should follow your assignment
Start with the encounter, then choose the build. Raid healers need to know which damage events they cover and which cooldowns other healers will provide. In Mythic+, a Priest has to solve short emergencies, dispels and recovery periods without another healer filling the gaps. Shadow needs to distinguish a long boss encounter from a short pull containing one dangerous priority enemy.
Specialization | Available Hero Talent trees | Main distinction |
Discipline | Oracle / Voidweaver | Empowered Penance and shields versus healing around a rift window |
Holy | Archon / Oracle | Halo and Apotheosis interactions versus Prayer of Mending interactions |
Shadow | Archon / Voidweaver | Halo and major cooldown interactions versus Void Torrent and Void Blast |
Wowhead currently favors Archon for Shadow performance. Treat that as a recommendation for this version of the game, rather than a rule that will survive every tuning pass. Discipline preferences also depend on the activity; a dungeon recommendation does not automatically decide the best choice for every raid encounter.
After importing a build, inspect the actual tree and action bars. Confirm that your planned defensive, dispel, group cooldown and Hero Talent abilities are selected. Mixing instructions from two different builds often creates a priority list that cannot work: the required spell may be missing, or its supporting interaction may belong to the other tree.
Discipline: prepare before the damage arrives
Atonement connects your two jobs
An ally needs Atonement before your qualifying damage can heal them through it. Offensive casting without useful coverage will not stabilize an injured party on its own. Shields and direct healing remain part of the kit, particularly when someone needs immediate help before a complete preparation sequence is possible.
Power Word: Radiance gives quick coverage to several allies. Power Word: Shield and direct heals handle individual applications according to your talents. One important Season 2 change is that Penance cast on an ally no longer applies Atonement by itself. Check an older habit against the current tooltip before relying on it to prepare your next damage window.
A practical healing sequence
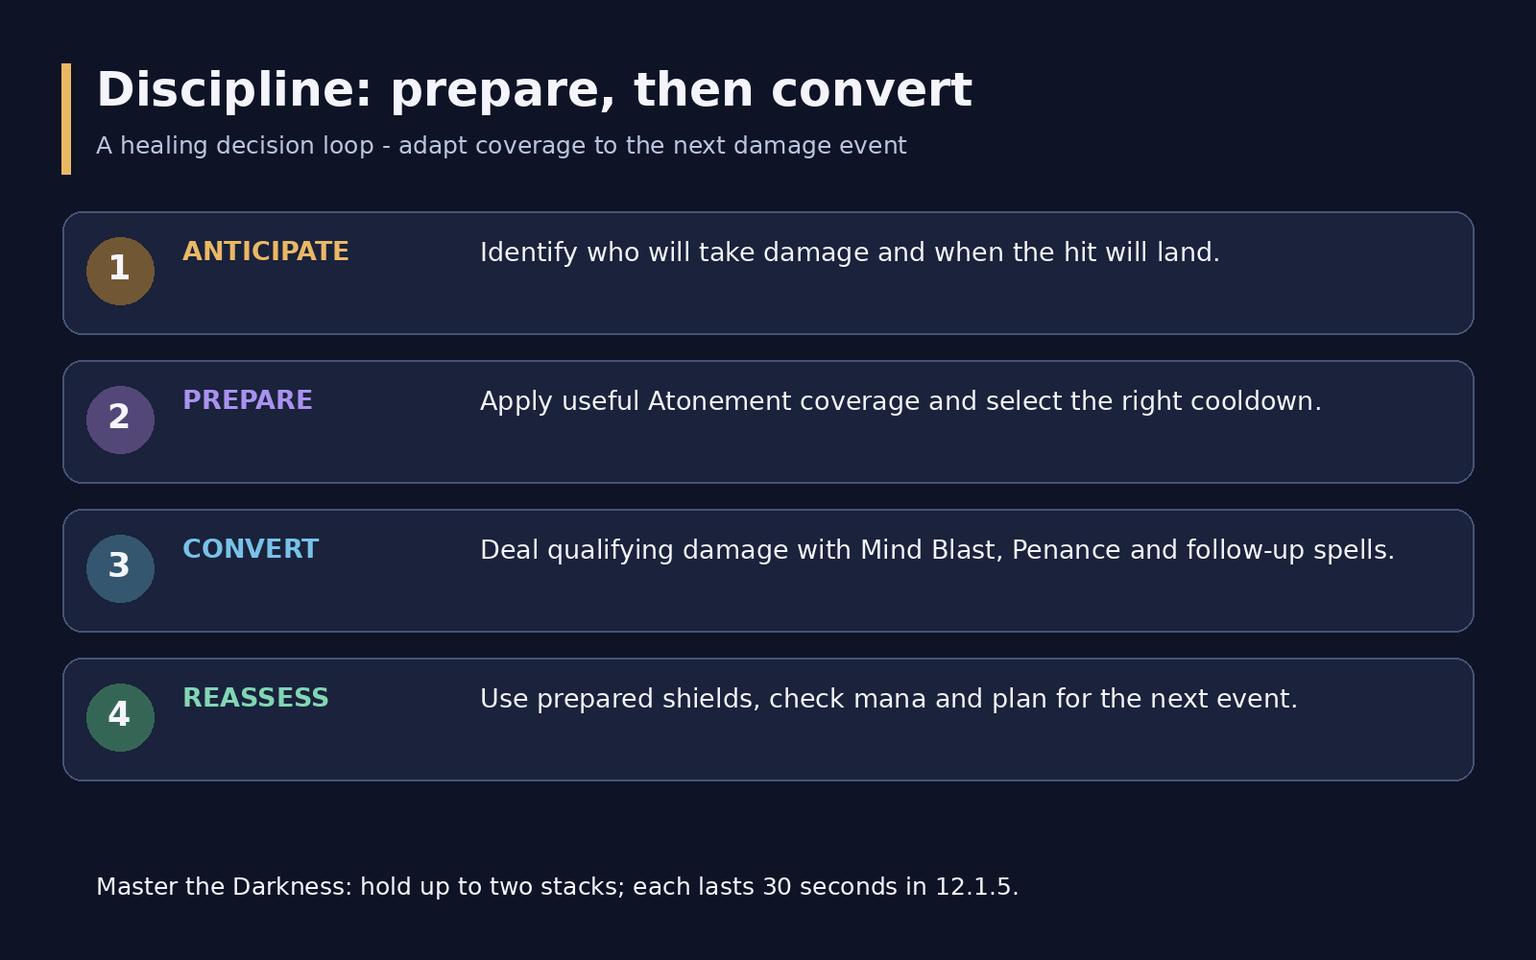
Identify who will take the next hit and how much preparation time remains. Apply the necessary coverage, use the cooldown that fits that event, then convert the prepared window into healing with Mind Blast, Penance and Smite or their talented replacements. Keep Shadow Word: Pain working, ideally refreshing it before the most valuable part of your healing window.
When the relevant Master the Darkness rank is selected, watch the Void Shield opportunity created by Mind Blast. Having room for two stacks is useful flexibility, rather than permission to ignore their duration. Between dangerous events, reassess what comes next instead of rebuilding a full raid preparation sequence on repeat. Unnecessary casts cost mana and can leave a key button unavailable at the moment it matters.
A dungeon does not need a large raid-style setup for every small injury. If one player is in immediate danger, save that player and restore appropriate protection. When party-wide damage is approaching, preparation becomes valuable again. The correct sequence changes with the time available, current cooldowns and the next mechanic.
Holy: match the heal to the problem
Holy Words and Benediction
Holy Word: Serenity provides powerful single-target recovery. Holy Word: Sanctify serves injured players who are close enough to benefit from its area. Talents can change this arrangement: Ultimate Serenity replaces Sanctify with additional Serenity functionality. Follow the buttons and interactions present in your own build.
Your ordinary healing spells also reduce the cooldown of their associated Holy Words. Choosing Flash Heal or Prayer of Healing therefore affects both the current injury and the availability of your next major heal. With the final Benediction rank, a Serenity cast guarantees the upgraded follow-up Flash Heal. Use that prepared heal on an injured ally rather than waiting for an old random trigger condition.
Prayer of Mending provides value when damage continues to move through the group. Surge of Light and your selected talents alter the best follow-up cast. Archon players should plan Halo alongside useful healing windows; casting it automatically during a movement event or while nobody needs healing can waste the reason it was selected.
Cooldowns, positioning and mana
Apotheosis increases access to Holy Words and reduces their mana cost. Divine Hymn needs a safe channeling position, so choose that position before the mechanic begins. Its Guardian Spirit benefit protects the Priest during the channel; it does not make standing in every hazard safe or provide permanent protection after the cast.
Situation | Useful response | Common mistake |
One ally is close to death | Serenity and suitable direct healing | Starting a slow group heal instead of saving that player |
Several nearby allies are injured | Sanctify if available, followed by appropriate group healing | Healing an area after everyone has moved away |
Heavy sustained damage is approaching | Plan Apotheosis or Divine Hymn in advance | Saving every major tool until allies have already died |
Watch remaining mana against the length of the encounter. Repeatedly healing full-health targets does not build a reserve for later. Damage spells can fill genuinely safe periods, provided you remain ready for the next event. High healing output also cannot replace a timely dispel or correct positioning.
Shadow: effects, Insanity and Voidform
Establish the priority before memorizing a sequence
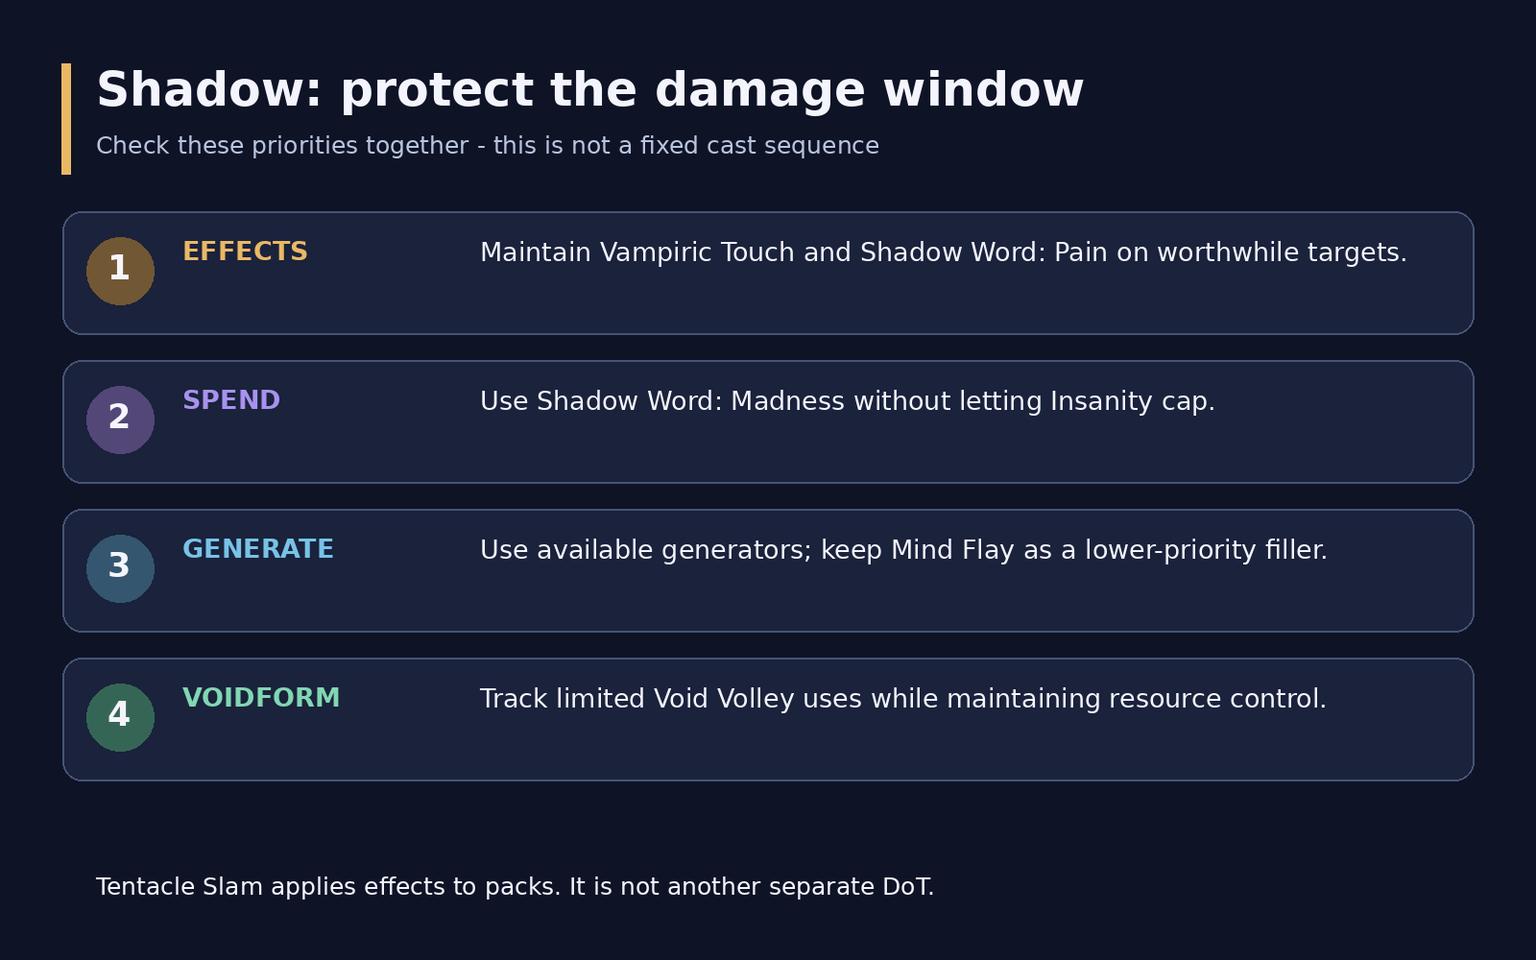
Keep Vampiric Touch and Shadow Word: Pain on enemies that will live long enough to justify them. Spend Insanity on Shadow Word: Madness without letting the resource cap. Shadow is a distinct damage specialization: Power Word: Radiance and Holy Word: Serenity do not belong in its ordinary damage rotation.
Mind Blast and other available generators refill Insanity. Mind Flay is a filler when more valuable actions are unavailable. An ordinary Mind Flay channel can be interrupted for a higher-priority spell; completing every channel regardless of what becomes available is a damage loss. Empowered versions and specific talent interactions need their own attention.
Plan Voidform for a period when you can keep attacking an available target. Track remaining Void Volley uses alongside Insanity: casting a strong generator into a full resource bar wastes part of its value. Shadow Word: Madness matters during the window both for its damage and for the Ancient Madness interaction.
Packs and movement
Tentacle Slam helps apply your damage effects to a group. It is an application tool, rather than another separate damage-over-time effect to maintain on each enemy. Psychic Link spreads qualifying damage to other prepared targets. Select the enemy that needs concentrated pressure and make sure the surrounding targets have the effects required to receive the cleave.
Do not spend a long manual setup on enemies that are about to die. A cooldown held briefly for a dangerous incoming target may be more useful than extra damage on an almost finished pull. During movement, use available instant casts where they fit, but keep the resource priorities intact and leave a dangerous area promptly.
Gear and secondary stats
Intellect increases spell power for all three specializations. Item level and a useful set bonus generally matter more than finding a preferred secondary stat on a substantially weaker item. Rings, trinkets and set pieces need separate consideration because a simple stat list cannot describe their full contribution.
Role or activity | Starting secondary-stat preference | Important qualification |
Discipline | Haste, then Mastery | Secondary values are close; do not sacrifice a substantial item-level upgrade |
Holy raids | Critical Strike, Mastery, Versatility, Haste | Icy Veins' general raid recommendation; build and encounter still matter |
Holy Mythic+ | Critical Strike, Versatility, Haste, Mastery | Short fights and survival change the value of the stats |
Shadow | Haste and Mastery, then Critical Strike and Versatility | Check the balance of the first two for your own character |
Holy is a useful example of why a priority list needs context. Wowhead's simplified recommendation places Haste higher, while Icy Veins provides separate raid and dungeon preferences. The table uses the latter distinction instead of presenting a manufactured consensus. For a healer, review mana use, overhealing and deaths alongside throughput; a damage simulation alone cannot evaluate your healing assignment.
Choose a current-season set for the specialization you will actually play. A Shadow bonus should not be described as a universal Priest healing effect. Before replacing a piece, check the set threshold, upgrade track and trinket behavior in your encounter. Shadow can use simulations to compare actual combinations instead of treating every point of a secondary stat as equally valuable forever.
Current Shadow crafting recommendations commonly use Arcanoweave Lining on wrists, waist or cloak. Hunter's Ritual Stone can be an early option, rather than the required eventual setup. Holy's early weapon or off-hand choice depends on the upgrades already available; an eventual pair of Arcanoweave Lining crafts is not automatically the best first purchase. The two-embellishment restriction limits embellishments, rather than the total number of crafted items you can wear.
Compare new Kith'ix drops by their effect and obtainable item level. Their release date alone does not make every item an upgrade. Ascendant Venomstones unlock through the research chain during the week of October 20. On this guide's October 15 check date, that is a coming progression step, not an already available upgrade for every trinket.
Enchants, gems and consumables
Settle the build and improve your major gear slots before paying for expensive finishing touches. A single Indecipherable Eversong Diamond is the starting epic gem recommendation. Fill other sockets according to the role: Discipline generally looks for Haste and Mastery, Holy for Critical Strike and Versatility, and Shadow for its appropriate balance of Haste and Mastery.
Specialization | Flask starting point | Combat potion starting point |
Discipline | Flask of the Blood Knights | Light's Potential; Potion of Recklessness is an option for Voidweaver |
Holy | Flask of the Shattered Sun | Light's Potential; Potion of Recklessness is an alternative |
Shadow | Flask of the Magisters or Flask of the Blood Knights | Gear-dependent Potion of Recklessness; Light's Potential is an alternative |
Weapon recommendations differ by specialization: Berserker's Rage for Discipline, Acuity of the Ren'dorei for Holy, and Arcane Mastery or Berserker's Rage for Shadow. Thalassian Phoenix Oil is the temporary weapon oil recommendation. A budget enchant is reasonable on a piece you expect to replace soon; reserve the most expensive version for a more lasting upgrade.
Do not automatically stack Potion of Recklessness with every Haste cooldown. Discipline Voidweaver guidance specifically warns about heavily devaluing Haste when combining it with Power Infusion or a similar group Haste window. Before difficult content, also check food, a health potion and enough consumables for several attempts rather than one ideal pull.
Leveling, race and professions
Shadow is a practical starting choice for solo quests, combining persistent damage with self-recovery. Begin with manageable pulls and expand them after learning your defensive and control tools. Use Recuperate between fights. Dungeon healing offers practice for a healing specialization, but switch to the appropriate talents and confirm the queued role before entering.
Choose a race for utility, appearance and the content you enjoy. Racial movement or defensive tools can help, but none replaces knowing the specialization. Priests have limited mobility, so planning the route before a dangerous cast is often more useful than trying to repair bad positioning afterward. There is no mandatory race that answers every Priest role and encounter.
Tailoring, Enchanting and Alchemy support different crafting and economic interests. None is a compulsory pairing for healing or damage, and profession gear can be commissioned from another player. Pick the activity you intend to use, rather than expecting a profession selection alone to provide an automatic performance upgrade.
Interface and preparation that carry into real encounters
Healers need readable party frames, health information, removable harmful effects and relevant cooldowns. Discipline additionally needs Atonement and shield opportunities; Holy needs Holy Words and Benediction; Shadow needs damage effects, Insanity and Voidform. Keep the center of the screen focused on information that can change your next decision.
Mouseover healing can preserve an enemy target for offensive casts. Check help, harm and nodead conditions carefully when adapting macros: removing a helpful effect from an enemy and cleansing a friendly player serve different purposes. A macro aimed at an ally cannot turn an offensive dispel into a friendly cleanse. Spell names must also be recognized by the client's language settings.
Coordinate Power Infusion with its recipient and the encounter plan. Use group mitigation for expected damage and personal protection before a dangerous hit. Interrupt and control access depends on specialization and selected talents; Shadow's access to Silence does not imply that every healing Priest has the same interrupt.
Before your first demanding run, check the loadout, enchants, consumables, visible indicators and assigned defensive cooldowns. After a failure, identify whether the problem was late preparation, a lost damage window, empty mana or an encounter mechanic. Change one habit at a time so the result can be evaluated.
Frequently asked questions
Which specialization should a first-time healer try
Holy is usually easier to understand because direct healing visibly answers an injury. Discipline asks you to anticipate the event, prepare Atonement and then deal damage during the useful window.
Can one build cover every activity
A general build can get you started, but raids and Mythic+ place different demands on your toolkit. Save separate loadouts and check the defensive, control and group abilities in each.
Is there one best Priest stat priority
No. Specialization, Hero Talents and content change the recommendation. Holy's raid preference is especially unsuitable as a universal list for every Priest activity.