WoW Midnight Unholy Death Knight Guide: Talents and Rotation
Unholy combines diseases, undead minions and two connected resources. Good damage comes from keeping that system working through each encounter, then using your major cooldowns when the target remains accessible. Summoning an army does not remove the need to manage resources afterward.
This guide covers PvE in Midnight Season 2 and Patch 12.1.5. It provides a practical foundation for raids and Mythic+ without treating a temporary ranking or one equipment list as a guarantee.
Question | Practical answer |
Main resources | Runes generate Runic Power through spending |
Minion preparation | Festering Strike supplies Lesser Ghoul stacks |
Core follow-up | Scourge Strike uses those stacks to summon or command ghouls |
Main damage window | Army of the Dead with Forbidden Knowledge |
First improvement | Avoid idle resources, inactive diseases and mistimed cooldowns |
The spec offers useful attacks at range, but still benefits from melee uptime and correct pet positioning. Being able to cast Scourge Strike from a distance does not make standing far away a permanent damage optimization.
What changed in the current expansion
Festering Wounds have been replaced by Lesser Ghoul stacks on your character. You no longer prepare wounds separately on each enemy. Festering Strike builds this resource, while Scourge Strike turns it into minion activity.
Season 2 also changed Army of the Dead. Its eight-ghoul army lasts 30 seconds; during the effect, actions that would summon more Lesser Ghouls instead command the existing army. Soul Reaper now consumes up to three Lesser Ghoul stacks, rather than Putrefy charges. Mastery no longer extends Lesser Ghoul duration through Commander of the Dead.
These distinctions matter when reading older builds. Do not plan around an unlimited army or save Putrefy charges for an obsolete Soul Reaper interaction. Autumn tuning also changed disease-oriented talents, so a recommendation from the start of the season may no longer describe the same damage profile.
Talents and encounter profiles
Keep separate loadouts for single-target damage and dungeons. Both Rider of the Apocalypse and San'layn have viable configurations. San'layn offers disease-oriented and minion-oriented variants; Rider emphasizes its summoned horsemen and can add mobility through Death Charge.
Task | Direction to consider |
Learning single-target play | A coherent minion build with familiar cooldown management |
Dungeon groups | San'layn with a selected minion or Blightfall package |
Priority enemy among adds | Preserve the damage tools needed for that target |
Movement-heavy encounter | Compare access to Death Charge and the actual mechanics |
Compare complete talent packages for the encounter you intend to play. An opener, a target threshold and disease timing must all belong to the same configuration. Switching Hero Talents while retaining unrelated priorities can undo the benefit of the change.
Forbidden Knowledge is central to endgame damage windows. Army of the Dead activates 30 seconds in which Death Coil becomes Necrotic Coil and Epidemic becomes Graveyard. The empowered single-target spender also damages additional targets, which changes the point at which the area spender becomes worthwhile.
For a minion package, Lord of the Dead and related Magus talents deserve attention. A disease package with Blightfall requires deliberate disease consumption and reapplication. Choose the version you can execute reliably before adding conditional optimizations.
Runes, Runic Power and ghoul stacks
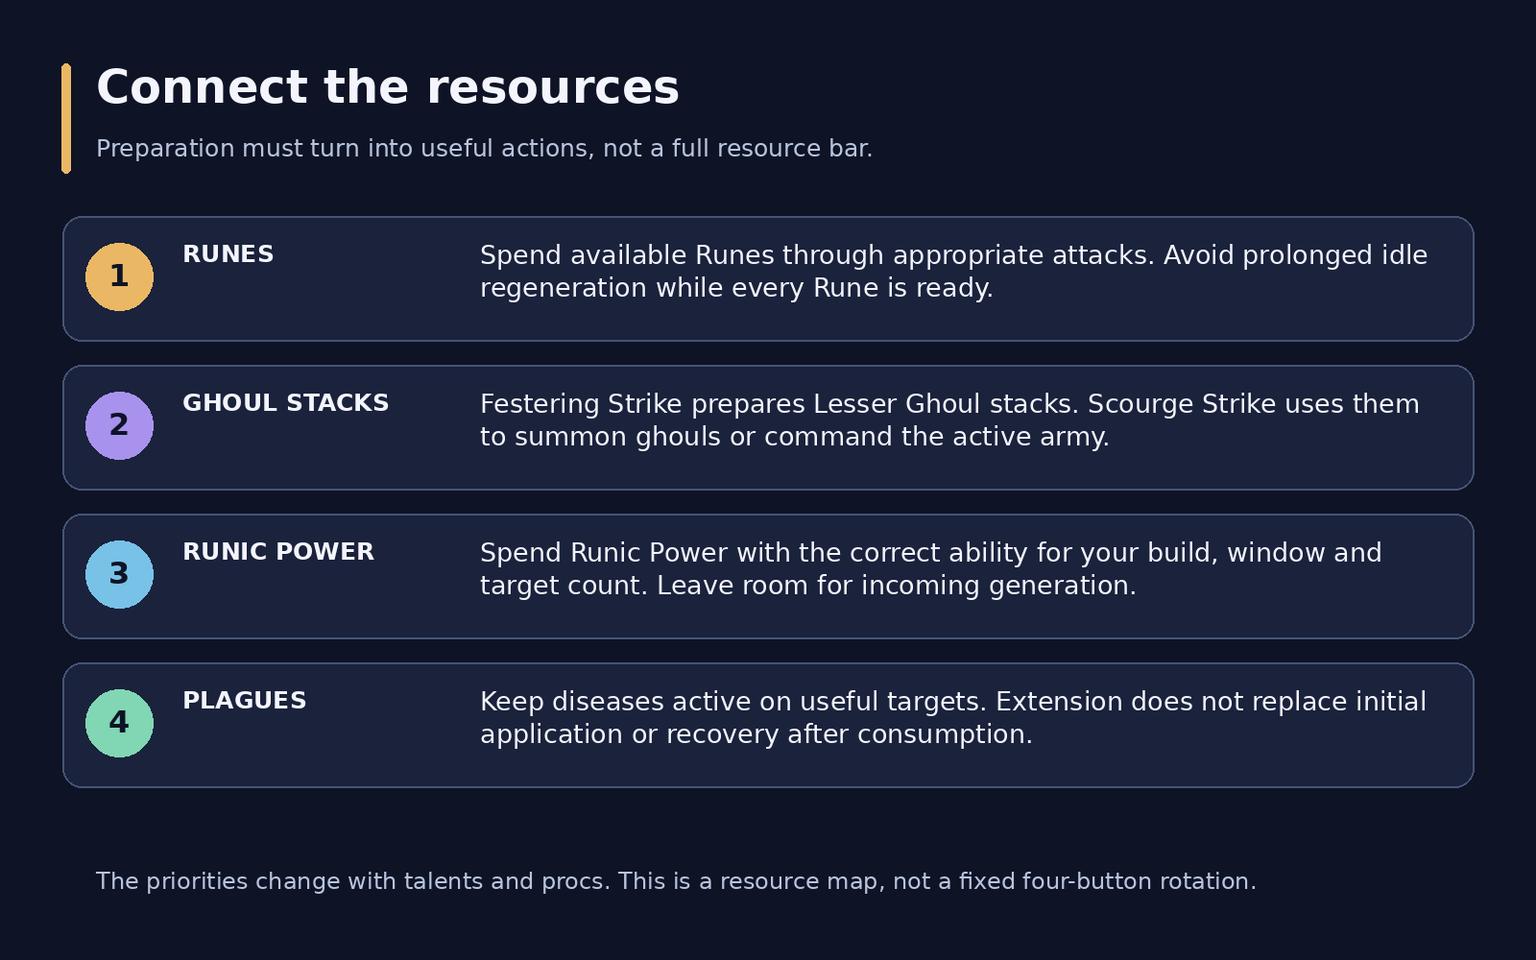
Runes are available for attacks; spending them builds Runic Power for the other side of the cycle. Avoid leaving all your Runes ready while repeatedly using only spenders, and avoid generating Runic Power into a full bar.
Festering Strike and Scourge Strike serve different purposes. Build Lesser Ghoul stacks when needed, then use them. Repeatedly building an already sufficient supply delays the attacks that turn preparation into damage. Sudden Doom procs also deserve prompt attention rather than being overwritten.
Your permanent ghoul must be alive and attacking the intended target. Keep it on Assist when using the relevant Forbidden Knowledge interactions. After a target switch, verify that the pet has followed rather than assuming every summon is already dealing useful damage.
Diseases and the normal priority
Apply your plagues with Outbreak. Putrefy can also apply them with Blightburst selected. Virulent Plague can affect multiple enemies, while Dread Plague is limited to one target at a time. Scourge Strike helps spread disease coverage when enemies gather.
Death Coil and Epidemic extend plagues on affected targets. Extension does not excuse failing to apply them initially, and it does not make every target switch free. Recheck the new enemy and the pack's remaining lifetime before committing your strongest window.
Outside the main window, keep diseases active, use Dark Transformation and available Putrefy opportunities appropriately, maintain the selected Festering Scythe effect, and balance Runes with Runic Power. This is a priority system; there is no long fixed sequence that stays correct after every proc or movement event.
Planning Army of the Dead
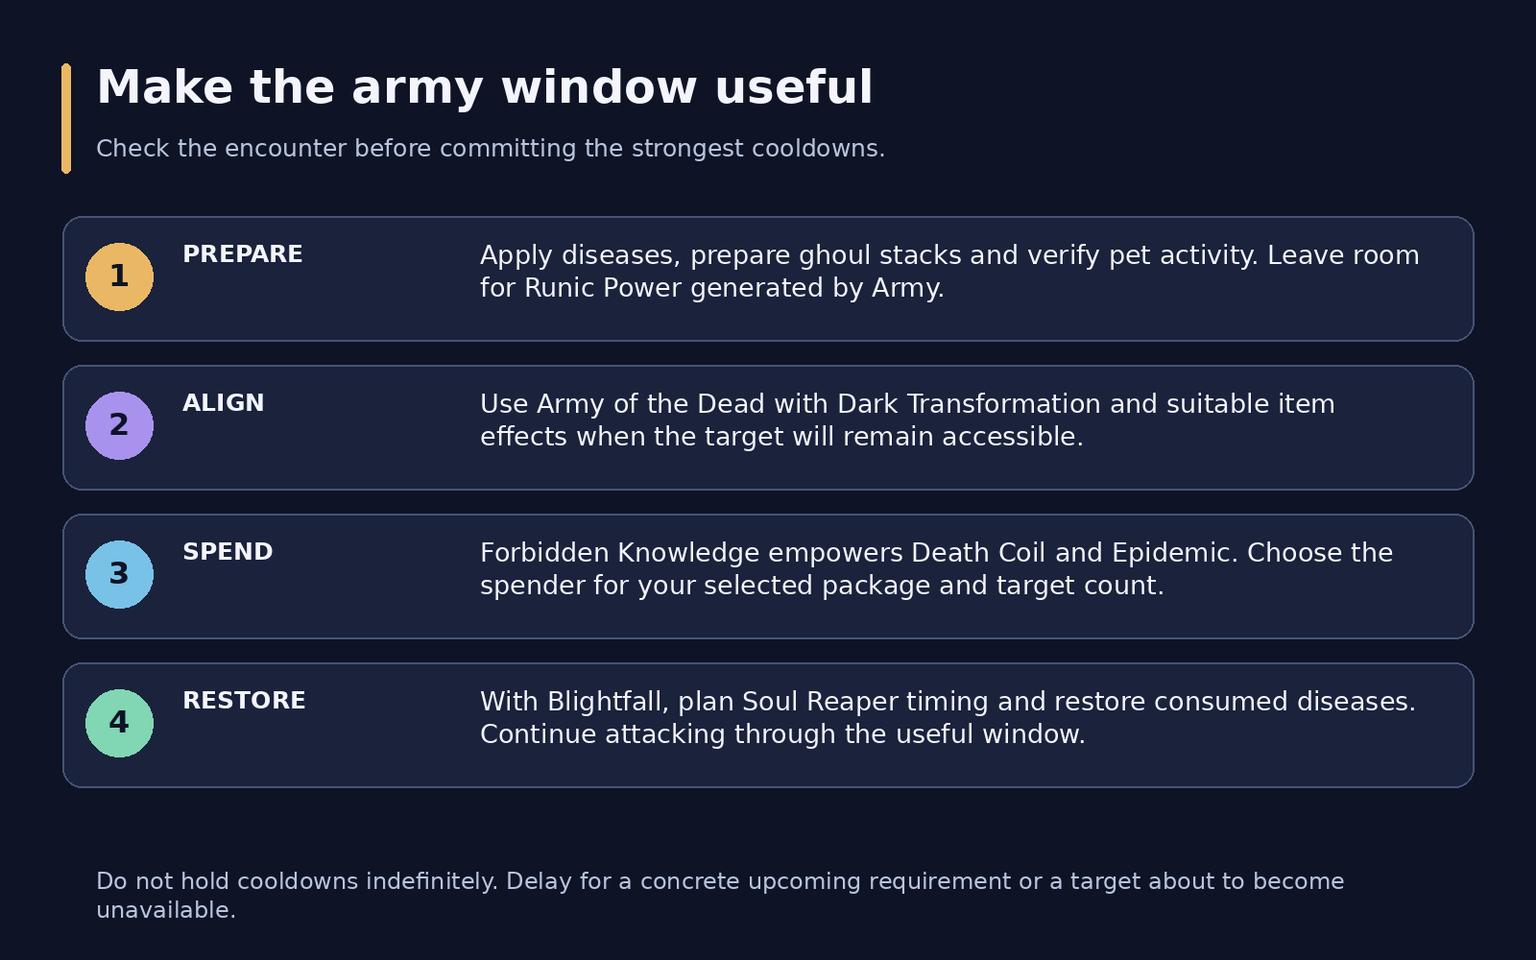
Before the pull, confirm the loadout, pet, weapon rune, consumables and the first movement mechanic. A practical opener starts by applying diseases and preparing ghoul stacks, then aligns Army of the Dead, Dark Transformation and suitable item effects. Continue with Putrefy and the empowered spenders according to your build.
Do not enter with a full Runic Power bar merely because a burst window is approaching: Army itself provides resources. Leave room for incoming generation. During Forbidden Knowledge, give the empowered spenders their increased priority instead of continuing an unchanged filler routine.
Soul Reaper normally has an execute condition below 35% enemy health; Reaping can provide access after Dark Transformation. With Blightfall, timing Soul Reaper's effect against the disease-consumption moment matters. After consuming diseases, restore them, commonly through Putrefy with Blightburst. Pressing the detonation and leaving the enemy uninfected breaks the subsequent cycle.
Use cooldowns frequently, with purposeful exceptions for an imminent required phase or a target about to become unavailable. Holding Army indefinitely costs whole uses; using it immediately before a long interruption can waste its useful duration.
Choosing Death Coil or Epidemic
Two enemies do not automatically make Epidemic correct. Necrotic Coil's additional hits are particularly important during Forbidden Knowledge. Use the threshold belonging to your selected package and consider whether one enemy urgently needs to die.
Situation | Decision |
One important target | Death Coil or its empowered version |
Blightfall dungeon package outside the window | A current reference uses Epidemic at 4+ targets |
That package during Forbidden Knowledge | The corresponding threshold rises to 6+ targets |
Other configurations | Lower thresholds can apply; do not transfer the table blindly |
Priority add in a larger group | Concentrated damage can matter more than total damage |
Death and Decay has dungeon uses through selected talents and control interactions. Do not add it to every single-target cycle simply because it is available. Account for where the tank will move the enemies and for the conditions of your chosen build.
Survival and useful group actions
Anti-Magic Shell answers suitable magic damage; Icebound Fortitude reduces incoming damage more broadly. Death Strike restores health at a Runic Power cost, so reserve access when an imminent mechanic requires it. Healing after damage and preparing protection beforehand solve different problems.
Mind Freeze is your normal interrupt. Death Grip moves eligible enemies and can stop a cast through displacement, but it does not move every boss. Chains of Ice slows; it is not automatically a root. Coordinate Blinding Sleet so allied damage and other control do not waste the intended stop.
Anti-Magic Zone supports the group against magic damage. Raise Ally provides combat resurrection and needs resources. Use both for assigned situations rather than ignoring them to preserve a damage sequence. Control Undead can dismiss your permanent ghoul, making it an emergency decision with a substantial damage cost.
Equipment and secondary stats
Strength and substantial item-level upgrades form the starting point. Critical Strike, Mastery and Haste all matter, with Versatility usually lower for damage. Mastery supports specialization Shadow damage and minions; it is not a promise to amplify every unrelated Shadow-damage item effect.
Slot or goal | Examples to compare |
Two-handed weapon | Maze-roa, Warlord's Fury |
Main active trinket | Voracious Heart of Ula'tek |
Low-target-count damage | Zul'jin's Guillotine Technique |
Crafted armor | Spellbreaker's Bracers or Spellbreaker's March |
Set progression | Compare completing four Season 2 pieces with current gear |
Simulate complete combinations with your actual talents and encounter profile. A desirable named item at a much lower level is not automatically an upgrade. Set bonuses, trinket timing and the weapon should be evaluated together before spending limited upgrade materials.
Gems, enchants and supplies
Start with one Indecipherable Eversong Diamond. Compare other sockets using your stat balance, including Flawless Masterful Garnet and suitable Critical Strike or Haste combinations. Do not invent a different-color requirement for that diamond.
Slot | Starting enhancement |
Weapon | Rune of the Apocalypse |
Helm | Empowered Blessing of Speed |
Shoulders | Akil'zon's Swiftness |
Chest | Mark of the Worldsoul |
Legs | Forest Hunter's Armor Kit |
Boots | Farstrider's Hunt |
Rings | Eyes of the Eagle |
These armor choices provide a practical starting set. Alternative utility enchants are also recommended in current guides; compare their value for your assignment instead of treating this table as a universal maximum.
Purpose | Preparation |
Flask | Flask of the Magisters or Flask of the Shattered Sun |
Combat potion | Potion of Recklessness; Light's Potential as an alternative |
Healing | Concentrated Silvermoon Health Potion |
Temporary weapon buff | Thalassian Phoenix Oil alongside the Runeforge |
Food | Silvermoon Parade or Royal Roast |
Additional Strength | Void-Touched Augment Rune when affordable |
Keep healing items accessible and choose professions for your crafting needs and budget. Expensive supplies cannot recover a missed damage window, an inactive pet or an avoidable death.
Review one encounter
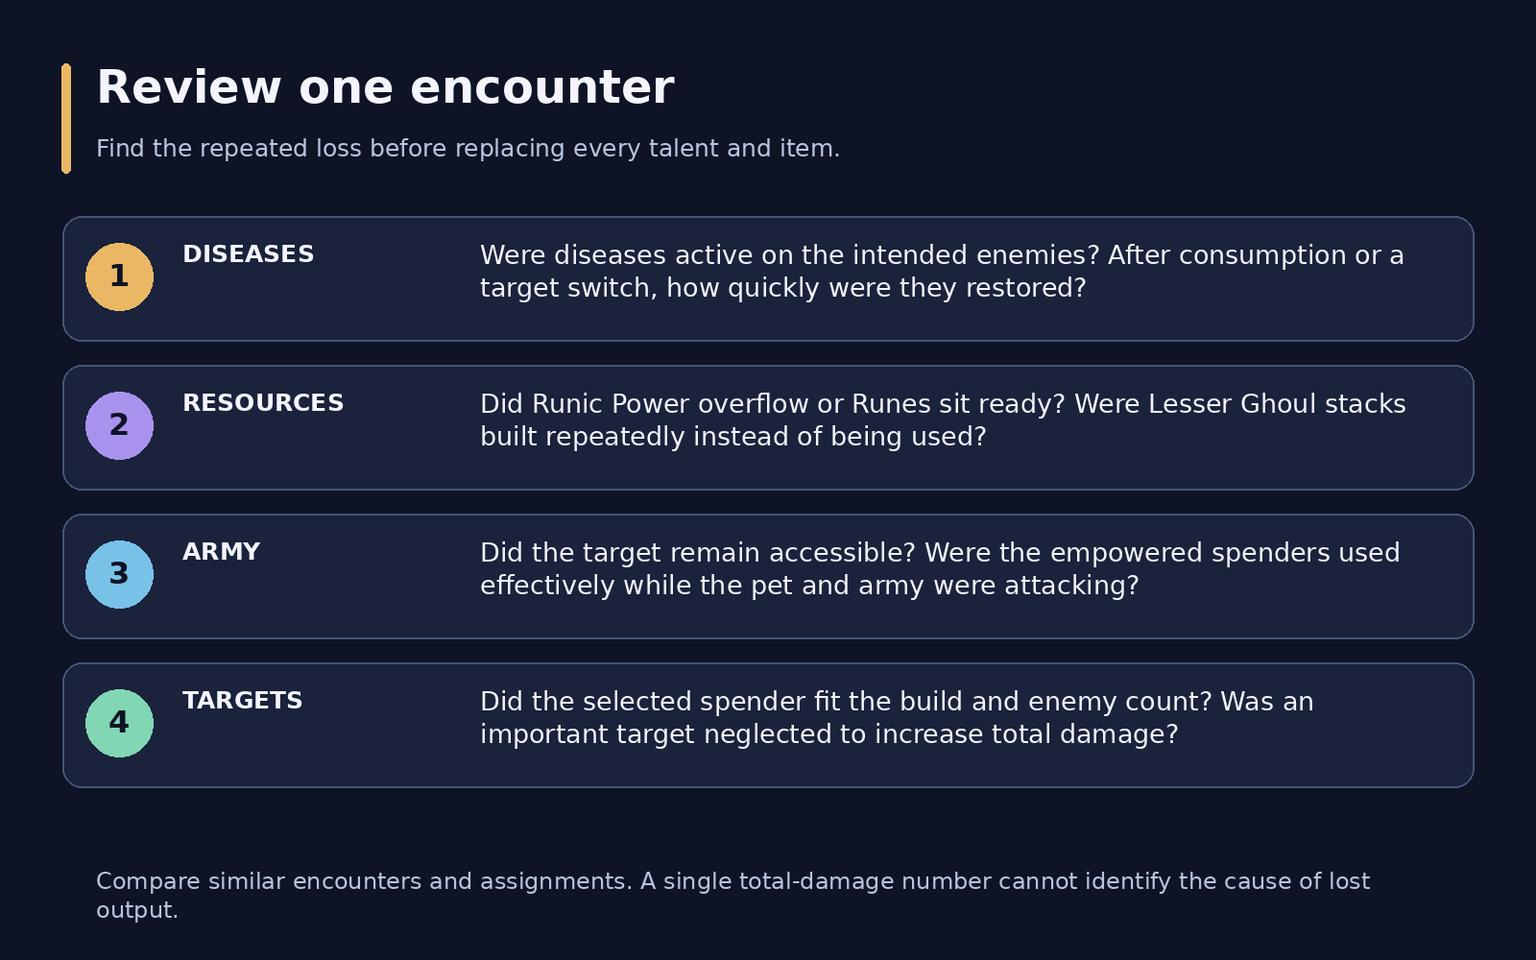
Check disease coverage, resource overflow, ghoul activity and the useful duration of each Army. Then inspect whether the chosen spender matched the loadout and target count. Fix one repeated loss before rebuilding the entire character.
Frequently asked questions
Is Unholy now a ranged specialization?
Many actions work from a distance, but melee attacks, pet movement and encounter positioning still matter.
Does Soul Reaper consume Putrefy charges?
The Season 2 version consumes up to three Lesser Ghoul stacks. Do not use the earlier interaction.
Should I always save Army for a boss?
No. Plan useful uses across the dungeon and retain it only when the next requirement justifies the delay.