WoW Midnight Warlock Guide: Affliction, Demonology and Destruction
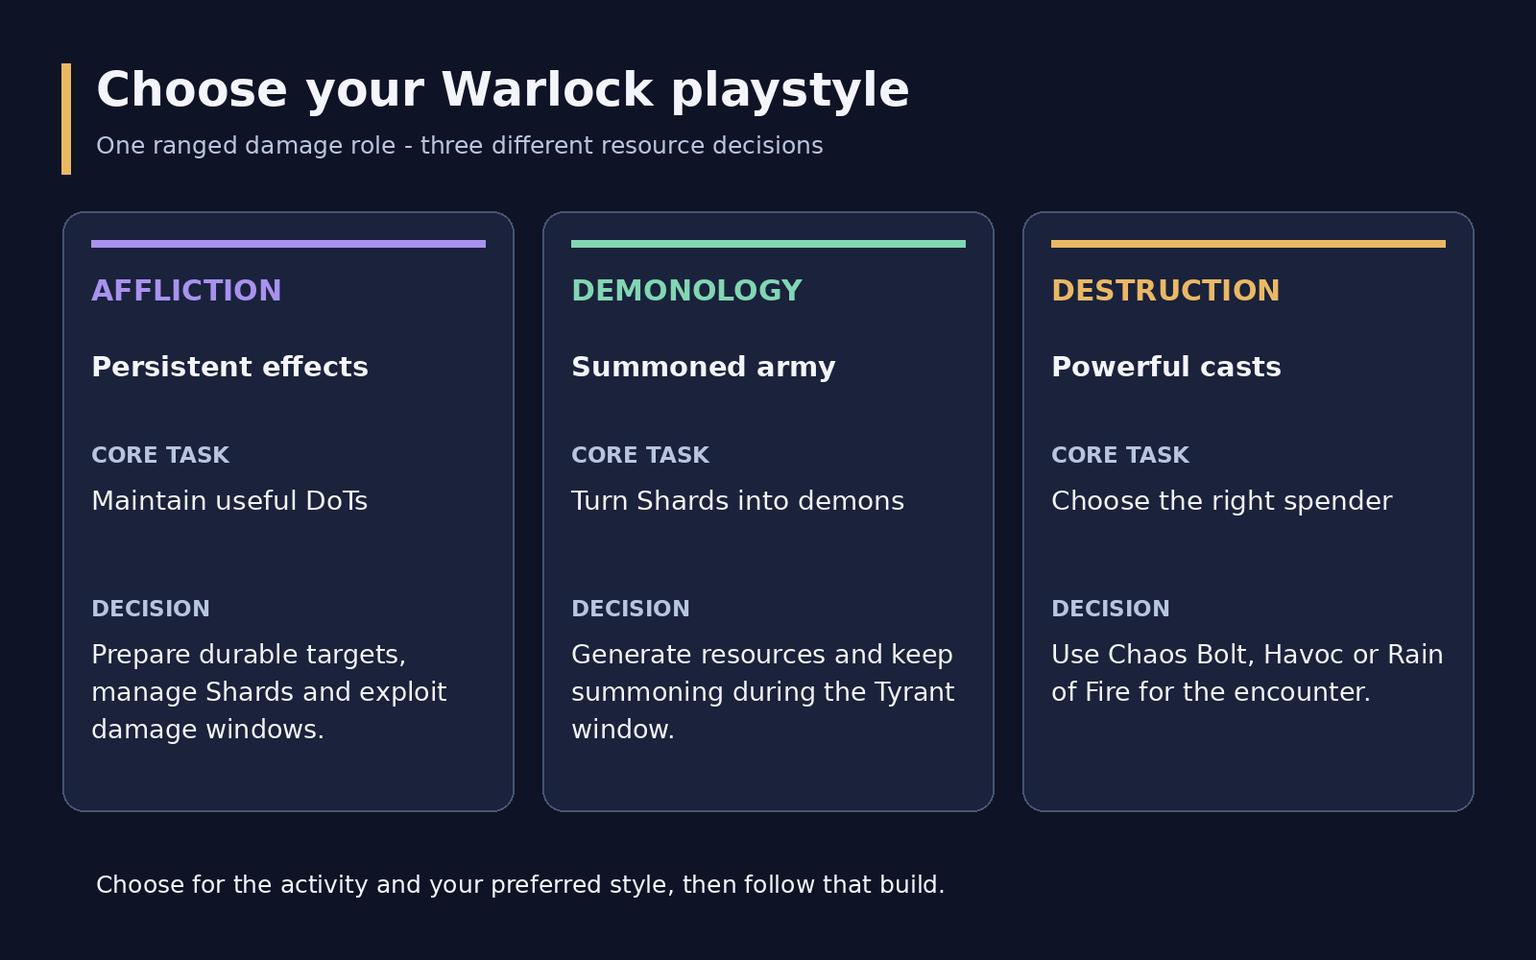
All three Warlock specializations deal ranged damage, but they ask you to solve different problems. Affliction maintains damage effects and exploits prepared targets. Demonology turns Soul Shards into an expanding army and benefits from interactions between summons. Destruction builds resources for Chaos Bolt and Rain of Fire. Sharing a party role does not give them a shared rotation.
This guide was checked on October 15, 2026 for Midnight Season 2 and patch 12.1.5. It explains the practical choices behind specialization selection, basic priorities and preparation for raids, dungeons and solo play. Save separate builds for different activities: a sustained boss encounter and a short dungeon pull do not reward exactly the same toolkit.
Specialization | Main damage pattern | What makes it work |
Affliction | Persistent effects and Soul Shard spending | Maintaining useful effects and preparing damage windows |
Demonology | Waves of summoned demons | Converting resources into summons throughout strong windows |
Destruction | Large direct casts and ground-based damage | Choosing the appropriate spender and finding safe casting time |
Destruction offers an accessible link between resource generation and a powerful hit. Demonology suits players who enjoy pets, while Affliction rewards attention to several timed effects. These are playstyle starting points. Declaring one specialization universally best for every boss, Keystone and character would hide the decisions that actually matter.
What matters in the current season
Season 2 changed specific interactions, so check older advice against the current talent tree. Affliction's Shard Instability can make the next Unstable Affliction or Seed of Corruption free and instant after qualifying casts. That opportunity needs to be used before it expires and can change which action should come next.
For Destruction, the redesigned Conflagration of Chaos makes Conflagrate and Shadowburn guaranteed critical strikes when talented, with additional damage scaling from critical strike chance. It is not the old occasional trigger that merely empowers the next cast. Hellcaller also has revised Wither and Blackened Soul interactions, making launch-era descriptions an unreliable guide to its present behavior.
Blizzard's 12.1.5 notes contain no dedicated Warlock class-change section. The priorities below follow current specialist guidance rather than assuming that an intermediate patch requires a completely new rotation. Gear choices can still change when new drops become available, even if your core spell interactions remain familiar.
Pick talents for the job
The class tree supplies defensive tools, control and group utility. The specialization tree establishes your main damage kit, while Hero Talents add another set of interactions. Start by identifying the assignment: sustained boss damage, several durable enemies, short grouped pulls or reliable handling of mechanics.
Specialization | Available Hero Talent trees | What to compare |
Affliction | Soul Harvester / Hellcaller | Shard generation and Dark Harvest versus Wither interactions |
Demonology | Diabolist / Soul Harvester | Additional demons and summoning interactions versus a different cooldown profile |
Destruction | Diabolist / Hellcaller | Demonic interactions versus Wither and Malevolence |
Current Affliction recommendations favor Soul Harvester for both single-target and AoE. Icy Veins distinguishes Soul Harvester for Demonology single-target from Diabolist for AoE. Treat those as recommendations for this patch, then follow the priority matching the build you actually selected.
Inspect an imported loadout before using it. Confirm that the required defensive, control and cooldown abilities are selected, then update the action bars. When comparing someone else's build, include their activity and gear in the comparison. Matching specialization names alone do not guarantee matching priorities.
Affliction: prepare targets and maintain effects
Soul Shards and persistent damage
Agony contributes both damage and Soul Shard generation. Maintain it on durable enemies and avoid letting it fall unnecessarily. Your other core effect is Corruption, or its Hellcaller replacement Wither. A replacement spell does not require you to maintain both versions at once.
Unstable Affliction spends Shards and helps deliver prepared damage into a useful target. Watch the resource bar: capping wastes new generation, but spending without considering the next damage window can also reduce the result. Fit Haunt and available cooldowns into the selected build's priority, using the appropriate filler between more valuable actions.
Soul Harvester connects Dark Harvest with additional Shards. Leave enough room before using it, then spend those resources where they matter. When Shard Instability supplies a free cast, use the opportunity within its duration. Resources, procs and damage-effect timers need to be read together rather than as unrelated indicators.
Cooldowns and multiple enemies
Before Summon Darkglare, check your core effects and the time available for uninterrupted attacks. Malefic Grasp rewards a prepared window in which repeated maintenance and movement do not consume the best casting opportunities. That makes advance positioning valuable; it does not justify remaining inside a lethal mechanic.
Seed of Corruption becomes an important spender on grouped enemies. Keep Agony on worthwhile targets, but avoid a long manual setup on creatures that will die almost immediately. Concentrated pressure on a dangerous enemy and maximum total pack damage are different assignments. Choose the loadout that helps with the assignment your group actually needs.
Eligible damage effects can retain part of their remaining duration when refreshed near expiration. In practice, you can refresh within the relevant carryover window rather than waiting for the effect to vanish. Do not apply one fixed number of seconds to every spell and talent combination, because their durations differ.
Demonology: resources need to become demons
The basic loop
Shadow Bolt and Demonbolt help generate Soul Shards. Demonic Core makes Demonbolt instant, so spend those opportunities without wasting new stacks or overflowing Shards. A saved instant cast can also support a movement event you know is coming.
Hand of Gul'dan turns resources into Wild Imps, while Call Dreadstalkers adds another important group of summons. Your permanent pet and temporary demons serve different purposes. Having a Felguard active does not replace resource management, timely summons or checking which enemy your pet is attacking.
Power Siphon, Implosion and the selected Grimoire talents alter your next decisions. For example, Power Siphon requires suitable Imps and room for Demonic Core stacks. Using it automatically while those stacks are already full can waste the reason you selected it. The precise sequence depends on the Hero Talent tree and encounter state.
Why the Tyrant window matters
Current guidance describes Demonic Tyrant damage as dynamically calculated from active Wild Imps and Dreadstalkers. That differs from the old habit of completing every summon first and treating the Tyrant's strength as fixed at the instant of its arrival. Prepare resources, then continue producing demons during the cooldown window.
Do not postpone Tyrant indefinitely in search of perfect preparation. A long delay can cost an entire additional use over the encounter. Consider the target's remaining lifetime and upcoming forced movement. Entering the window with resources and useful Demonic Core stacks helps you keep summoning efficiently once it begins.
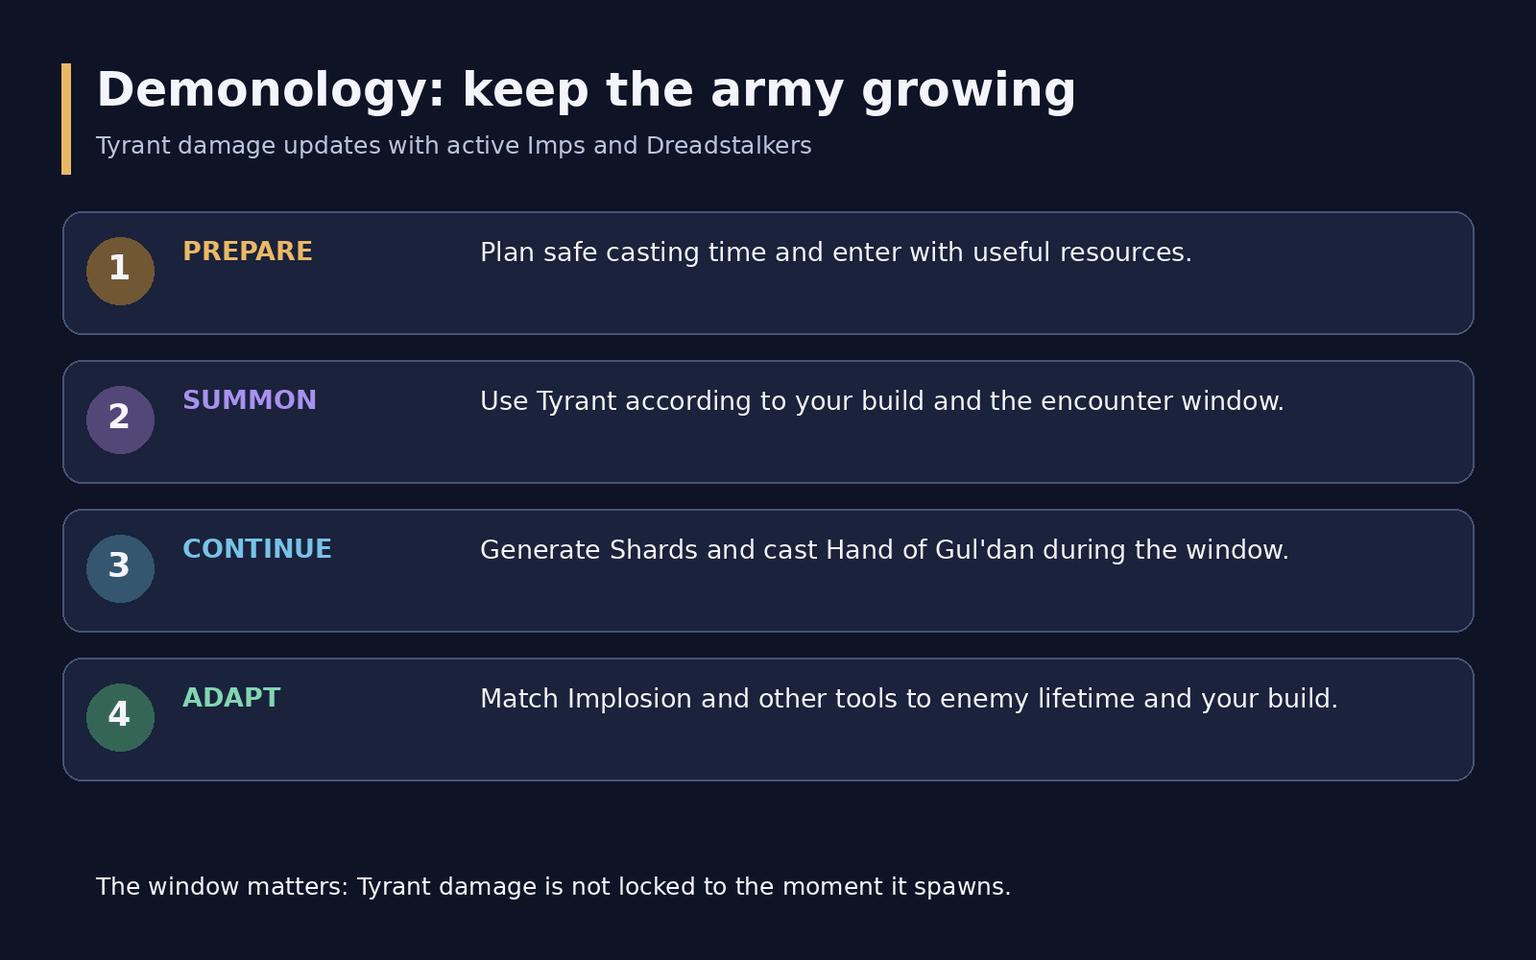
Implosion converts Imps into damage against a group. Its value depends on available Imps, their state, enemy lifetime and active cooldowns. A blanket rule never to use it during Tyrant is too crude. Follow the chosen build's priority and avoid saving prepared pack damage until the enemies have already died.
Destruction: spend on the right damage pattern
One target and two-target opportunities
Immolate or its Wither replacement establishes the persistent part of the loop. Incinerate and Conflagrate help generate resources. Chaos Bolt spends Shards on a large hit. If Backdraft is selected, track its use so the accelerated casts support the right moment rather than being consumed without attention.
Do not sit at full Conflagrate charges while losing further uses. At the same time, retaining an instant cast briefly for a known movement event can be useful. That is a short plan around an upcoming mechanic, rather than a reason to stop casting before every possible hazard.
Havoc duplicates qualifying direct spells onto a marked second enemy. Mark the secondary target and keep the original casts directed at the priority target. A prepared Shard reserve helps exploit a short two-target opportunity. Do not assume every ground effect or area attack is automatically duplicated by Havoc.
Packs and Rain of Fire
Multiple enemies introduce a spender choice between Chaos Bolt and Rain of Fire. Target count, Havoc availability and selected talents affect that choice, so one threshold cannot cover every loadout. Enemies also need to remain inside the area: casting Rain of Fire under a pack that is already moving away loses part of its value.
Plan Summon Infernal and other major tools for actual attacking time. Combining every cooldown with the moment a boss becomes unavailable wastes the plan. Where possible, complete important casts from a safe location before movement and use suitable instant actions while traveling to the next position.
Situation | Check before spending Shards | Main risk |
One durable enemy | Core effect, cooldowns and safe casting time | Resource overflow or an interrupted Chaos Bolt |
Two useful targets | Havoc availability and prepared Shards | Marking the priority target and losing intended pressure |
Grouped enemies | Build, target count and time inside Rain of Fire | Spending after the pack leaves the area |
Demons, defensives and group utility
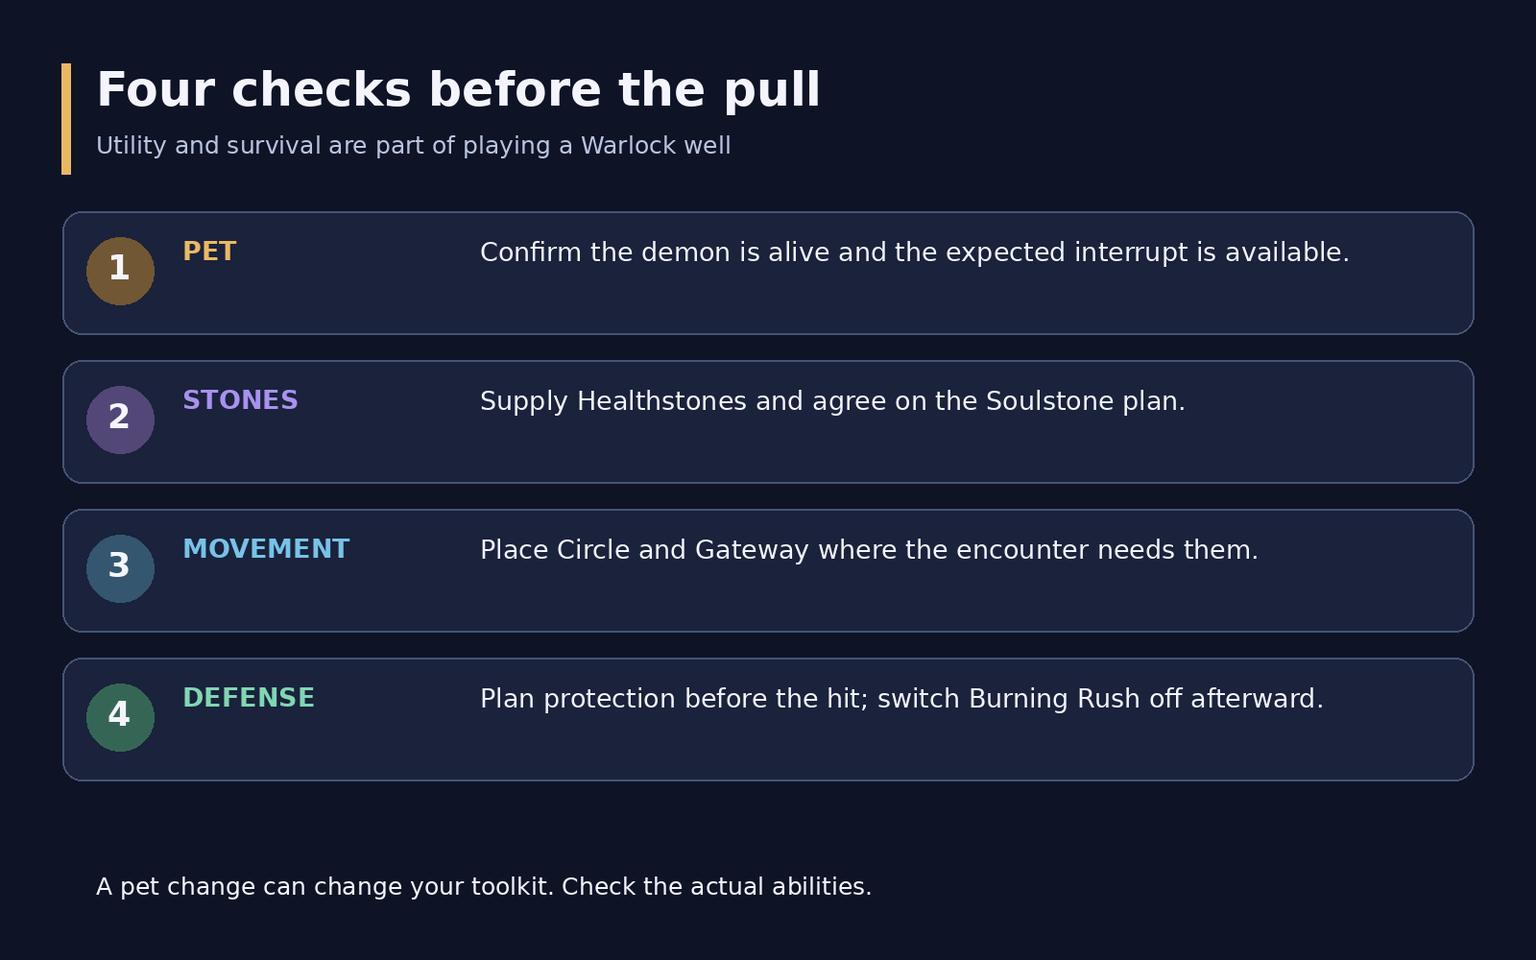
Felguard is Demonology's default permanent pet, including access to a tool that provides an interrupt and stun. For other specializations, Felhunter is useful for its interrupt and offensive magic removal. Imp and Voidwalker solve other problems. A pet change can alter the abilities available to you, so inspect the toolkit before the pull.
Healthstones, Soulstone, Demonic Gateway and summoning allies are meaningful parts of Warlock utility. Supply stones before combat and agree on Gateway placement. Using Soulstone to return an ally during a fight belongs to the group's battle-resurrection plan, rather than an automatic personal habit.
Unending Resolve and Dark Pact help handle dangerous damage but do not provide universal immunity. Prepare protection before the major hit. Burning Rush trades health for movement speed, making it important to notice when it remains active after movement ends. Demonic Circle also needs a useful location chosen in advance.
Coordinate control with the group. Fear can send an enemy toward an unwanted area, while a stun and an interrupt are not interchangeable against every cast. Before solving an emergency with any available control, consider nearby enemies and the next dangerous ability that may require a reliable stop.
Season 2 stats and gearing
Intellect increases spell power for all three specializations. Item level usually matters more than a small secondary-stat advantage. Trinkets, rings and set pieces still deserve separate comparisons because their full value cannot be summarized by one stat order.
Specialization | Icy Veins starting preference | How to use it |
Affliction | Haste, Critical Strike, Mastery, Versatility | Compare actual combinations without sacrificing major item-level upgrades |
Demonology | Haste toward 22%, then Critical Strike and Mastery | Haste retains value afterward; verify the result for your character |
Destruction | Haste toward 22%, then Critical Strike and Mastery | Build, trinkets and encounter type can change the balance |
The 22% figure is the guide's practical target, not a game-wide cap or a point at which further Haste stops working. Wowhead presents different simplified priorities, especially for Destruction. Use the table to begin gearing, then compare your own equipment with the actual loadout selected in a simulation.
Evaluate weapons, influential trinkets and the required set-bonus threshold before chasing marginal secondary-stat changes. Avoid breaking a useful set bonus for a small isolated improvement. Set effects and strong combinations differ across specializations, making one universal Warlock best-in-slot list an unreliable shopping plan.
Current crafting guidance separates a final setup from immediate power. Arcanoweave Lining on wrists together with Hunter's Ritual Stone on an off-hand is presented as a long-term combination. A crafted staff may deliver a larger improvement now if your weapon is weak. Compare the cost and likely replacement before placing the order.
Kith'ix drops expand your options without making every new trinket mandatory. Ascendant Venomstones unlock through the research chain during the week of October 20. On this guide's check date, that is a coming upgrade step, so do not plan today's stats as though it is already available.
Gems, enchants and consumables
Evaluate finishing touches alongside the full gear set. Specialist guidance offers Indecipherable Eversong Diamond earlier in gearing and Powerful Eversong Diamond with developed Mythic-track equipment. This is not permission to equip both: only one of these epic gems is used at a time. Confirm the choice with your character's simulation.
Specialization | Default flask | Qualification |
Affliction | Flask of the Blood Knights | A Haste starting point |
Demonology | Flask of the Shattered Sun | A Critical Strike starting point |
Destruction | Flask of the Shattered Sun | Flask of the Magisters can gain value with a specific trinket and enchant combination |
Potion of Recklessness is recommended with little or no Versatility, while Light's Potential is an option for another stat distribution. For Destruction, Freightrunner's Flask together with Arcane Mastery increases interest in Flask of the Magisters. Buying an identical consumable set for all three specializations is not always optimal.
Current weapon-enchant pages suggest Acuity of the Ren'dorei and stat-based alternatives worth comparing for your character. Thalassian Phoenix Oil is the temporary weapon oil recommendation. Royal Roast or Harandar Celebration provide food starting points. Budget enchants are reasonable on temporary pieces, reserving more expensive options for upgrades you expect to keep.
Leveling, race and professions
Affliction works well when several enemies survive long enough for persistent damage. Demonology suits smaller pulls and difficult individual opponents. Destruction allows a more focused one- or two-target approach. Begin with manageable encounters, check pet behavior and increase the pull size gradually.
Pick a race for appearance, useful abilities and preferred content. A racial ability cannot repair a lost damage window or a dead pet. No single race is compulsory across all three specializations. Tailoring, Alchemy and Enchanting serve different economic interests, but you do not need to learn a profession merely to access another player's crafted gear: work orders are an alternative.
Avoid spending every expensive enhancement on leveling pieces that will be replaced quickly. At maximum level, establish a coherent working build and practice maintaining damage through movement first. Then compare smaller upgrades. Consistent use of core abilities is easier to evaluate than the effect of several simultaneous changes.
Interface and pre-run checks
Place Soul Shards and relevant cooldowns near your main attention area. Affliction needs effect durations; Demonology needs Demonic Core and important summons; Destruction needs Conflagrate charges and Havoc state. Include pet health and target, interrupt availability and personal defensives.
Macros can simplify control targeting or pet commands, but one keypress does not automate several ordinary spells that share the global cooldown. When adapting one, check friendly and hostile conditions, client language and the actual demon summoned. Before demanding content, make sure the interrupt command works with your current pet.
Check the loadout, living pet, group stones, movement route, consumables and defensive assignment before starting. After a mistake, identify whether the cause was Shard overflow, a missing effect, lost summons, a misplaced ground spell or an encounter mechanic. Fix the observed problem instead of changing specialization after one unsuccessful attempt.
Frequently asked questions
Which specialization is easiest to start with
Destruction usually makes the connection between resource generation and a strong hit easiest to see. Planning casts and movement still matters.
Should every specialization maintain the same damage effects
No. Effects are central to Affliction; Destruction has its own effect and replacement; Demonology primarily revolves around summons. Do not transfer one specialization's action bar unchanged to another.
Can a stat table decide every gear upgrade
It offers a starting point, but set bonuses, trinkets, weapons and simulations of your own character still matter. The selected build also changes the recommendation.